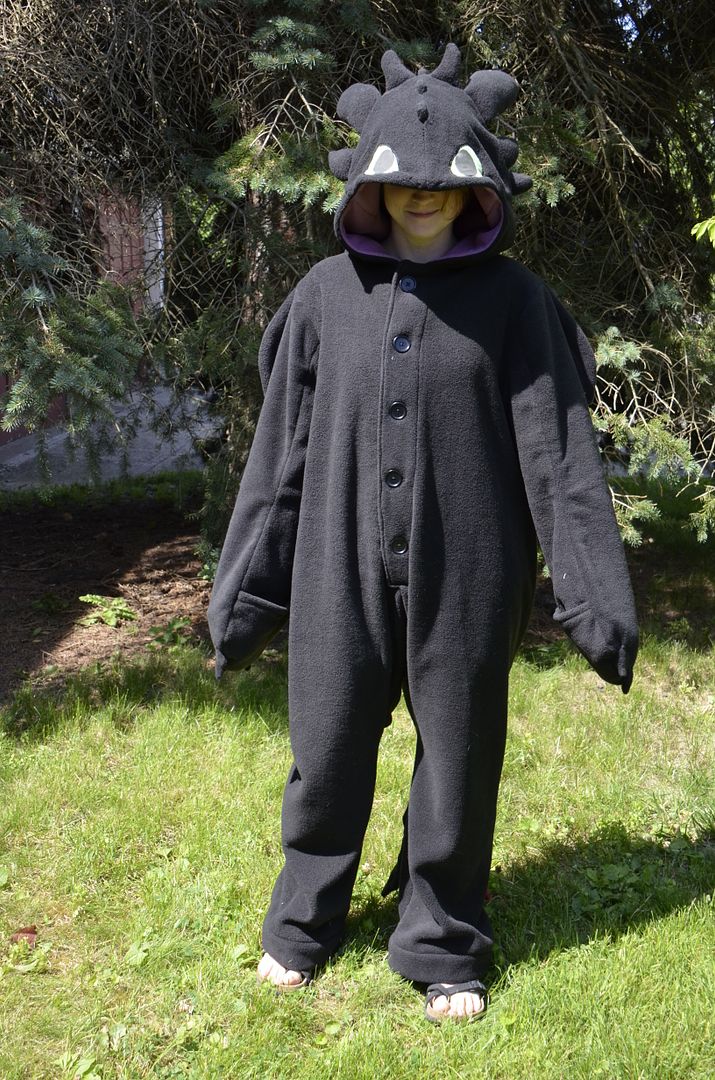
Jumping up the schedule by popular demand: Toothless! I made this Toothless kigurumi (onesie) to wear to Atomic Lollipop this past July. To be honest, I had been contemplating buying a kigu for the longest time, but I had never seen a design that I really loved. So long story short, I decided to make my own. I picked Toothless because I really love the movie How to Train Your Dragon--Toothless is the most adorable dragon ever. Of all time.

An added bonus here is that because it was summer, all this fleece was on sale! Definitely worth it with the amount I had to buy. My recommendation is to never under any circumstance buy fleece in fall/winter. You will pay 3 times as much as you do in summer. For reference, I bought my fleece at Fabricland in July for 6$/meter, now (September) they are selling the exact same product for 17$/meter. Yikes!
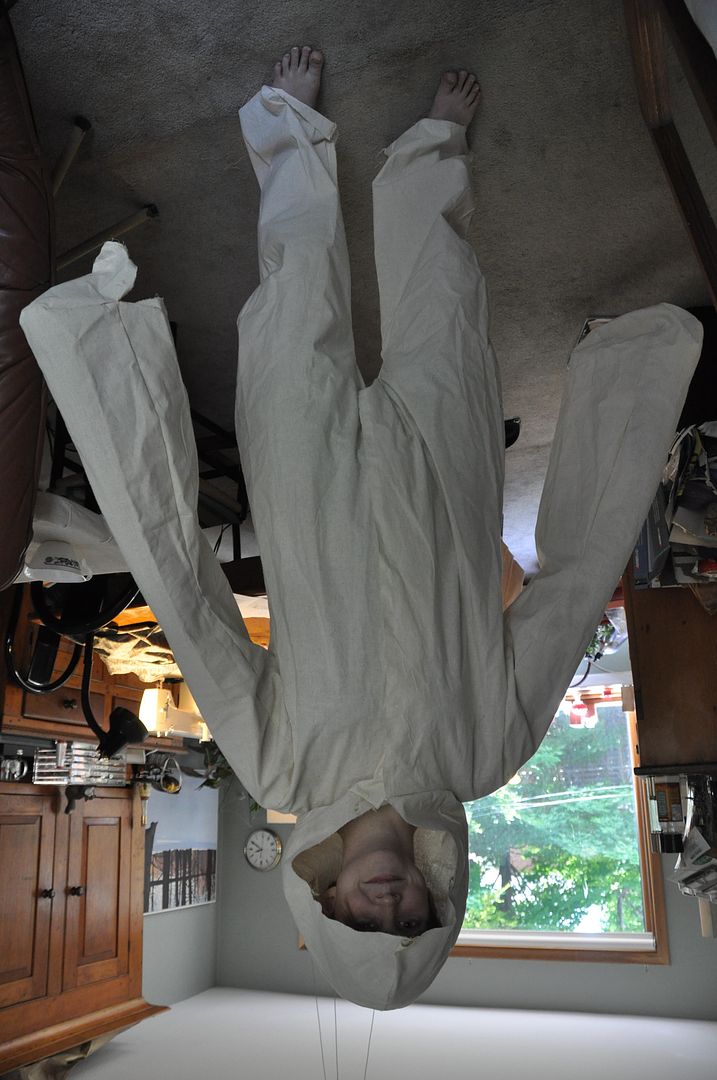
I looked at kigu patterns online, but eventually decided to draft my own from scratch. It took me 2 tries to get the onesie itself looking how I wanted it and 5 tries to get the hood right. Lots and lots of mockups.
Below you can see the onesie version 1 and 2 side by side. The first sleeves totally didn't work, and my hood problems were always that it was too big and floppy.

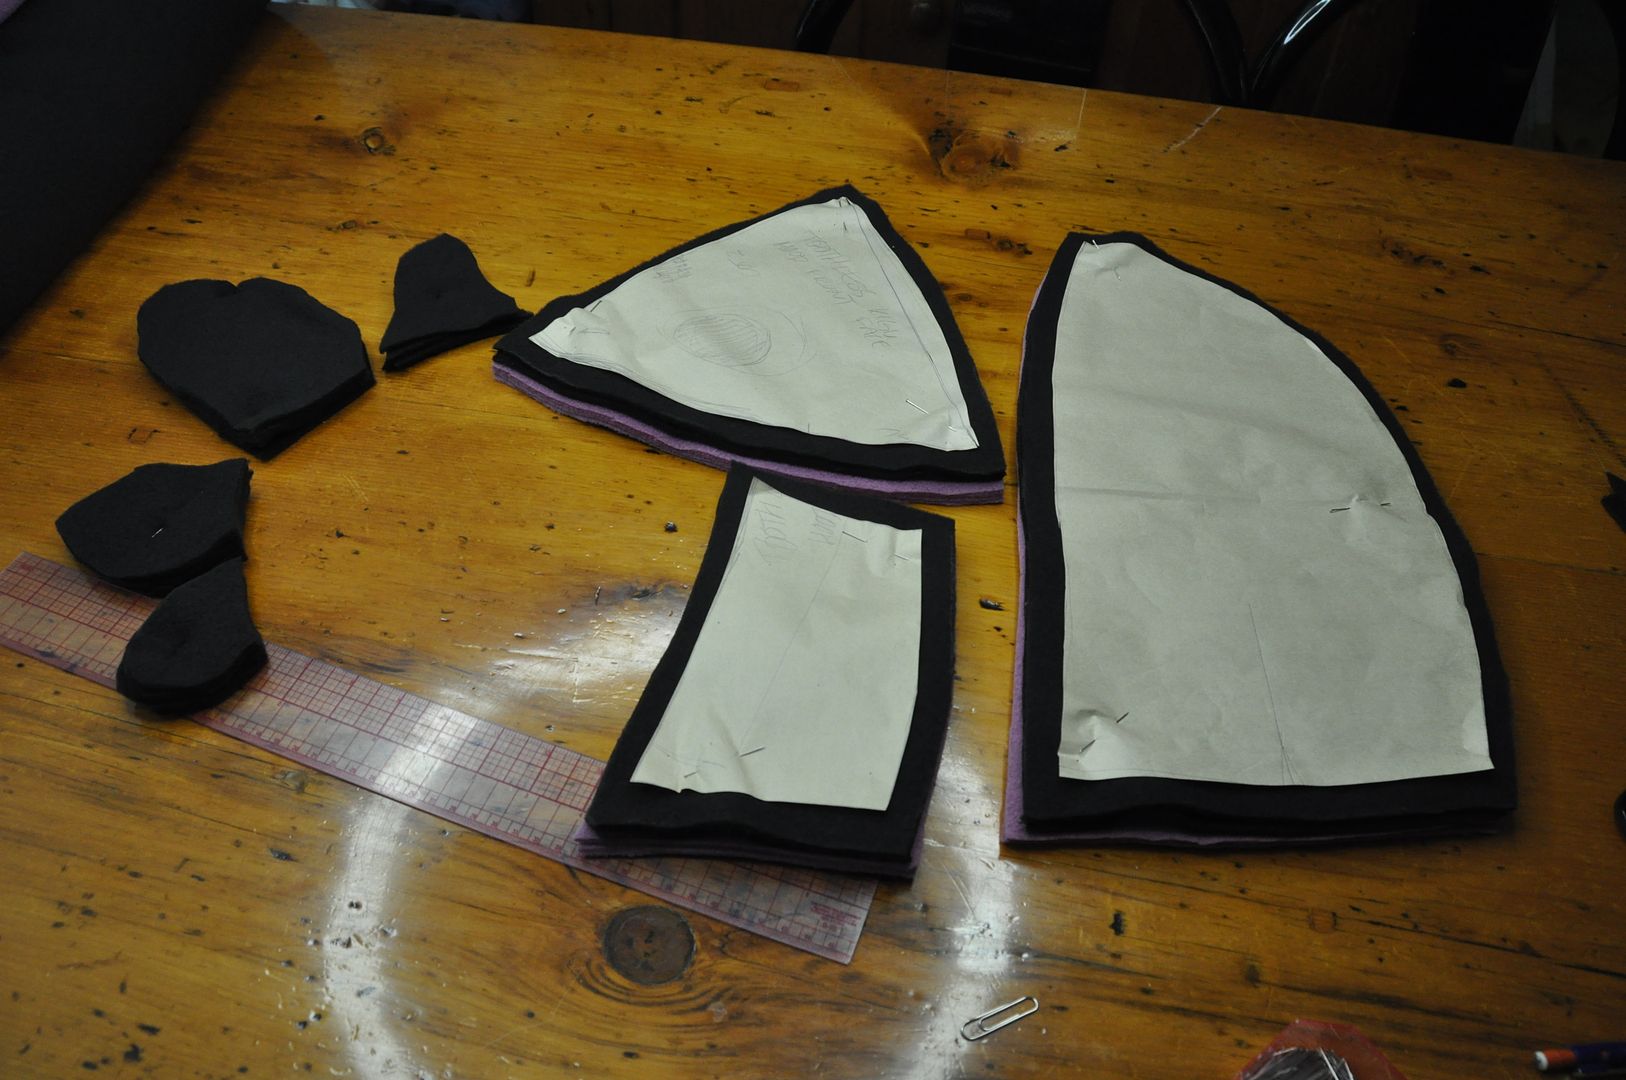
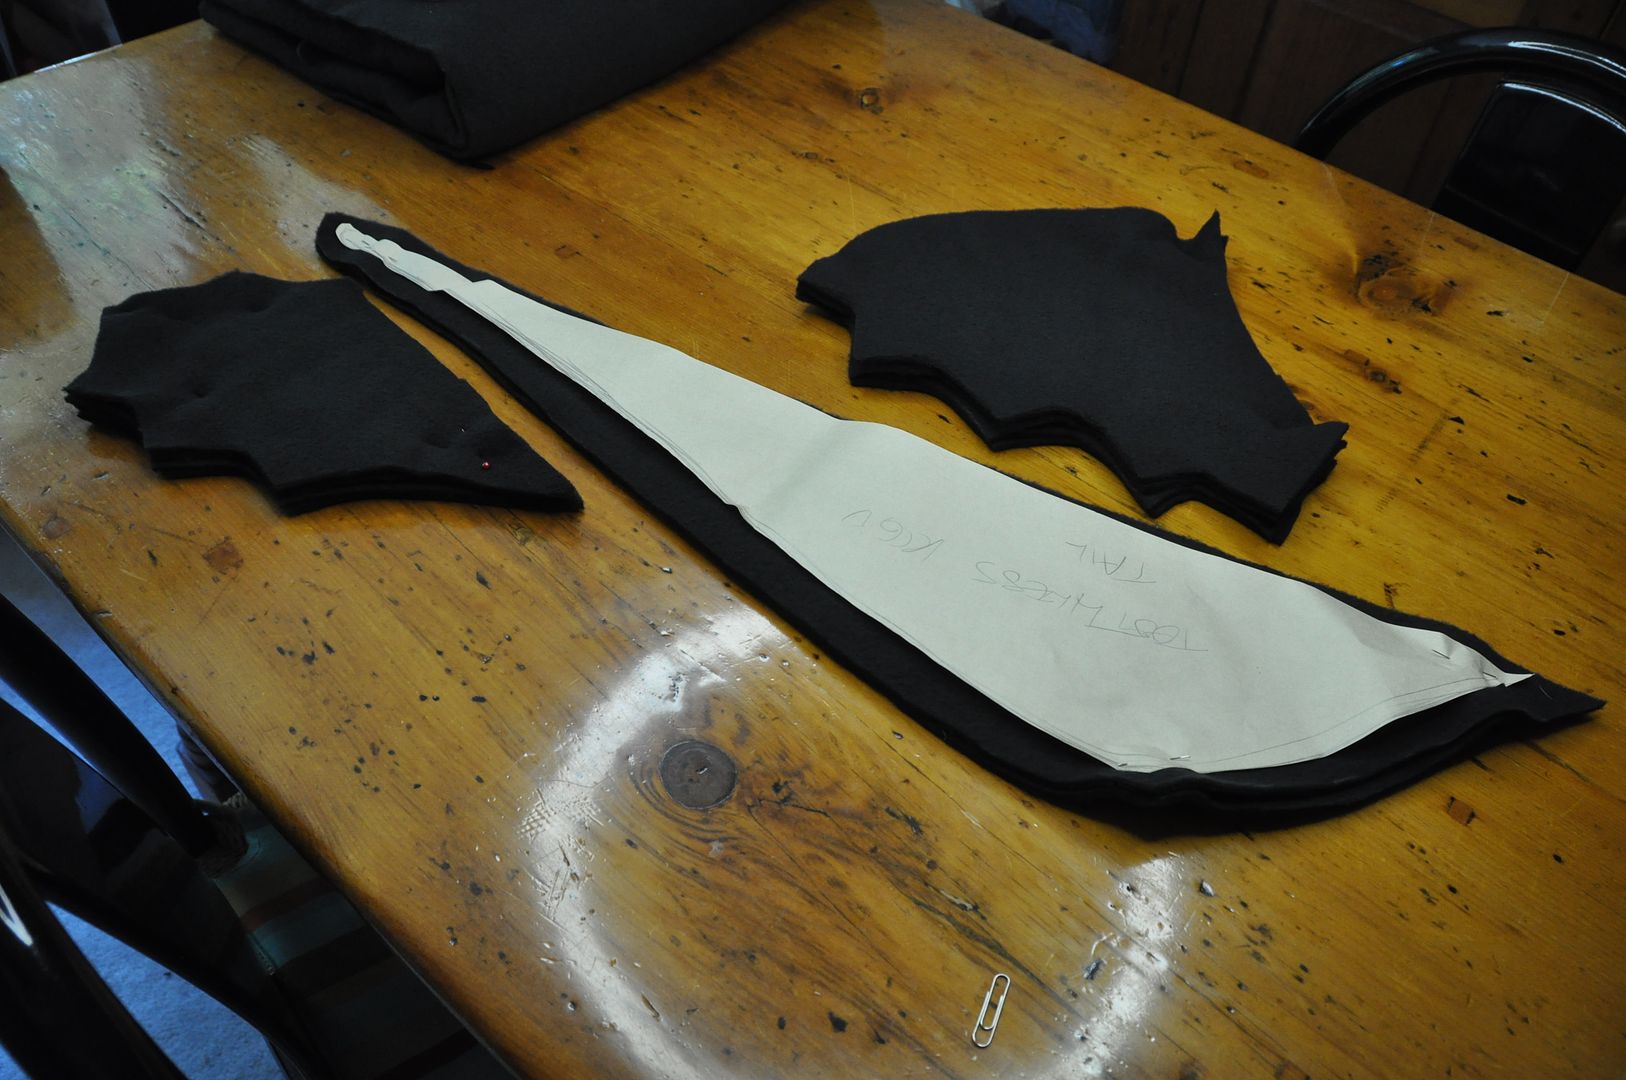
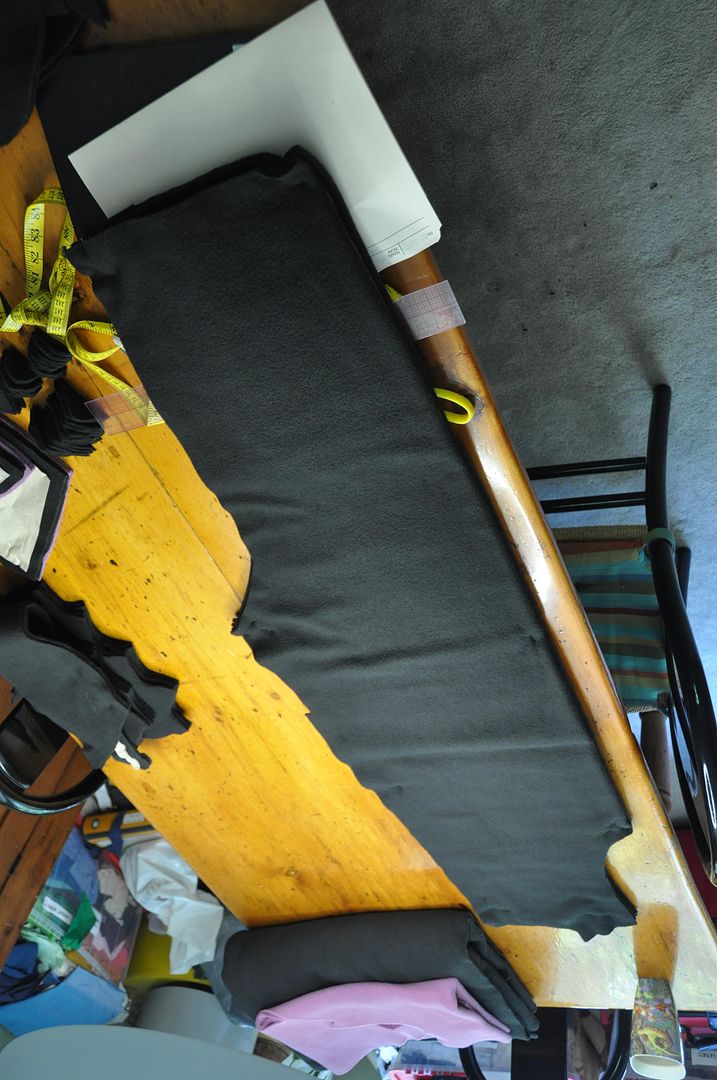
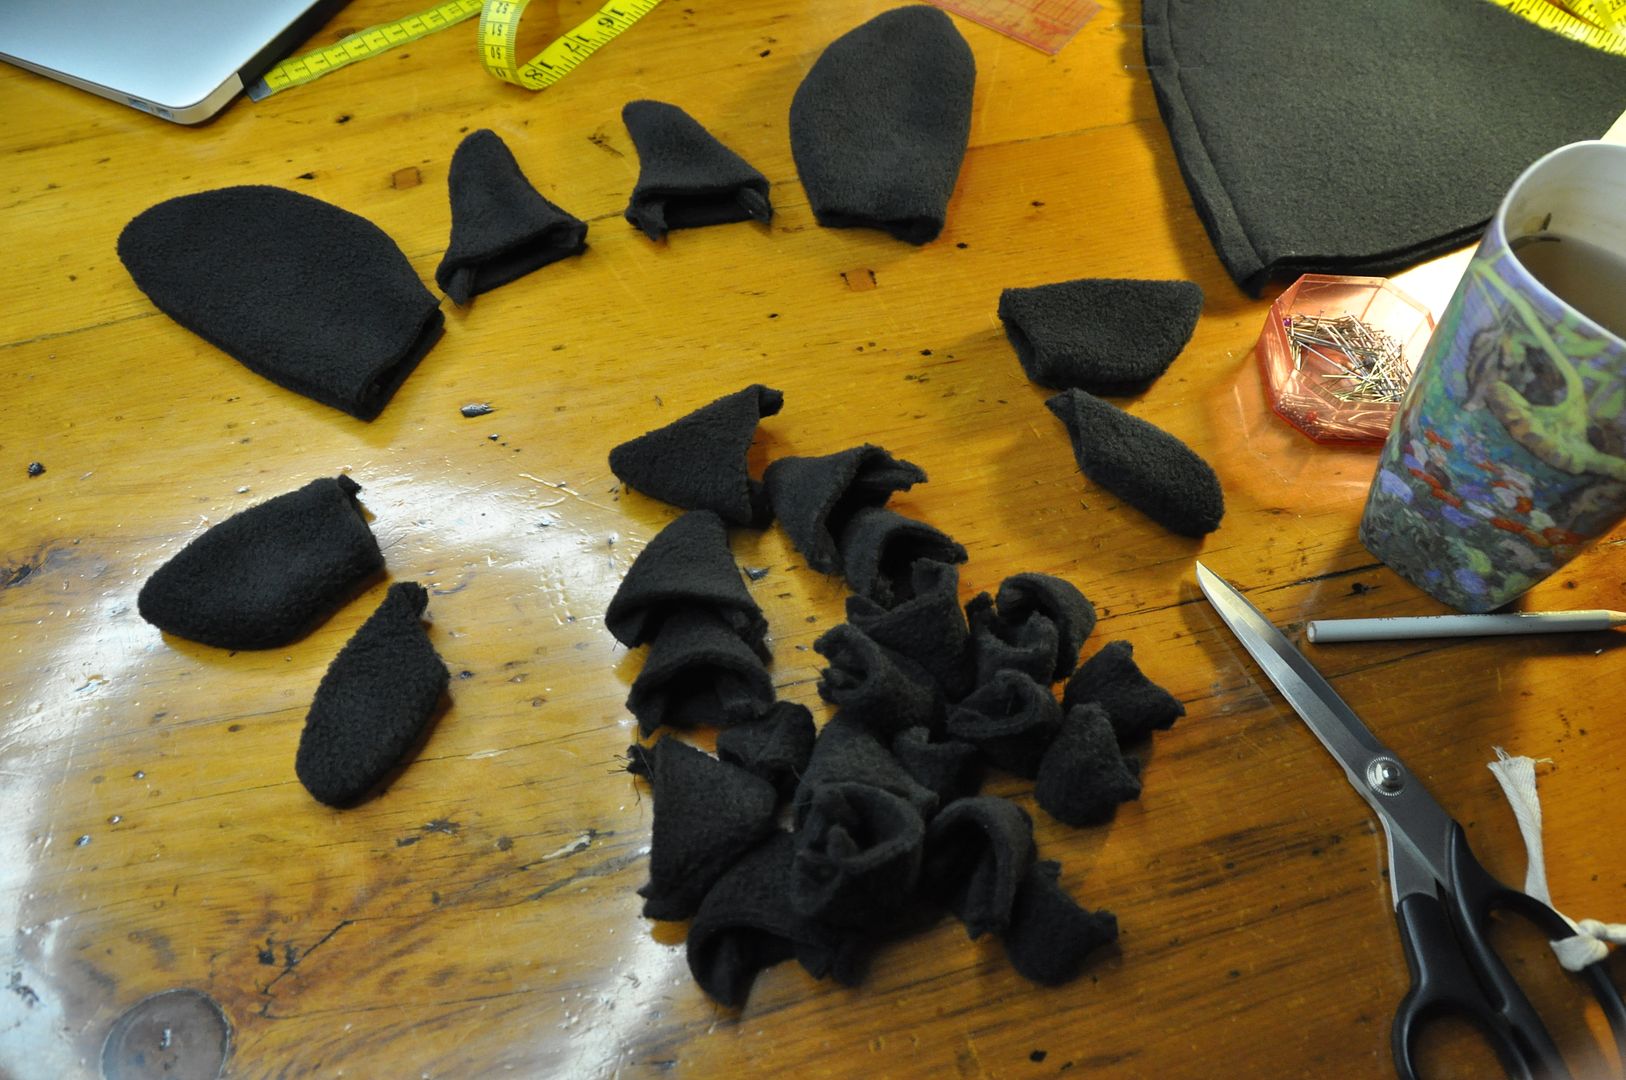
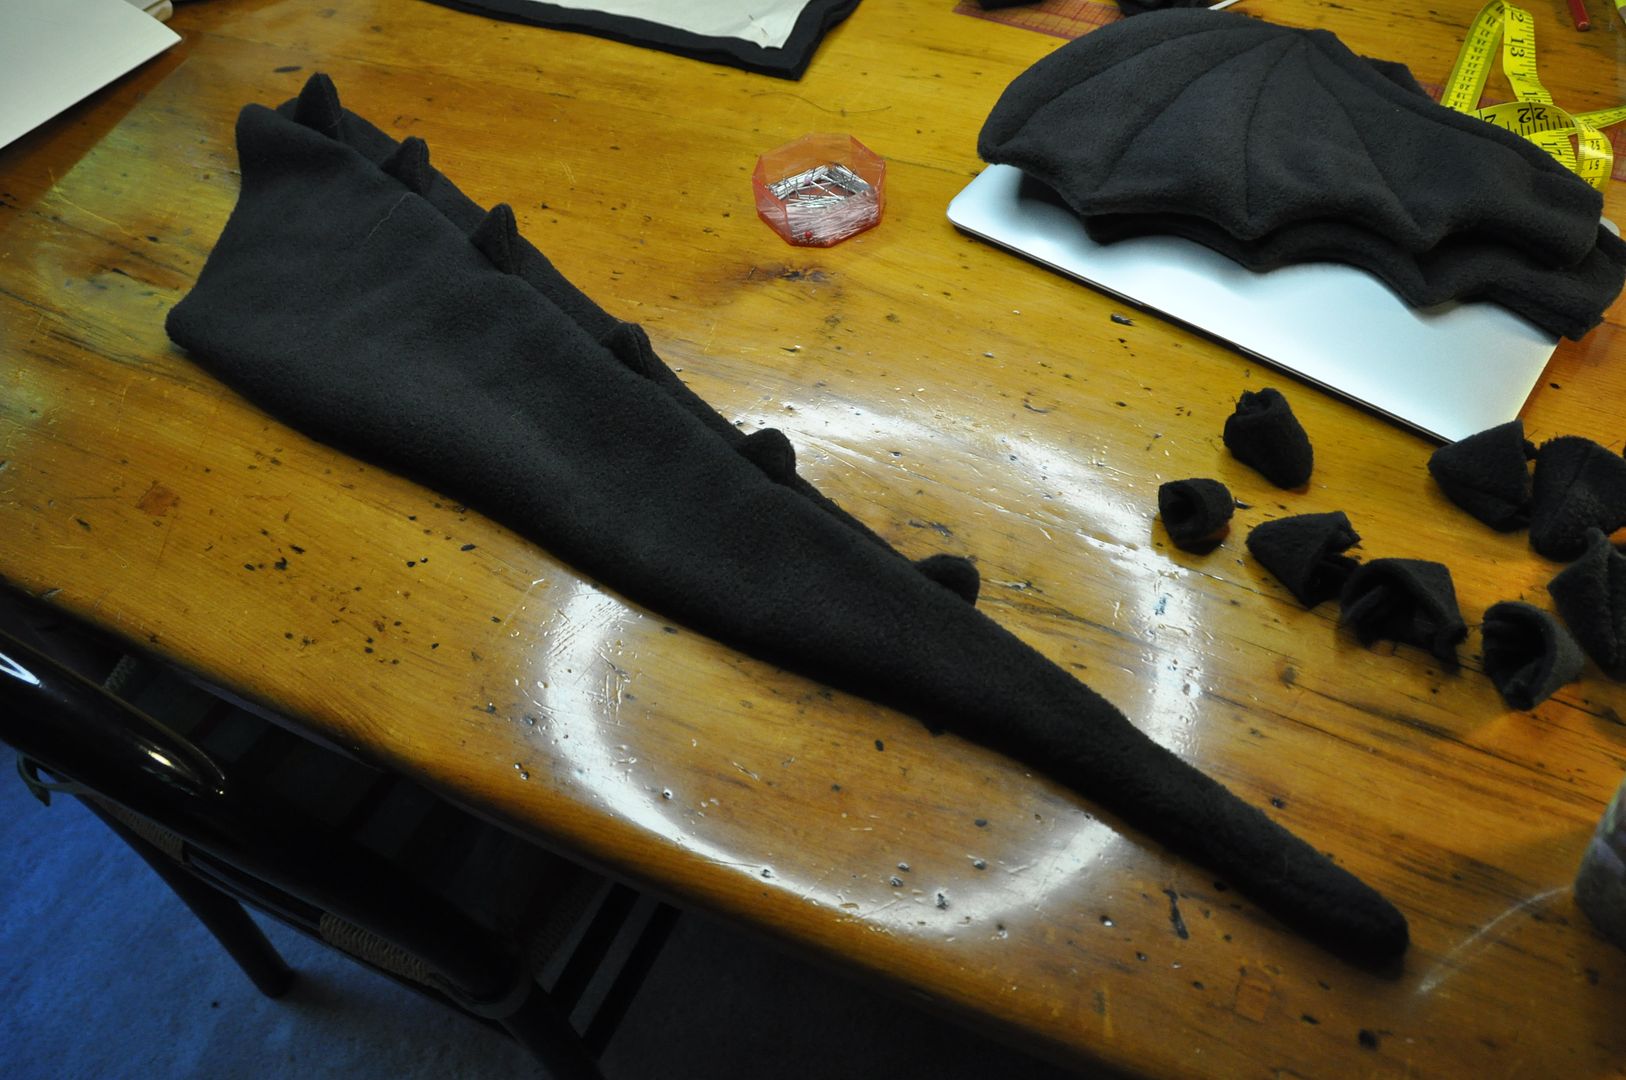
After finally getting a pattern I was happy with, I moved on to cutting out all the pieces. Here are the hood pieces complete with fins, below you can see the wings and tail.
I changed my initial design for the sleeve, ending up with a sleeve style similar to my
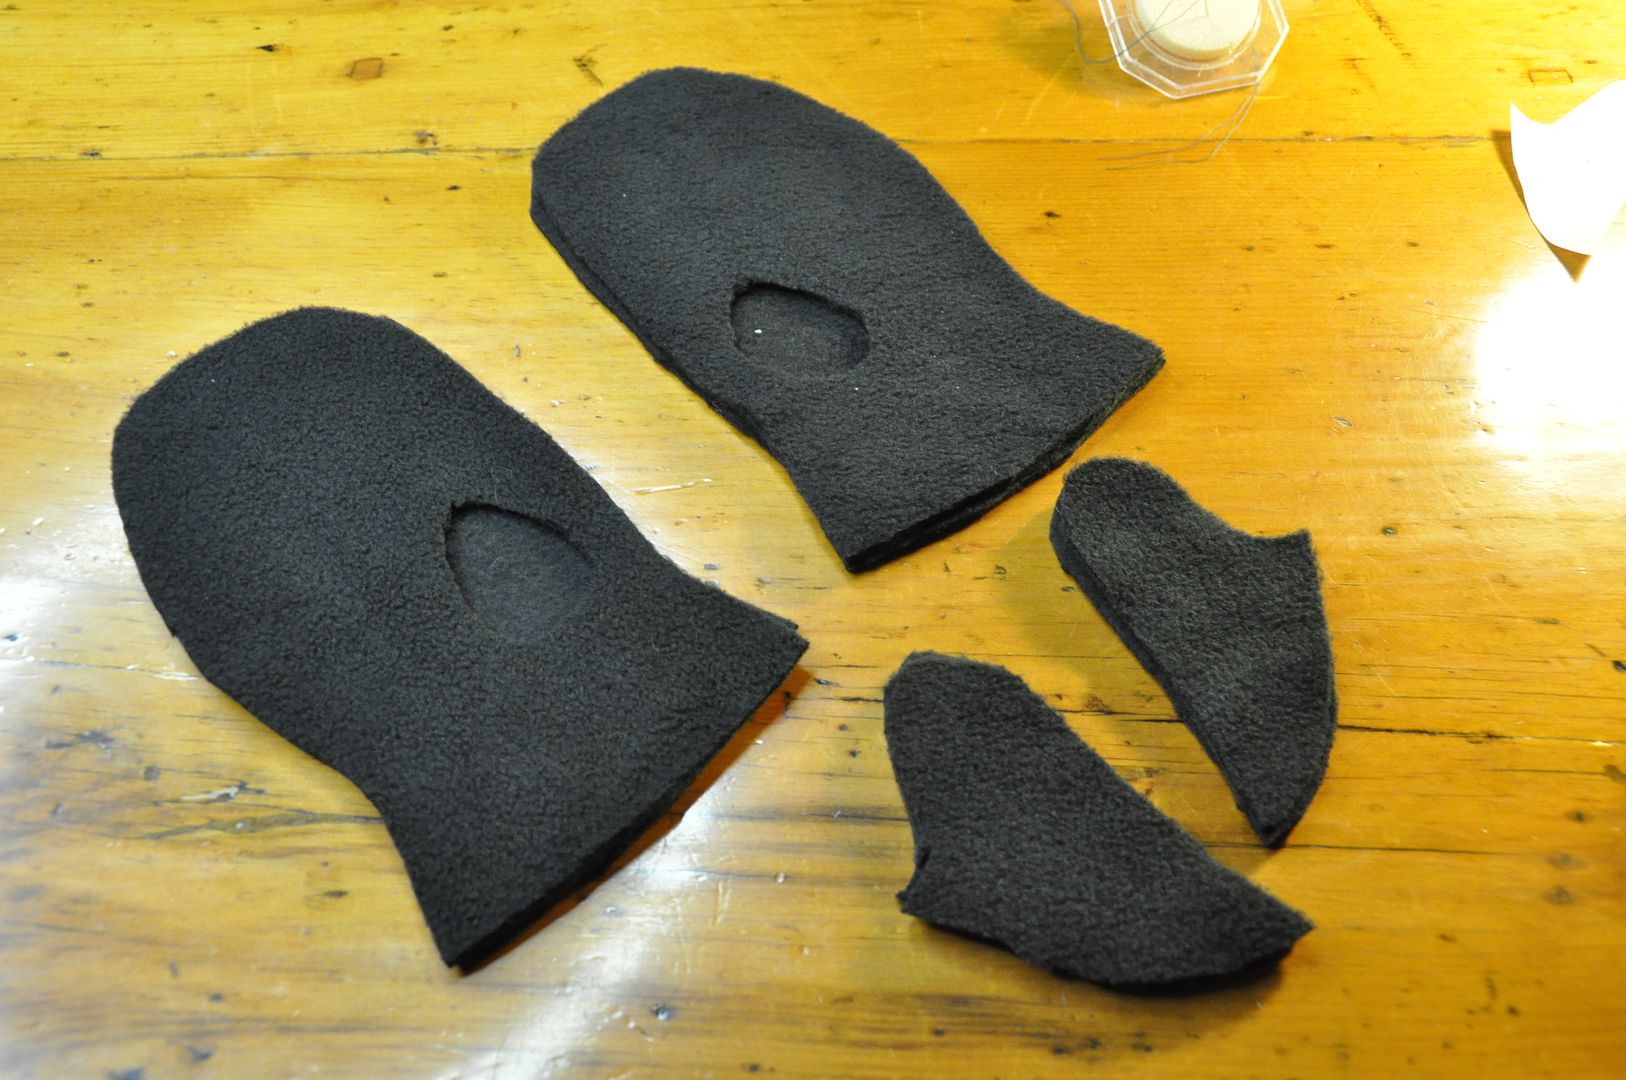
Katamari cousin pattern. It is a mitten sleeve with a slit on the underside of the sleeve to slip the hand covers on and off. This means the sleeve top is made of one piece, and the under sleeve is made of 2 pieces.
The bodysuit is in 2 pieces, with each half (right and left) being cut on the fold along the sides. (Meaning there are no side seams on this garment!)
On each of these I first sewed up the leg and shoulder seams, then I basted the center back-crotch-front seam, stopping where the opening for the buttons would go.
I hemmed the edges of the opening, then the sleeve top and bottom pieces were sewed right sides together then flipped right way out. I made sure the hand cover was on the outside.
I sewed the wings and tail fins right sides together, then clipped the excess in the corners and flipped them right way out. I top stitched on the details. (Not pictured here is the red fin!)
It took much deliberation, but I decided to line the hood in pink, to look like the inside of Toothless' mouth, as opposed to making it black to match the rest. I sewed the hood lining together; first I stitched the whole front together, then the back, lastly the side seam that divided the two.
I sewed all of the fins right sides together, then clipped and flipped them right way out. I made a whole bunch of triangle shaped ones in varying sizes that would go up the center back seam.

Carefully spacing the spines, I sewed the 2 tail pieces right sides together, then flipped it right way out. (I had to make sure the spines ended up on the correct side during this process.)
Next I attached the front pieces of the out hood together. While I was at it, I put two small spines on his forehead in the center seam. While looking at reference images I carefully arranged the fins around his face, pinned them in place then sewed the side seam, completing the outer hood. The reason why the hood is made of 6 pieces is partially because it made the shape better, but also because I needed seams that I could easily attach all the fins/spines into.
Next was detailing. Using leftover green fabric from
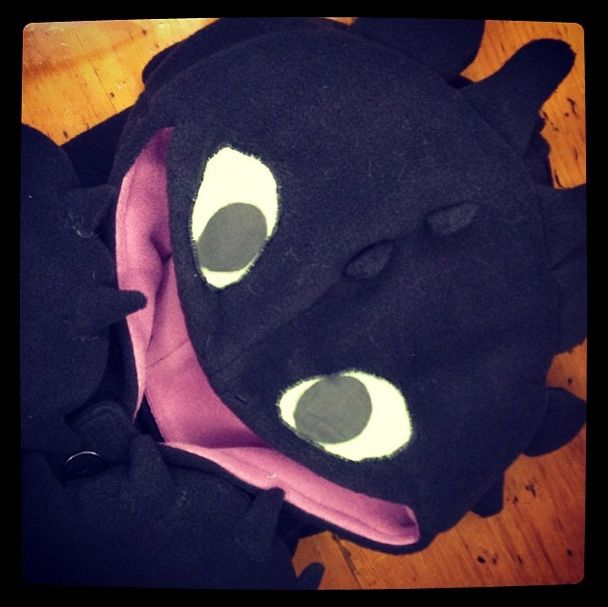
Isabelle, I cut 2 ovals. Using black fabric paint leftover from Vaporeon I painted on the pupils. I pinned the eyes in place and then zig-zag stitched around the edges. This made the fabric ripple a bit, which I am not so happy about. I also zig-zagged on some nostrils while I was at it.

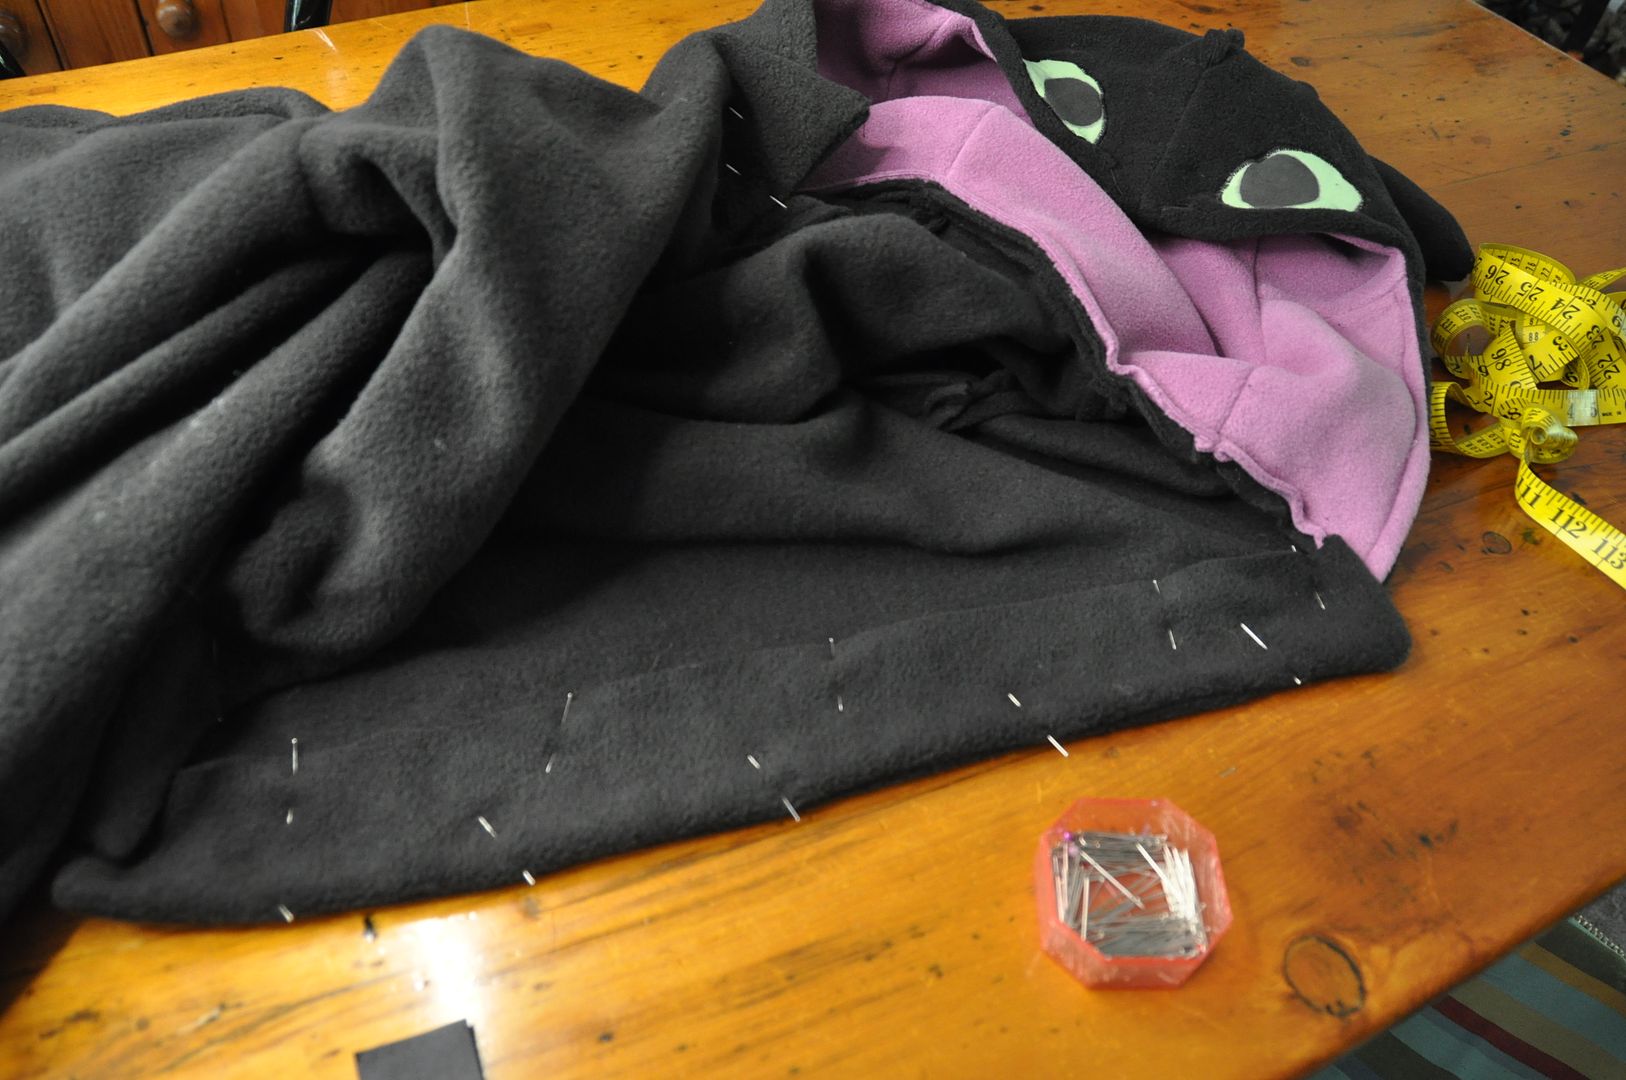
Right sides together, I attached the hood lining to the outside along the front edge.
Blarg! What is this monstrosity? Looks like
Dr. Finkelstein. D; The hood was not so thrilling at first, it took some cleverly hidden stitching to keep the lining tacked in its proper place, because it wanted to curl outward. Pulling the hood lining back inside the hood so that the outside over-hanged slightly I pinned it in place. Then I stitched the two layers together along the lower edges of the eyes and on the sides of the hood opening. Trust me when I say this helped a lot.
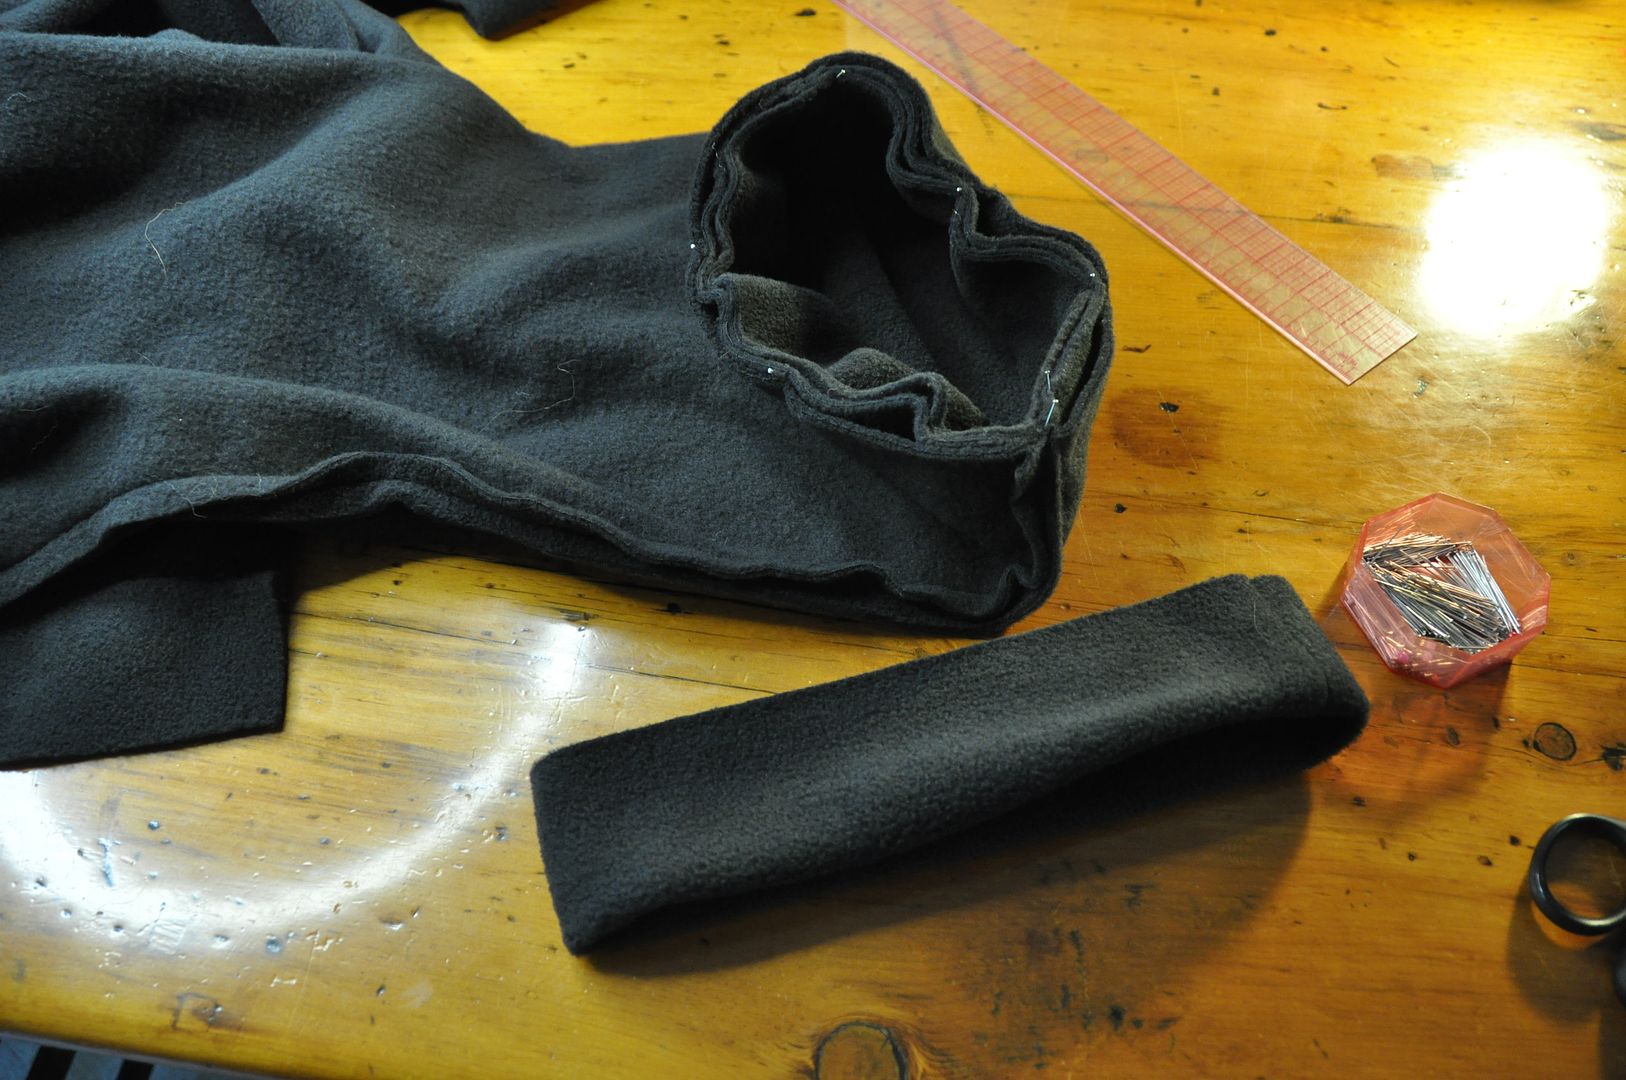
Next I put cuffs on the pant legs. I also sewed the arms into the armholes at this point.
With some difficulty I put a rectangle on each side of the opening for the placket.
I painted the viking skull on the red fin with white fabric paint. Way cool! Once this was dry I hand stitched these directly to the tail, which I had stuffed by this point.
Then I marked for the tail placement and spaced the spikes in the back seam according, picking it out to put the spikes in, and then going over the whole thing with a permanent stitch.
I measured and attached the wings, which were then tacked up with velcro so that they wouldn't flop down.

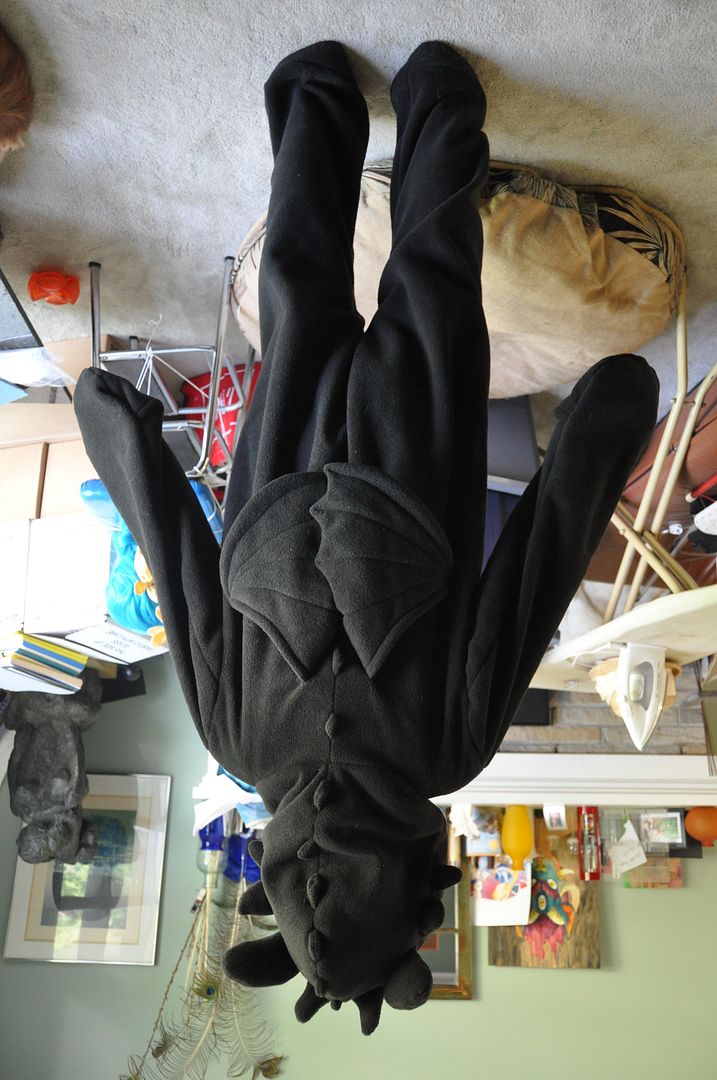
I pulled the kigu over an ironing board so that I could pin the tail to the back without accidentally catching the front. Making sure the tail was extra stuffed, I pinned it in place, then stitched around the raw edge with a zig-zag stitch to keep the tail firmly in place.
Lastly I added buttons and button holes to the front!
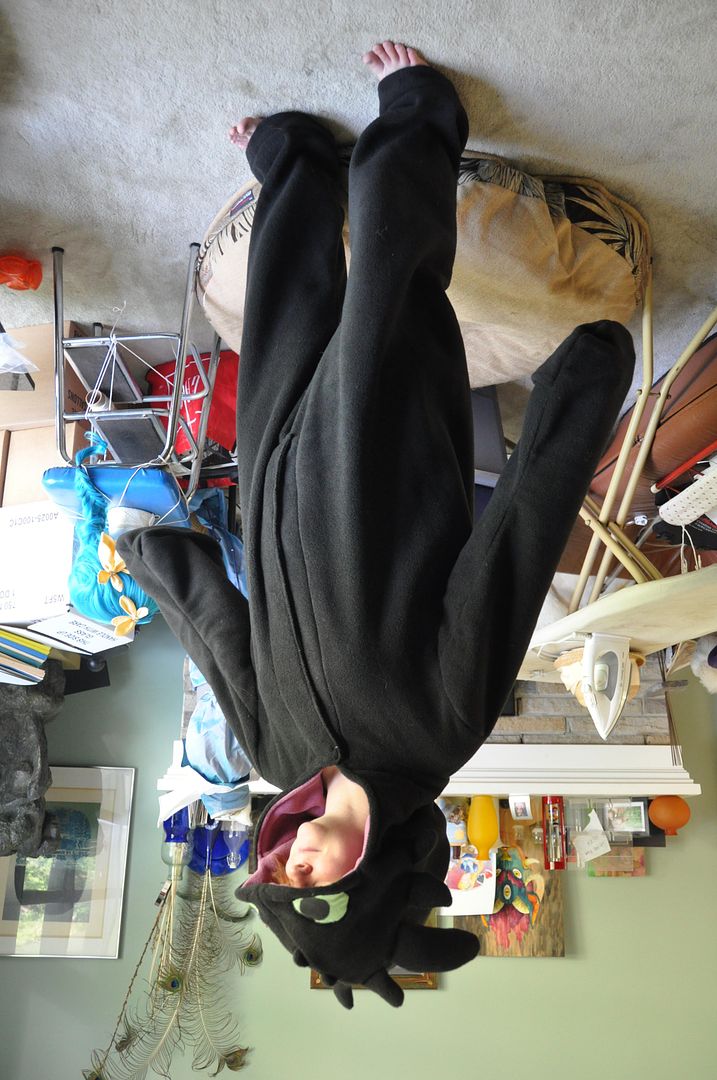
1 excellent kigu that made everyone at APop jealous. Sorry all! This kigu is one of a kind, but if someone were to commission me, I might consider making a second one. But not right now, because fleece is crazy expensive again!


 I first sewed my linings together, for the main part of the mitten, assembled the thumb pieces and then sewed the thumb into the thumb hole.