Showing posts with label dome fasteners. Show all posts

Saturday, July 5, 2014

Forest Guardian - Pants, Shirt & Cape

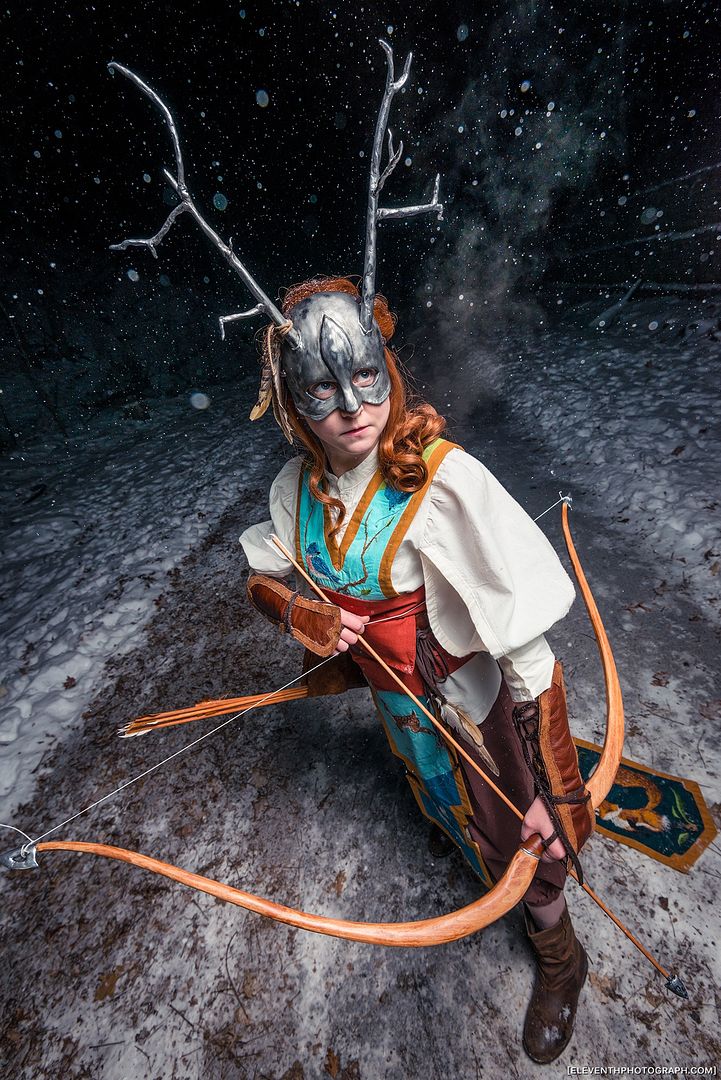
[Edit: New photos added from Feb 2015 shoot with EleventhPhotograph!]

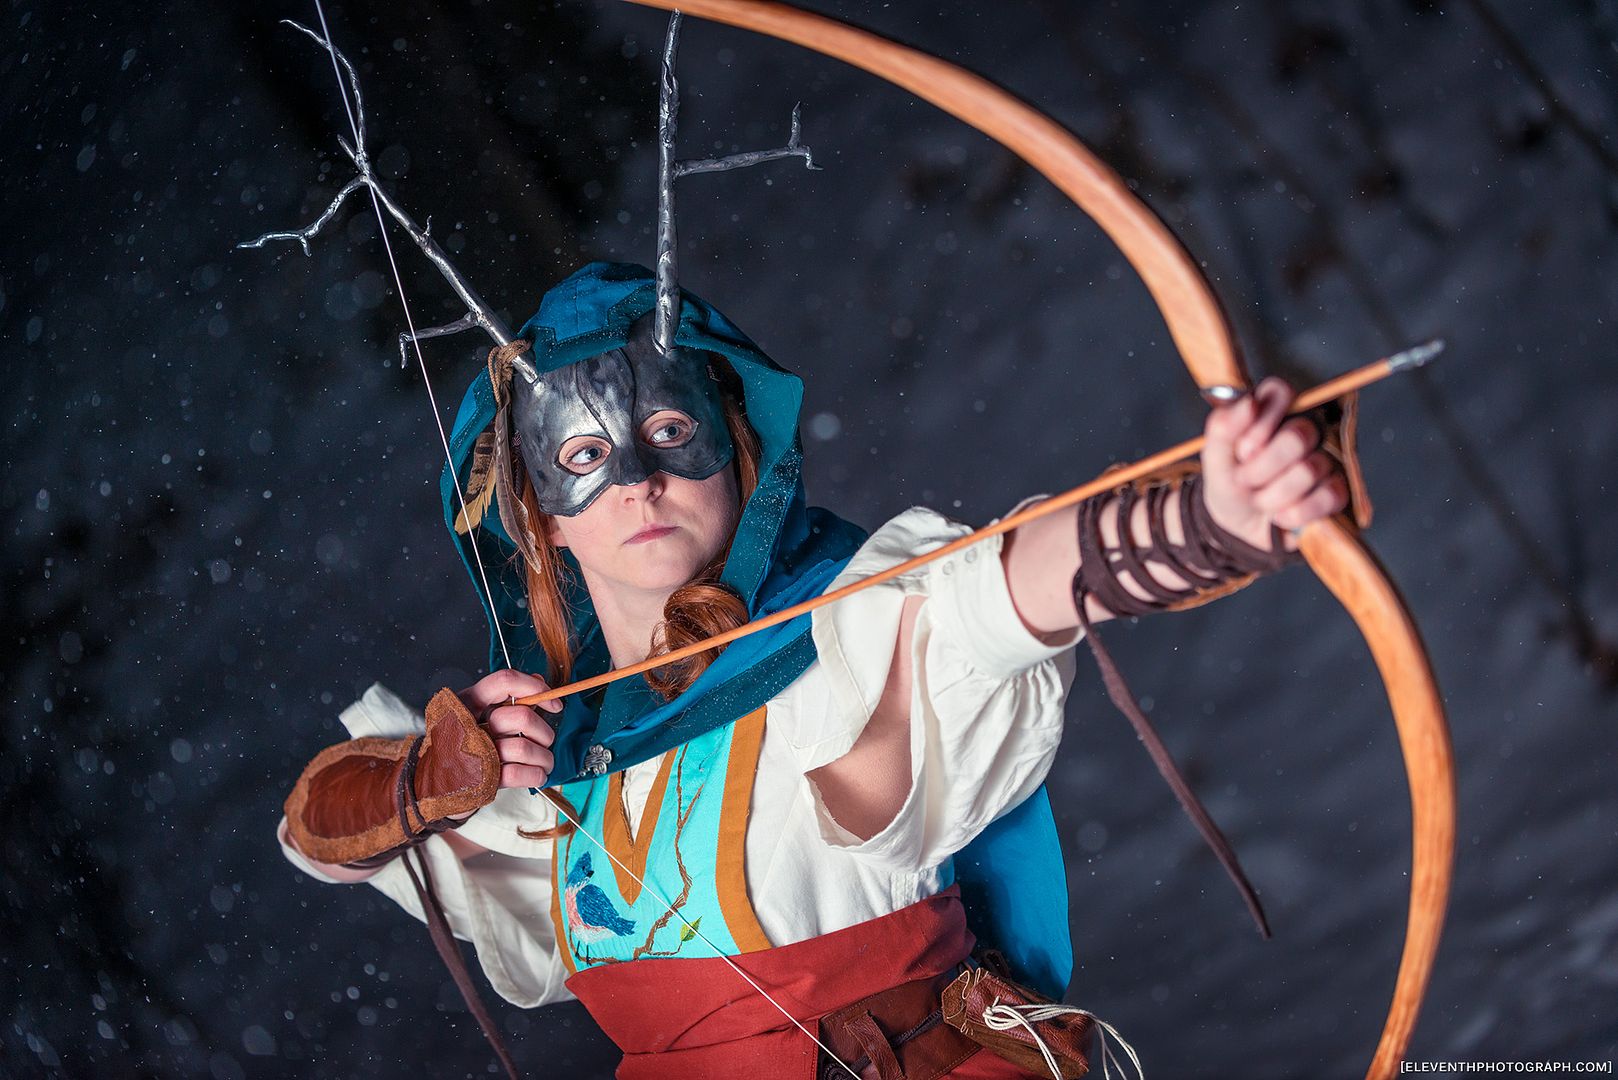
Welcome to my first look at the Forest Guardian! I thought we should start with the pants, shirt and cape because in terms of the actual build of the costume that's where I started. I think at this point it has been a full year since I started the concept sketches for this costume, wow! This is my first real original design costume and I'm pretty proud of it. 
I wore most of the costume to CostumeCon 32, excluding the embroidered panel, which I was sadly unable to finish in time. The costume was completed for Anime North, and I competed it in the Masquerade. I won an award for my embroidery in the Master Division, which I am super proud of! This was my entry.

I still need to do a photoshoot of this costume, hopefully that will happen sometime in the near future. I have been location scouting in the forest behind my house. :P 

I started the design concept of this last summer. I had bought my badge for CostumeCon 32 at Anime North last year, so I knew I wanted to make something original. There were several different designs leading up to this one, several different versions before I arrived at this one. I developed the design over the course of the summer and got started on the project after returning from Otakon. 

 The hardest part once I had the shapes down was colourizing everything. I knew I wanted the character to have auburn hair and that the shirt was going to be off-white but other than that I wasn't sure. I didn't even know if I wanted to make the mask look like metal or clay & bone. There were several different coloured versions before I settled on this one (there was even one where the animals on the embroidered panel were to be done as silver silhouettes). It ended up being quite colourful in the end, I was sort of going for ceremonial garb when I first started drawing it and ultimately I think the colour suits the design. Even then there have been several changes that developed over the course of the build since I did this "final" sketch. I purposefully designed the under clothing for this costume to be quite simple, as I wanted the focus to be on the embroidered panel and accessories. 

 I started by patterning and mocking up the shirt. The shirt was designed to be a looser fit, with flowy sleeves that would allow easy/unrestricted movement. The shirt itself only has 2 darts at the armhole to the bust, the waist get cinched in by the belt. The sleeve pattern had required some adjustments initially because unlike a regular sleeve this had a slit in the front. So I had to move the seam from the bottom to the front.
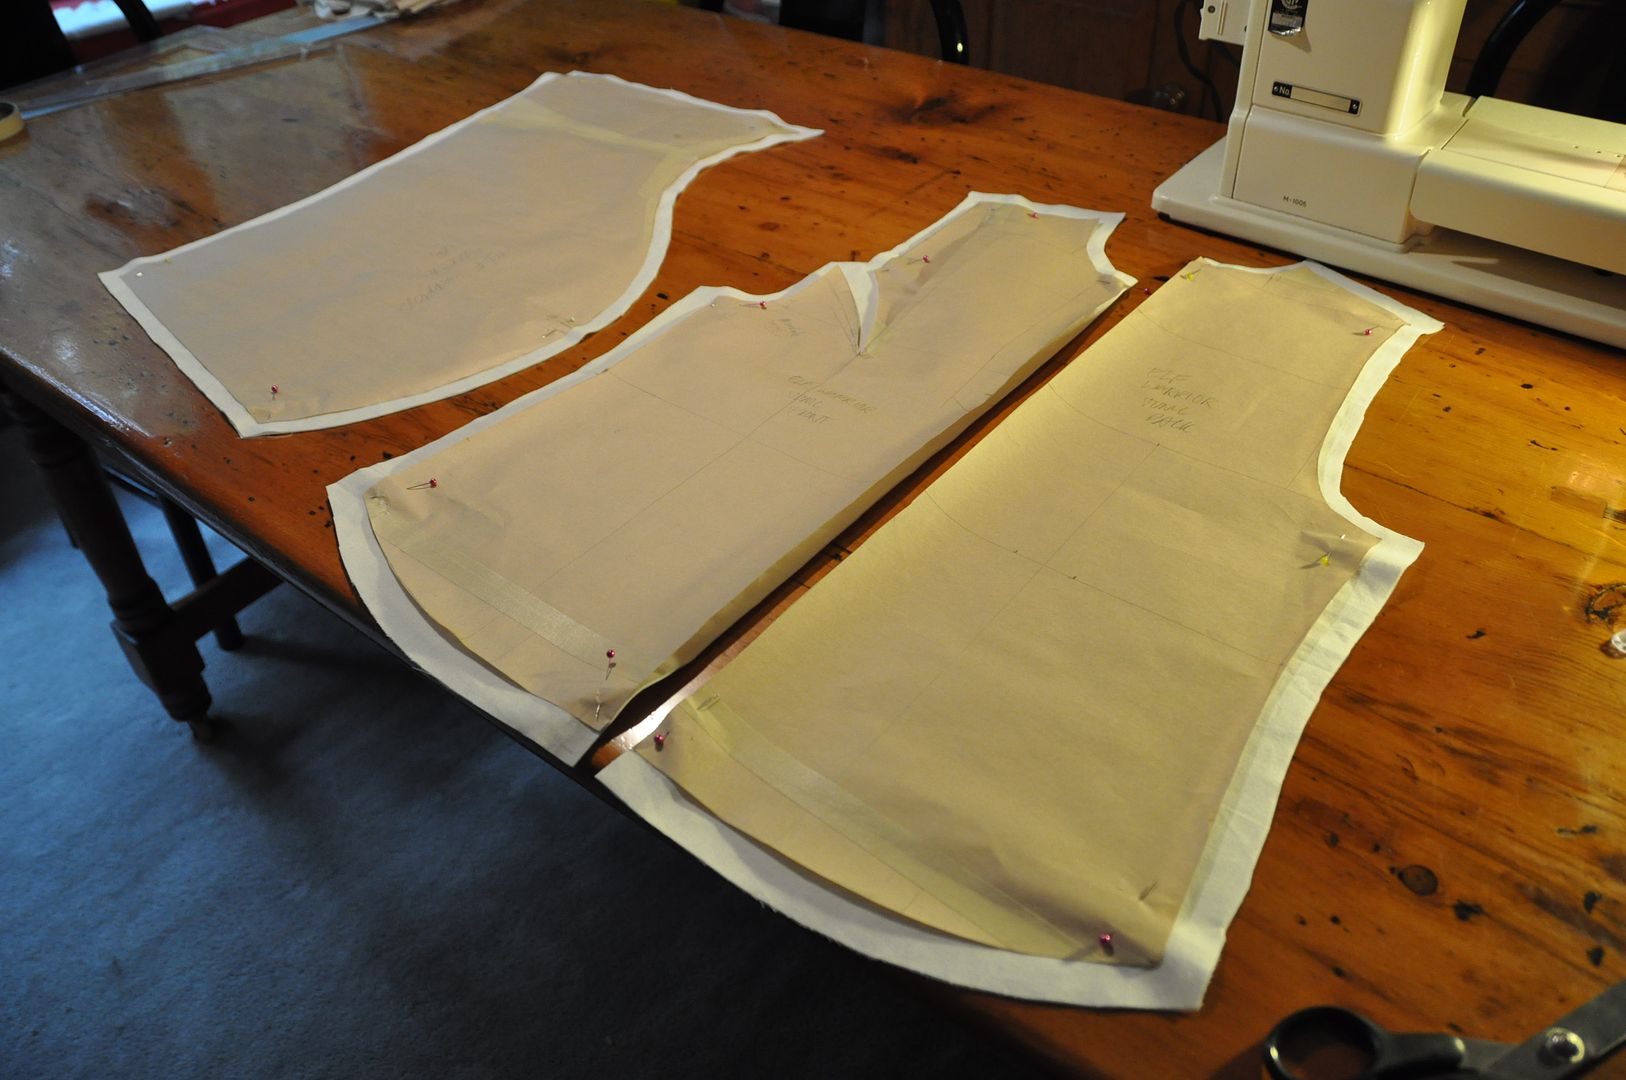
 
After doing a mockup, I cut and sewed the pieces. I closed the darts and then sewed the front and back pieces together, leaving a little slit open at the bottom of each side seam. I cut the slit open at the front and finished off the edges with a strip I made out of the same fabric. This would reinforce the fabric when I added the laces later.
I then sewed on the collar and gathered the sleeves. Then I finished/reinforced the edges of the sleeve opening. Originally I had intended for the sleeves to be laced shut, but I decided I really liked the look of them open and left them that way.
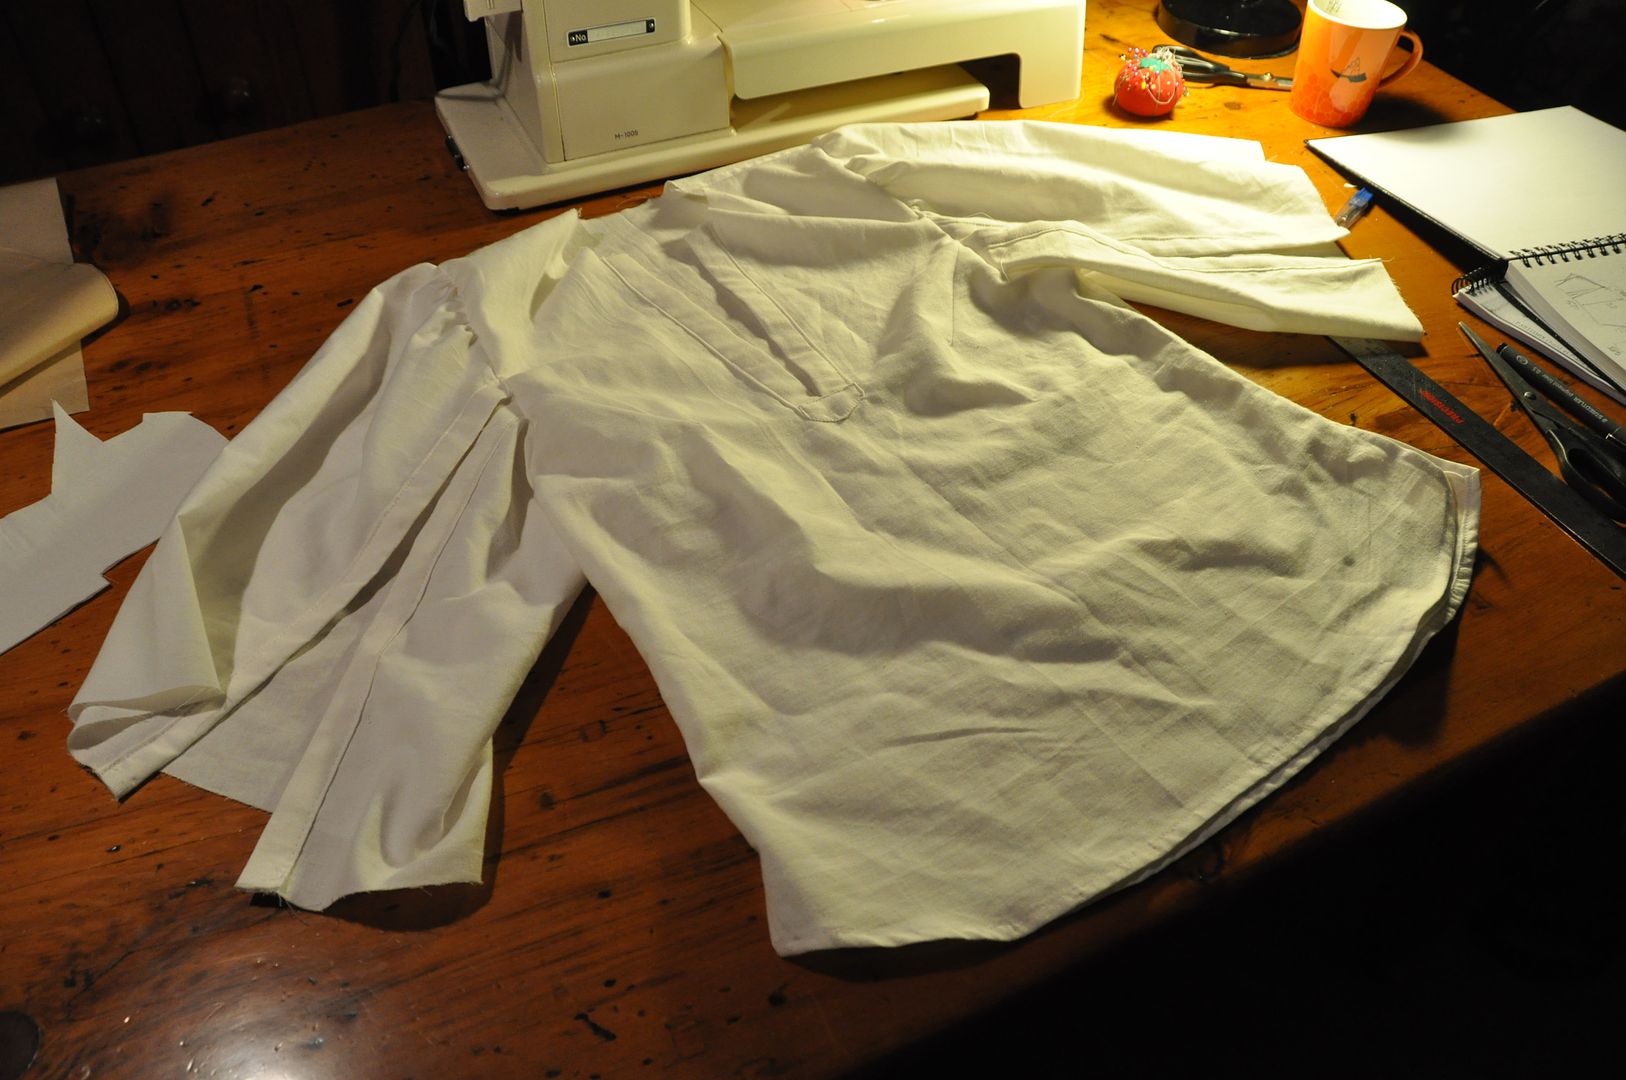
 I hemmed the bottom of the shirt.
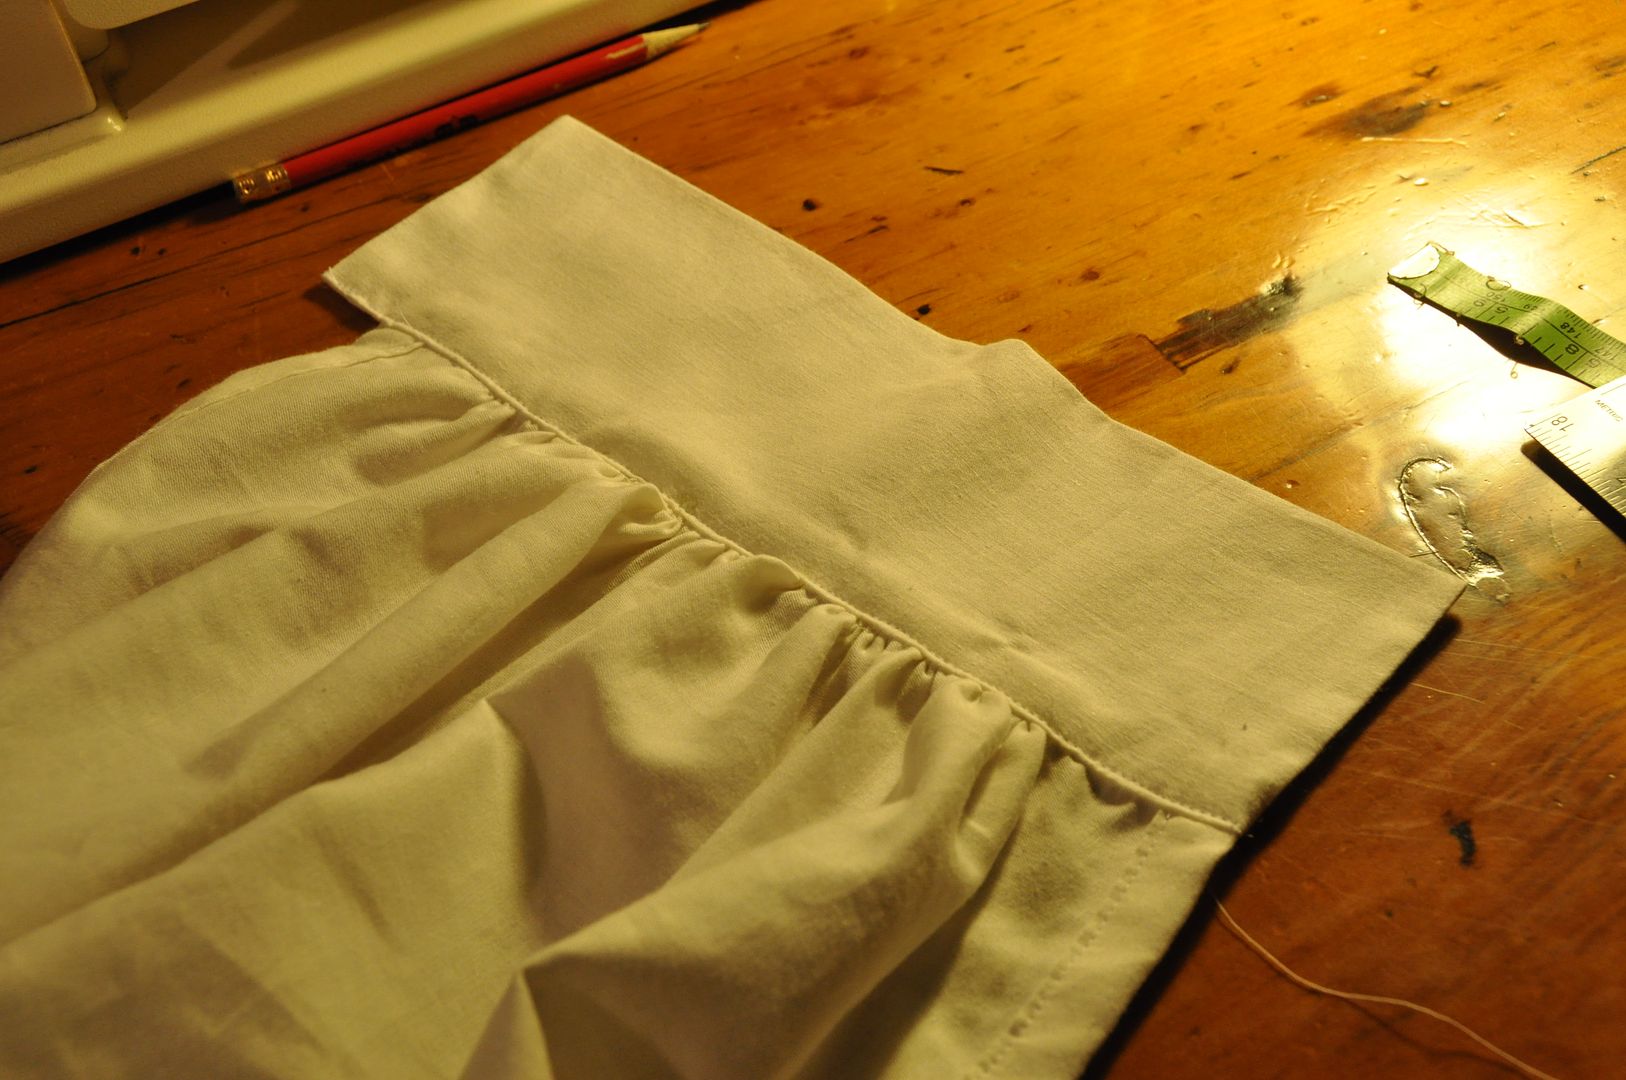
Then I gathered the edge of the sleeve and added the cuffs to the sleeve. Later I put 3 buttons & buttonholes on each to close them.I also added in the holes on the front closure for the laces. These were done in the same way as the button holes rather than with grommets.
 Once the shirt was done I began work on the cape.


The cape itself had originally been designed to be longer, but after much consideration I felt it would detract from the embroidered panel so I made it a short cape, but still kept the large hood. I am pretty inexperienced patterning hoods, and this was my first cape. It took a few tries to get it to look how I wanted it. The only advice I can give is make a mockup!
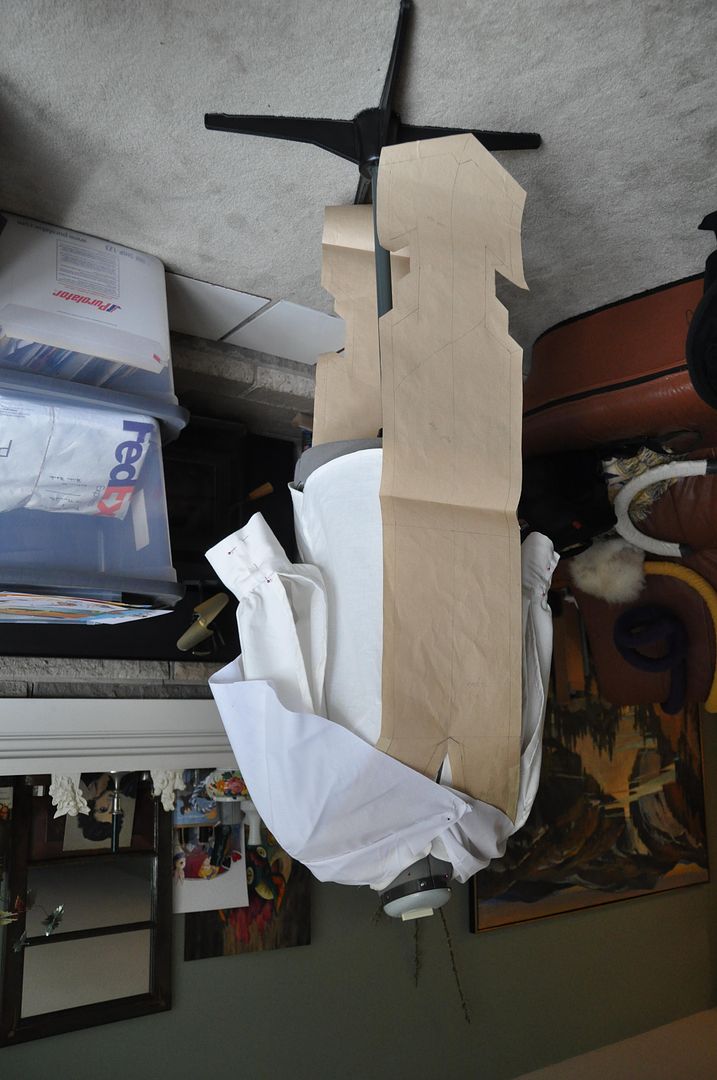
The pattern pieces for this look pretty odd!

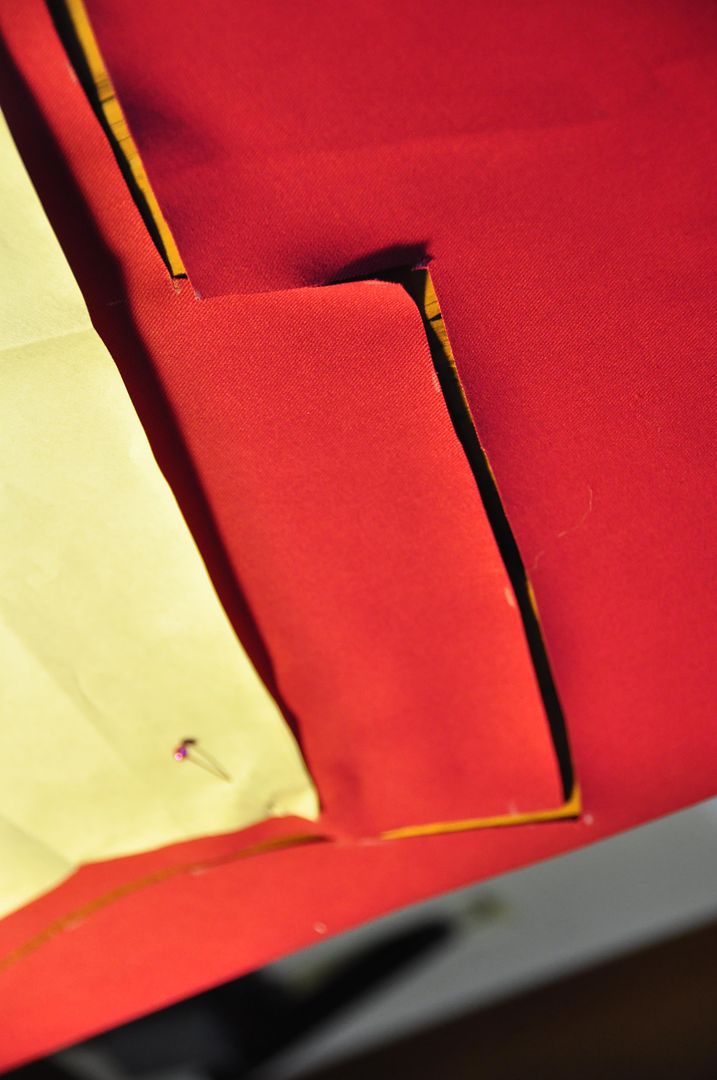
My main design feature on the hood was the two slots for the antlers to stick through. It was one of the design elements from the initial concept sketch that came all the way through to the end. I had to make a reinforced edge piece that went all the way around the edge of the hood and the hem of the cape. It had to conform to all the odd angles and contours. It is made of the same fabric as the hood lining.

I started by sewing the sides and center seams on the hood, hood-lining and cape pieces. For the hood I attached the trim piece to the lining and bagged it out. Then I slotted the outer fabric under the trim and pinned it in place. I carefully measured and folded under the raw edges then top stitched the trim in place.
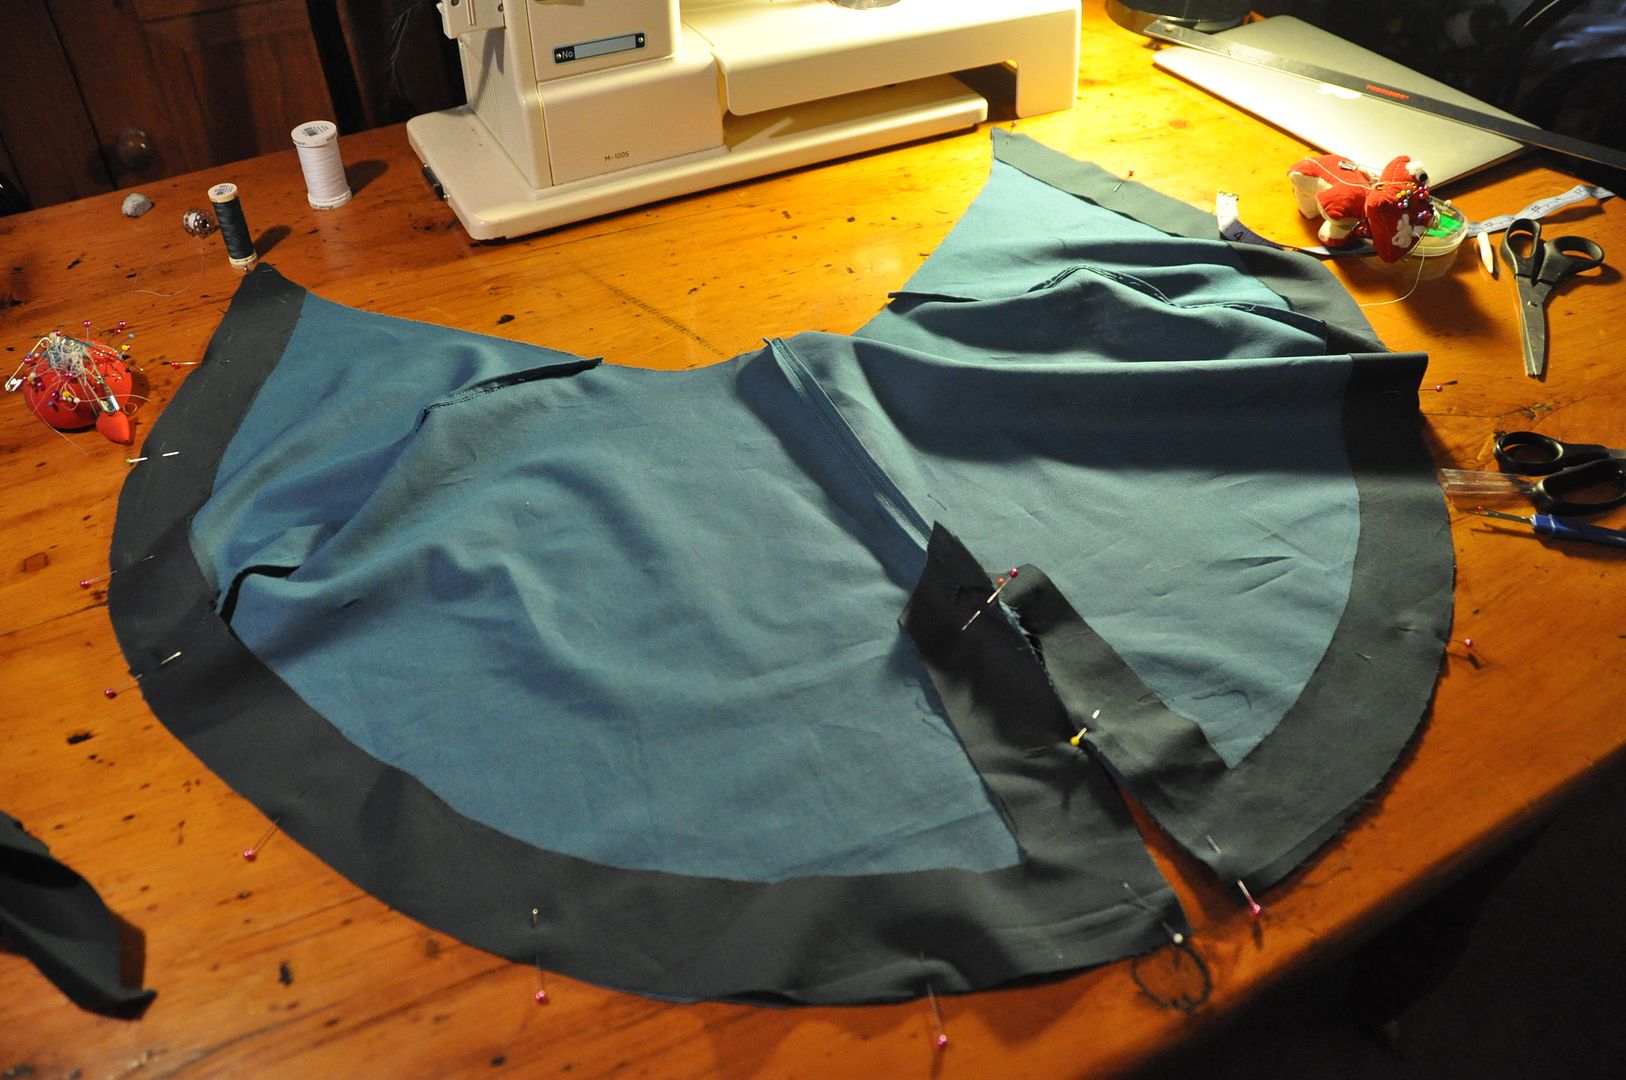

For the main part of the cape I bagged out the trim, having stitched it directly to the inside of the outer fabric. I folded it to the outside and finished the raw edges in the same way, top stitching it all in place. This way the raw edges are all hidden inside the trim, leaving for a clean look on the inside and outside!
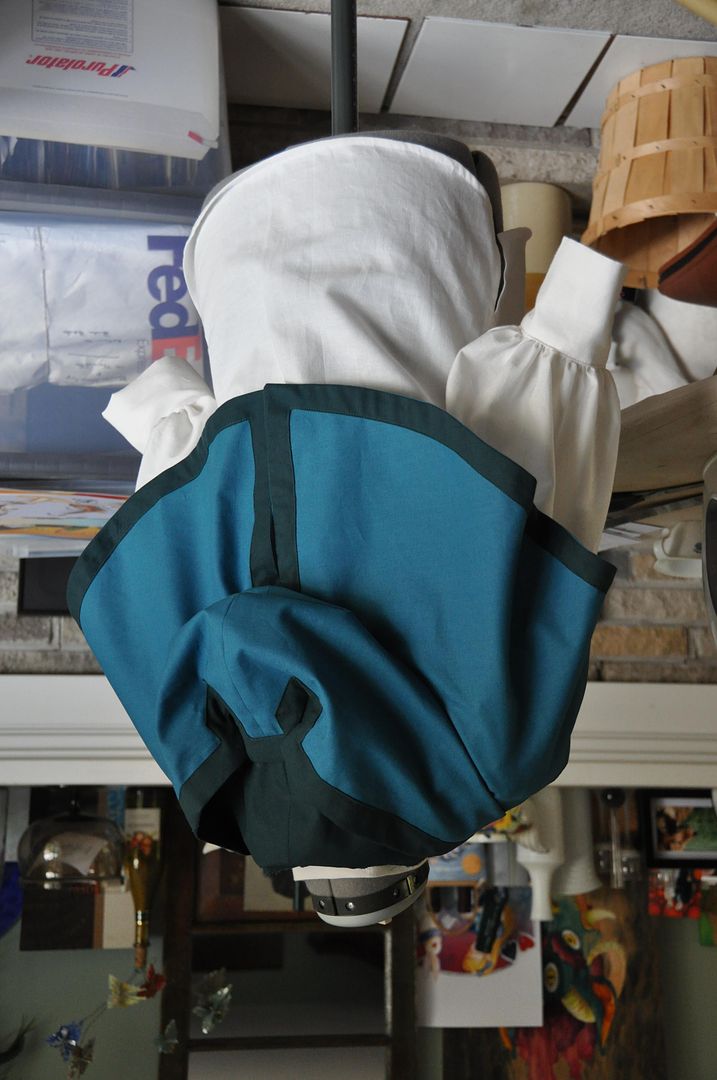
You can see how the hood collapses in on itself. Which was frustrating as even when worn over the mask the edges of the antler slots just drooped. I later re-opened the seam and added in a wire to the hood, which kept it rigid and held the desired shape perfectly!

The red wrap around the stomach is simply a long strip of fabric that is wider at the ends (narrower in the middle) bagged out to finish the edges. It has velcro to close it, which is hidden by the belt. (The belt pictured here is actually from my Presea costume, which I was using when trying things on until I made the actual one.)

The pants are actually based on a pattern I had modified for a costume I started but never finished. (Jack Frost) I modified my modified pattern to get the pants I made for this costume. Haha

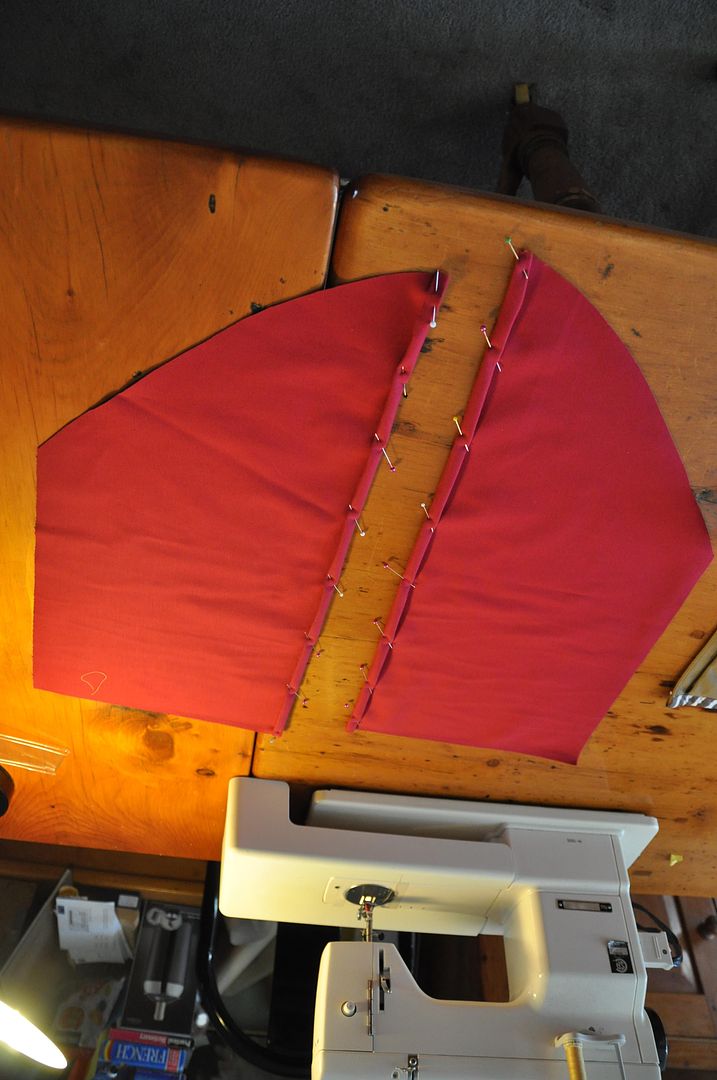
To make the leg wider I opened up the front of each pant leg and added in a pleat on each. I flared each pant leg out more as well. This way, it still fit nicely at the butt, but the legs would pouffe out a bit.

When I was satisfied with the changes to the pattern I cut and sewed the pieces.  I started with the pleats on the front, then the side seams. Then I partially closed the crotch seam and finished the inner seams.
Next I added my waistband. The pants front closure was a bit tricky. I decided I wanted laces rather than doing a fly-front... even though it isn't even visible, I wanted authenticity. hahaha I had to reinforce the edges where I put the holes, and add a modestly panel so you can't see my underwear through the gaps in the lacing. But in the end it worked well.

Lastly I finished the cuffs by cinching them and then adding on a strip of fabric that I had closed to be a circle.
I can definitely say that the base outfit for this costume is very comfortable.

Wednesday, September 4, 2013

Kero & Suppi - Shirts & Shorts - Cardcaptor Sakura

This is the first part of my documentation for our Kero and Suppi gijinka costumes! (Or Keroberos and Spinel Sun if you want to get technical...) These are characters from my one of my favourite animes CardCaptor Sakura! This was the first anime I watched in Japanese with subtitles, and one of the first boxsets we bought. :D

This is my second time wearing a gijinka costume, but my first one making one myself! I had a lot of fun making these, particularly working with such bright contrasting colours. I got to try some new things on this project--namely tails and ears.

I got some nice photos thanks to Mike from EleventhPhotograph. We took a couple pics in the big candy store on the harbour!

For those of you unfamiliar with the term, a "gijinka" costume is essentially a humanization of an animal character.

This project is a collaboration with my sister Alex, of Alex Boake Illustration who did the very cute design. It's sort of inspired by the outfits in the 3rd ending song "Fruits Candy". Lots of fun working on these!

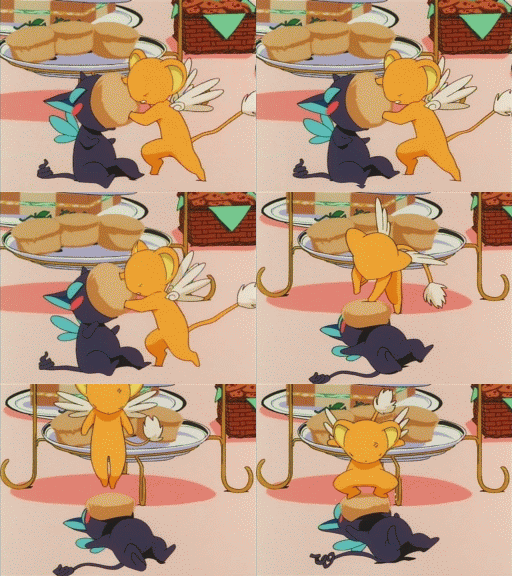
These gijinka costumes were based on the characters' "little" forms. FYI I love this gif... It reminds me of how I felt stuffing the foam into those wings...

But without further ado, let's get started!

I started first by washing all the fabrics, these costumes would be worn in a very hot place, so I thought it best that all clothing be washable. And since fabrics tend to shrink when you wash them (particularly cotton), it is always a good idea to pre-shrink your fabric before you cut anything. We opted to go a little more expensive with the fabric and bought quilting cotton, because it breathes really nicely. (Also it came in all the right colours, so that kind of sealed the deal.) The yellow and purple fabric were picked to match the wigs.
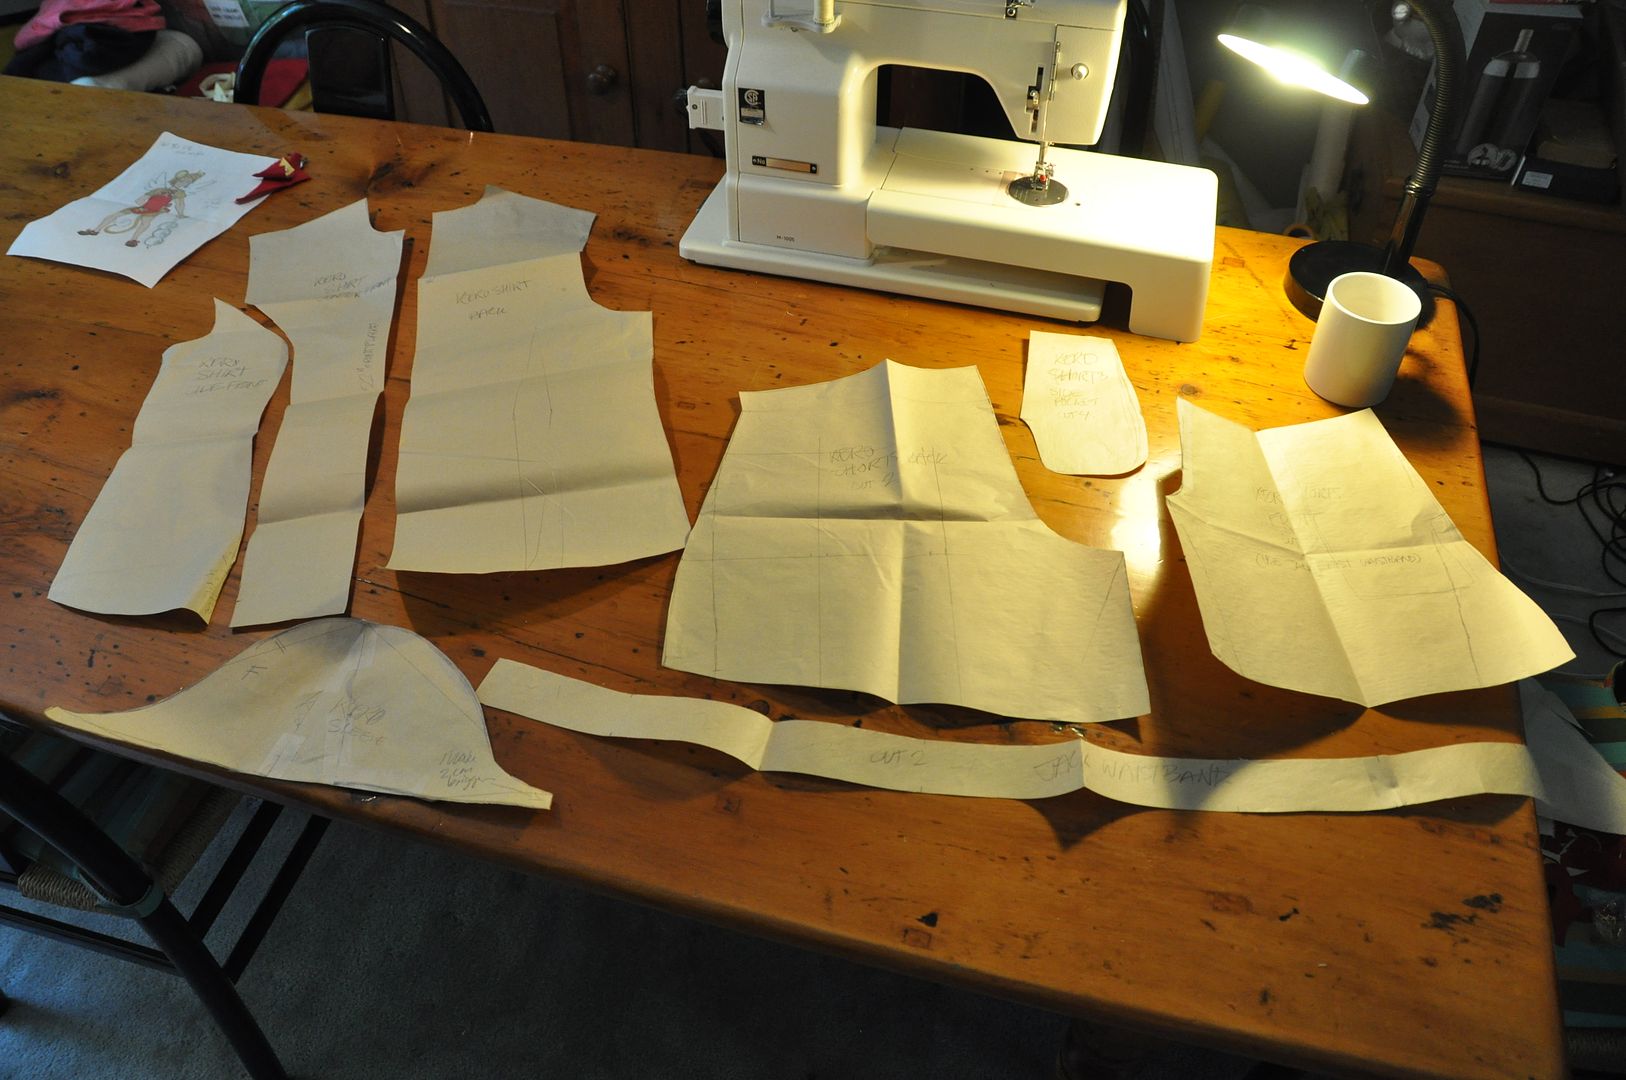
So I started by patterning the shirts and shorts. For the shirts I modified a basic block with a princess seam, widened the armholes a bit.

First I sewed up the back darts. Then I sewed the side seams, shoulders and front darts together.
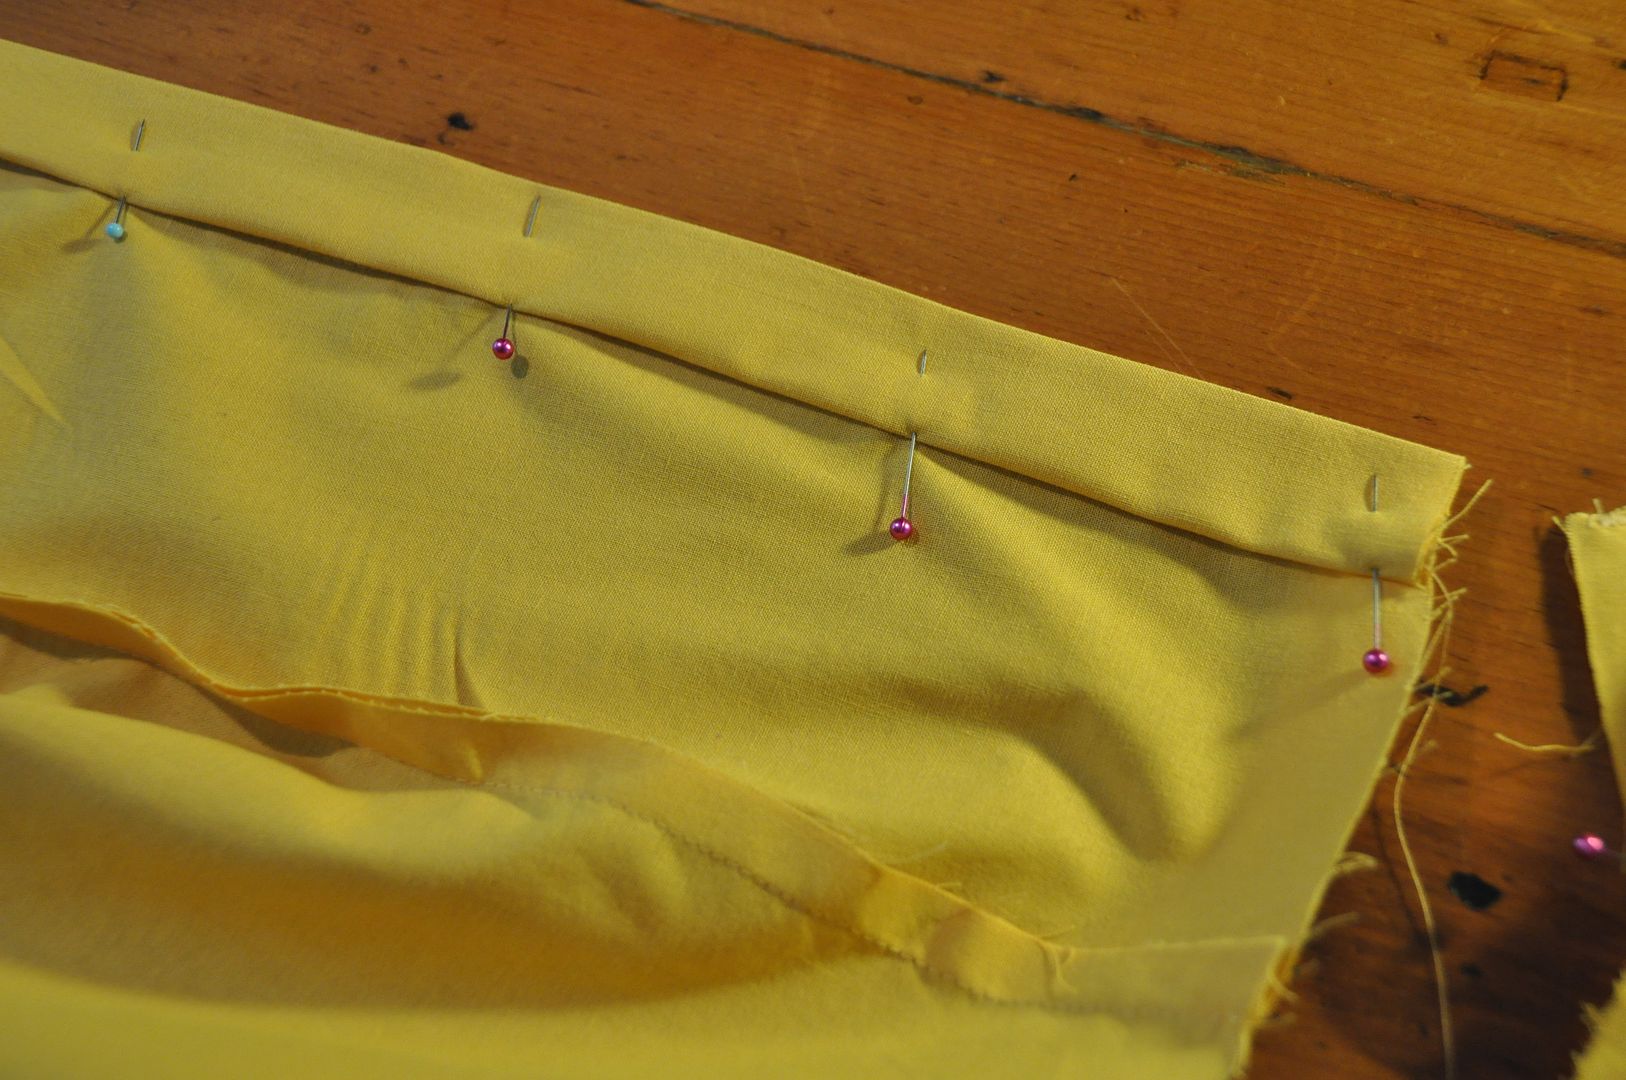
At this time I also sewed a placket to one side of the front overlap (this is where the button holes would go). It was a long strip with a fold ironed down the center. On one side of the fold it was attached right sides together with the left side of the shirt opening. Then I ironed the seam flat, and pinned the the other half of the strip to the inside, tucking the raw edge under (making sure it overlapped the seam). This was ditch-stitched in place from the front.

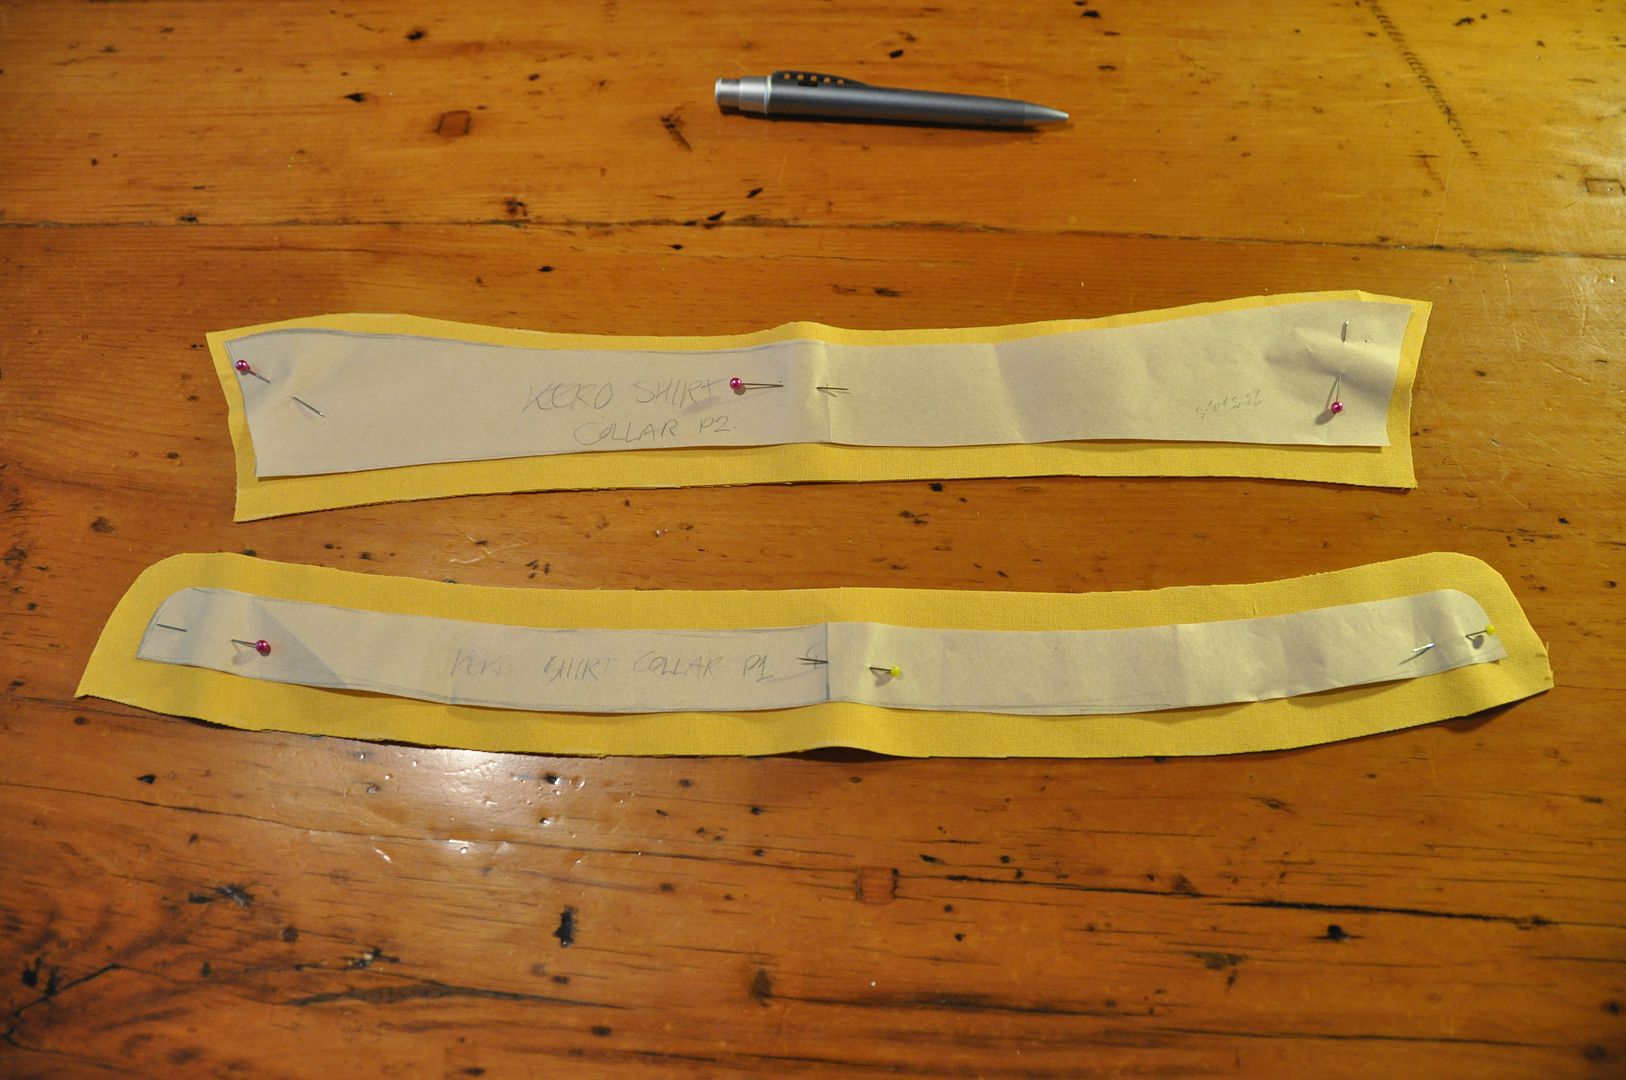
Then I patterned the collar. First the outer collar was sewn right sides together then clipped and flipped right way out. Then this piece was placed in between the 2 layers of the inner collar and it too was stitched together and flipped right way out.

One side of the open edge was sewn to the shirt, then the other edge was folded inside the collar and ditch-stitched in place. This left a clean finished collar.

Next I patterned the sleeves, I started with a normal sleeve pattern, which I then sliced up the middle and added a few inches of flair. To the edge of the sleeves I added a cute trim with a split near the front. This detail made the shirts a little more interesting.

The last thing was putting on the buttons and adding in the button holes.

----------------------------------------------------------

Now let's talk about the shorts. I decided that I should start making a habit of putting pockets in my costumes, because it seems like a logical thing to do! So Suppi and Kero both have pockets in their shorts. When making pockets just make sure that they are big enough to hold your average size cell phone (not those monster ones) and that the opening is large enough to slip your hand in. (Otherwise your pockets will be a tad useless...)

Since I don't really know how to properly pattern pants from scratch yet, I traced each of my pants patterns from existing pairs. I picked a pair of pants that fit me well at the butt and waist. This pattern I then modified to give the flair necessary to form the little bit of pouffe at the cuffs. I mocked these up in muslin first before I cut the good fabric.

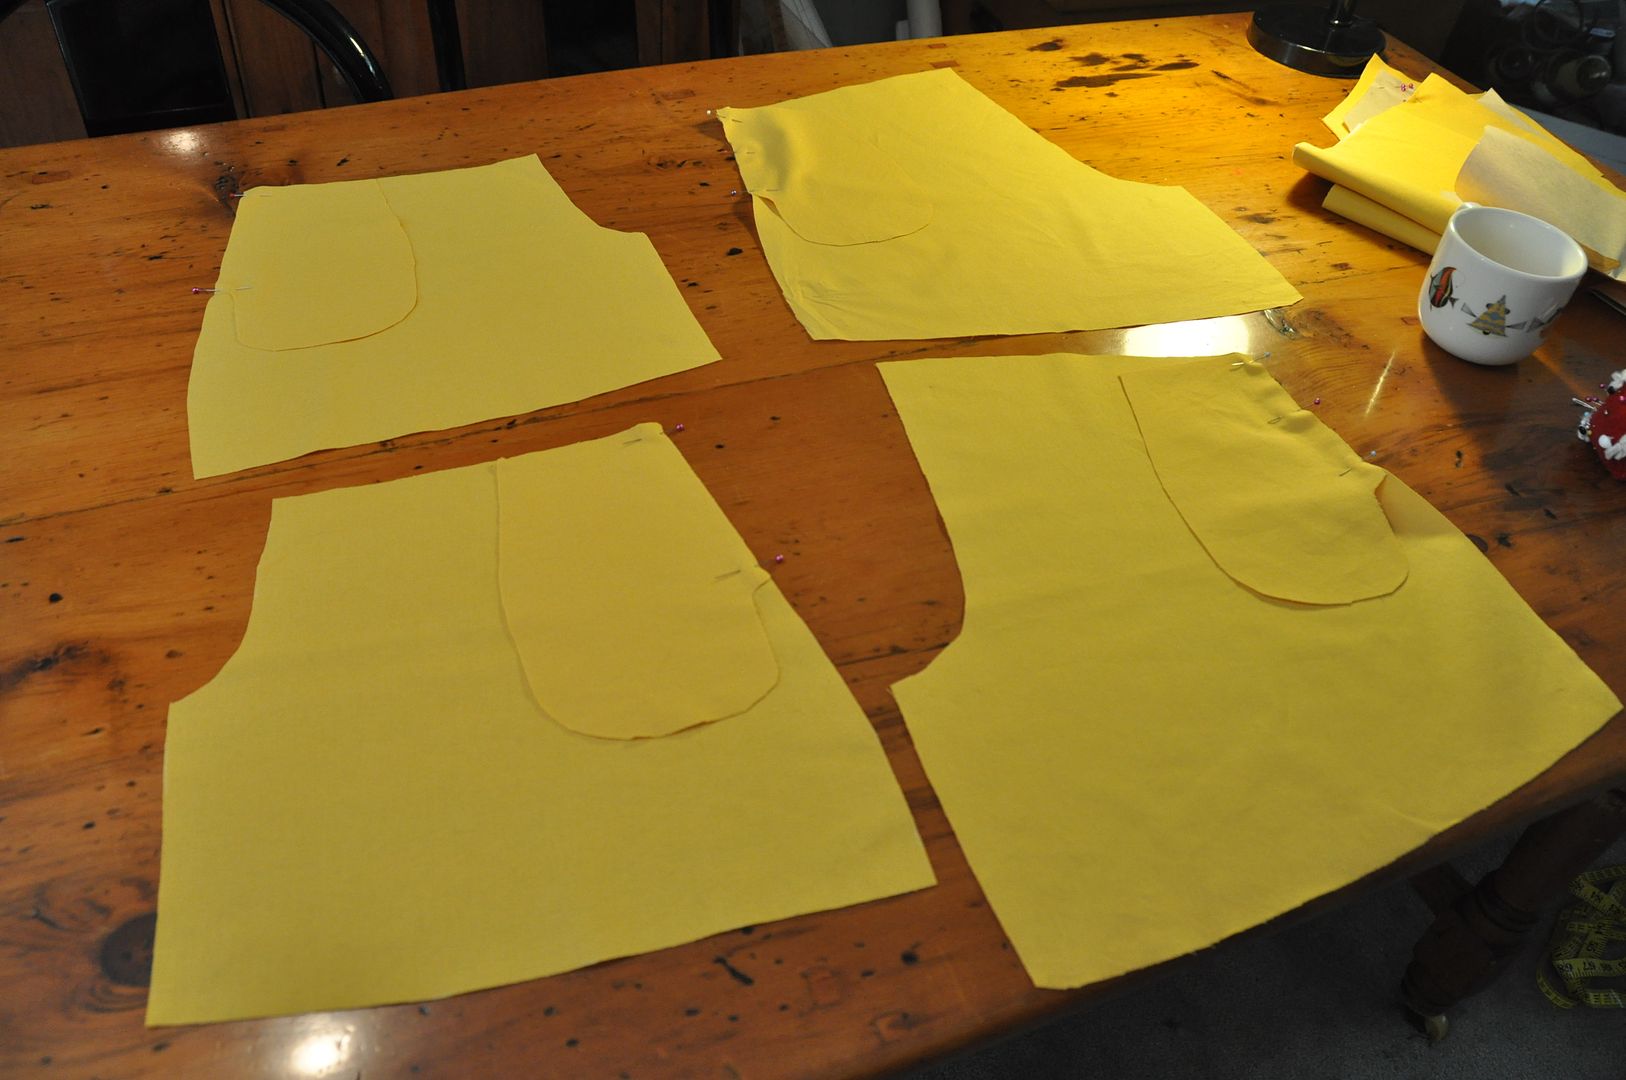
The process is essentially the same as the pockets on my Simple Gathered Skirt. I started by stitching each of the pocket pieces to the side seams. Making sure these were done to the correct sides so I would end up with a right and left pant leg, instead of 2 rights or 2 lefts. (If confused lay it out like I have in the picture above.) Then I pressed the pockets to the outside. (Before continuing it is best to finished the seam where you sewed the pocket to the pant panel, otherwise it will be difficult to do later.)


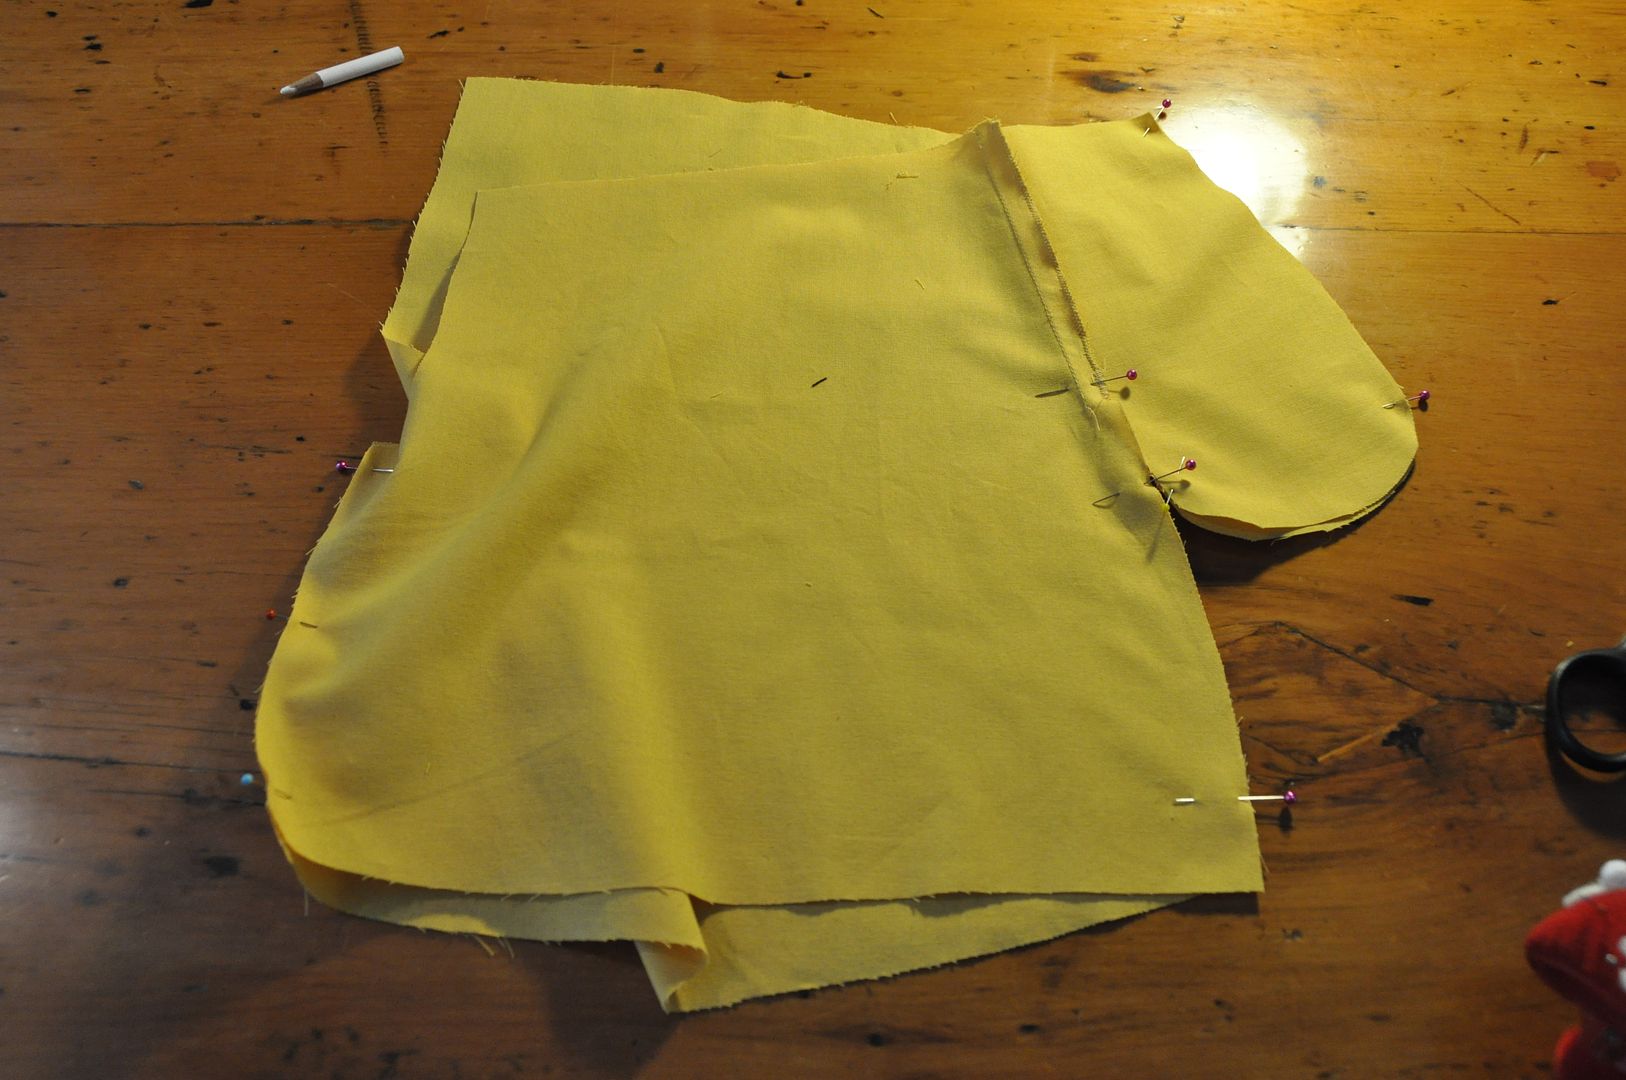
The next step is to stitch each side seam and pocket together. Go around the edge of the pocket, then turn and follow the side seam down. Then stitch together the inner leg seams. When you flip the pant leg right way out, the pockets will now be on the inside (like the picture below).
Then I sewed up the crotch seam, leaving the fly open. Then I made any adjustments necessary and finished off all the inside seams.
Then I made 2 pieces for the fly overlap. These were sewn to the outside. One would be flipped completely inside and tacked down, the other would be pressed flat so it would underlap the fly seam (if you are confused by this description, look at the fly on your nearest pair of jeans).

Then I made a slightly curved waistband. This was sewn right sides together along the top edge, then flipped right way out. Then it was sewn to the pants, the raw edge finished with a zigzag stitch then tacked down. I folded and finished the ends of the waistband.

For the pouffe I did a long basting stitch around the bottom edge of the pants (without backtack). Leaving the ends of the threads long I was able to grab hold of the bobbin thread and gently slide the ruffles on. I did my best to make the gathers even. The cuffs were simply rectangles made about 2" larger than the circumference of my thigh (so they wouldn't be constricting), folded over and sewn into a loop. I adjusted the size of the pouffy pant leg to fit the loop and sewed them together. This was don on the outside, then flipped down so the seam allowance would be on the inside of the pant leg. This was finished with a zigzag stitch.
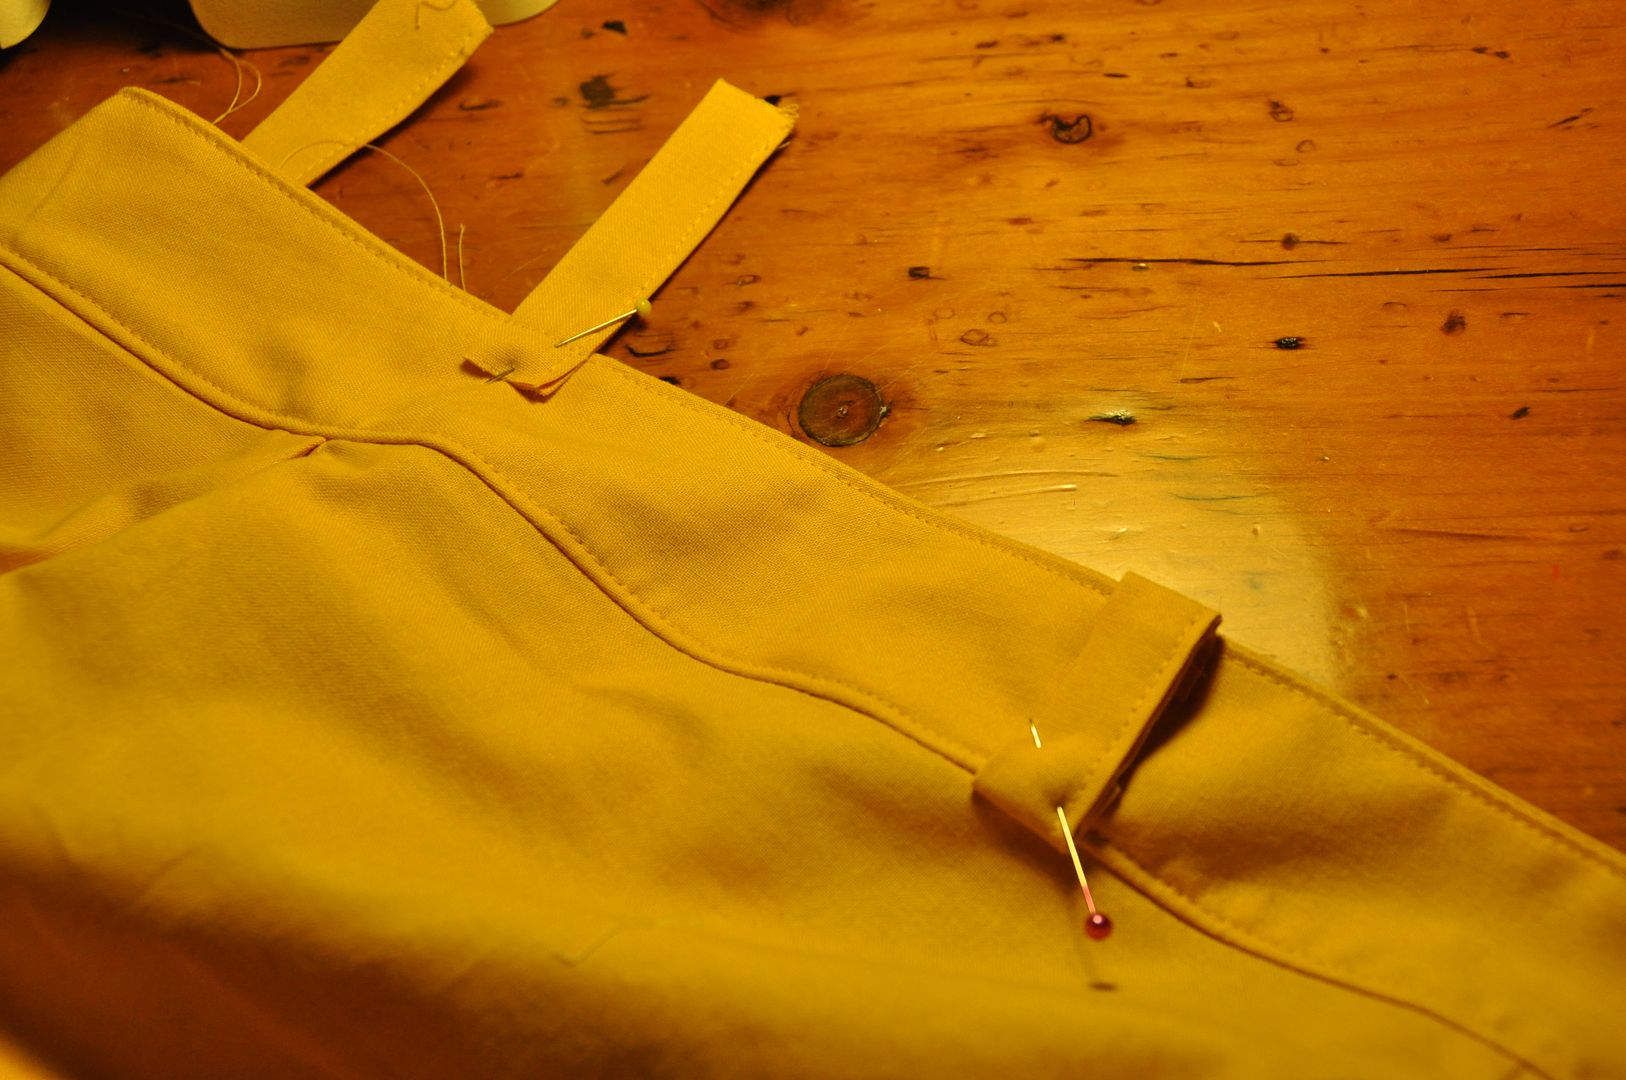
The fly was finished with Then I added belt loops. When spacing them, I had to make sure the back two were far enough apart for the base of the tail (about 6").
These clothes were very simple, and very comfortable to wear. I liked this costume a great deal for that. :D

Though this is more yellow than I ever wear in real life, because I don't look very healthy in the colour yellow unless I have a tan, which is only at the end of summer. Hahaha

Saturday, June 29, 2013

Asuna Kagurazaka (Knight) - Skirt - Negima

On to the third part of this in depth tutorial for my Asuna Knight costume: the skirt! I will be referring to this costume as the "knight", because I think it is her costume that looks the most like it belongs to a knight. This particular outfit was from the end of the Mahora festival story arc, when they were battling the robot army invasion, featured on the cover of volume 16 of the manga.

Go here to see the sword and wig! To see the rest of my fabulous photoshoot with EleventhPhotograph, go here!

This was actually the piece I started first (because it goes under a lot of things, and has a lot of detailing), but I finished it only about 1 day before the convention, the details being some of the last to be completed.

There was much thought put into colour matching on this costume. As the artist tends to use a lot of reds and pinks in his colouring (even white is shaded with pink) it can be difficult to interpret exactly what colours things should be sometimes. Keeping in mind that colours of bias tape can be rather limited, I decided to go with a very strong royal red, as it complimented the yellow bias tape the best. Also, while I was there I bought pretty much Fabricland's entire stock of yellow bias tape, as I wasn't sure exactly how much I needed... I still have several meters leftover!


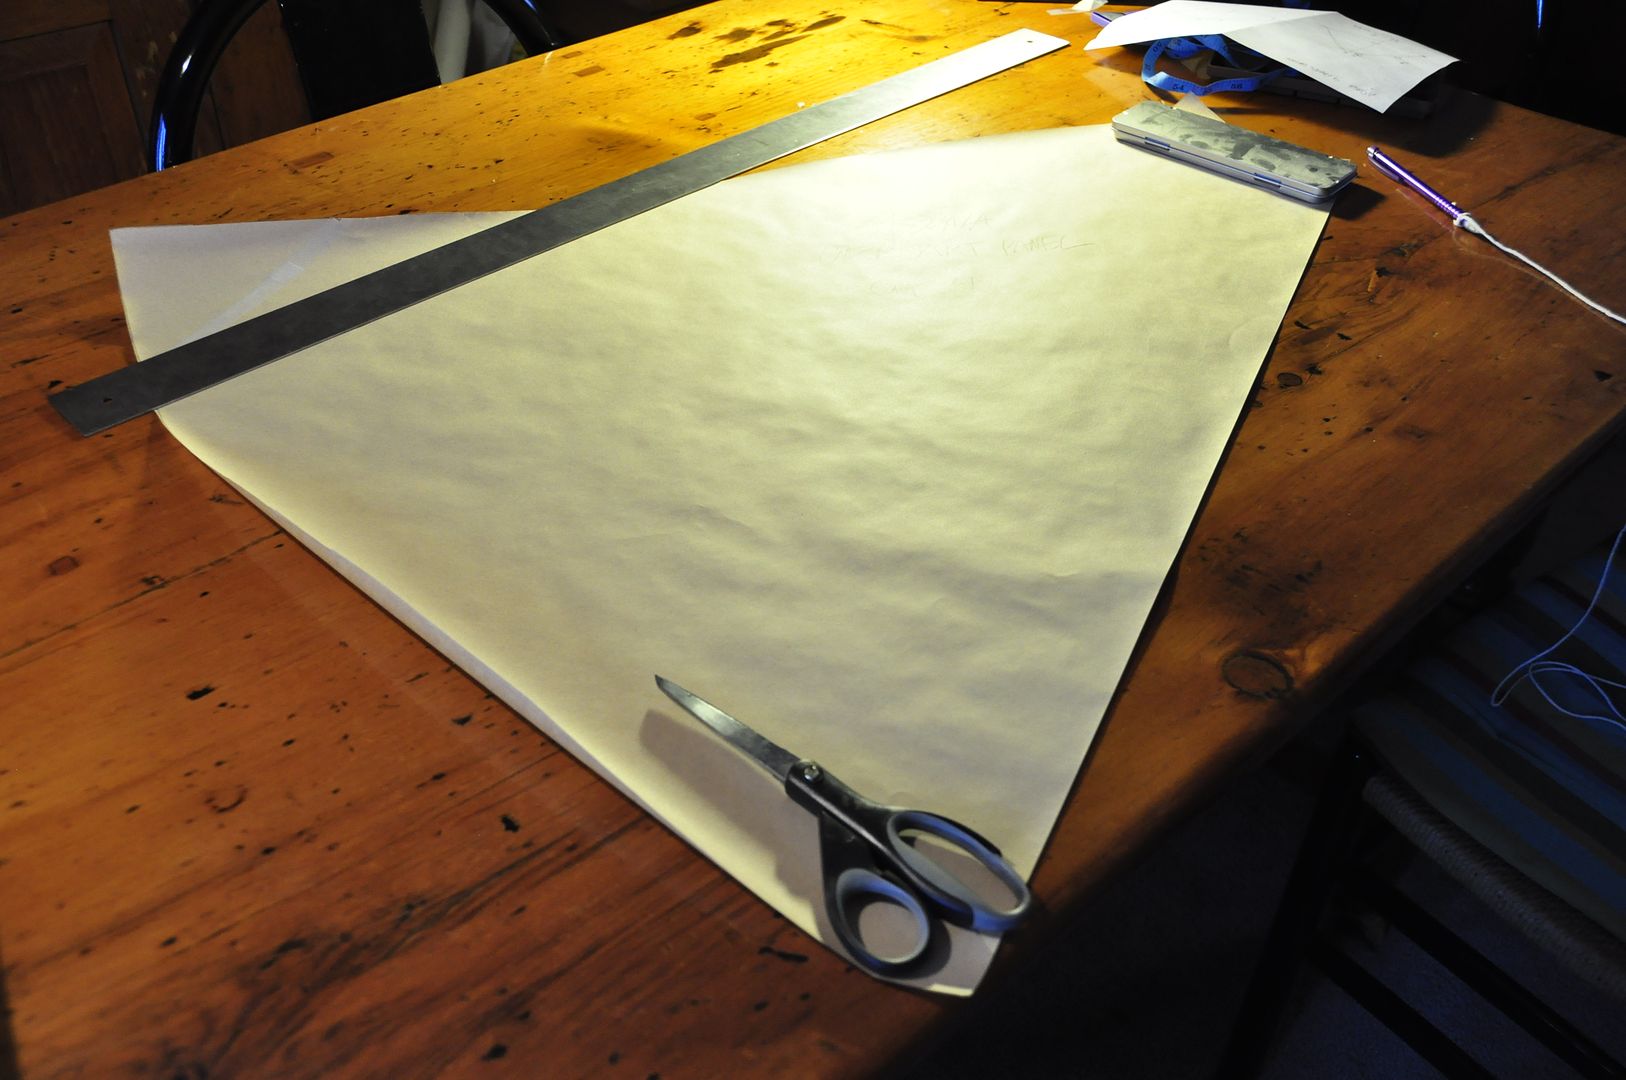
The main over layer of the skirt is a full circle skirt with a slice missing out of the front. The pattern was easy enough. First I determined the radius of a 30" circle (the waist height I wanted the skirt to sit at). I wanted the space at the front to be 6" wide, so I subtracted the 6" from 30", leaving me with 24". I divided the 24" into 4 equal panels. Using the radius (string taped to a point, tied to a pencil) I drew an arc that was 8" long. Keeping the tape at the same spot I added the desired skirt length to my radius and drew a second arc below the first. By using the string pulled tight, I marked the side seams based on where the string intersected with the ends of the 8" arc. This gave me the pattern piece pictured above. I then patterned the under pieces to the skirt, and drew a mockup of the emblem shape to determine sizing.

Then I cut out my pieces. Any of the edges that were to have bias tape added were not given seam allowance. For the 4 skirt panels 2 of them were given an extra rectangle of fabric in the seam allowance at the top left and right respectively. The extra fabric would go in the back seam and become the overlap for the skirt closure. 

I then sewed the 4 panels together. At the back closure overlap, I left the seam open. This would be where I added dome fasteners later. The overskirt was then ironed with the seams pressed to one side. The back closure area was also pressed to one side. I then finished all inner seams with a zig-zag stitch. 

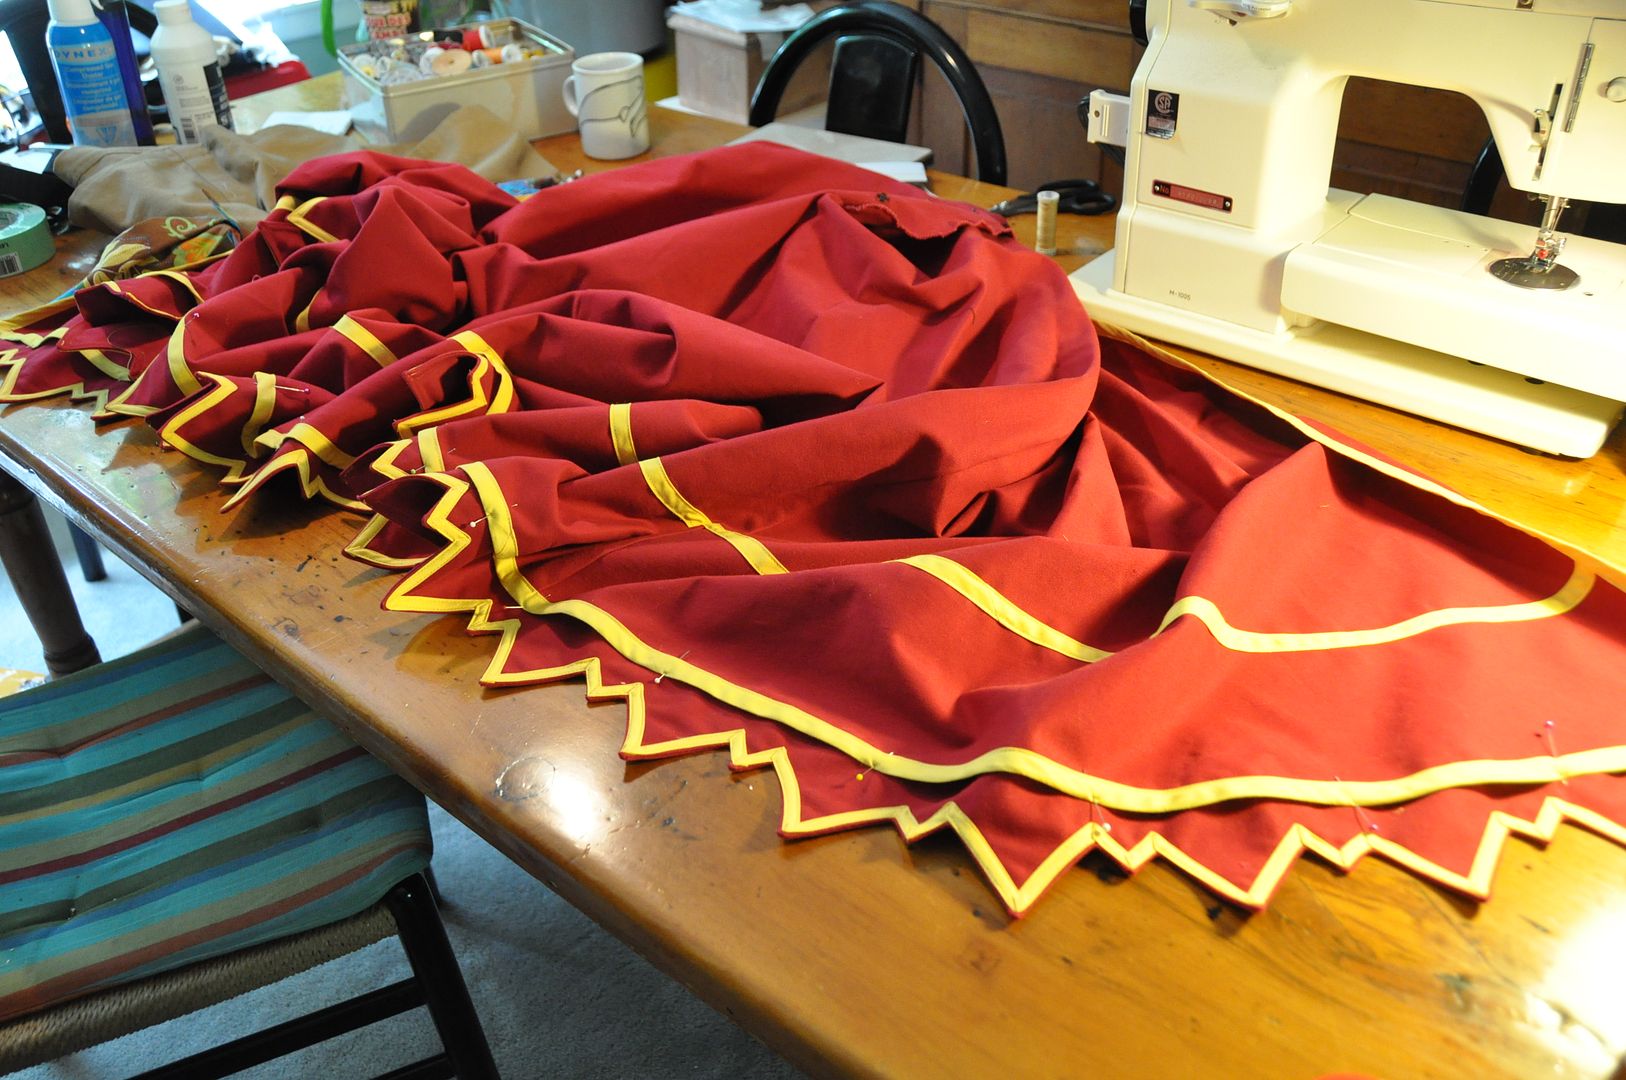
First I added the stripe 4" above the bottom edge. This was measured and marked to ensure it was at the right height (and not crooked) before top stitching it on. Then I added my bias tape to the edges of the overskirt.

I used a 1/2" (double-fold) yellow bias tape for the overskirt and a 1/4" bias tape (double-fold) for the edge detailing on the rest of the pieces.

I finished the side edges on the 2 sloped under panels. The edge furthest from the opening was simply rolled over and stitched, the other edges that were actually visible were finished with a bias tape.


I added my bias tape to my under pieces, being careful at the corners (the most difficult part of bias tape).

The main parts of the panels were now done. They looked great laid out together.

This may sound strange, but I actually find it easier to sew on bias tape without pinning it in place. I stop frequently to ensure my edge is properly aligned, and I come to a full stop every time I reach a corner, but otherwise I find it easiest to do it this way.

I sketched up my detailed version of the emblem.

I began work on the under most layer of the skirt, the sheer layer. This piece didn't actually make it to be a part of the final costume, as after I finished it I felt it detracted from the costume more than it added. It was made to be slightly shorter than the over skirt, with 5 thinner panels forming a full circle. The overskirt pattern was used to make these.

The first thing I did for the emblem was to put in the black background and border. I carefully measured and marked out the exact placement of the corners so that it wouldn't be crooked. I first placed down the black piece (same black fabric as my bodice), and then top stitched the bias tape around.

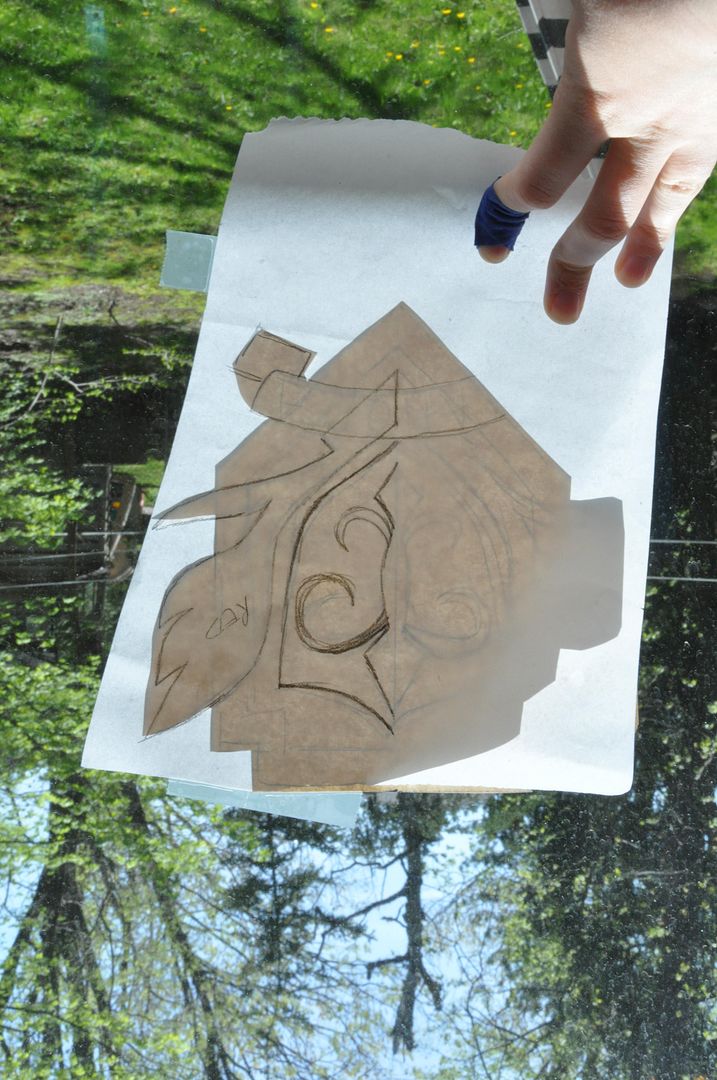
For this piece I carefully studied the reference picture to determine what overlapped with what, so I could determine the order in which the pieces had to be added. In order to make it symmetrical I traced half onto a piece of paper (using a window and some tape), folded it in half on the center line and cut out the pieces.

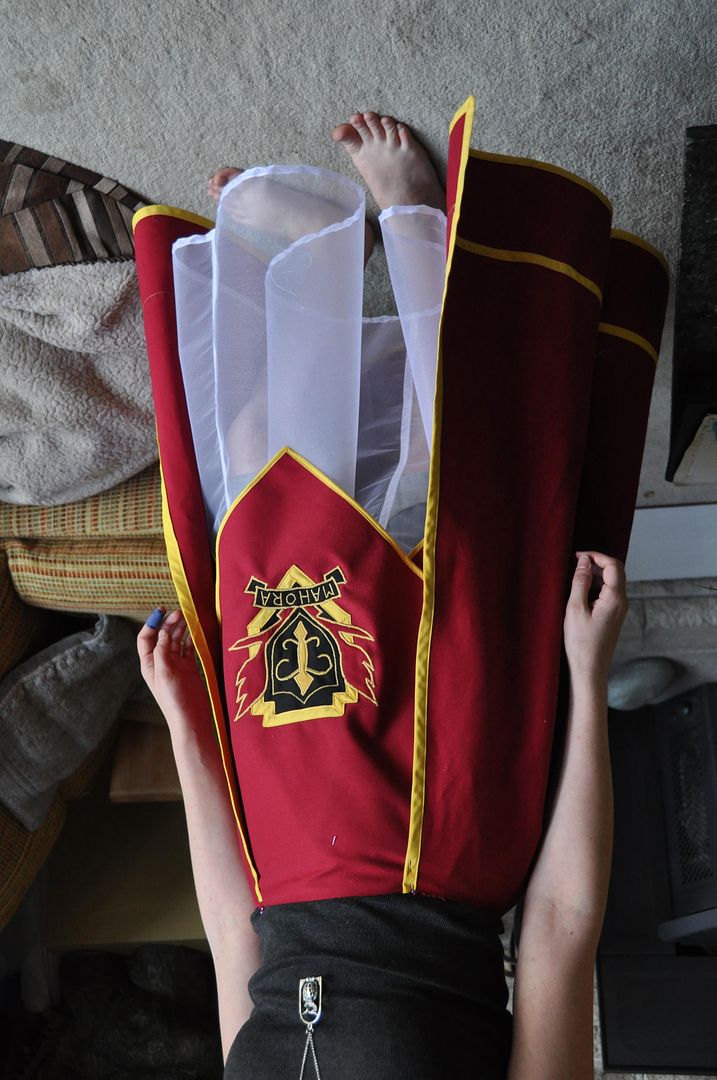
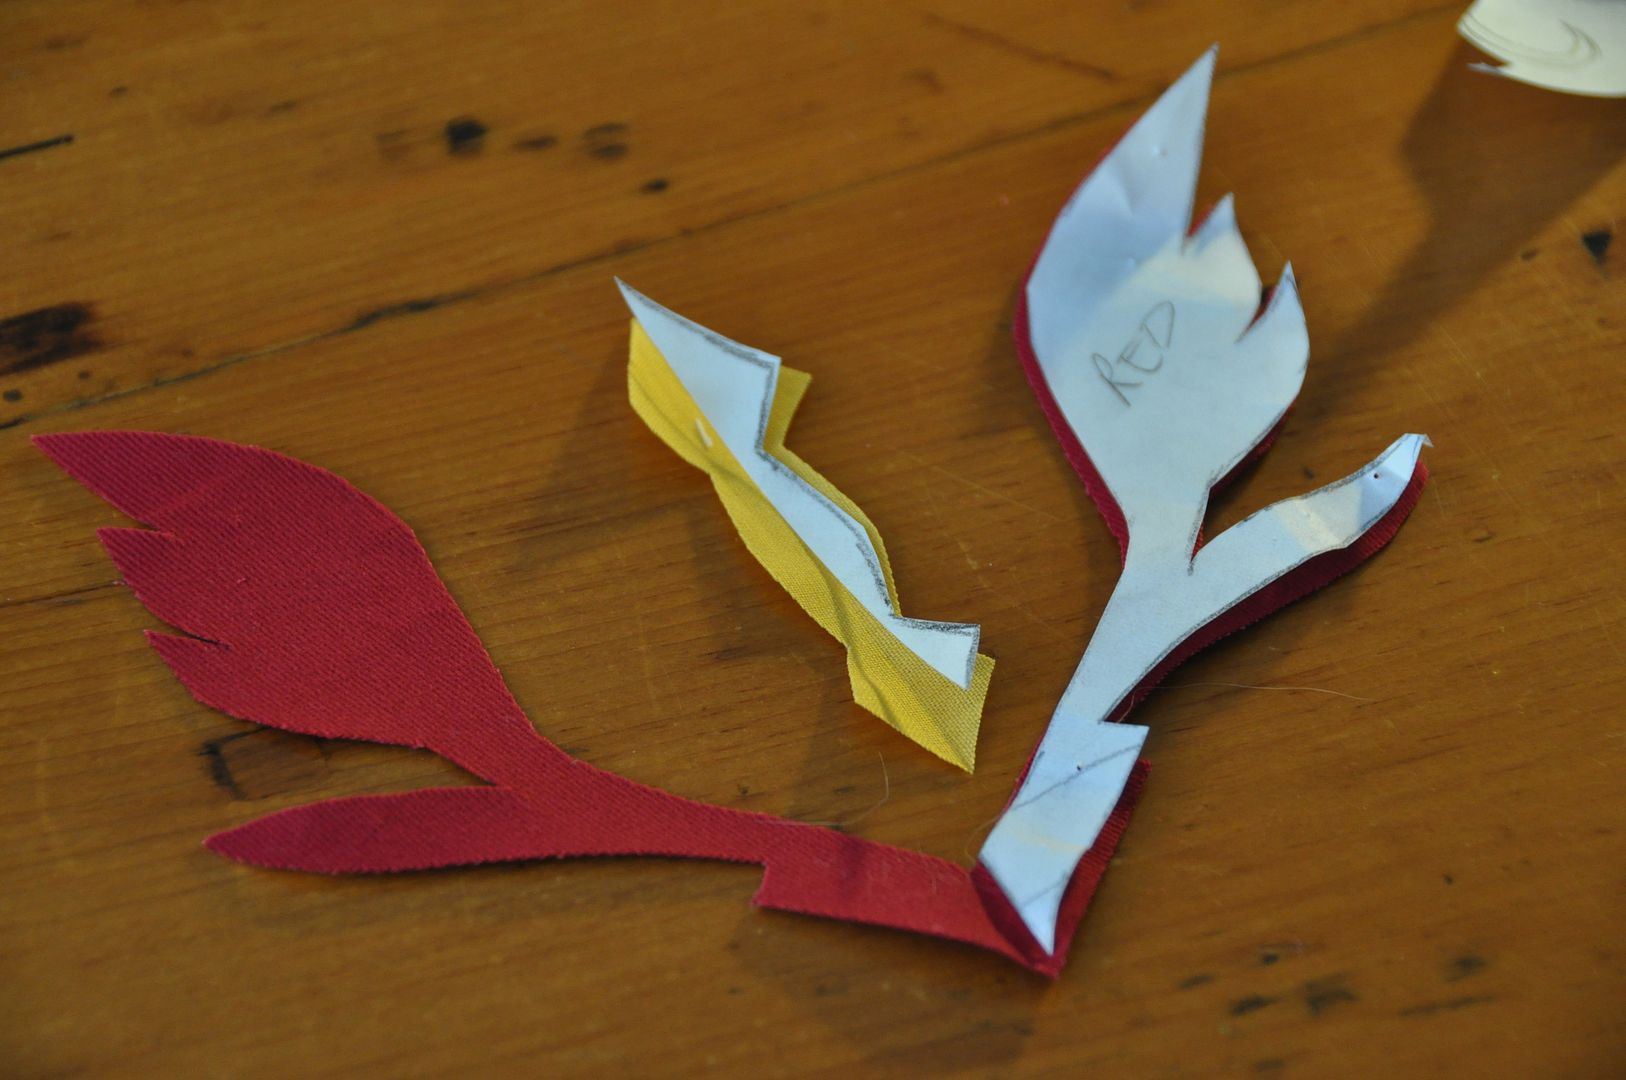
The first piece to be added was the red "wings", followed by the inner crest shape, the banner and lastly the word "Mahora". The cutouts were all carefully appliquéed in place with a tight zig-zag stitch. This embroidery was not so much difficult as it was finicky and time consuming. This emblem took a few hours to do, as even though it was done on a machine a good portion of the design was hand-turned.

The  crinoline underskirt was stitched together with french seams, the top and bottom edges finished with a thin whit ribbon. It was left partially open on the back seam which is where the closure would be. The idea is that this piece would be hooked into the overskirt, but also be removable.
You can see how they looked together below.

In order to make the under panels hang better I added in darts near where they would attach to the waistband.

I made a foldover waistband. Carefully pinning the pieces in place where I wanted them, I stitched the panels to the waistband, then folded it over and ditch stitched it in place.

Using a great deal of math I had to figure out how many complete triangles I could fit around the bottom edge of the skirt. The problem was that I had to alternate large and small... making the math significantly more complicated. Not sure exactly how I did it, but it was much easier to do all that division in centimeters.

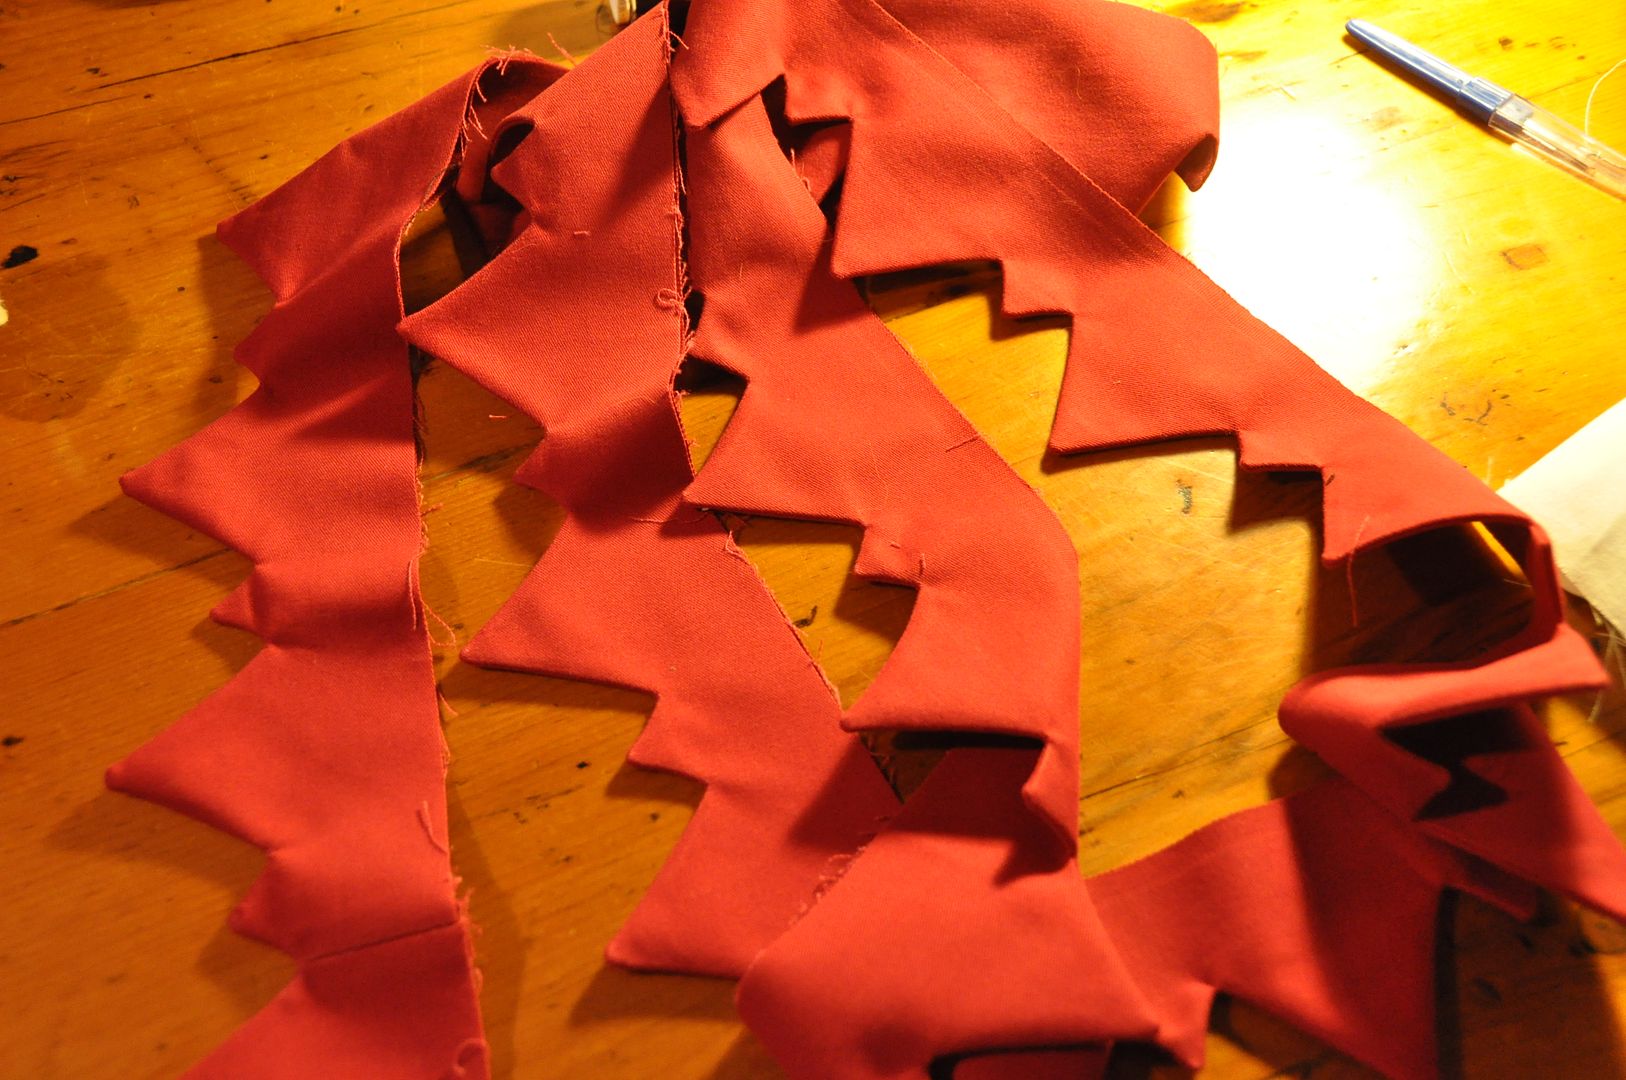
I made my triangle strips and stitched them right sides together.
I was very thankful for my friend Alli's help at this point because she was the one who clipped all the excess fabric in the corners and turned it right way out. I can tell you, it took hours! (I never would have had the time to do it.)
I then painstakingly top stitched the yellow bias tape to the triangle trim. (It was important to do this before attaching the triangle trim to the skirt otherwise it would have been made 10 times more difficult in terms of moving the fabric around and through the machine!) As it was, I had to come to a full stop and set up each corner separately.

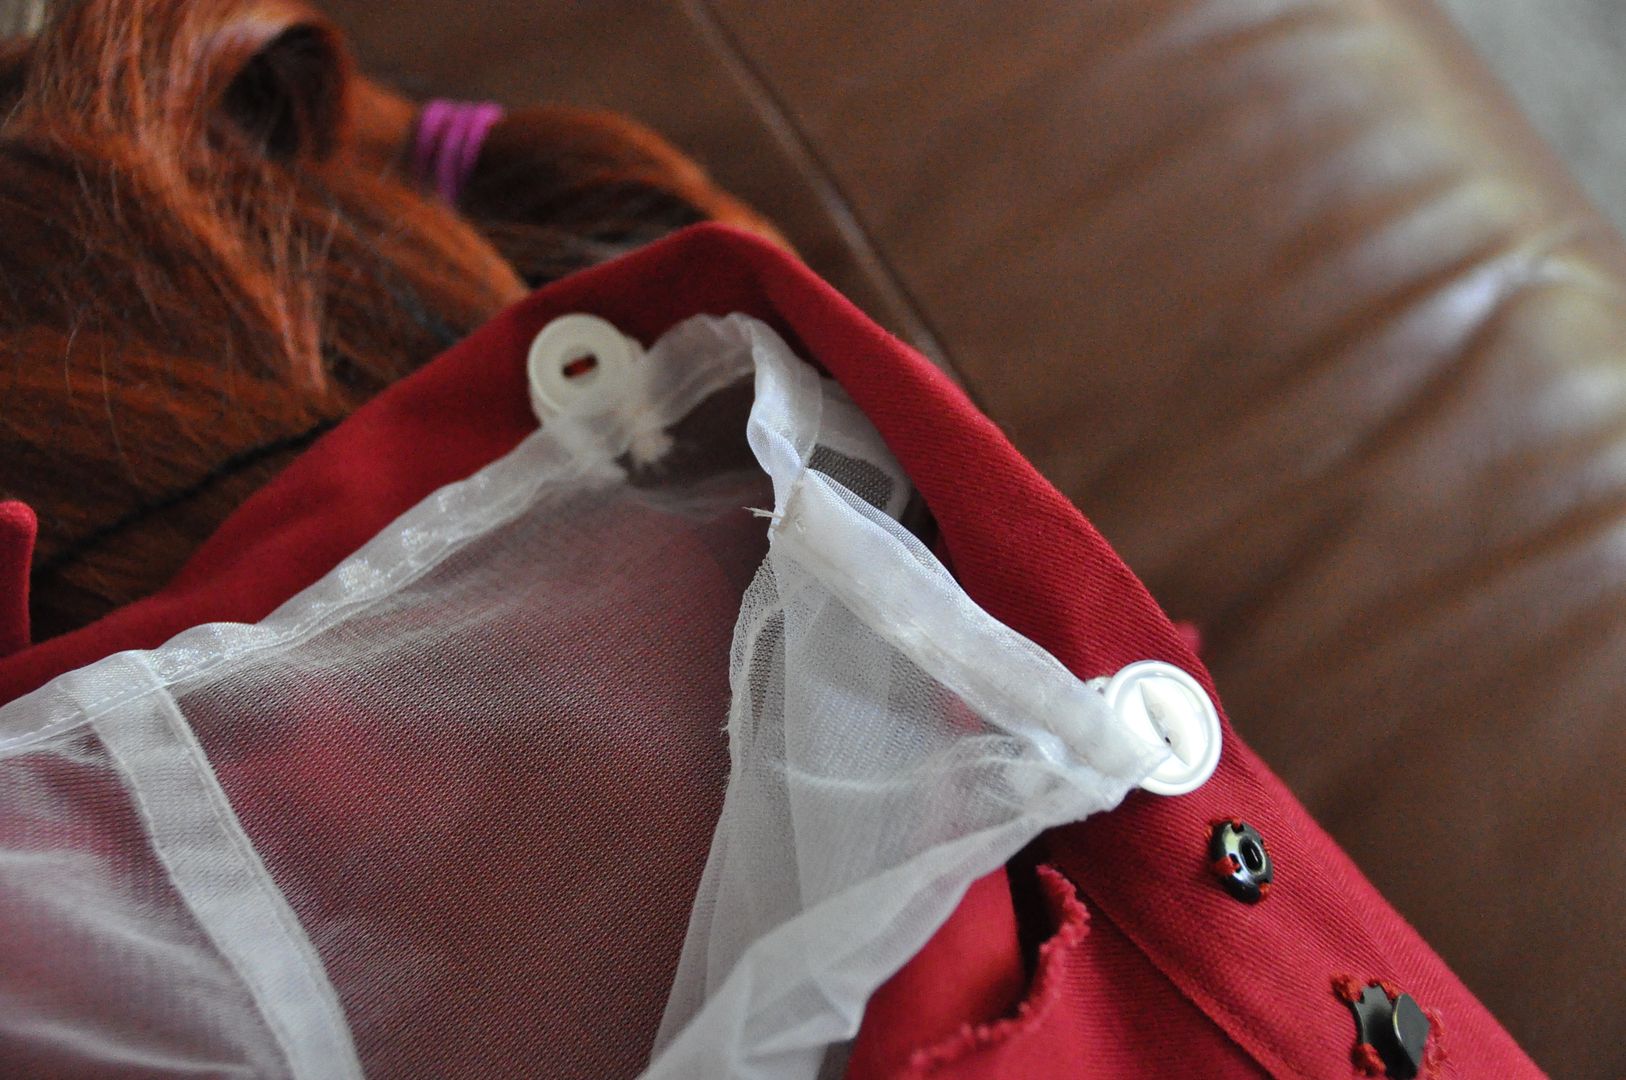
Meanwhile, Alli made the underskirt attach via buttons and loops on the inside. I'm regretful that it didn't make it to be part of the final costume, but such is life. My biggest problem with the piece is that it wasn't see-through enough, and it really obstructed the armour on the legs, which was much more important design wise.
The last part was to attach the triangle trim to the inside of the overskirt. The unfinished edges of the trime were first tucked inside the trim and stitched in place. Then the edge of the trim was aligned with the to line of stitching on the bias tape (with a little overlap). Using yellow top thread and a red bobbin I re-stitched over the bias tape stitch line, attaching the trim in a way that was virtually invisible from the outside.
The skirt itself was great to wear, except at particularly windy moments when it got tangled around my legs and made it difficult to walk.

This is probably my favourite of all of Asuna's costumes. It's a shame that this story arc never made it to the anime. Asuna may not be my favourite character, but man does she have some great outfits!