Showing posts with label illustration board. Show all posts

Tuesday, December 9, 2014

Set Model - My Fair Lady


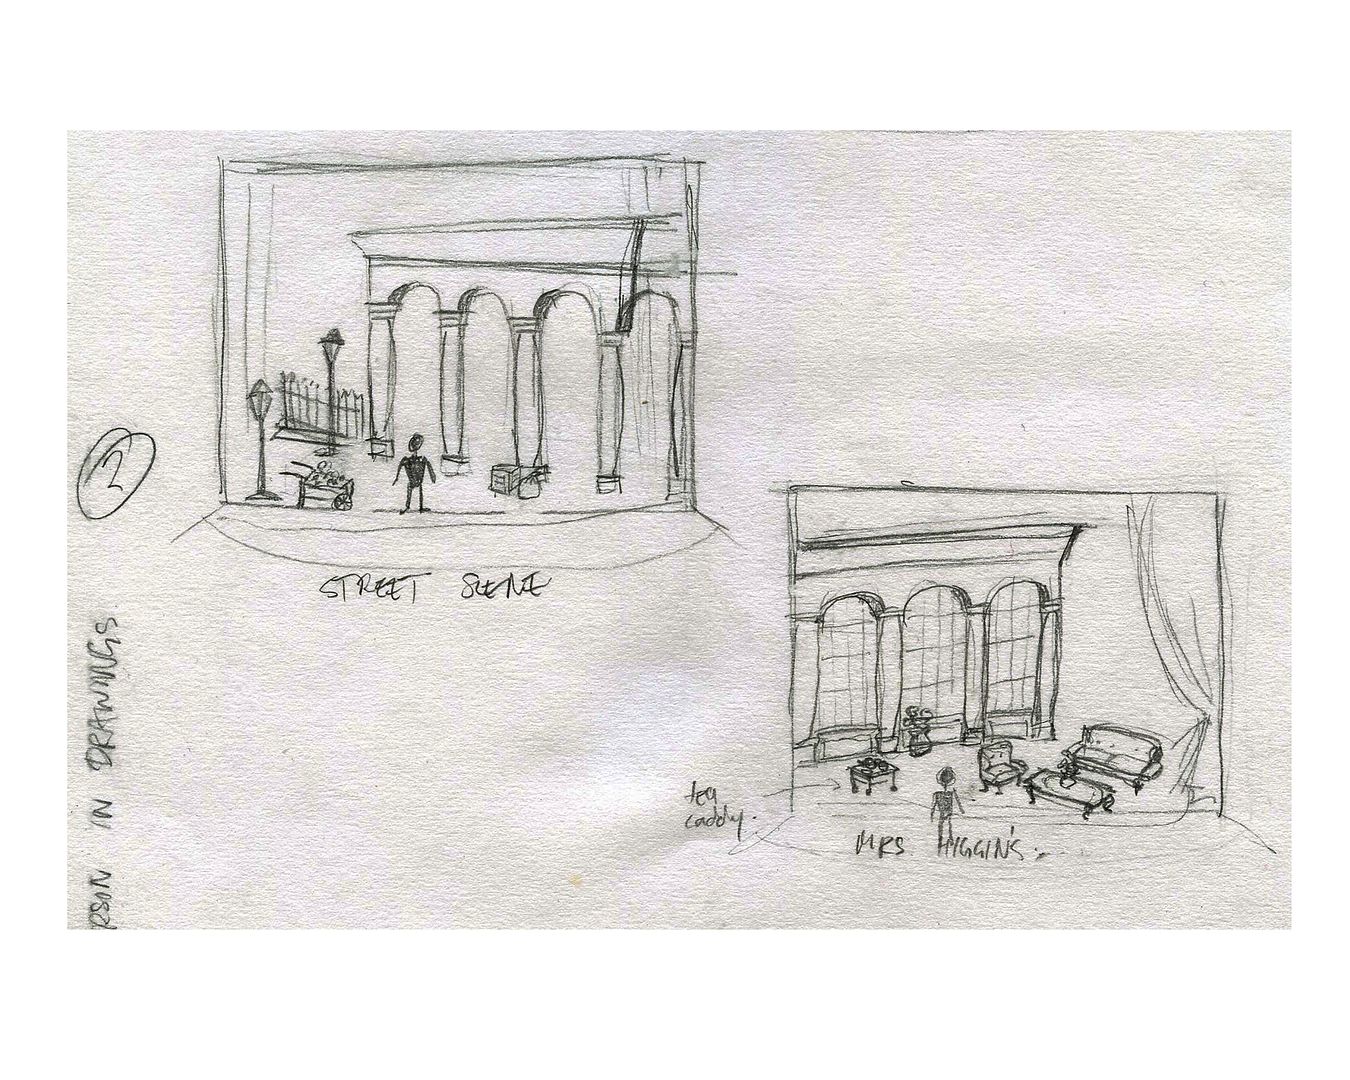
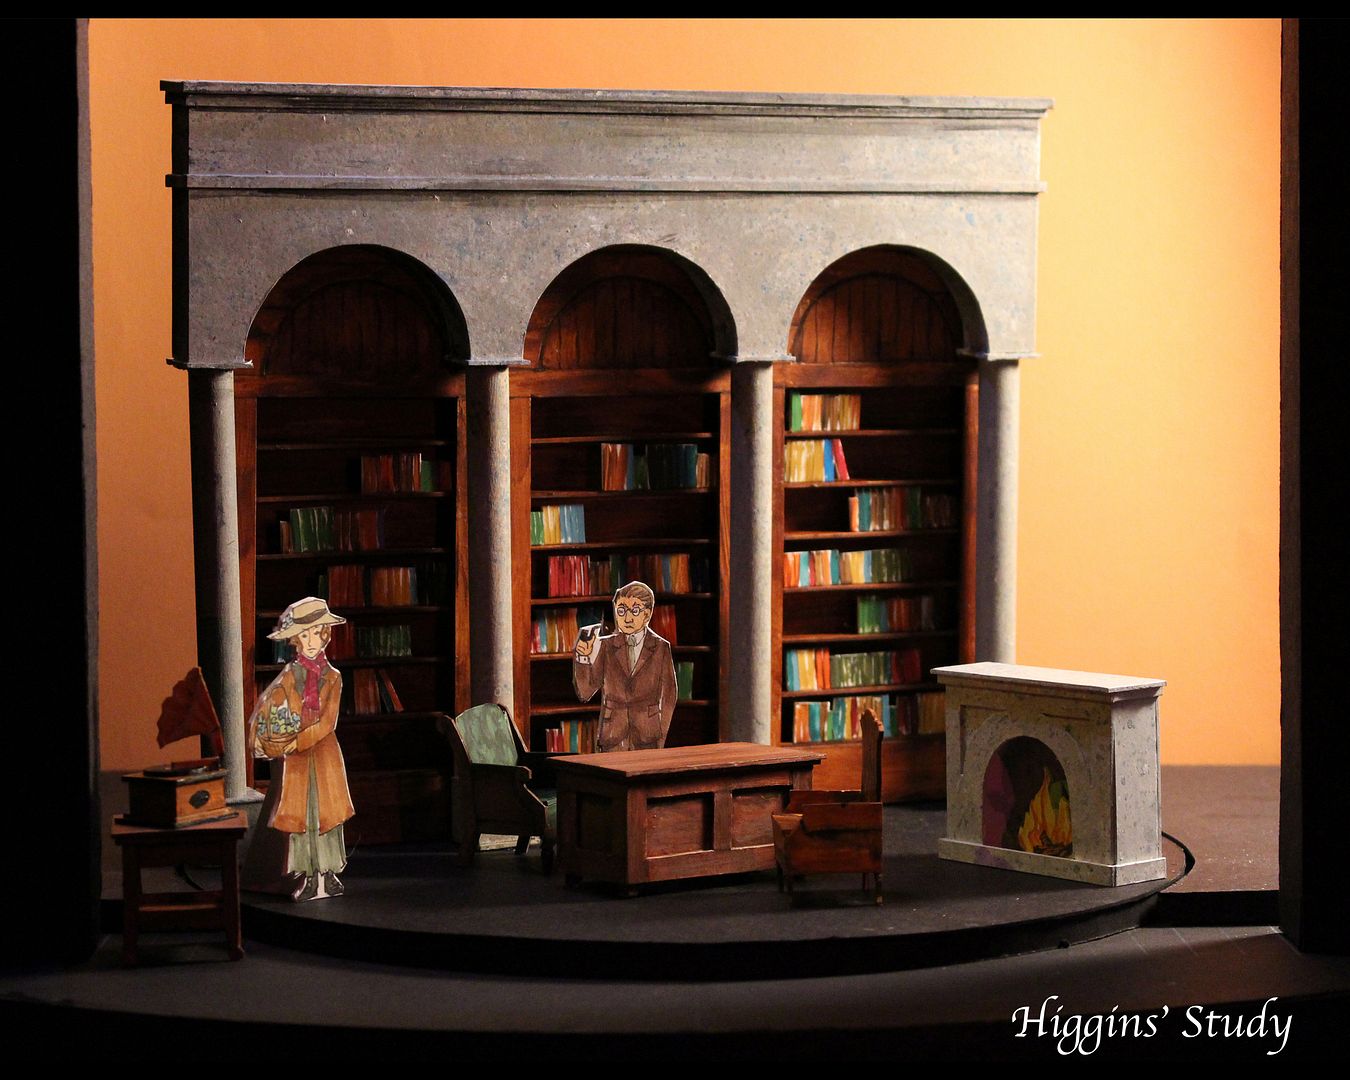
This is a project I finished and presented last week for my set design class. It is a scale model of my set design for the musical My Fair Lady by Alan Jay Lerner and Fredrick Loewe (based on the Pygmalion by George Bernard Shaw).

The model box is made of foam core and black matte board. The set itself is constructed primarily with illustration board, but also some wooden dowels, clear plastic (from folders I got at the dollar store) and muslin for the little burlap sacks.

The whole thing is painted with acrylic paints. And made me really glad I took that scenic painting class last year. Otherwise I would have no clue how to paint stone or wood properly...

 I've set the play in the original time period/location of around 1912, London, England. I did lots of research on the city and the architecture of the time period. I wanted to to something that reflected the design aesthetics of the late 1800's to early 1900's. Because even if you set a play in 1912, not all the buildings and furniture would be brand new--I mean we still have furniture from the 70's in my house!

The archway is the centerpiece of the design, onstage for the entirety of it. It sits on a turntable that allows it to rotate to create different locations/scenes both indoors and outdoors. I was inspired by both the architecture of London, as well as the woman's silhouette in the costume of 1912.

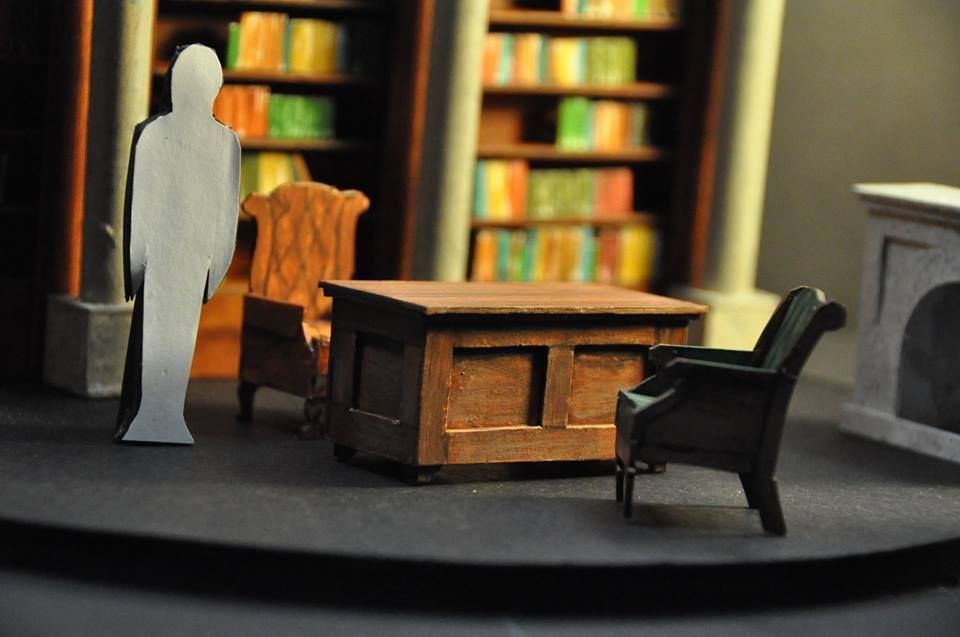
This set was Higgins' office and could be used for all the interior scenes in Professor Higgins house.  Higgins' office had the most complicated pieces to build. It took a long time to make all the tiny furniture. Everything is constructed at 1/2"=1'-0", meaning the seats of the chairs are only about 1" wide. The bookshelves are rolled in and set up behind the archway for these scenes.


 This configuration is for the street scenes such as the musical numbers "Why Can't the English?", "Wouldn't it be Loverly?", and "With a Little Bit of Luck".

This configuration would be used for the scenes outside of Higgins house like "On the Street Where you Live" and "Show Me".  It reuses elements of the street scene set pieces. 

There are a few other scenes I designed, such as the ball and the racetrack, but those were not built for the project as I ran out of time and energy. The ball would have had the arch centered at the back with drapes hung behind and at the side of the stage. The racetrack would have had the same placement except no drapes, instead using the fences at the back and cafe tables in front. The racetrack scene is by far my favourite scene in the whole play.

Overall I am really proud of the finished result. :)

Tuesday, November 5, 2013

Asuna Kagurazaka - Harisen (Paper Fan) - Negima

The much more compact and travel worthy version of her giant sword! This prop was made in record breaking time with whatever leftover materials I had on hand as a sort of last minute prop idea. The weapon really helps make the character more recognizable.

I had been debating whether or not to bother making it at all, seeing how I already had a weapon for this character. However as much as I love the sword form, it's really heavy and I couldn't take it to the States because it is just too large to fit in the car. So I made this the day before I left, entirely from scrap materials. Not bad for a rush job, eh? ;D

For anyone who doesn't have the confidence, time or materials to make her sword, I highly suggest making the harisen (fan) as it is a great beginner level prop, and it doesn't cost much to make!

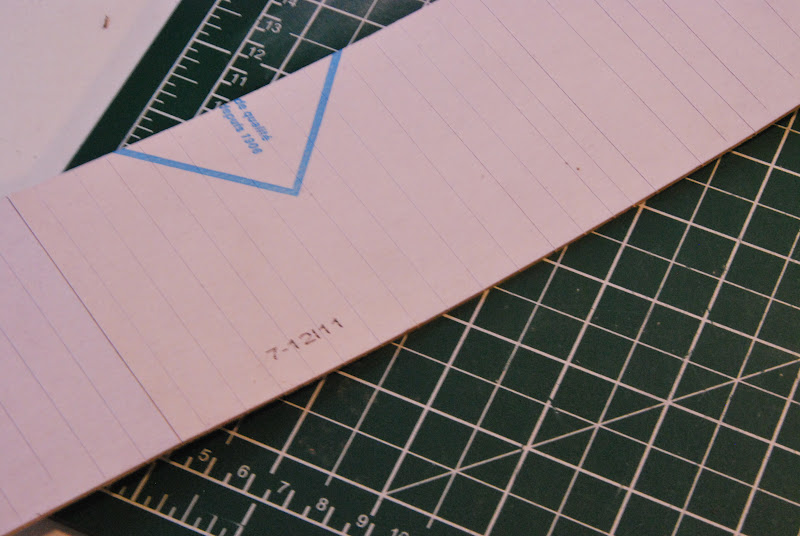
I cut out 4 pieces of illustration board that would be the fan. (Ideally I would have liked to have more, but I only had this much board left.

I taped them together in an accordian pattern. Using a marker I neatly wrote the inscription "Ministra Magi Asuna" on the outward faces.
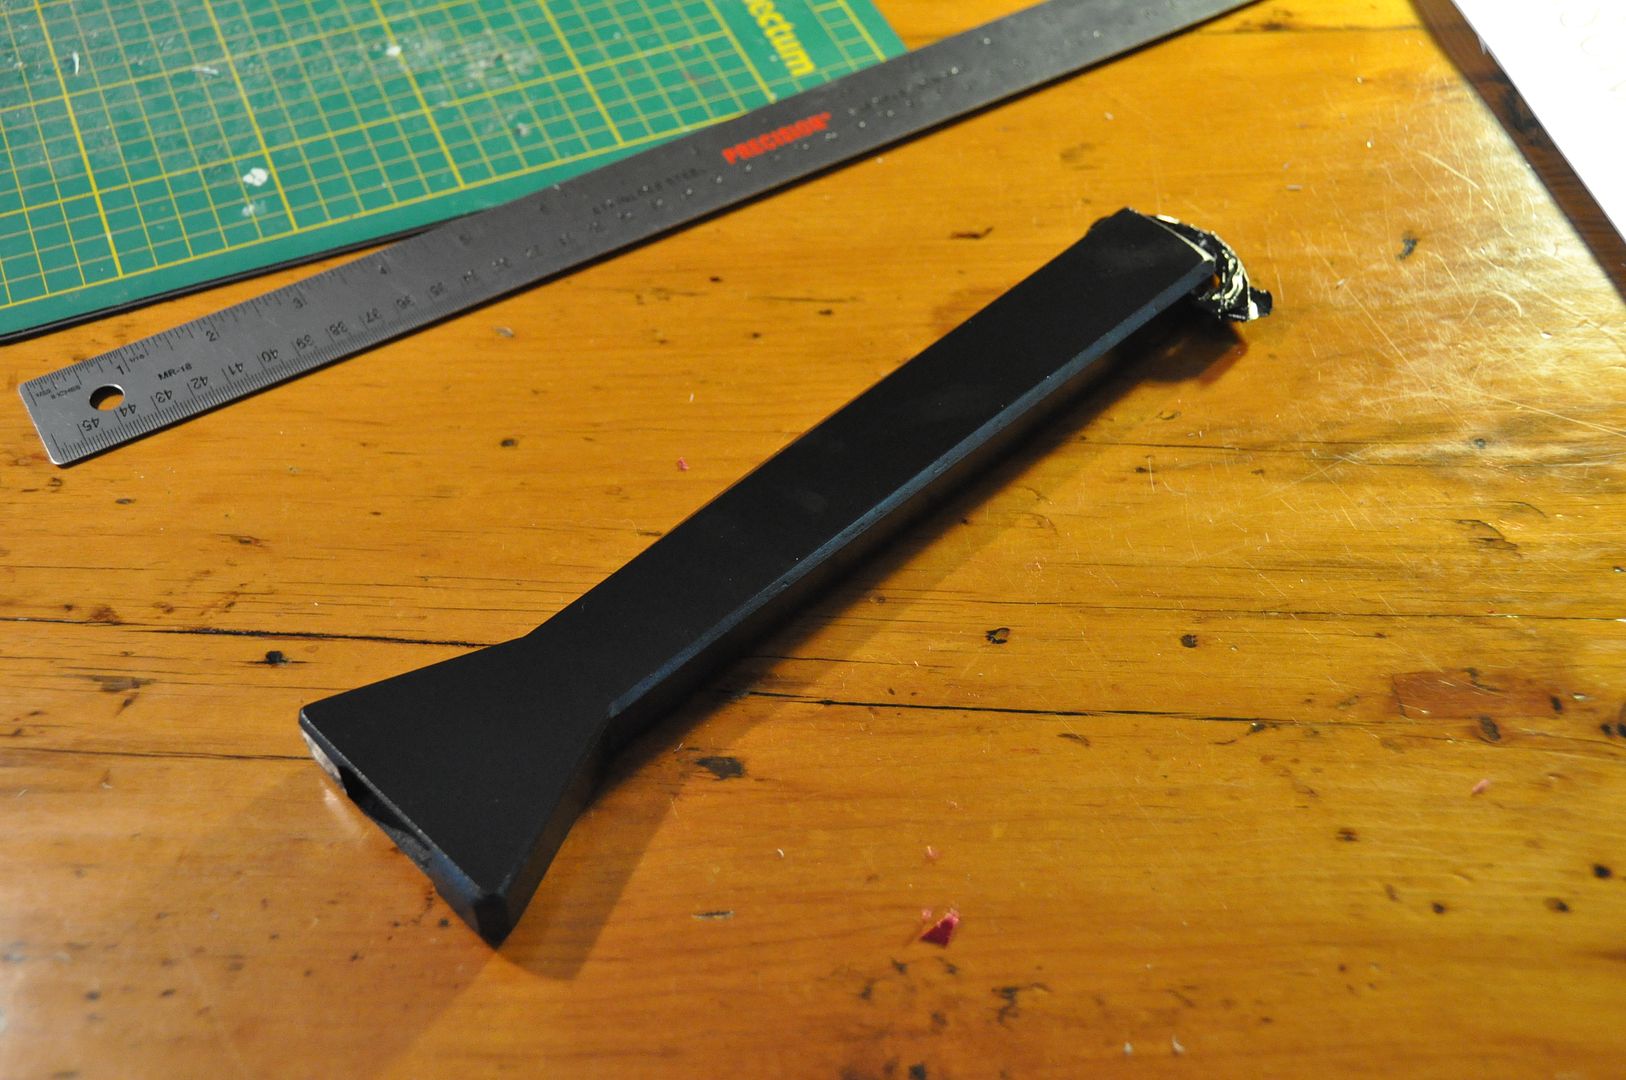
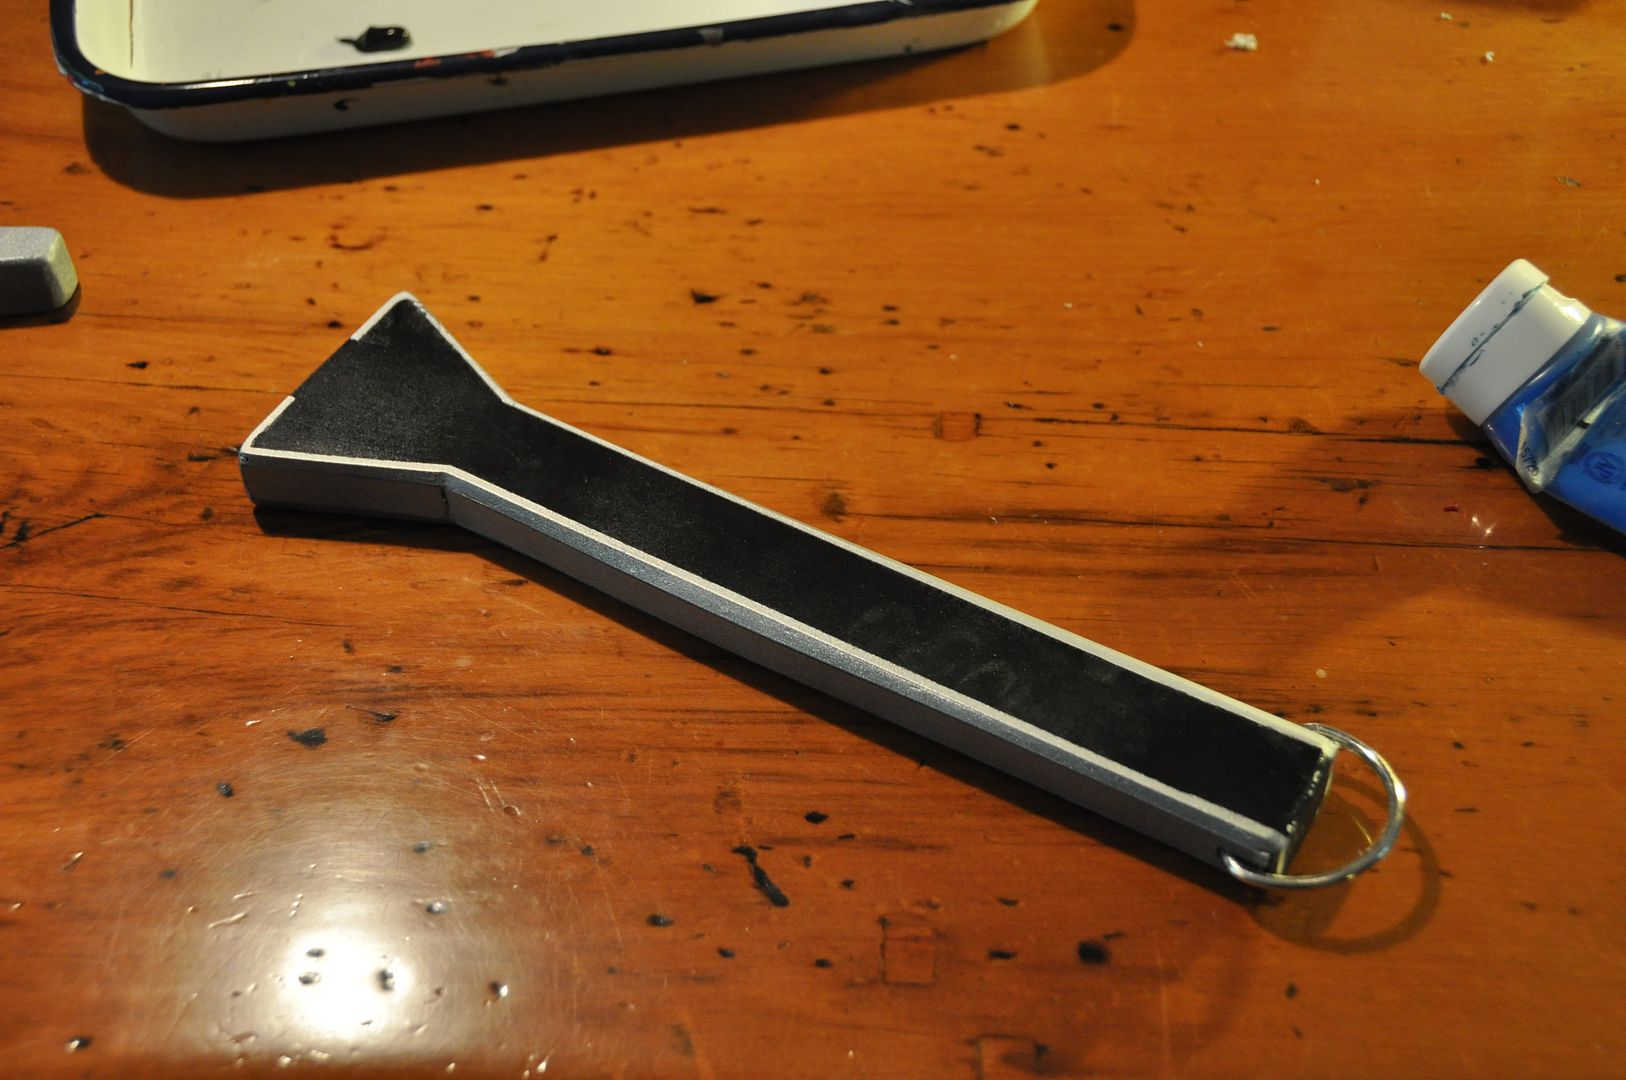
I made the handle in the same way as the large sword, minus the sculpted piece. I left a socket in the end where the fan pieces would attach.

Then I hot glued the fan accordian in place. I put some small wedge pieces to keep the fan slightly open, so it didn't look like flat slats sticking out of the handle.
I must have had this in mind (somewhere in my subconscious) when I was making the sword, because I made the ribbon detachable by using a carabiner instead of an actual chain link. This means I only need 1 ribbon, which I can attach to my weapon of choice, instead of making 2.

The fan part is very bendy, and doesn't stay rigid, but I rather like it that way, seeing how it is kind of the "fail" version of her sword. Hahaha

Wednesday, August 15, 2012

Nickel - Tube Head - Katamari


Greetings humans! ;D This post shall go into the details of how I constructed the tube head for Nickel. I started exactly the same as I did for Prince and Princess, by creating a hole in the bottom of the tube for my head to go through.


My helmet had this stupid point at the back which needed to be sawed off... :P And so I did.

I added the blocks of foam so  that the helmet, and by extension the entire head, would sit at the right height and angle. This was especially important for Nickel because the head had to clear the shoulders of my box body.

We visually determined the placement, marked it out, and then glued it all in place.

I had my friend Ian do the soldering (and re-soldering) of all my LED circuits for this project. I ran out of time to do it myself. It looks fantastic! I will go into more details of how those were constructed in a later post.

The hubs that the LED's were put into in the red cylinders were made from a disc of foam core and a cylinder of illustration board. And lots of glue. LOTS.

I drilled a hole where each LED would go, evenly spacing the array. Then I farmed them out.

These beauties were returned to me! ;D

I then taped all the exposed wires so I wouldn't get a crossed wire and end up with an electrical fire. That would be very bad.

...Particularly because it is not so easy to get this costume off quickly...

Then I cut 2 foam core discs to go in the end of the tube. These would fit snugly and be glued into place.

Then I cut a ring/disc that I glued around the bottom of each hub, so that they now resembled a top hat crossed with a jellyfish.
Then I cut a thin ring of foam core to act as an inner support for my red cylinders, and a circle of a plastic binder to act as a frosted filter. The black rings were my only gluing surface for this entire cylinder.

Meanwhile, I had Alex add an illustration board outer layer to my head. (The sonotube had obtained numerous dings in the garage.)

Then I worked on the cylinders. Using clear tape, I carefully taped together strips of red acetate  and curled them around.

I had a friend of my mum's--who has access to a laser cutter--cut me 2 perfect circles in red plexiglass. These were glued to the frosting circle and then the foam ring.

Alex then glued the 2 foam discs in the ends of the tube. The eye slot and neck hole were also nicely cut.

Back in the land of plastic, I carefully glued the acetate roll to the black ring along the top edge. The end result is a bit fragile, but looks quite clean and I am very happy with it. Because of the multiple layers to the red acetate, it did not need a frosted filter.

Alex then spackled the joins in the illustration board and sanded them out to achieve a nice, smooth and almost seamless look! ;D


With the 2 red cylinders done I was ready to assemble. The top-hat-jellyfish were carefully inserted through the neck hole. Then the foam core discs--ones on each end of the tube head and their respective jelly-hat--glued together, making sure that the electrical hub was centered in the middle of the hole. The red cylinders--which were made to fit into the hole exactly--were slotted over the hubs and then glued into place.

The border on Nickel's face was finished with a rectangle of craft foam, glued on and painted grey. A fabric piece was attached so that Nickel's face flaps up like the rest of them.

Alex says: I LOVE GLUING!!!! D:<

...Which is her way of protesting against all things sewn. :P
 The antenna was glued on and so were the decorative nuts. ;D

The final step was to solder the switch and battery into my electrical circuit to make everything work!

Beauty!

An in depth look at Nickel's circuitry--including diagrams and calculations-- will be coming up in the next month or so, but I will be taking a bit of a break from all things Katamari for the moment. I am also planning on doing a tutorial on how to put together a simple LED circuit. Those will probably be up in september or october sometime.

Saturday, June 9, 2012

Nickel - Claws - Katamari


The first in-depth look at my Nickel costume: how to make moveable robot claws!

I started by drawing out my design full size, keeping in mind material thicknesses so that my hand would fit inside. 

 I cut those pieces out and traced them onto foam core. For each hand I needed 2 'hub' pieces and 4 'finger' pieces.

 Then I measured the outer curve of the fingers and made strips of illustration board that length that were wide enough to fit my hand inside.  I lightly scored the hidden side with an exacto knife so it would bend easier. 

 I began the long and painful process of gluing the fingers together. It should be noted that the illustration board really needs the curve worked into it before you attempt gluing it, because it was fighting the glue like crazy!

 After the first attempt failed, I decided to put in supports that would double as a greater surface area to glue to and just generally make everything 10 times stronger.

The most important thing here is patience. They had to be held until they were completely dry, or they broke the glue. I decided to have some people help me out here, so I didn't die of boredom. :P


 Now that the base structure for the fingers was done, I began to work on the hubs... But I realized that I couldn't finish them until I had the fingers completely done.

 Even with our best efforts, the glue still slipped a bit, and so the edges didn't all line up completely. So --after testing it on some scrap foam to make sure it was safe to use--I spackled the claw fingers.

 Spackle is awesome because it dries white, is sandable and easy to apply. :D

Sanded them off, and just touched up some areas.

 Then I measured and drilled the holes for my pivot on the fingers and the hubs, making sure they were equal distance on each side. The idea is that the bolt on each side would make it both secure and easy to move.

I gesso-ed them in preparation for spray painting. (The LAST thing I needed was to have them melt!) Unfortunately, I used a paint on gesso on the hub pieces, which not being glued to anything warped really badly, as a result I had to remake the hubs.  >: /


 The fingers were then spray painted grey. I took my bolts and worked them through the holes I'd drilled. Assembly went as so: the bolt was twisted though the hub, then the finger until tight, then I attached the nut. This was done for both fingers. Then I twisted the bolt through the opposite hub and the other side of the finger.

My friend Sarené, who aided me with some of the assembly suggested I add a thumb-strap for easier movement.

Then I added the illustration board to the outside layer of the hub to finish off the piece. Once that was spackled and sanded it got the full spray treatment. :D

Unfortunately we had some paint chipping with the tape, but we were able to do some touch-ups.

Finished! And they look fabulous! >:D