Showing posts with label bows. Show all posts

Friday, October 30, 2015

Sakura - Wig, Hat & Accessories - Cardcaptor Sakura

Part 3 of Sakura (1st Opening outfit)--lets talk accessories! The details are really what make this costume. If you want to see how I made the wings, go here! If you want to see the rest of the outfit, go here!

I entered this costume in the Friday night Workmanship Competition at Anime North in 2014 and won an award for Best Accessories in my category. That was pretty cool. It was my first (and so far only) time entering in a competition without a stage presentation component.

Once again, thanks to EleventhPhotograph for the photoshoot. I really love this black and white shot.

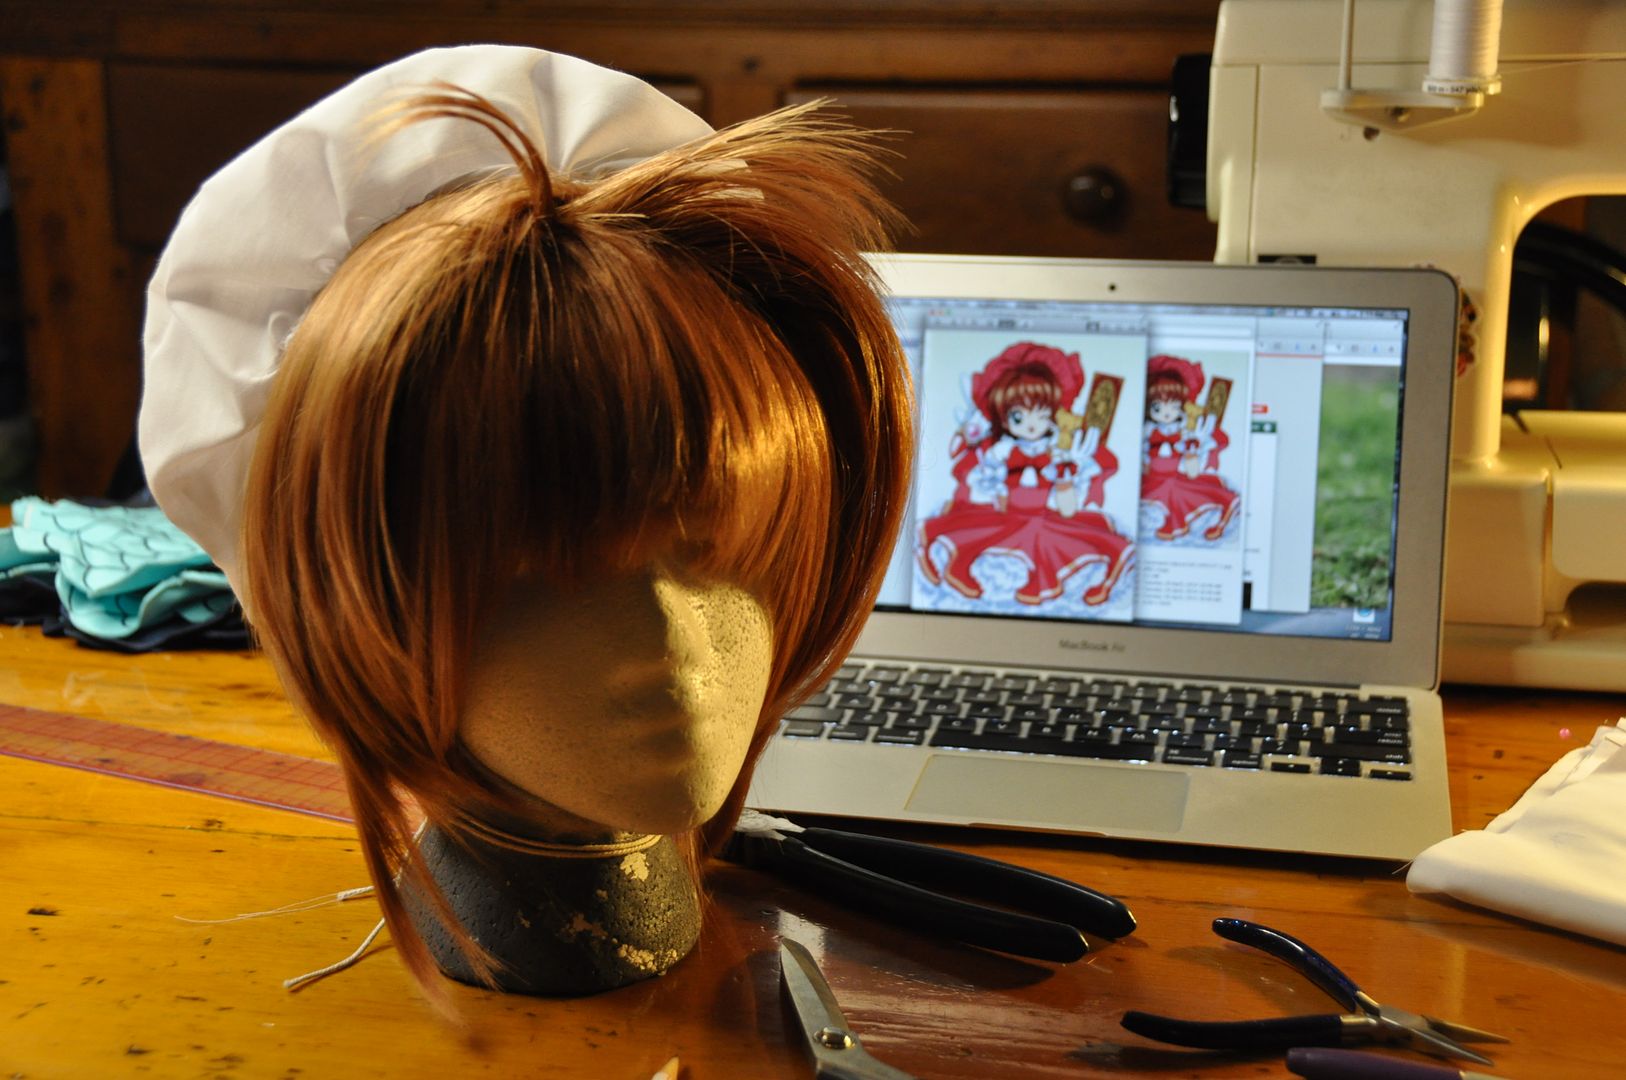
First we'll talk about the wig. I started with EpicCosplay's Aura in cocoa brown. I think this colour works really well for Sakura, it's not too brown or too blonde. It's almost a bit reddish. I think the colour works well on both my sister and myself.

Since I was doing a costume of hers with a hat, I didn't bother to add her iconic pigtails that she normally wears, because they wouldn't be visible. This has influenced my costume choices for my subsequent Sakura costumes to only be ones where Sakura is wearing a hat. Because this means I don't have to go back and fix the wig. And also because her costumes with hats are ridiculously cute.

As you can see the wig was pretty long. I purposefully picked a longer wig because she has those two small sections of longer hair in front of her ears. It is much easier to cut a wig shorter than it is to add in longer wefts.


I started by trimming the bangs. Using clips I separated off the different sections of the hair. The longer pieces were separated from the sides and the bangs. I left the long wisps at the original length, and simply thinned them out a bit. The sides were thinned and layered and trimmed to length. Then I trimmed the back of the wig.

The last step was to style the front of the wig to give the top that volume. I pulled sections of the hair up and hair sprayed them at the base. Then I used a blow dryer to set it. I made some shorter bits stick up while the rest parted and fell to each side. This created the look of her cute bob at the front.
Next I started work on the hat. Since I had very limited pink fabric left, I made a mockup. The hat's construction was pretty simple. The pattern consisted of a circle and a rectangle. The rectangle was the length of the circle's circumference.

First I rolled over the channel where the elastic would go later and ironed that. I didn't stitch it down yet, but pre-ironing saved me a ton of headaches later.

The next step was to sew the rectangle to the top of the hat, right sides together. Then I sewed the two ends of the rectangle together and then top stitched the channel for the elastic. I left an opening in the channel so I could feed the elastic through. The elastic both gathered the hat and helped it to stay on. When I was satisfied with the fit, I sewed the elastic ends together and closed the channel opening.

Lastly the bow was attached to the hat. Credit for completing the finishing touches goes to my friend Alli who handcrafted all the bows and hand stitched them on.

Instead of constructing socks and gloves I bought them, and made ruffles to add to them to help them match the rest of the costume.

Like the hat band, the ruffles are simply rectangles with a channel on on side for an elastic, which cinches them to fit and gathers them into a ruffle. These were tacked on to the gloves and socks.

Little red bows were also added to the gloves.

The shoes were an extremely lucky find. I managed to find flats at Ardene's in the perfect shade of red. They matched my red fabric perfectly. I added the bows to the toe. This is not 100% accurate to the design, but I didn't feel like adding straps to the shoe--I was worried it would make them uncomfortable. The bows were hot glued on.

I paid attention to the details so that everything would match perfectly. I wanted to do Sakura justice, and I think I achieved that. :)

Wednesday, September 18, 2013

Kero & Suppi - Wings & Aprons - Cardcaptor Sakura

This is part 3 of Kero & Suppi's posts: lets have a look at the wings and aprons. On this costume the wing rigs are built into the aprons. (As opposed to on my Cosmo costume, where the rig was hidden under the costume, this rig is incorporated directly into the apron.)

The apron part was really easy, figuring out the wing rig was a little more tricky.

Check out Eleventh Photograph's Otakon gallery for more pictures of Kero and Suppi (and other awesome cosplayers!)

For more Kero and Suppi, see our Wigs & Ears and Shirts & Shorts!
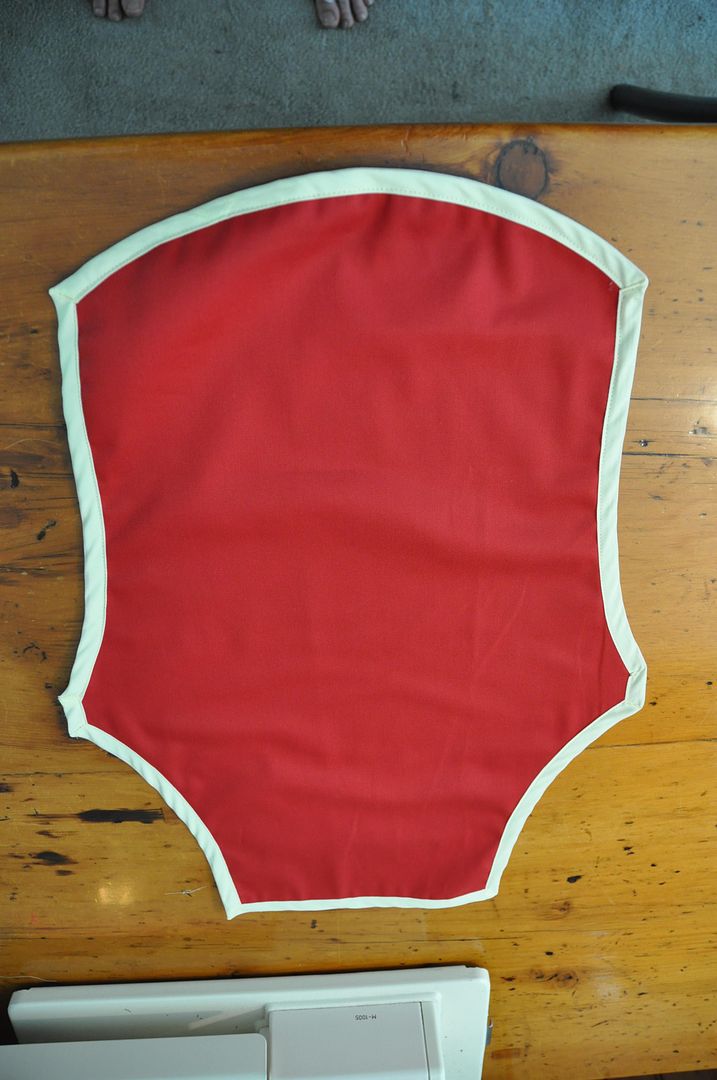
I started by making a paper tracer for each apron. I held it up to myself until I was satisfied with the shape, then cut out 2. The 2 layers were just for extra sturdiness.

I applied my contrasting bias tape trim around the edge of each apron.

This red is the leftover fabric from my red panda bag. :)  (Which is still for sale, if anyone is interested.)

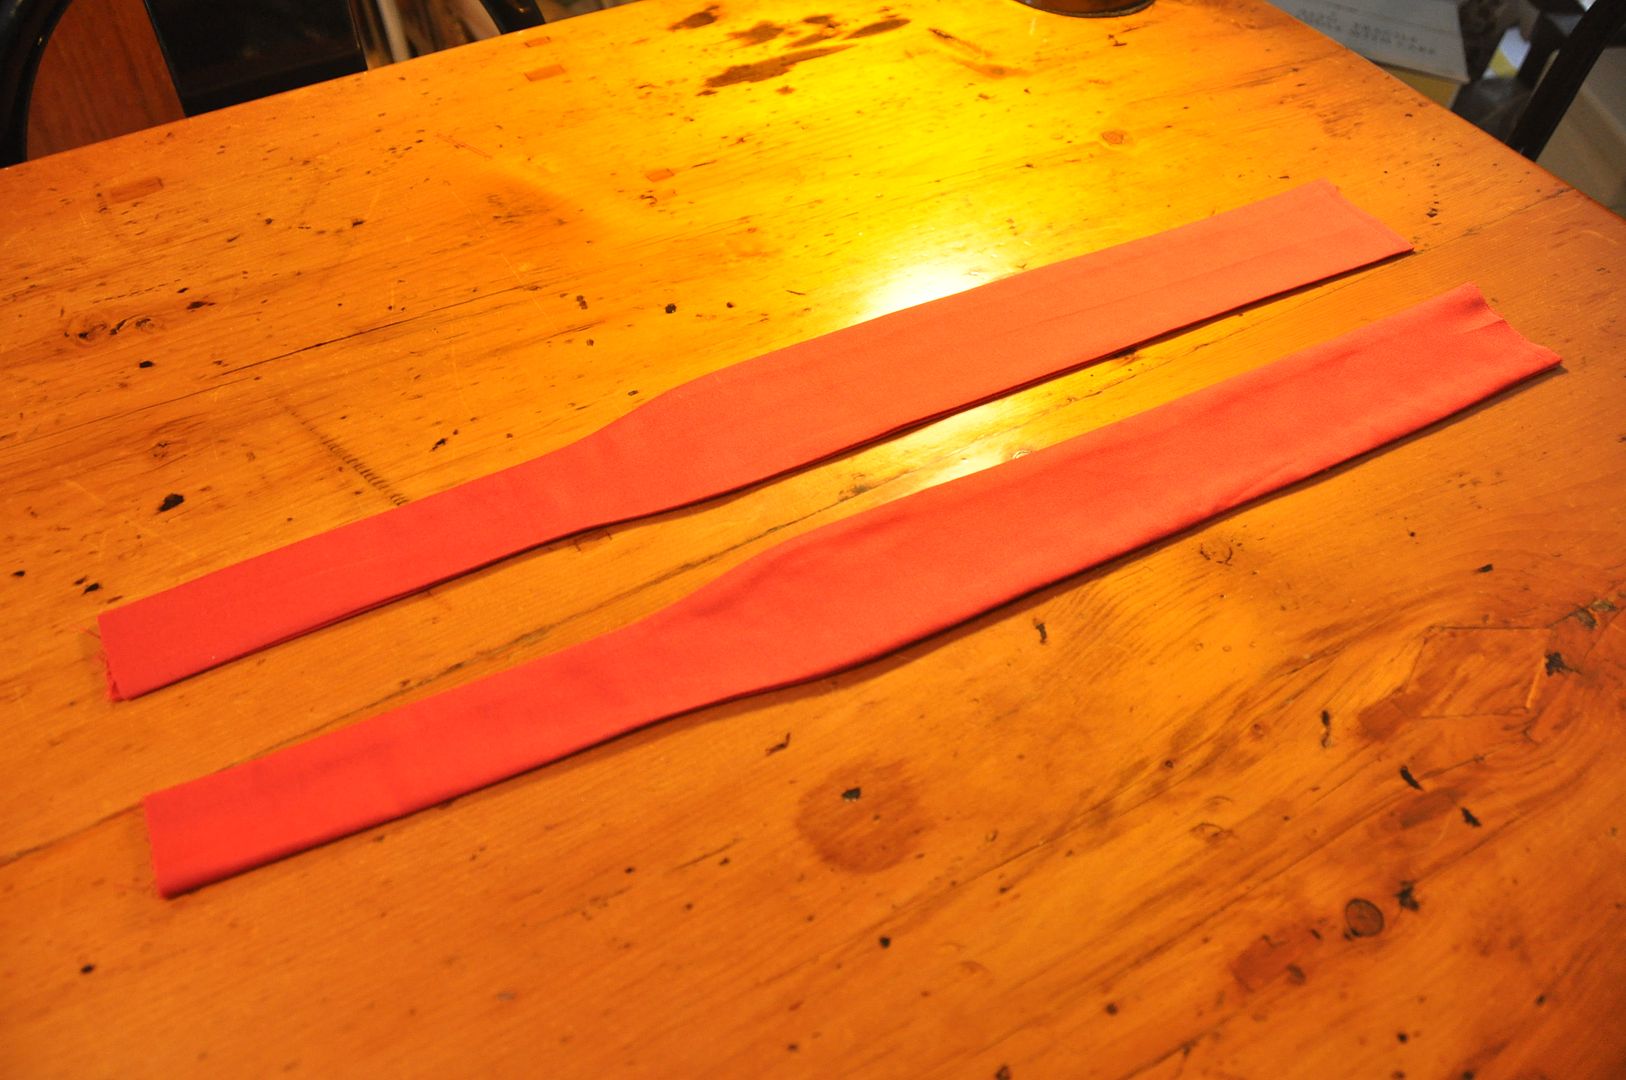
I then made two strips for the tie at the back. (I should have made mine a little longer.) These were narrower at the base where they attached to the apron and then widened partway. On these I marked 2 stripes going down the center. Along my marking lines I used my sewing machine to embroider a tight wide zig-zag stitch. This was much cleaner than attempting to paint the stripes on.

I made the 2 shoulder straps, marking where they needed to attach at the back and how long they needed to be. They needed to be fairly tight so the wings wouldn't droop, so I ended up having to tighten them later...

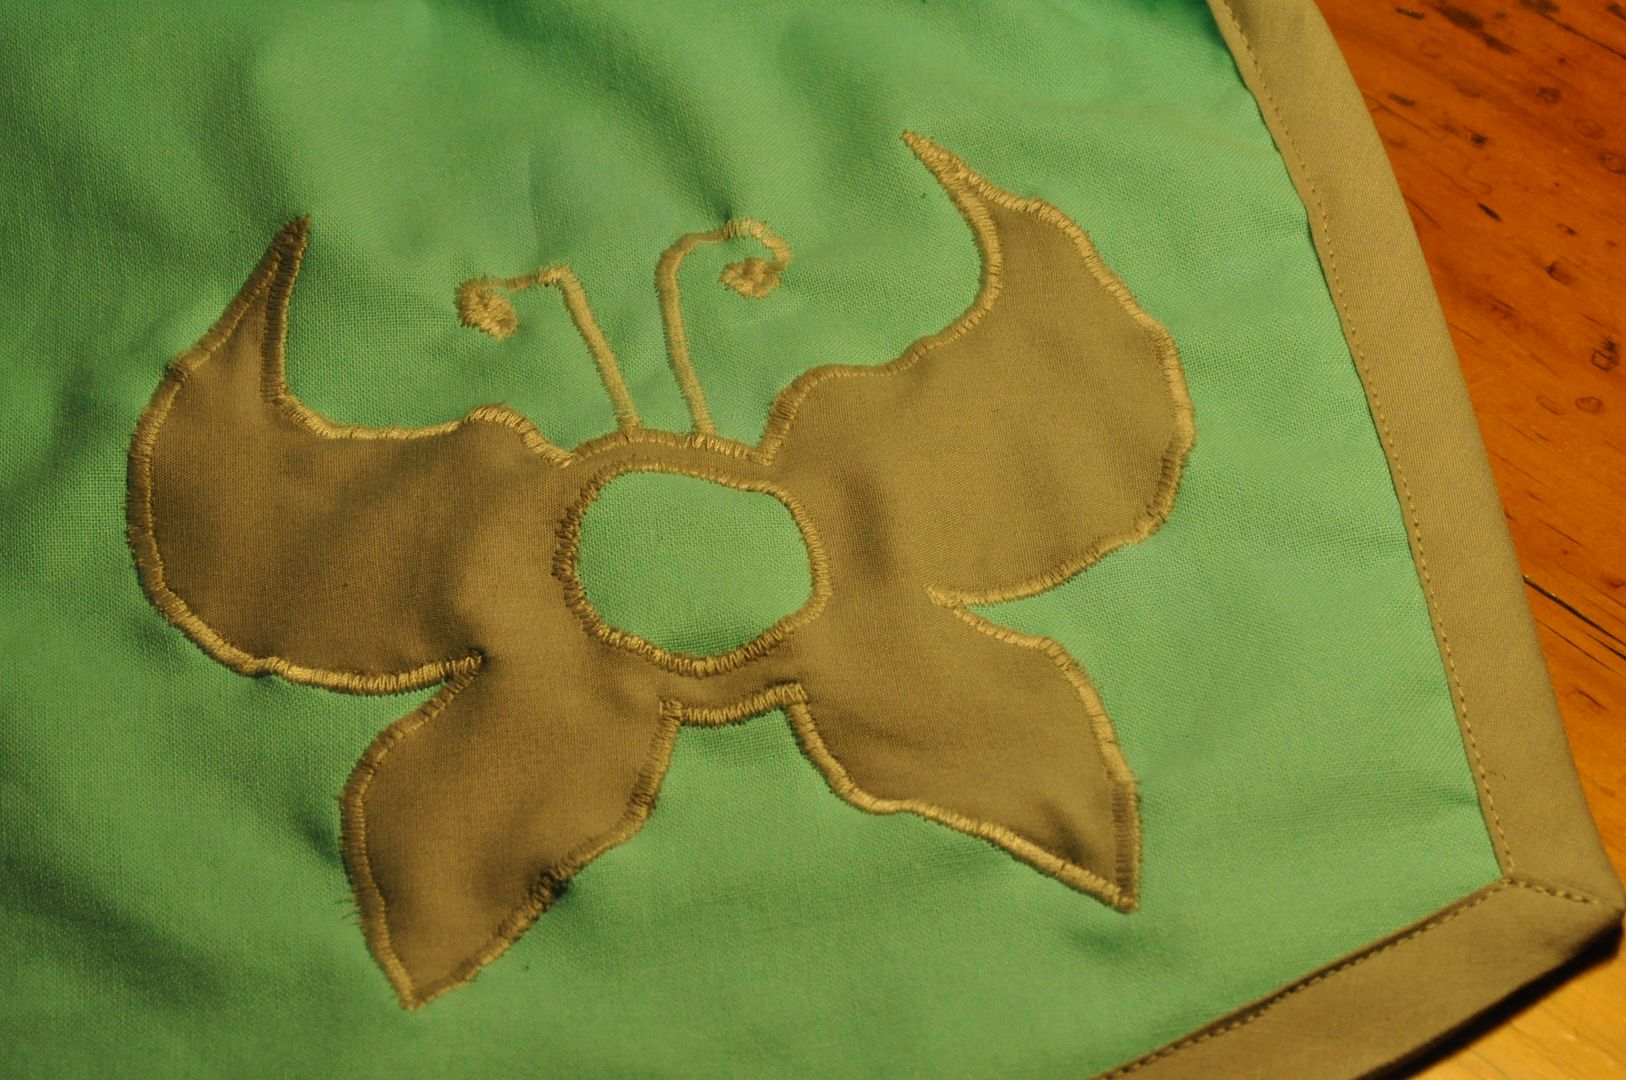
Then I cut out the pieces for the applique design. Suppi's symbol is based on the one from his "big form", Kero's is a simplified version of his sun symbol. (Meaning no wavy lines, as they would be impossible to do at this scale...)
Using a tight zig zag stich, I carefully followed the edges of my cut outs. For Kero's I did the pale star points, the inner lines and then the yellow star outline. For Suppi's I started with the inner circle, then the butterfly and lastly the antennae.
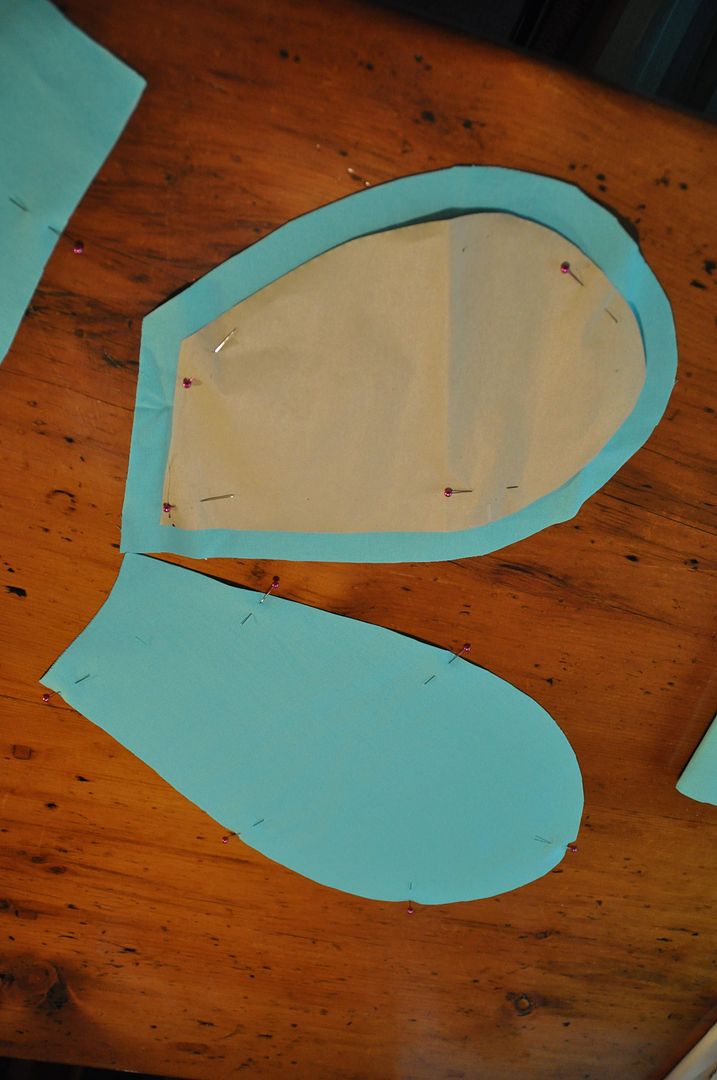
Once the apron bases were done, I started on the wings. Like many parts of this project I started with a paper tracer which I sized up to the actual person before cutting anything out.

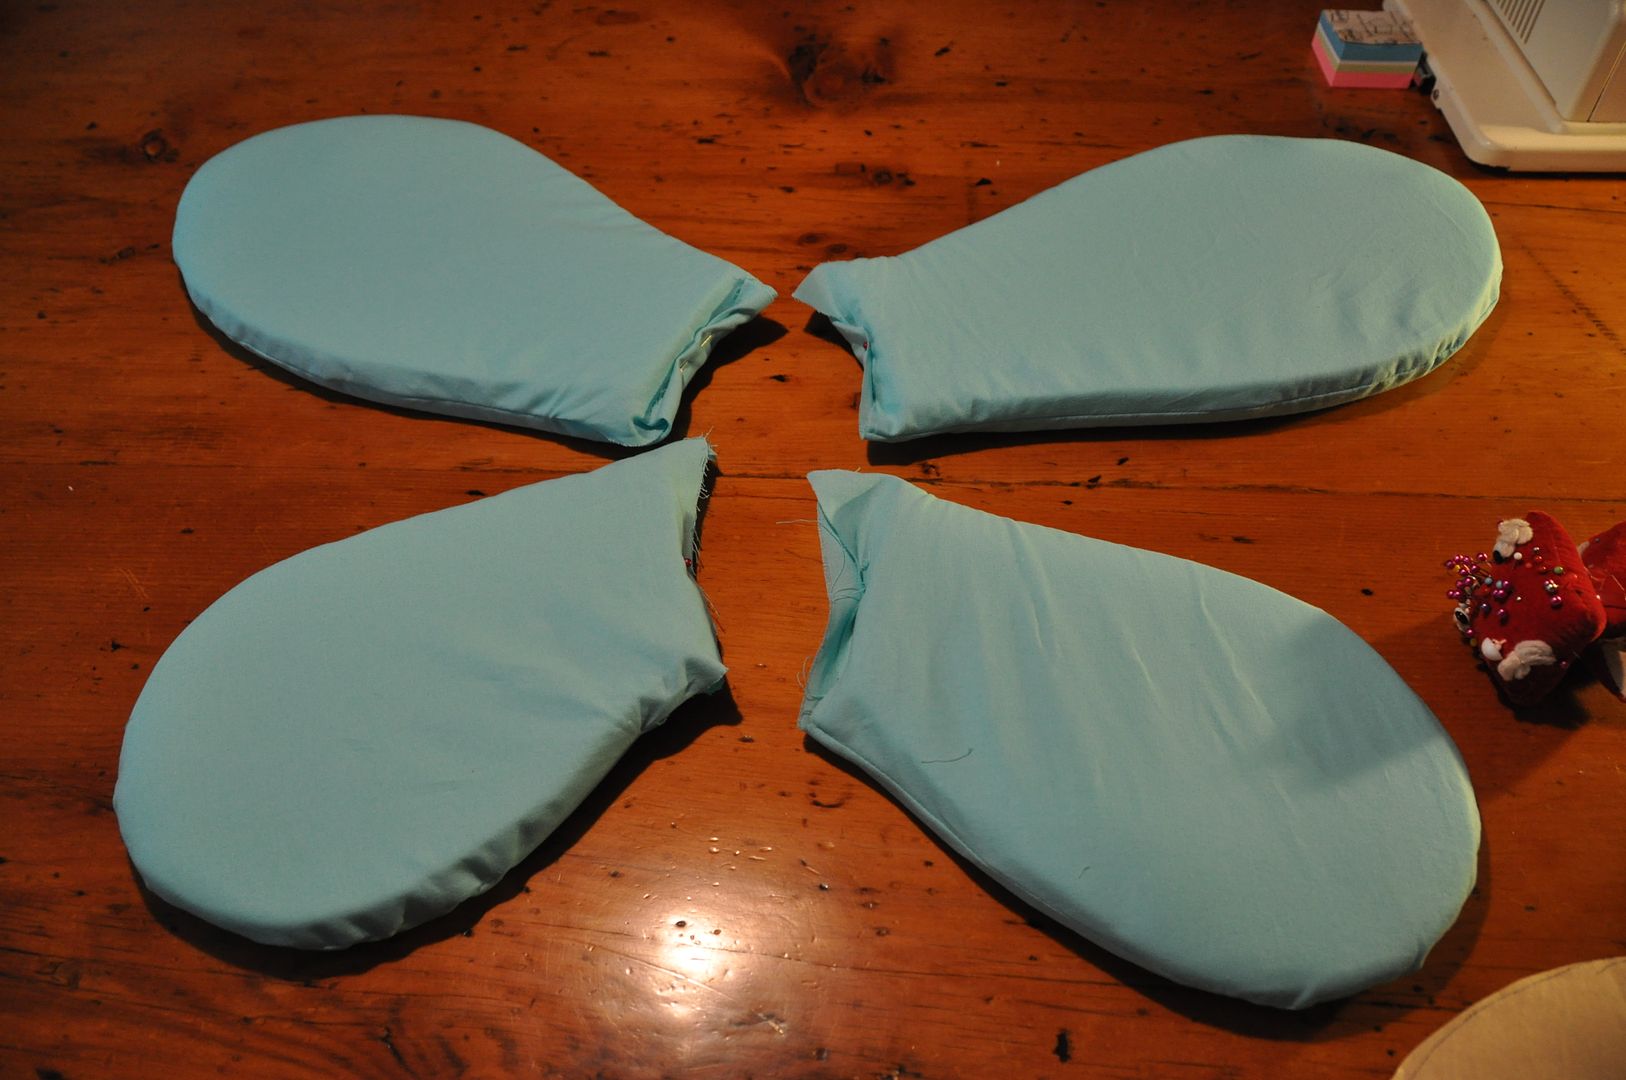
I then cut out the foam bits (double thickness for all wings), followed by the cover pieces. For the covers I made them slightly larger (by about 1/4"), as they had to go over an object with thickness.
I sewed the covers right sides together, leaving myself a large gap at the base through which I could stuff my foam cutouts.

On Kero's wing cut outs rounded out the edges, so they would fit the case better and look less blocky. Even then it was a struggle to get the wings in.

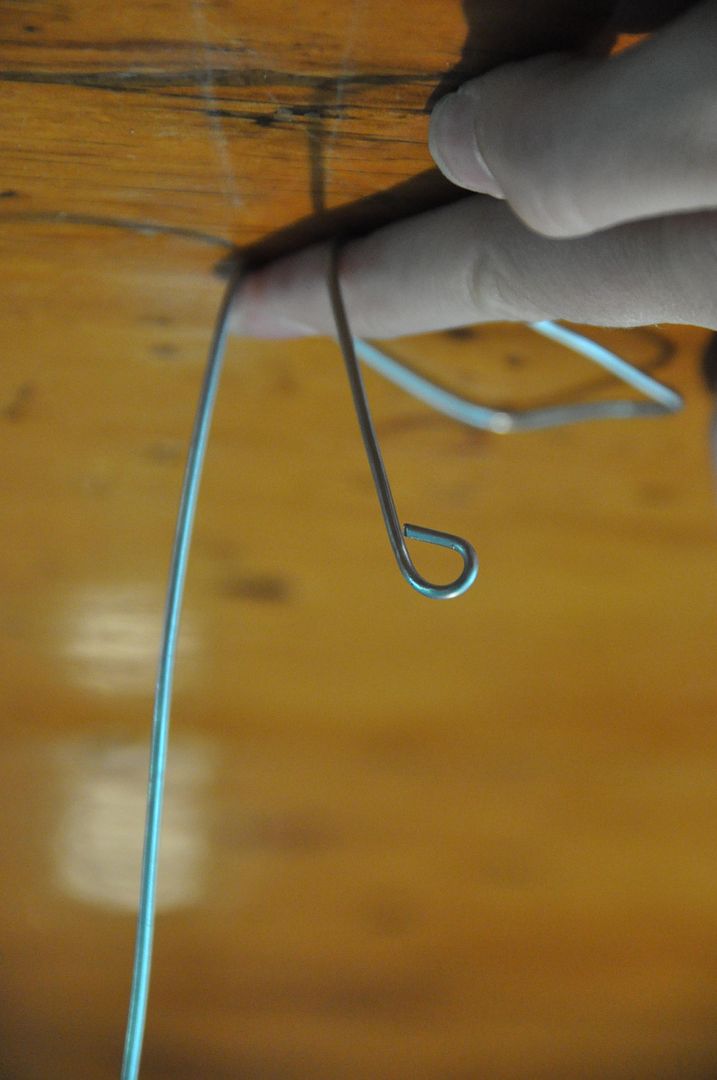
Then I started to work on the rigging. Kero's wings were sort of the trial and error run, before I figured it out and streamlined the process for Suppi's. I started with a piece of wire (1 for each wing) that I bent like in the picture above left.  These would slide through the opening in the base, up in between the 2 layers of 1/2" foam where they would be secured later.
I then cutout a back panel, using the fabric matching the shirts. The whole back piece would be made of styrene panels secured inside  a fabric casing.

I slid the wires inside the wings and placed them on the back panel to see how they would sit together. I marked where I needed to put the holes for the wire to stick out of the back panel. These holes I did in the same style as normal button holes. These were only on one side of the fabric cover.
Keeping the wires the same distance apart as on the panel, I marked and hot glued the wires down to my base pieces, made of rectangles of styrene.

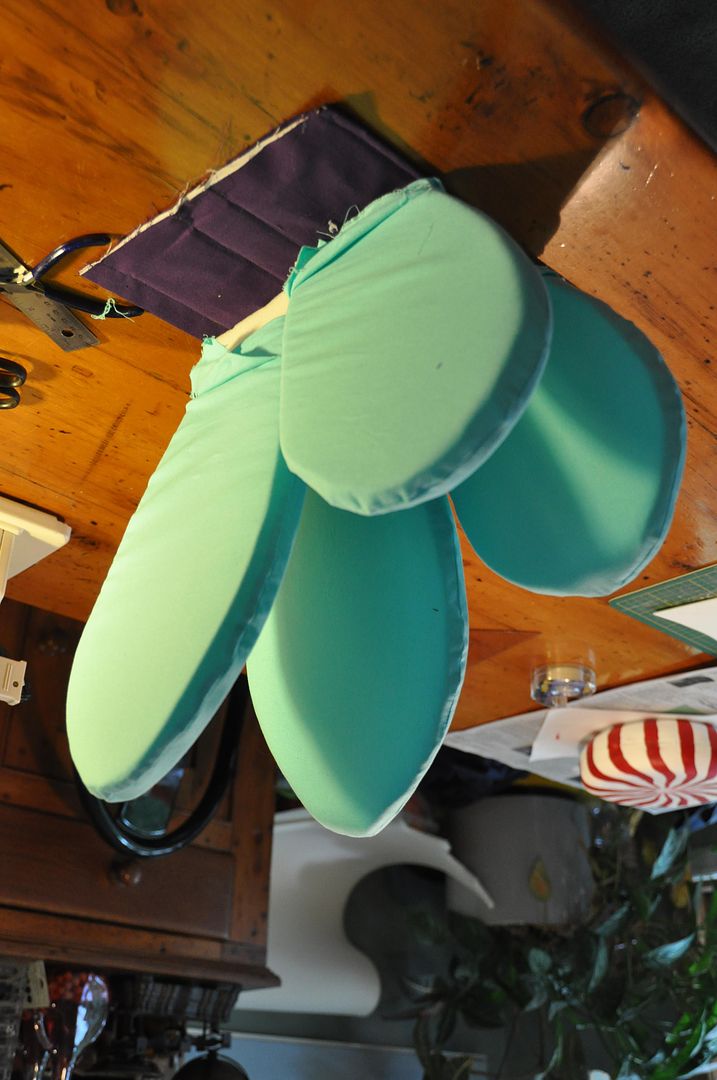
Unbending the ends of the wires for the time being (they were bent over so they won't poke holes in the foam wings), I slid them between the 2 layers of fabric and out through the holes in the back panel. When in place I stitched a line  along the bottom and top edge of the panel to keep them from sliding around.

At this point I re-bent the ends of the wires. Then I carefully marked and hot glued the wings to the wires.
Then I had my friend Alli assist me by tucking all the covers underneath and hand stitching them together to finish them at the bases.

Lastly I made the 2 swirls for Kero's wings. This was simply 2 ovals of foam that I made cases for. When they were together I stitched the swirls directly onto them, through the foam layer, giving them the plush look.
These were a lot of fun to wear, though mine kept sliding down at the back. This could have been fixed by making my back panel bigger, as my sister did not have this problem at all.

Wednesday, February 13, 2013

Kitchen Utensils Gathered Skirt

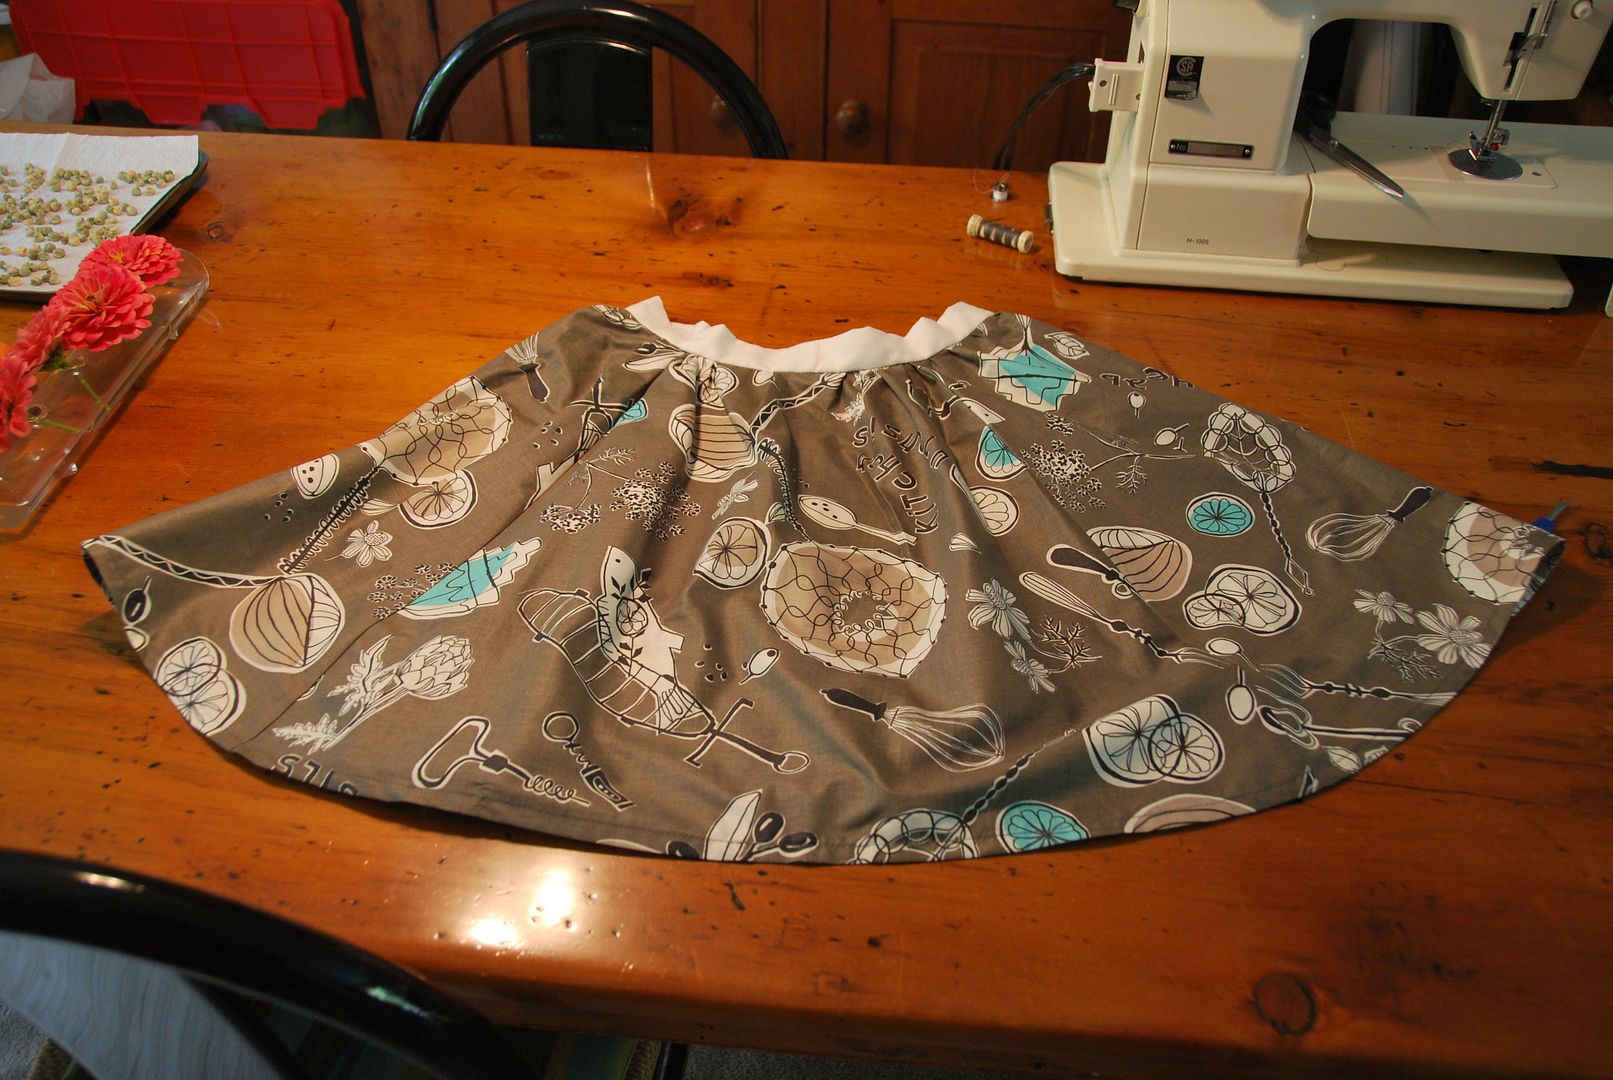
So here is my "Kitchen Utensils" skirt. Kitchen Utensils is the name of the fabric print that my sister got me for Christmas last year. She got the fabric on Super Buzzy, which is a online Japanese fabric shop. Lots of cute prints.
This is a simple gathered skirt with a zipper in the back. It is an original design.  I made this skirt in time to wear to the Legend of Zelda 25th Anniversary Symphony this past fall. Lots of fun!
I started by cutting 4 panels out of my fabric like this. The total inches at the top of the panels was made much larger than my actual waist size which would leave me fabric with which to do the gather. THe bottom was flared out and curved up at each side so the skirt length would be the same all the way around the skirt.

One of the panels was cut in half down the center. This would become the center back of the skirt where the zipper would go.
I stitched the panels together leaving the center back open then pressed the seams flat and finished them off.

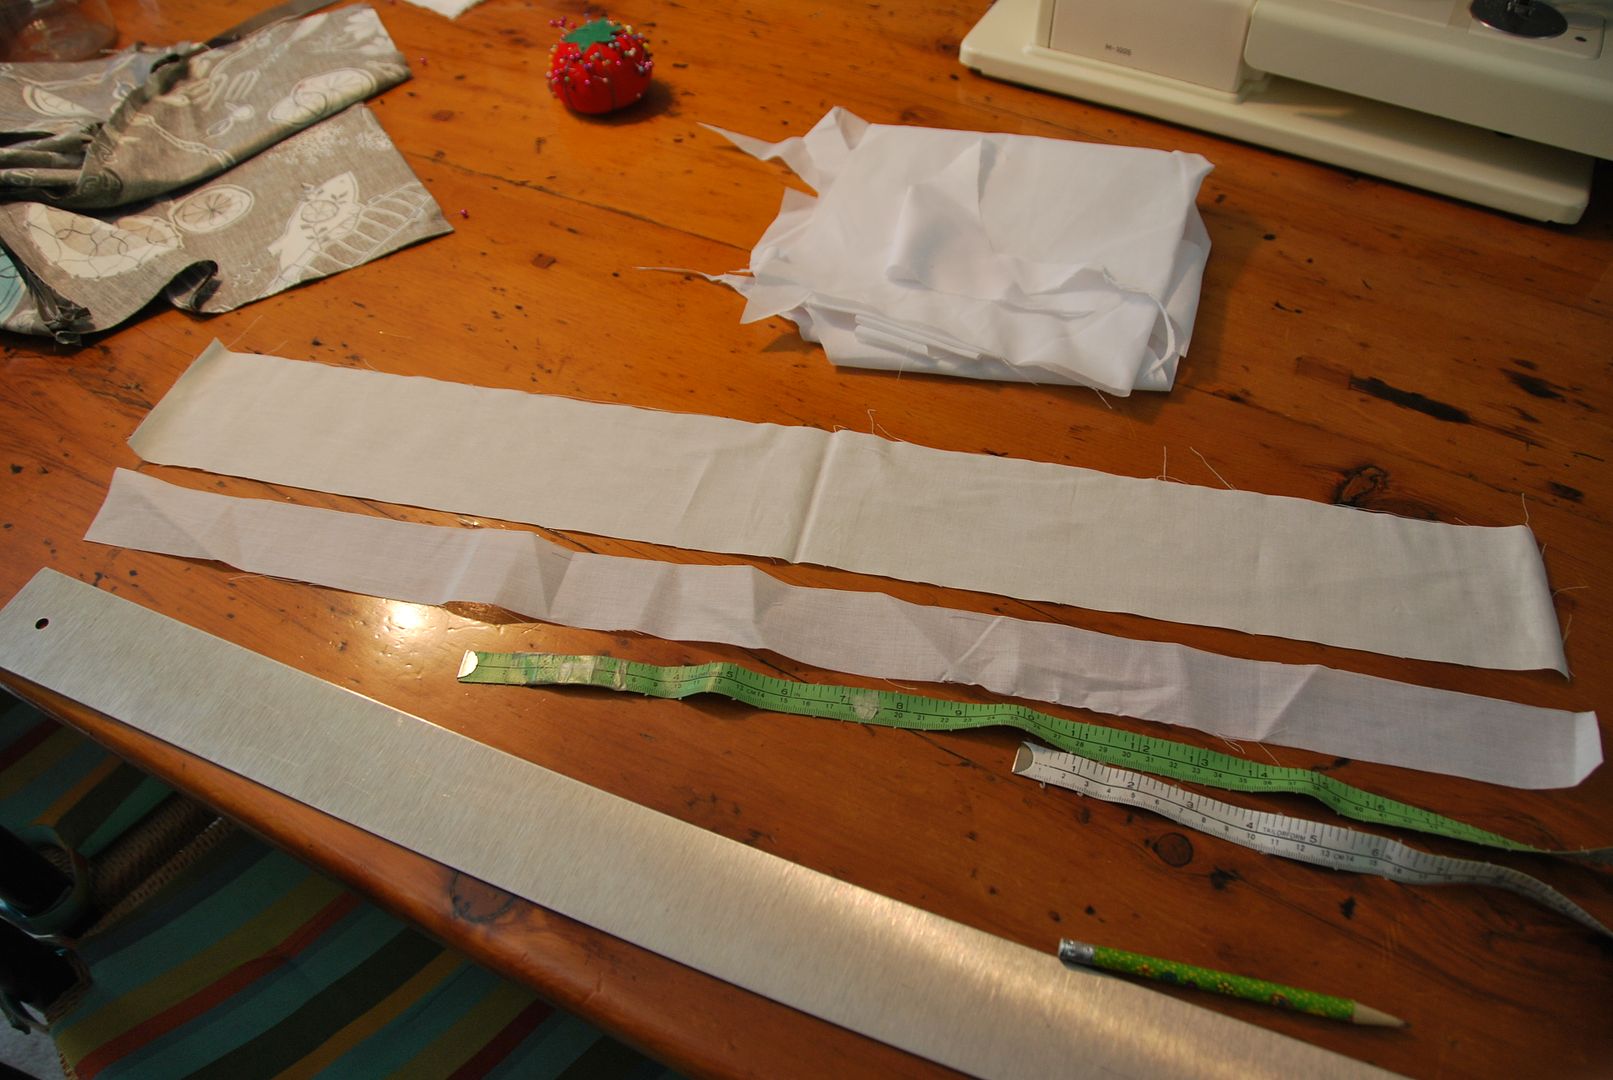
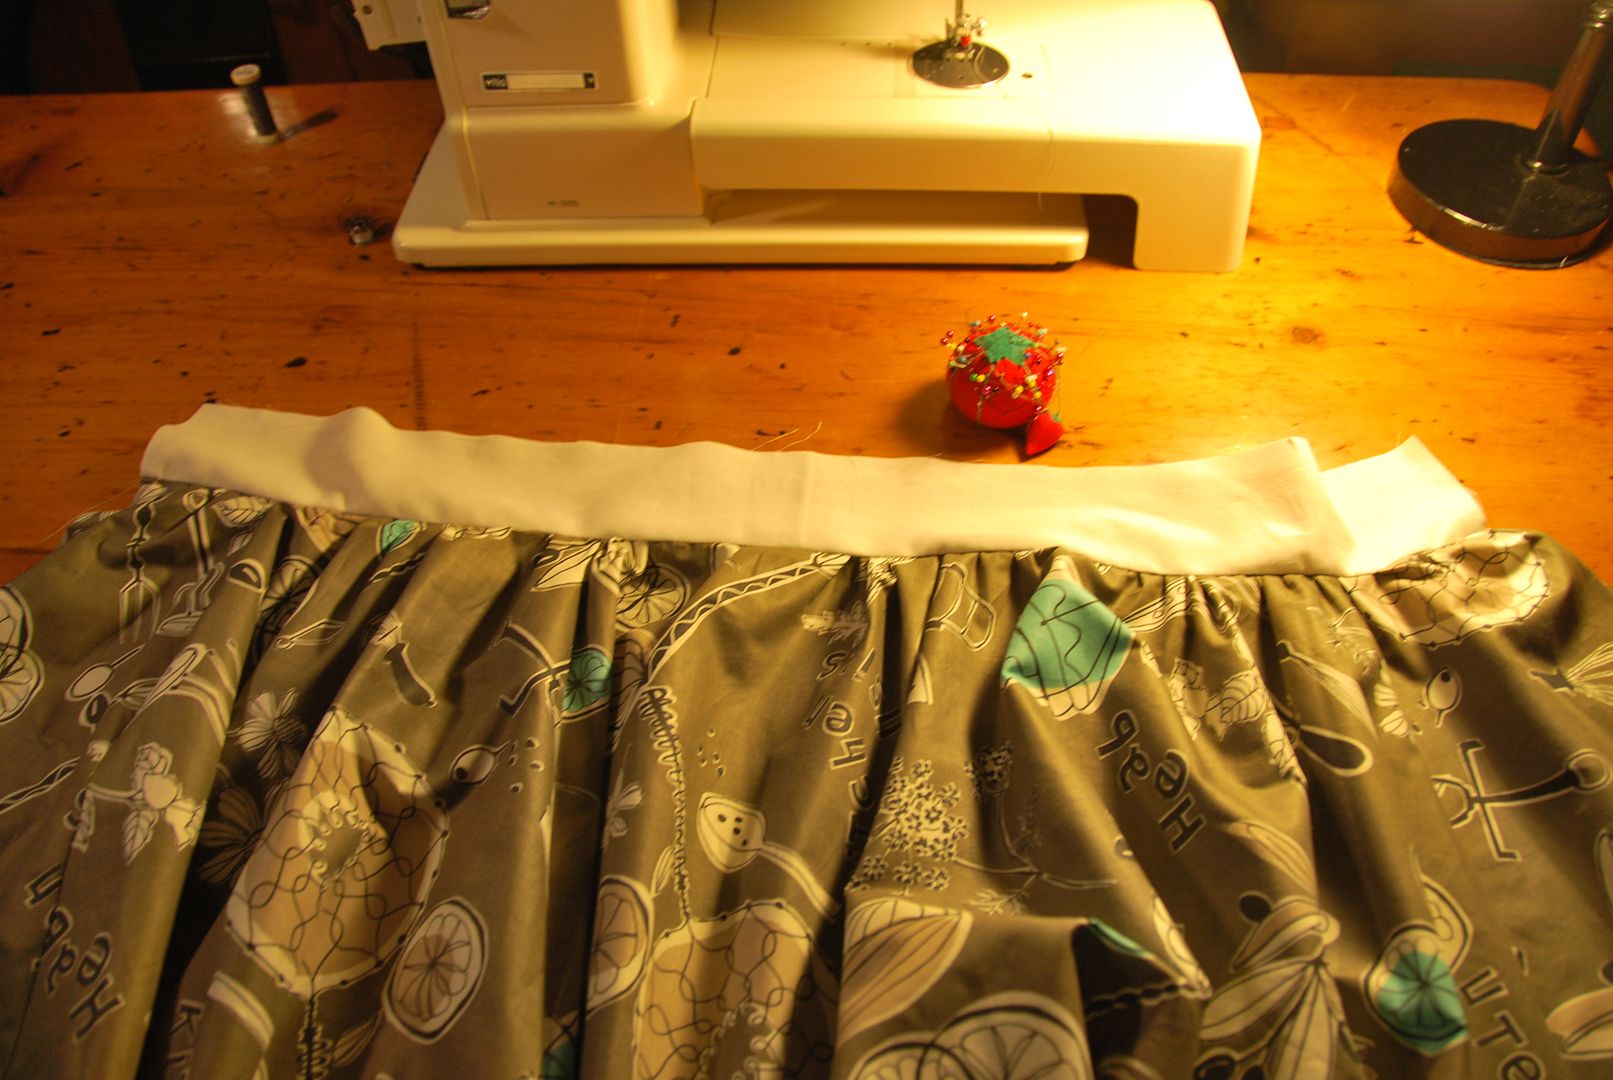
Then I cut a rectangle for the waistband. This would be a fold over waistband. I also cut a rectangle of interfacing that was half the width of first one.
I used a basting stitch to gather up the skirt to the waistband. Once that was done I pinned and stitched the waistband to the front of the skirt (right sides together).

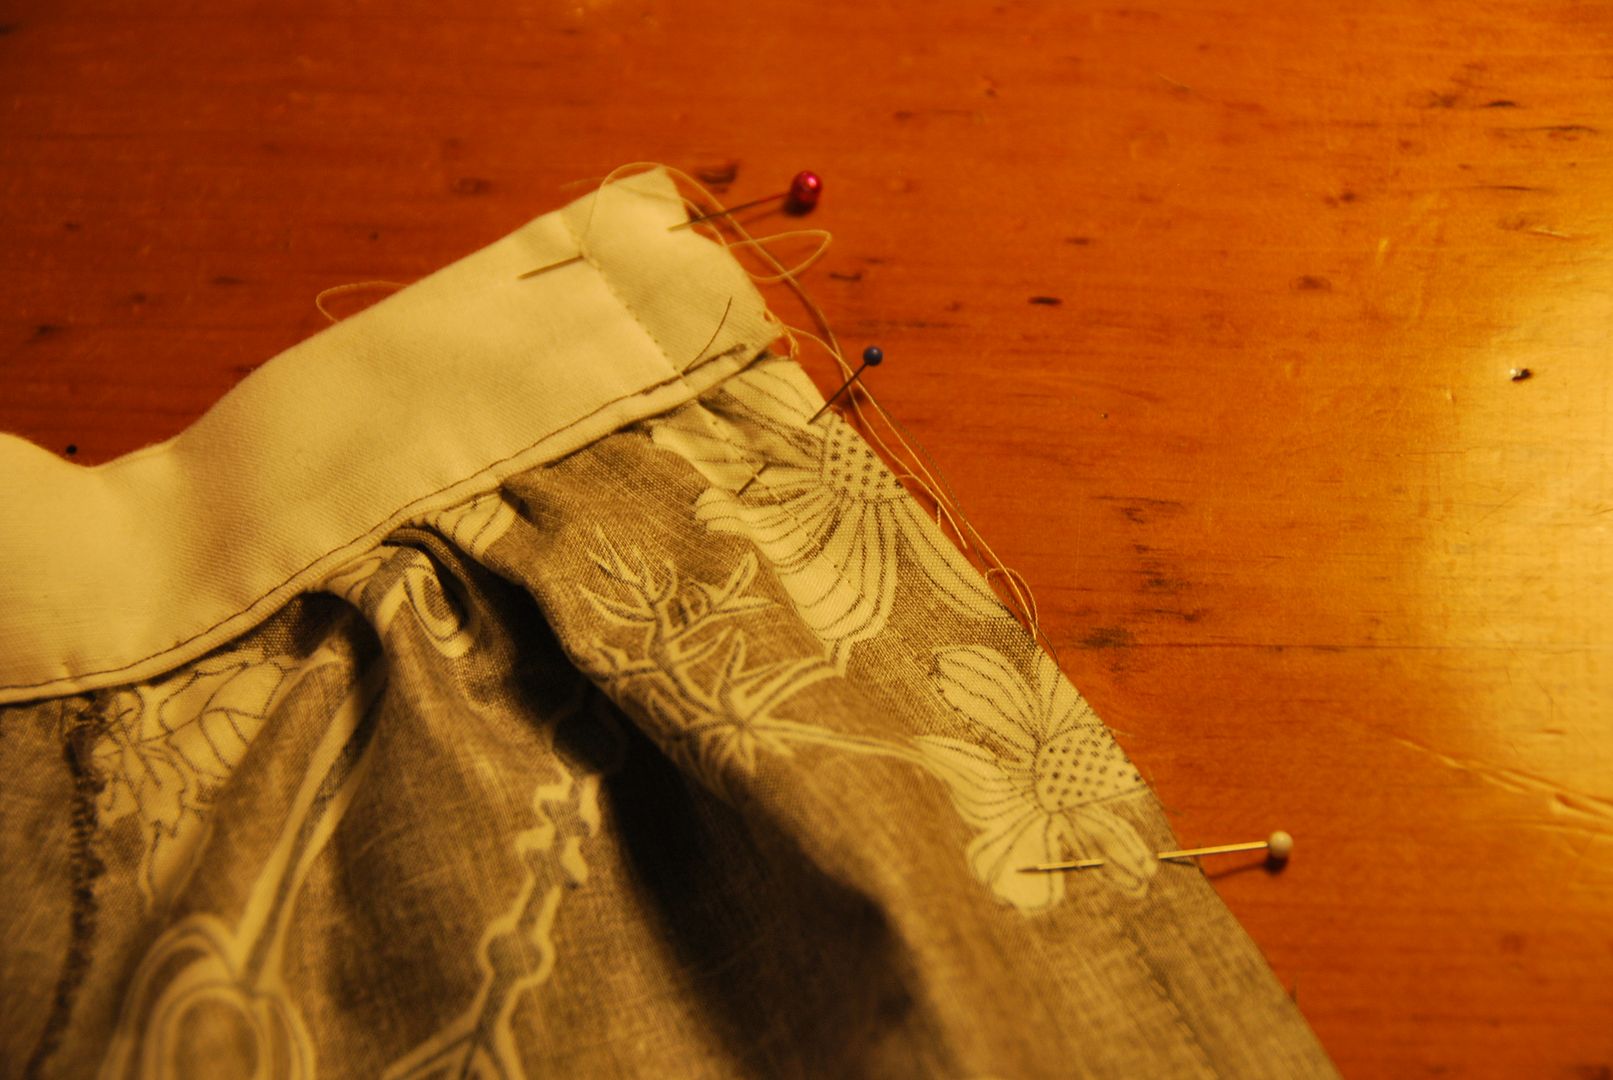
Then I ironed the waistband upwards and in half. The seam allowance was then neatly tucked up and ditch-stitched at the back.
Then I basted up the back seam. I pressed it flat and hand basted in the zipper. Then I machine stitched it in securely and opened up the seam, removing all the basting stitches.
Then I hemmed the skirt and added a bow detail at the waistband.


So I have changed my posting day to Wednesday evenings to better work with my new schedule for this term. Hopefully I can stick to it! ;D

Wednesday, January 23, 2013

Chef Apron

Oops! Forgot to put this up on Tuesday, my apologies. :P

This here is a project I did in the summer for my sister Alex in exchange for designing my lovely business cards and banner title graphics.

This cute print was picked up when we were in Vancouver on Granville Island. It was actually an apron pattern that I modified.
I started off with the pattern, using it to make the scoops at the sides and the front part across the top. Then I calculated the length and width I wanted for the piece and cut it out. 1 piece was cut out of the print fabric and 1 cut out of black broadcloth.

The 2 pieces were pinned right sides together, and I stitched along the outer edge, leaving it open at the top in order to turn it right way out.
I clipped the excess fabric in the corners, and turned it right way out. The I pressed it flat.

Then I tucked the open edge at the top to the inside and top-stitched all the way around the piece--closing the hole, and tacking it in place--in an accent colour. I picked a light green.
I then made 4 long rectangles, which were sewn into tubes, turned right way out, and the pressed flat. These would then become the ties.

2 were attached at the top and the longer 2 at the sides.
Then I finished off the edges by tucking them in and top stitching them.
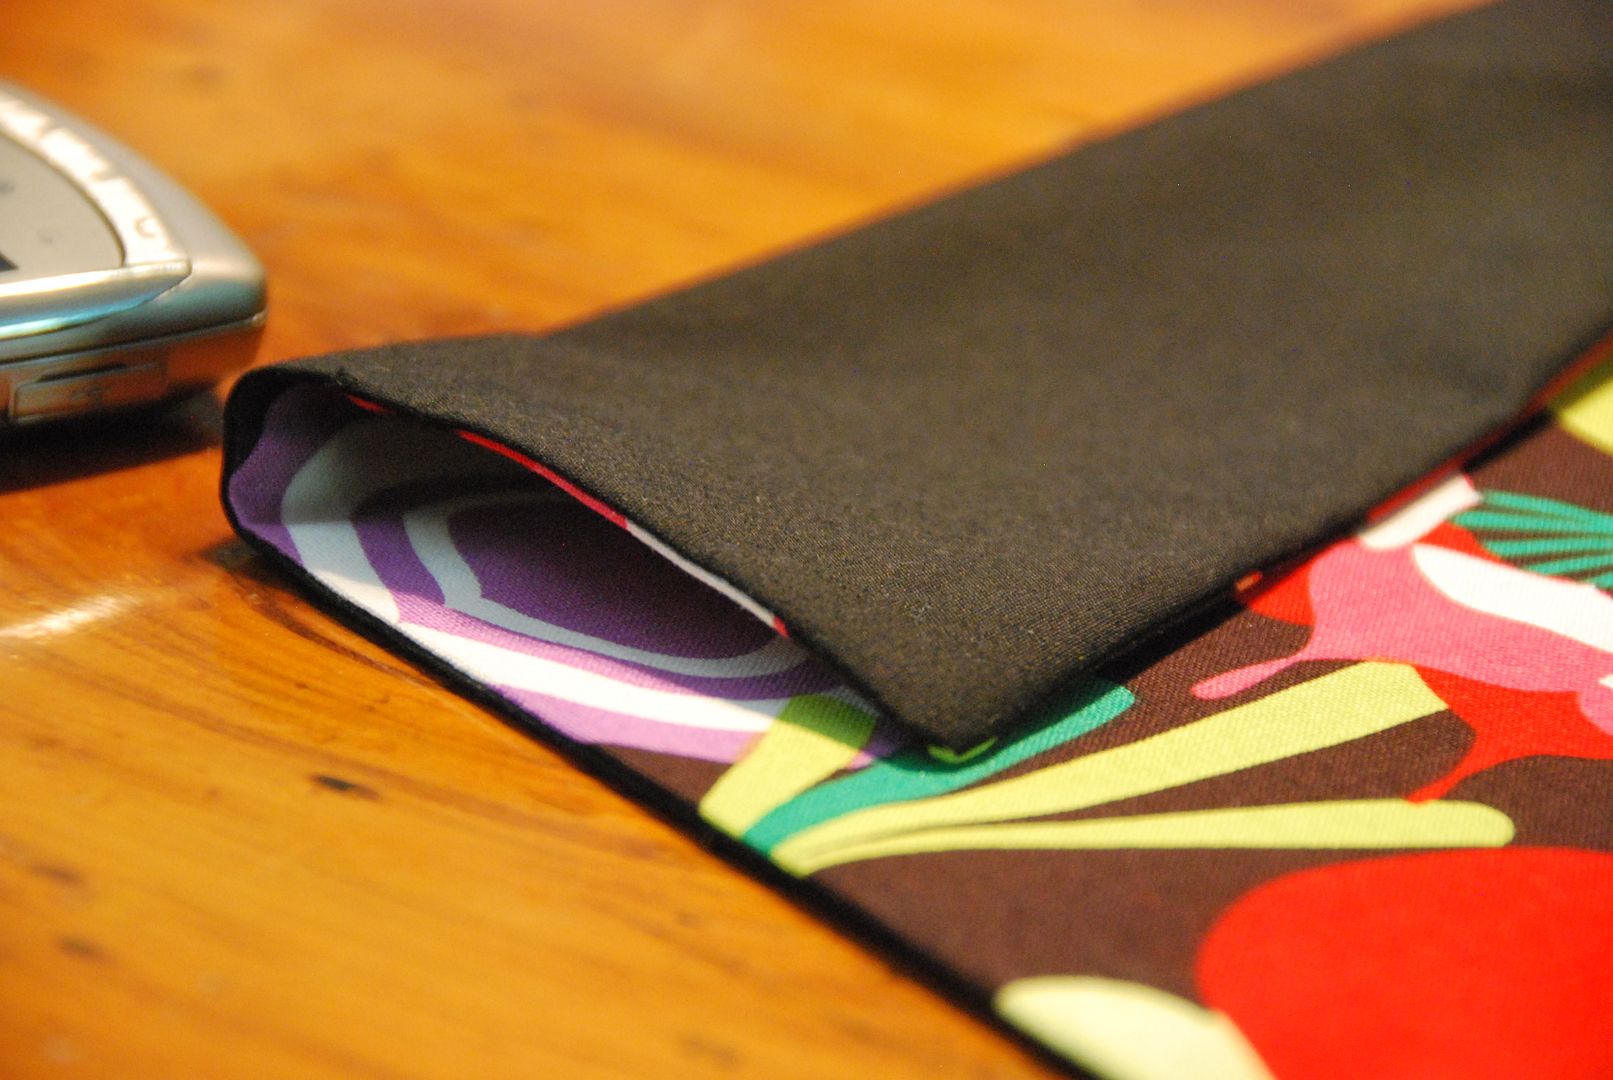
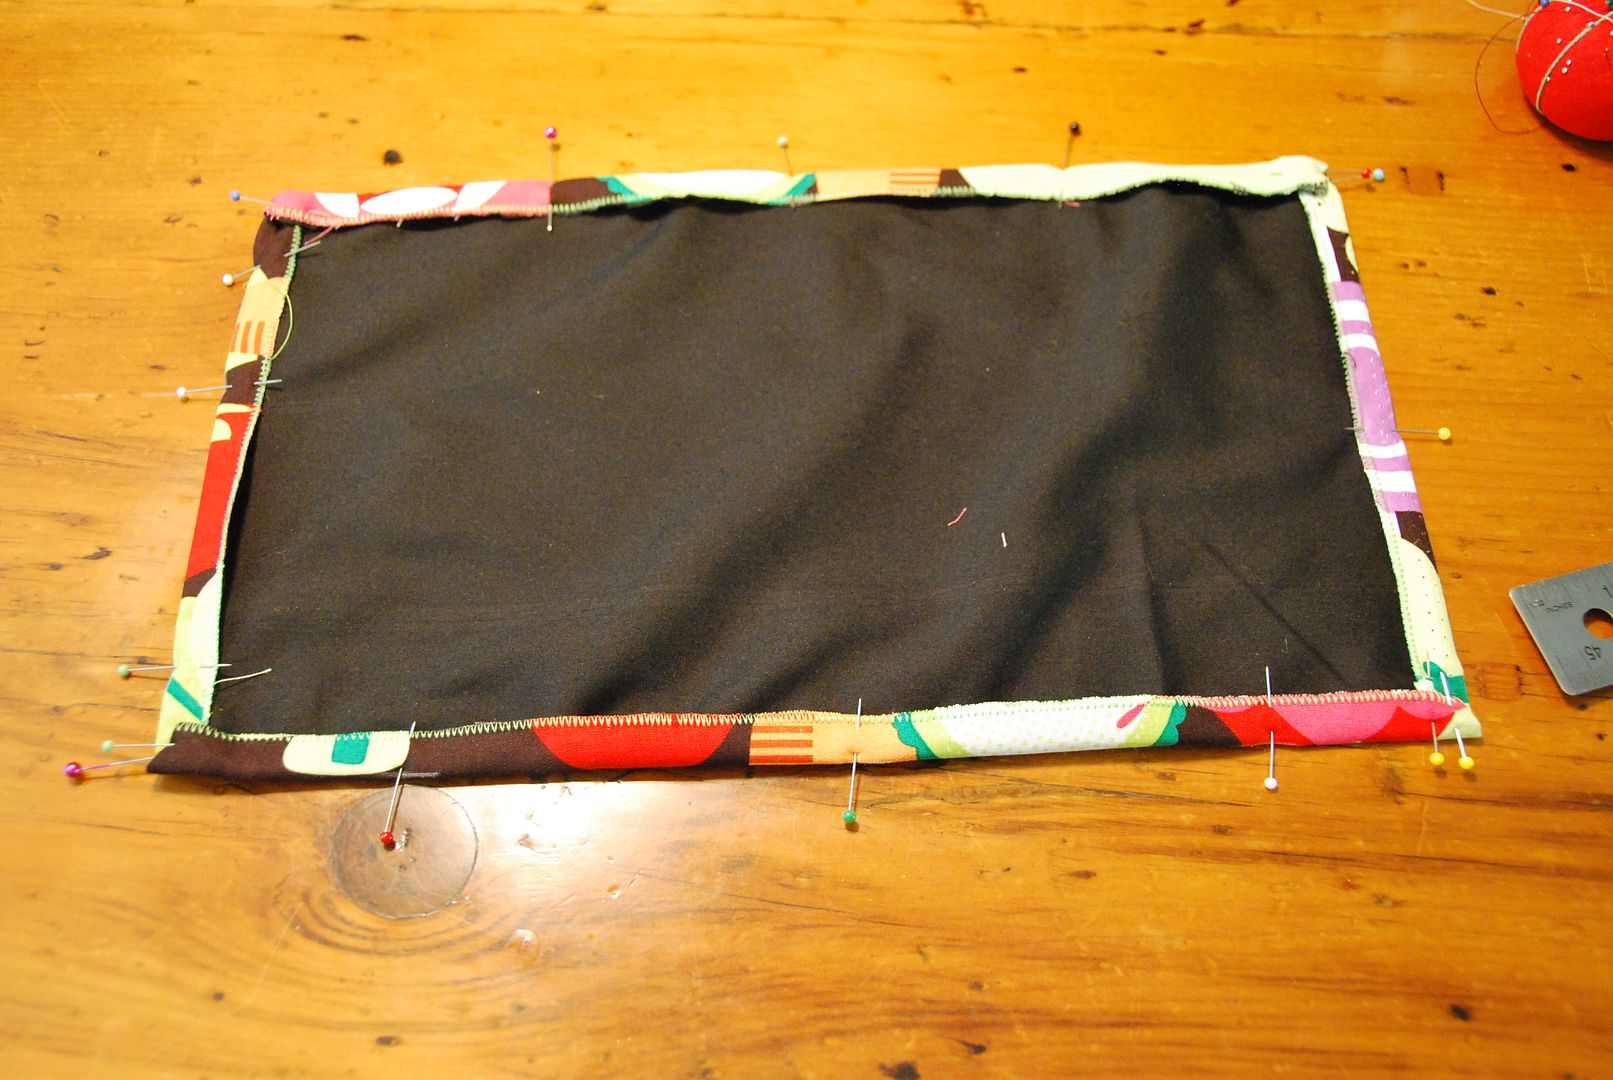
To make a front pocket I cut 2 rectangles, one of my main fabric and 1 of my black fabric. I used a zig-zag stitch around the edges to attach them together and stop them from fraying. The I folded in the edges to the back, stitching down the side that would be the top of the pocket, leaving the rest pinned in place.
Finding the center and the right height placement for where I wanted my pocket I pinned it in place and top stitched it down on three sides. The I put a divider line of stitching in the middle of the pocket, effectively making it 2 separate compartment.

Overall this apron was fun and easy to make.