Showing posts with label suppi. Show all posts

Monday, February 10, 2014

February Update - 3rd Blogiversary!

Cheers to 3 years of blogging! Holy smokes! I can't believe it's been 3 years since I started this blog. Thanks for all the support guys, it really means a lot.

This year has been really eventful, and full of a lot of great costumes. My costumes for this year were Asuna (Knight), Presea, Asuna (alternate outfit), Kero & Suppi. I also constructed a lot of cool garments of my own design. I learned some new things this year, most importantly molding/casting, working with thermoplastics, how to rig tails and wings, and even special effects makeup! I have a few projects already on the go for next year. :D
Lots of great stuff to look forward to this year. Those who are following me on facebook have seen some of the work I have been doing on my original design costume, which I have been madly working away at for Costume Con this April.I have a variety of things planned for the rest of the summer cosplay season, but I won't give away any surprises yet. :P

Year 4 is bound to be epic! And once again, thank you to all who've stuck by me this long and helped me along the way. :)


For anyone interested in the stats: Among Bobbins & Thread now has more than 20,000 pageviews. The record for most pageview in 1 month is 2341! (It's always October!) My top 5 viewing countries are now as follows: USA (7930 pageviews), Canada (6026 pageviews), Germany (906 pageviews), UK (880 pageviews) and Russia (544 pageviews). My Cosmo Wig & Crown has snagged the spot as my most viewed post, followed by my Cosmo Blouse & Wings and my 10th Doctor Wig.

Tuesday, October 1, 2013

Kero & Suppi - Tails - Cardcaptor Sakura

For the last part of this tutorial lets talk tails! This was my first time making tails, so there was a bit of trial and error to get it right, but these ones turned out really well, and I am super happy with them. Particularly Suppi's; look at that fabulous spiral! :,D

Go here for the Shirts & Shorts, Wigs & Ears, Aprons & Wings and Props & Accessories! Special thanks to Eleventh Photograph for taking some great pictures of us! See us in his Otakon gallery!

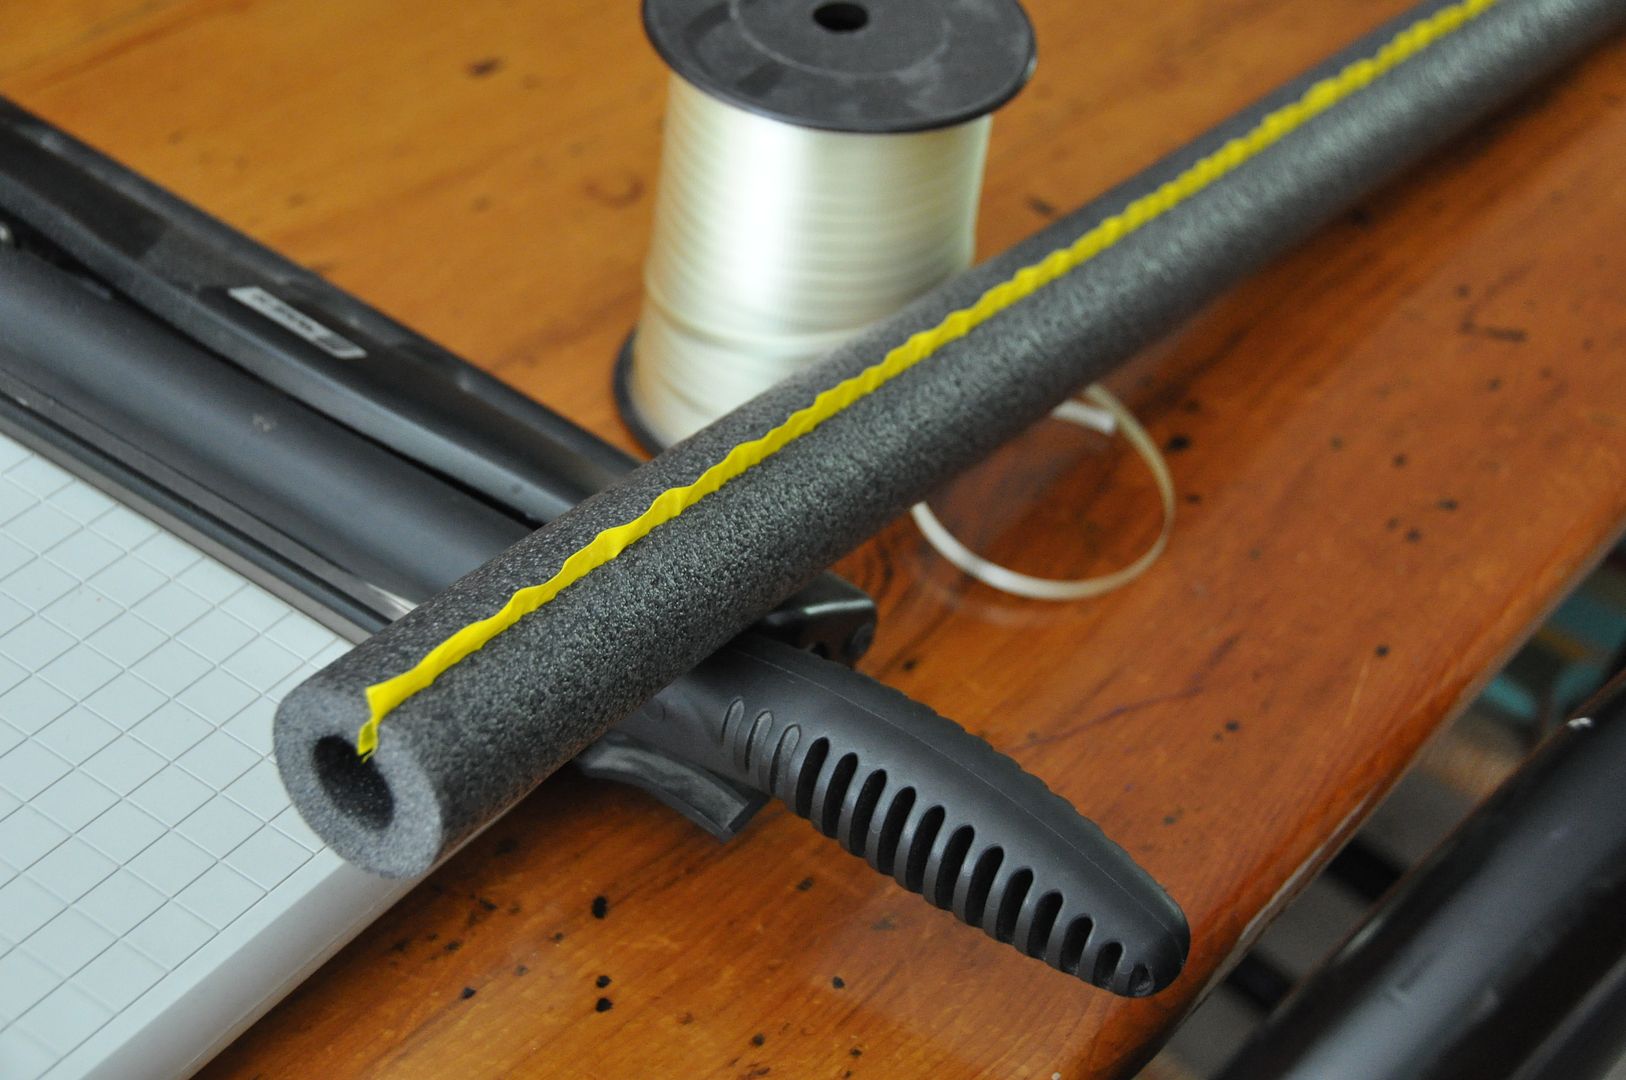
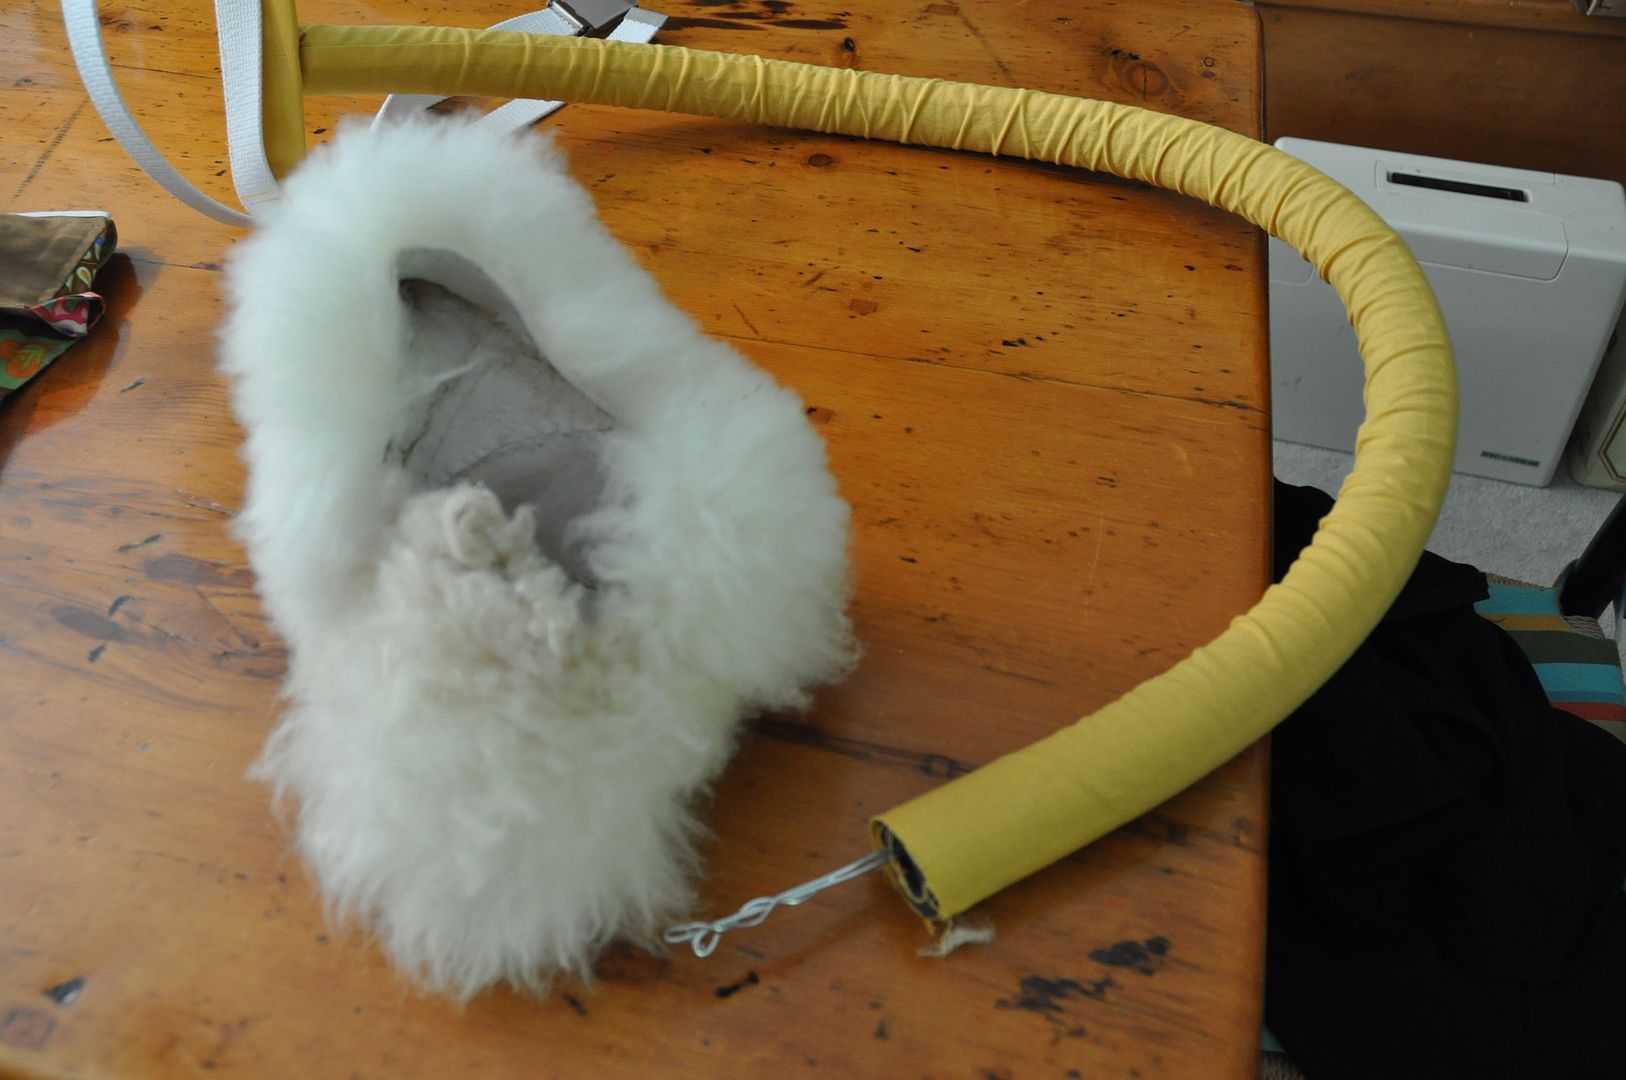
The secret to these tails is that they aren't stuffed; I used foam insulation tubing for 1/2" pipe. Normally this stuff is used in construction around pipes. It's a flexible foam tube with a slit in the side. You peel off the yellow strips and it adheres to become a complete tube. Also it's dirt cheap. Pretty cool stuff! 
Let's start with Kero's tail, as it was the easier of the two.
I started by cutting a section the length I wanted (keeping in mind the pouffe on the end would add to the length). Then I stuck 3 lengths of wire down the center, leaving excess at both ends. Then I pulled off the adhesive strip, closing the tube.
The end of the foam where the tail base would be I cut on an angle. Then I bent the wires into loops pressed off to one side. This would make the connection secure.

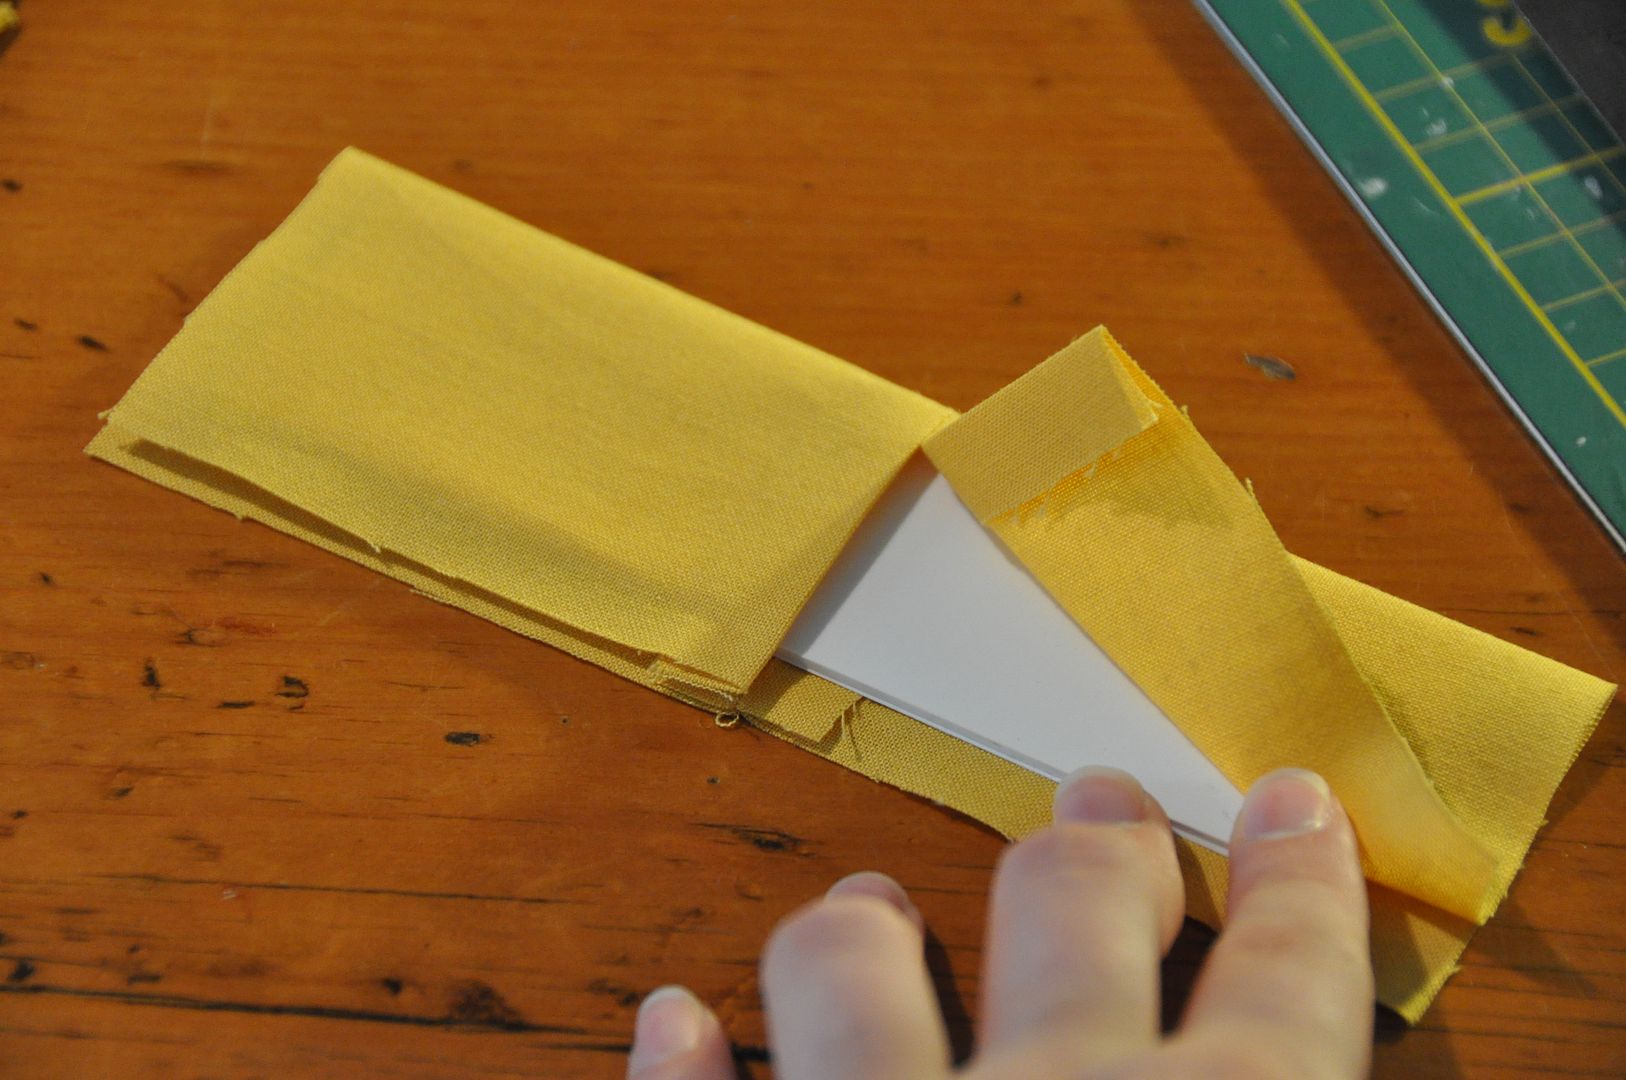
Then I made a long tube of my yellow fabric just slightly wider than the circumference of my foam tube that I snugly slipped over the tubing.
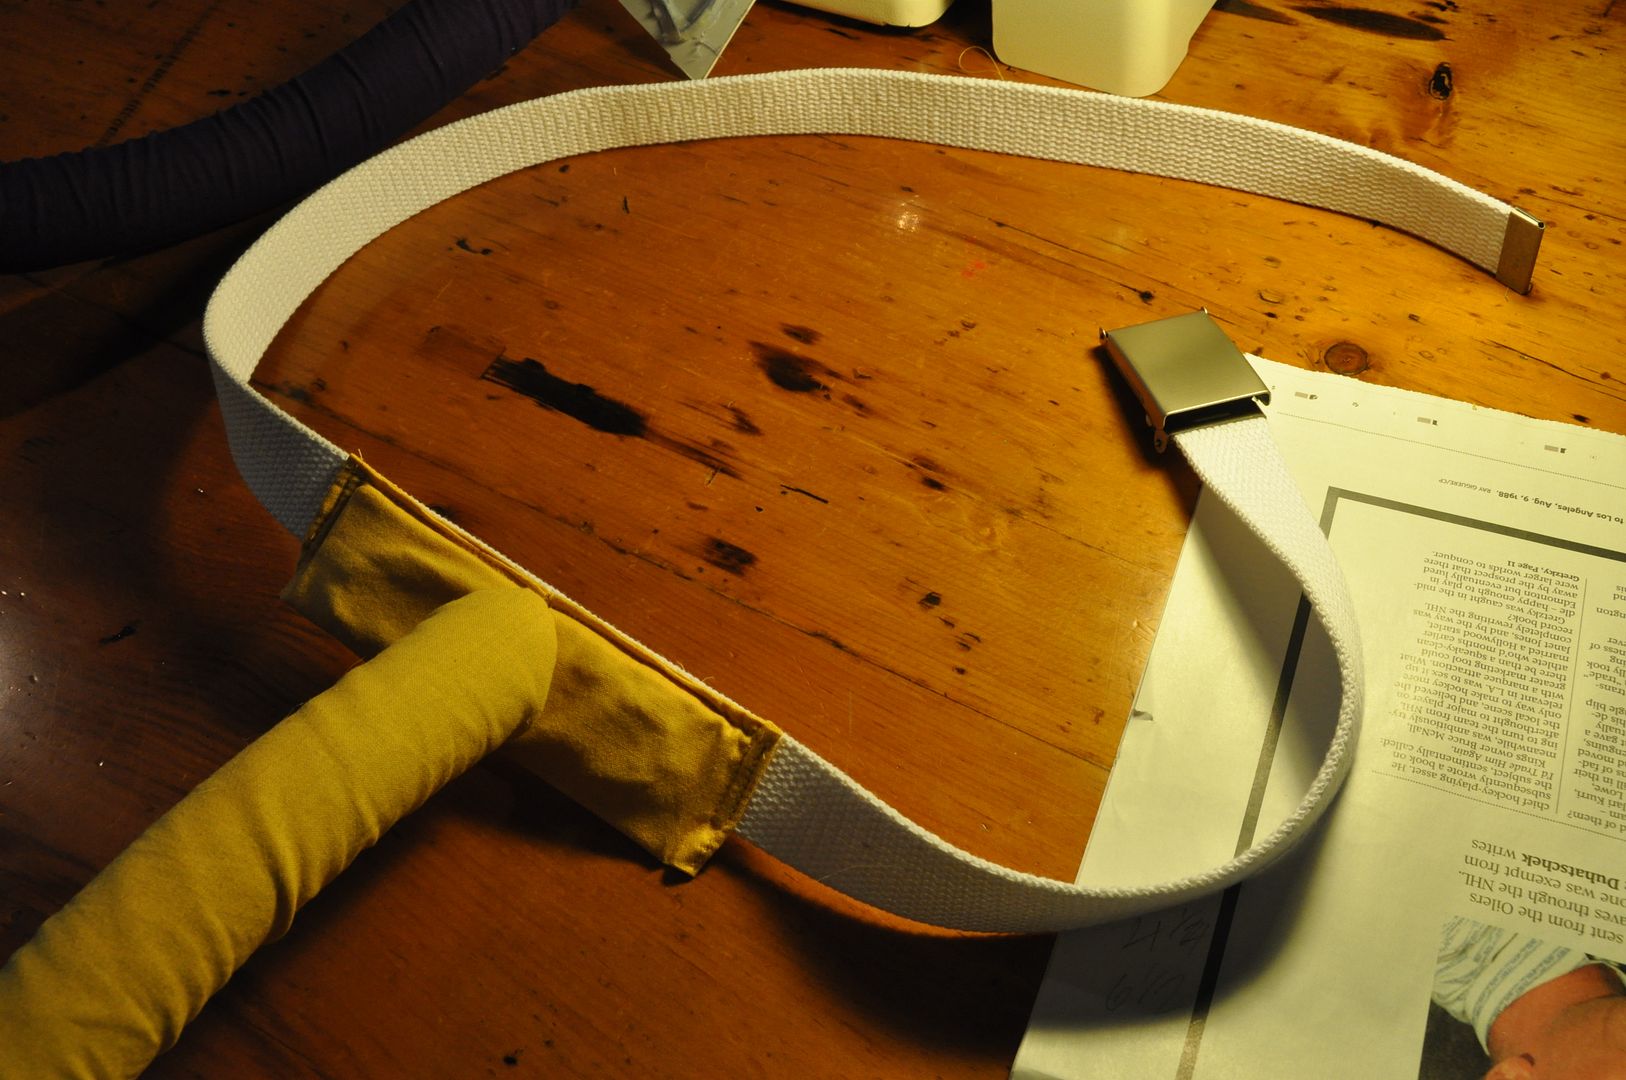
The base piece is a covered piece of styrene plastic. The cover has a slit built into it where the wires come out of it.

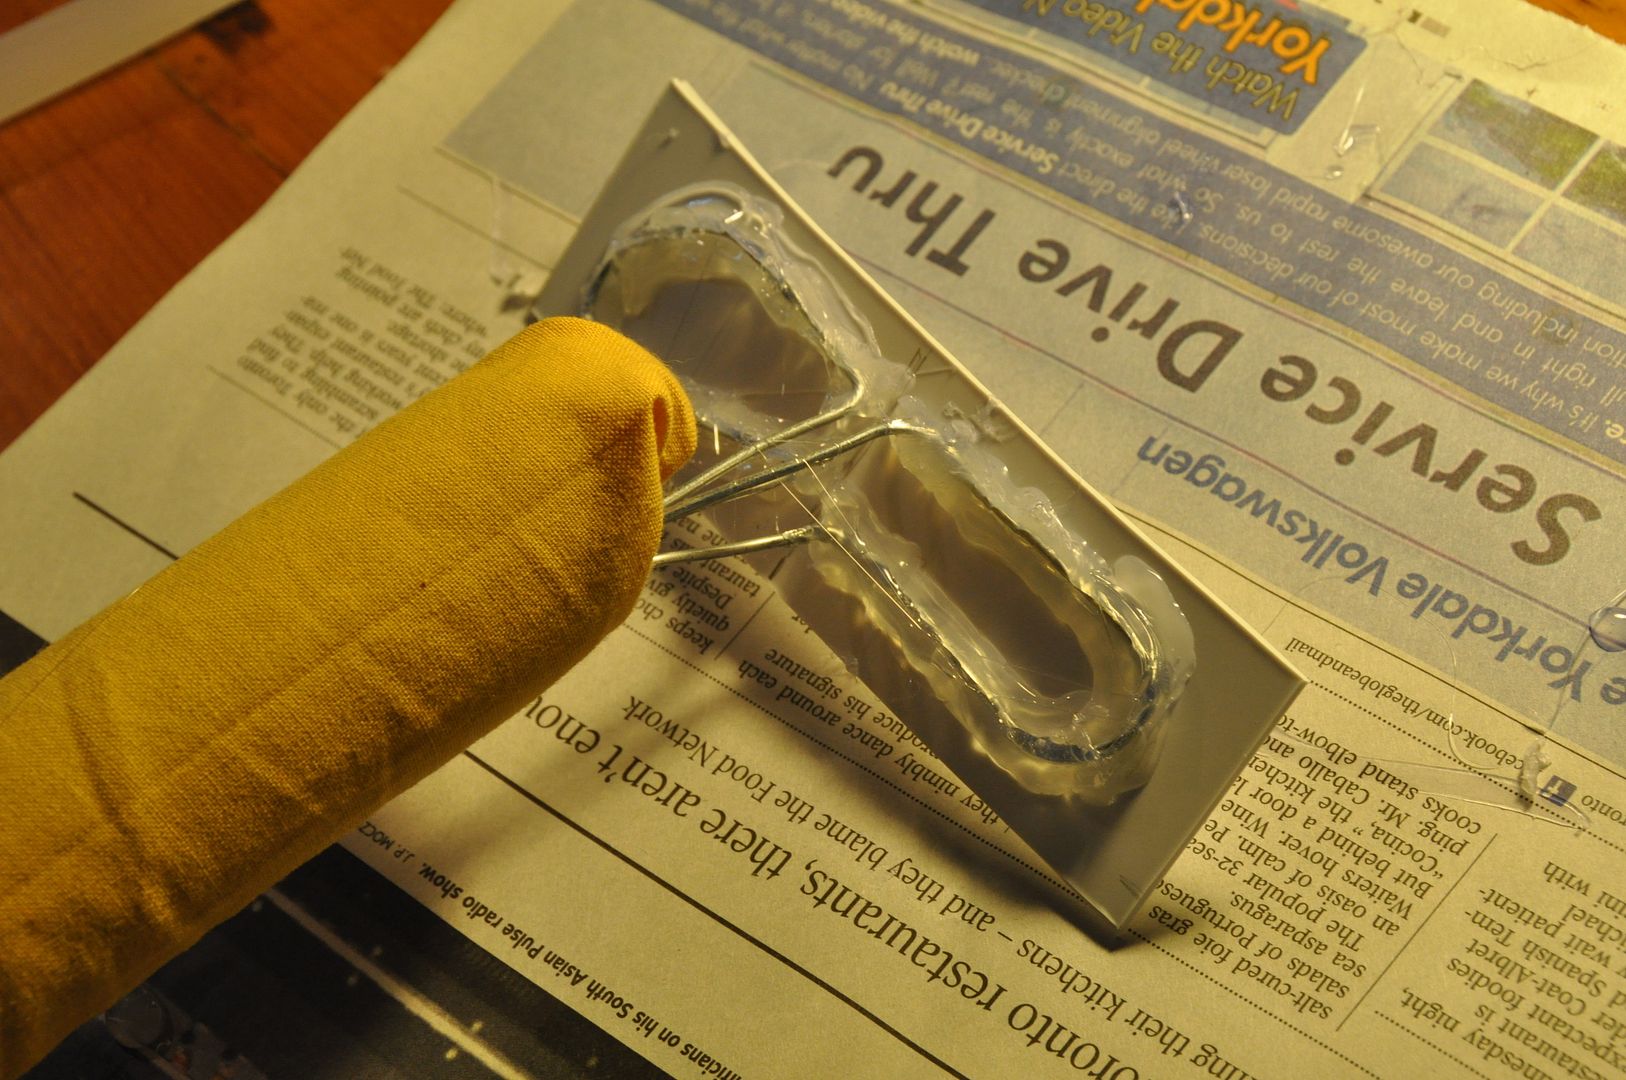
I drew a center line on this piece that would line up with the slit, then carefully glued down my wire loops using hot glue. The nice thing about styrene is that hot glue bond really well with it. But be warned if you make a mistake the lumpy glue will pretty much never come off.

Then I cut off the excess fabric, stuffed it inside the tube and hot glued it in place.

The slitted cover is then slotted around the wires and stitched together along the top edge. The cover is then sewn to a fabric belt. This kind of belt is easily picked up for cheap in Kensington Market in Toronto.

The pouffe was constructed out of leftover scraps from a costume of my sister's. That is actually part of a sheepskin rug from Ikea. :P

Suppi's tail was a lot more challenging to construct. The main issue was getting a spiral with a cover that wasn't completely wrinkly. This meant that part of the cover had to be a curved tube.

Making the spiral itself was pretty easy. I simply cut out triangle wedges from the inside edge of the tube to allow it to curve more sharply for the spiral portion. I fed 3 wires down the center, then removed the adhesive strip, sticking the tube together. Then I bent the wires into a spiral, keeping my slits on the inside edge. The length of tube was 4 ft, but I didn't cut it any shorter, as the length was necessary to make the spiral.
Then I made a test cover piece. How I patterned it is really quite easy. I measured the inside edge of the spiral, then the outside edge of the spiral. These two numbers I divided by 20. Using these two products I then made a trapezoid pattern piece that would then be drawn 20 times to form a C-shape.
I cut 2 of this shape, sewn right sides together, then flipped inside out. This was then slid over the spiral end of the tube. I made a normal rectangle tube to fit over the straight part of the tail.

Where the two covers met they were hand stitched together, and the tail end was hand stitched closed.

The base was done in the exact same way as Kero's. :)
And that's it for Kero and Suppi! These costumes were a blast to make and to wear! I loved having a tail, wings and ears. ;D I only managed to drag my tail through one puddle...

Tuesday, September 24, 2013

Kero & Suppi - Bows, Gems, Giant Candy - Cardcaptor Sakura

This is the fourth post for Kero and Suppi! This is just a quick look at all the props and accessories for these costumes. :) I always feel that props and accessories just make a costume that much more interesting!

For the rest of these fabulous costumes see the Shirts & Shorts, Ears & Wigs, and Aprons & Wings. For more pictures of Kero and Suppi see Eleventh Photograph's Otakon gallery!

First let's talk about those delicious candies! They were actually made by my sister. It was really nice to have a super light prop to carry around for the day.

My mint is made of 2 layers of insulation foam hot glued together. The edges were sanded down to be round. She then painted it white, then added the red swirls using acrylic paint. Alex's gumballs were simply coloured balls she got at the dollar store. Both candies were wrapped in cellophane.

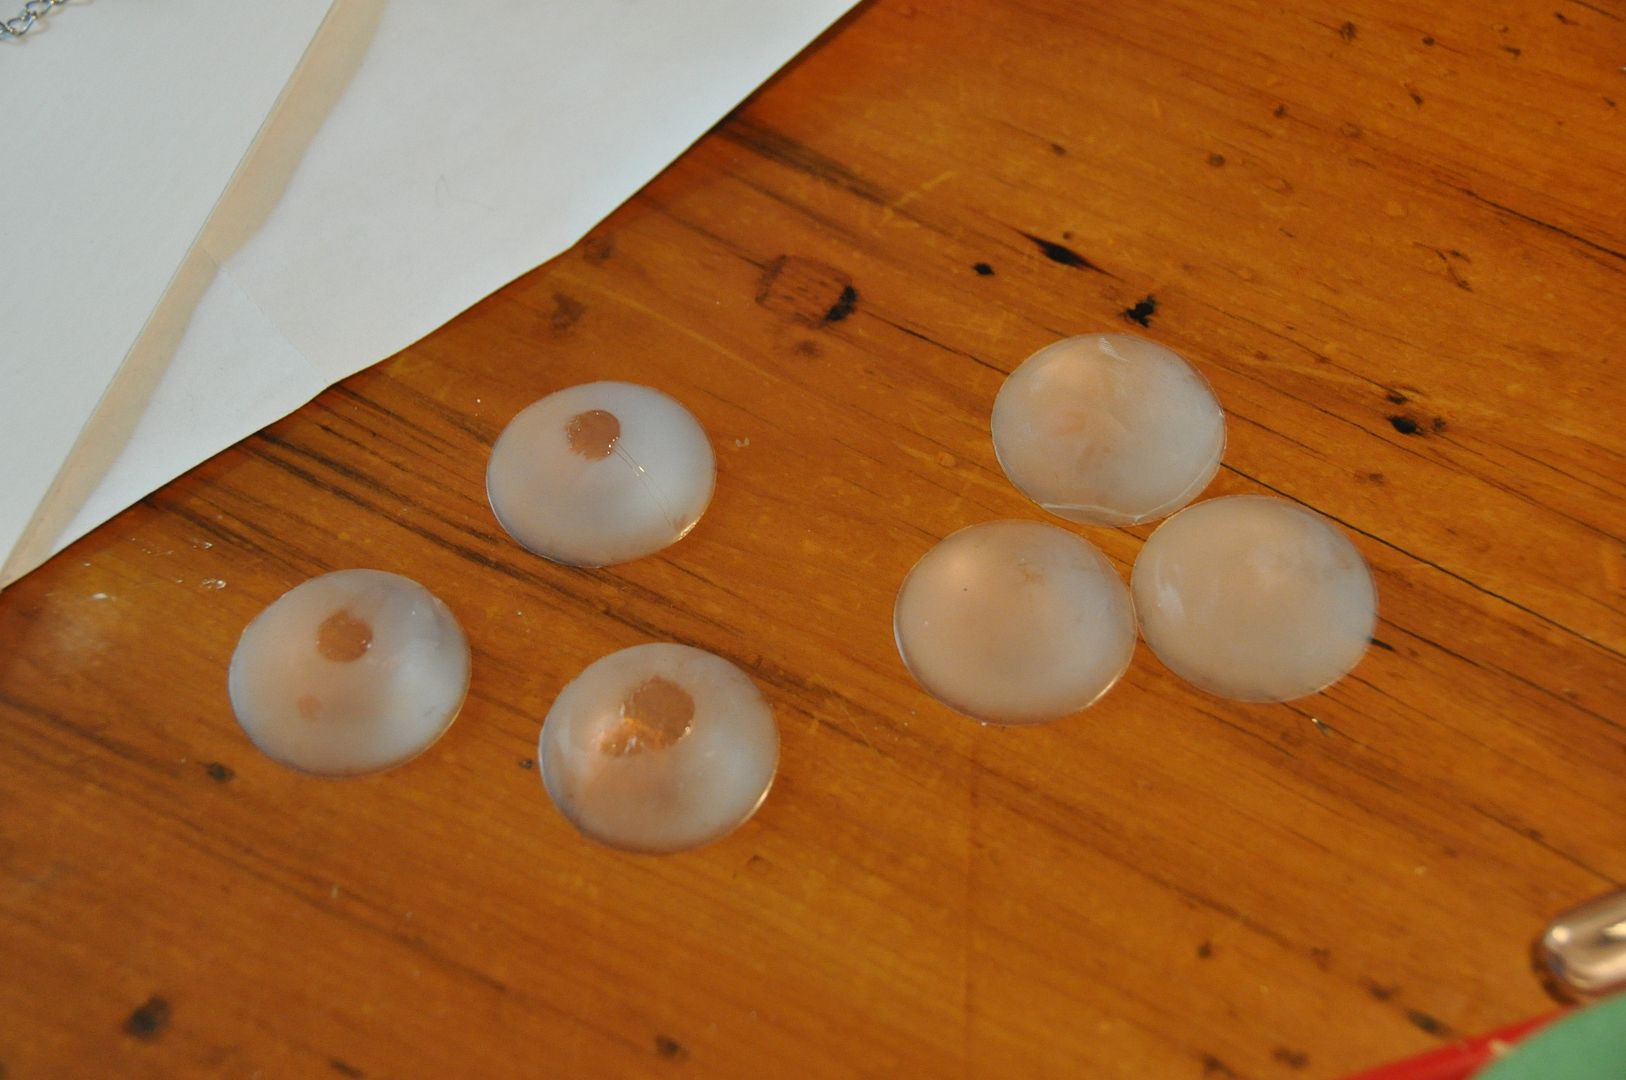
Alex also made our cool gems. For the gems we used a gedeo clear resin we bought at Curry's. Following the instructions she mixed the 2 parts accordingly and used a new paint tray as a circular mold. Then they were left to cure. We only needed 2, but she made 6. This was lucky because for whatever reason 50% of the gems didn't cure.

Then she painted them using nail polish. She backed them with a polish of each chosen colour (red and teal), then in order to bring out the shine she coated the top of the gem in a clear coat of nail polish. Trust me when I say that the clear coat is what turns them from looking "meh" into looking gorgeous.

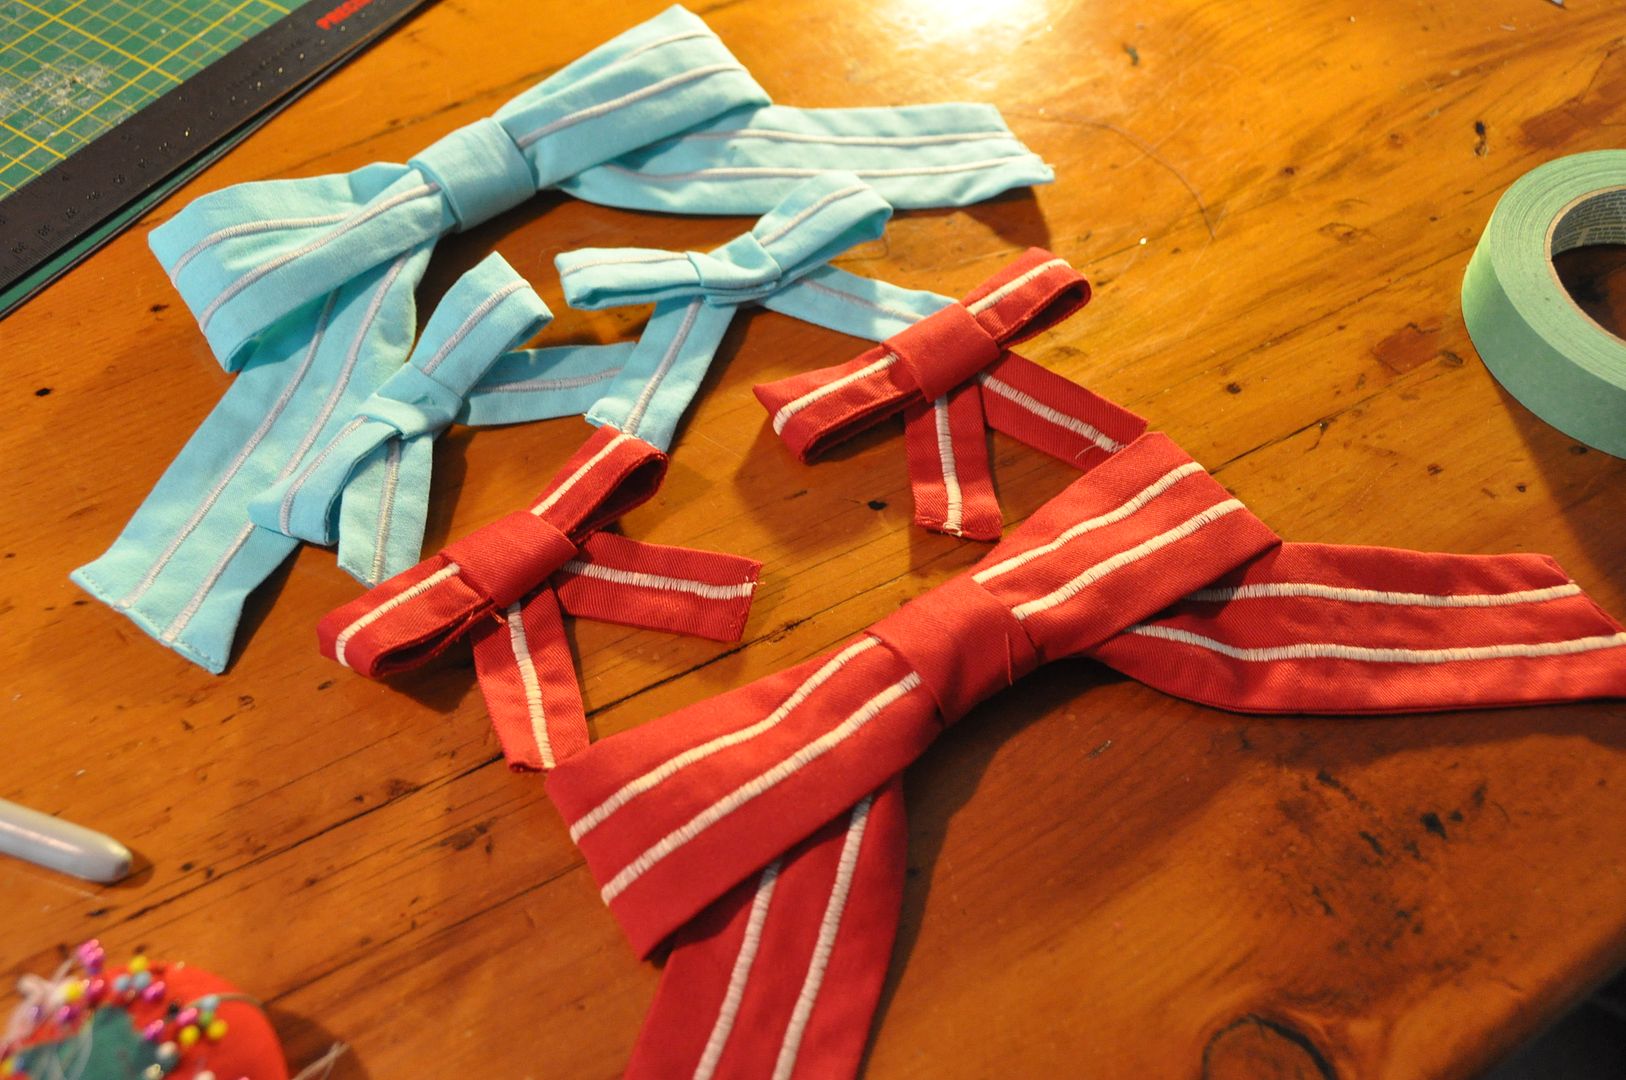
The next accessory was a set of 3 bows for each of us. Each bowtie was made of 4 pieces plus a neck band. All the rectangular pieces excluding the center were given stripes to match the aprons. The bows were hand stitched together, then the gems were hot glued onto the center. Finally to the neck bows I added a neck band, with a velcro closure. My sister's I made longer because she wanted to have her collar unbuttoned.

The shoe bows were simply attached to our own shoe laces with safety pins!

Wednesday, September 18, 2013

Kero & Suppi - Wings & Aprons - Cardcaptor Sakura

This is part 3 of Kero & Suppi's posts: lets have a look at the wings and aprons. On this costume the wing rigs are built into the aprons. (As opposed to on my Cosmo costume, where the rig was hidden under the costume, this rig is incorporated directly into the apron.)

The apron part was really easy, figuring out the wing rig was a little more tricky.

Check out Eleventh Photograph's Otakon gallery for more pictures of Kero and Suppi (and other awesome cosplayers!)

For more Kero and Suppi, see our Wigs & Ears and Shirts & Shorts!
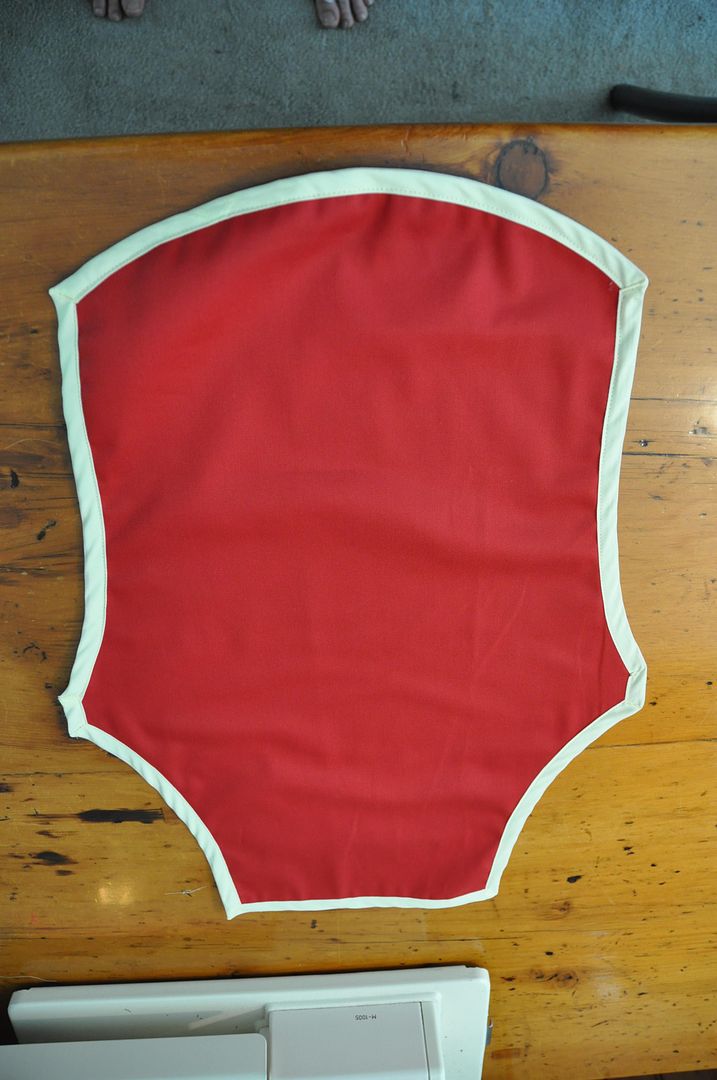
I started by making a paper tracer for each apron. I held it up to myself until I was satisfied with the shape, then cut out 2. The 2 layers were just for extra sturdiness.

I applied my contrasting bias tape trim around the edge of each apron.

This red is the leftover fabric from my red panda bag. :)  (Which is still for sale, if anyone is interested.)

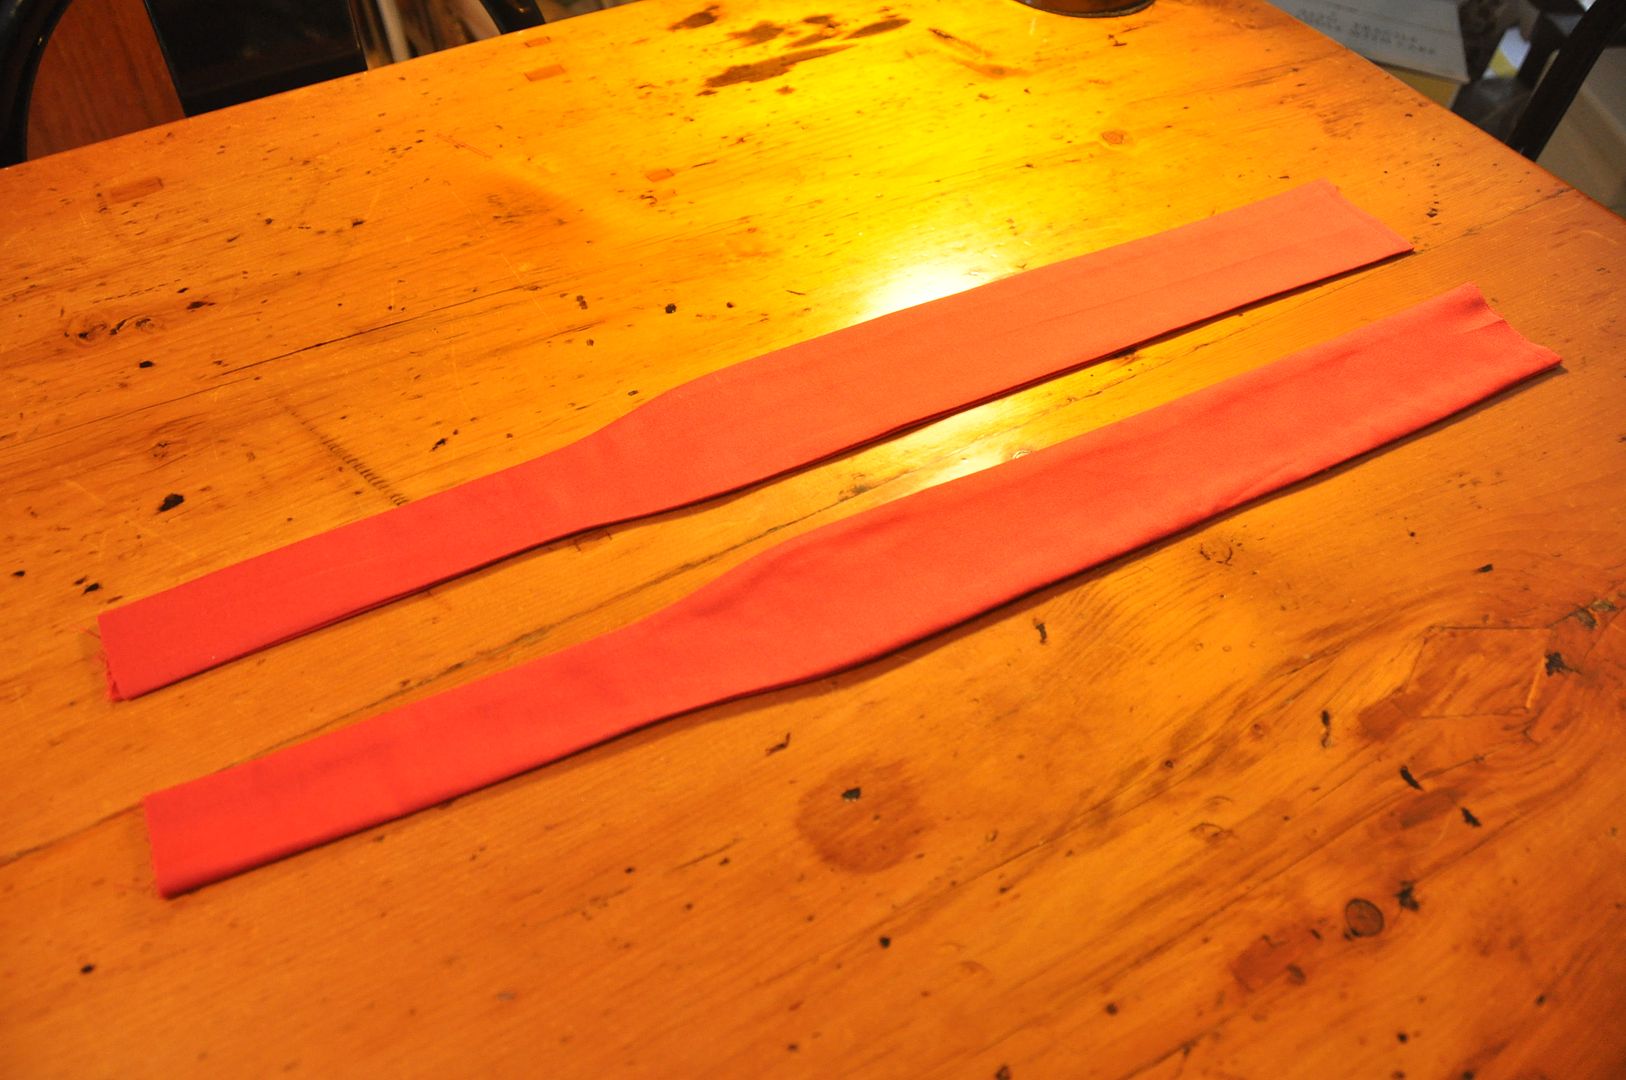
I then made two strips for the tie at the back. (I should have made mine a little longer.) These were narrower at the base where they attached to the apron and then widened partway. On these I marked 2 stripes going down the center. Along my marking lines I used my sewing machine to embroider a tight wide zig-zag stitch. This was much cleaner than attempting to paint the stripes on.

I made the 2 shoulder straps, marking where they needed to attach at the back and how long they needed to be. They needed to be fairly tight so the wings wouldn't droop, so I ended up having to tighten them later...

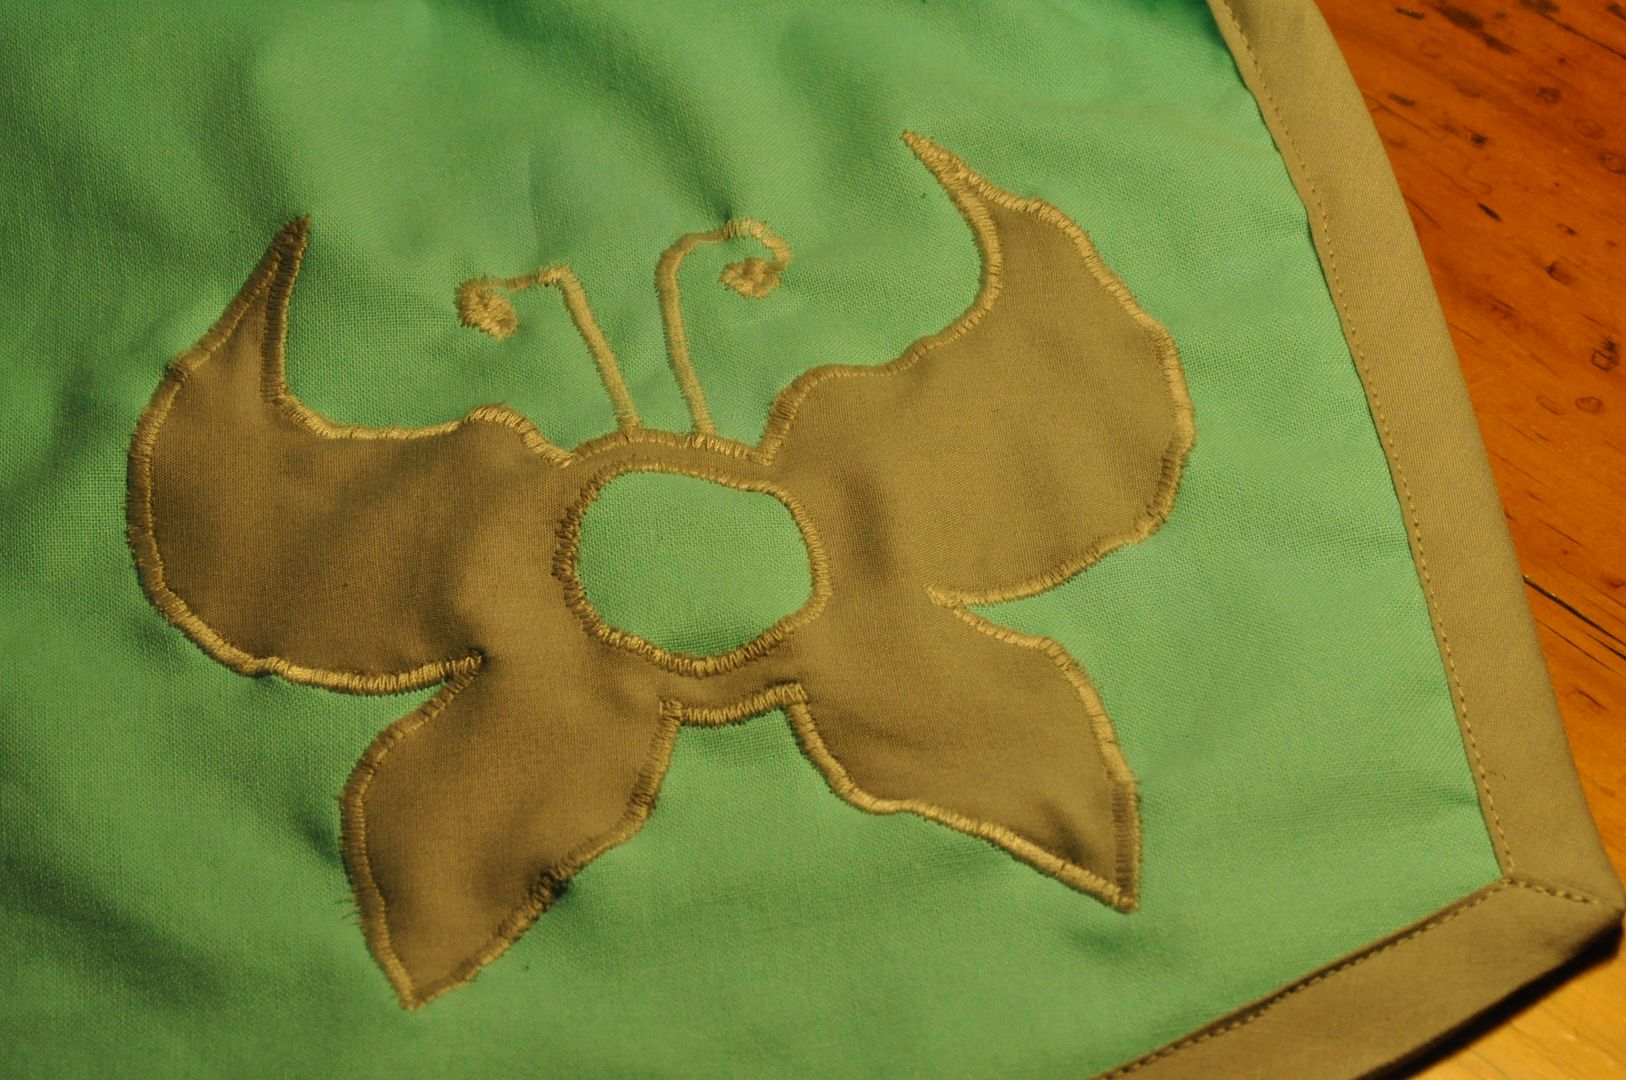
Then I cut out the pieces for the applique design. Suppi's symbol is based on the one from his "big form", Kero's is a simplified version of his sun symbol. (Meaning no wavy lines, as they would be impossible to do at this scale...)
Using a tight zig zag stich, I carefully followed the edges of my cut outs. For Kero's I did the pale star points, the inner lines and then the yellow star outline. For Suppi's I started with the inner circle, then the butterfly and lastly the antennae.
Once the apron bases were done, I started on the wings. Like many parts of this project I started with a paper tracer which I sized up to the actual person before cutting anything out.

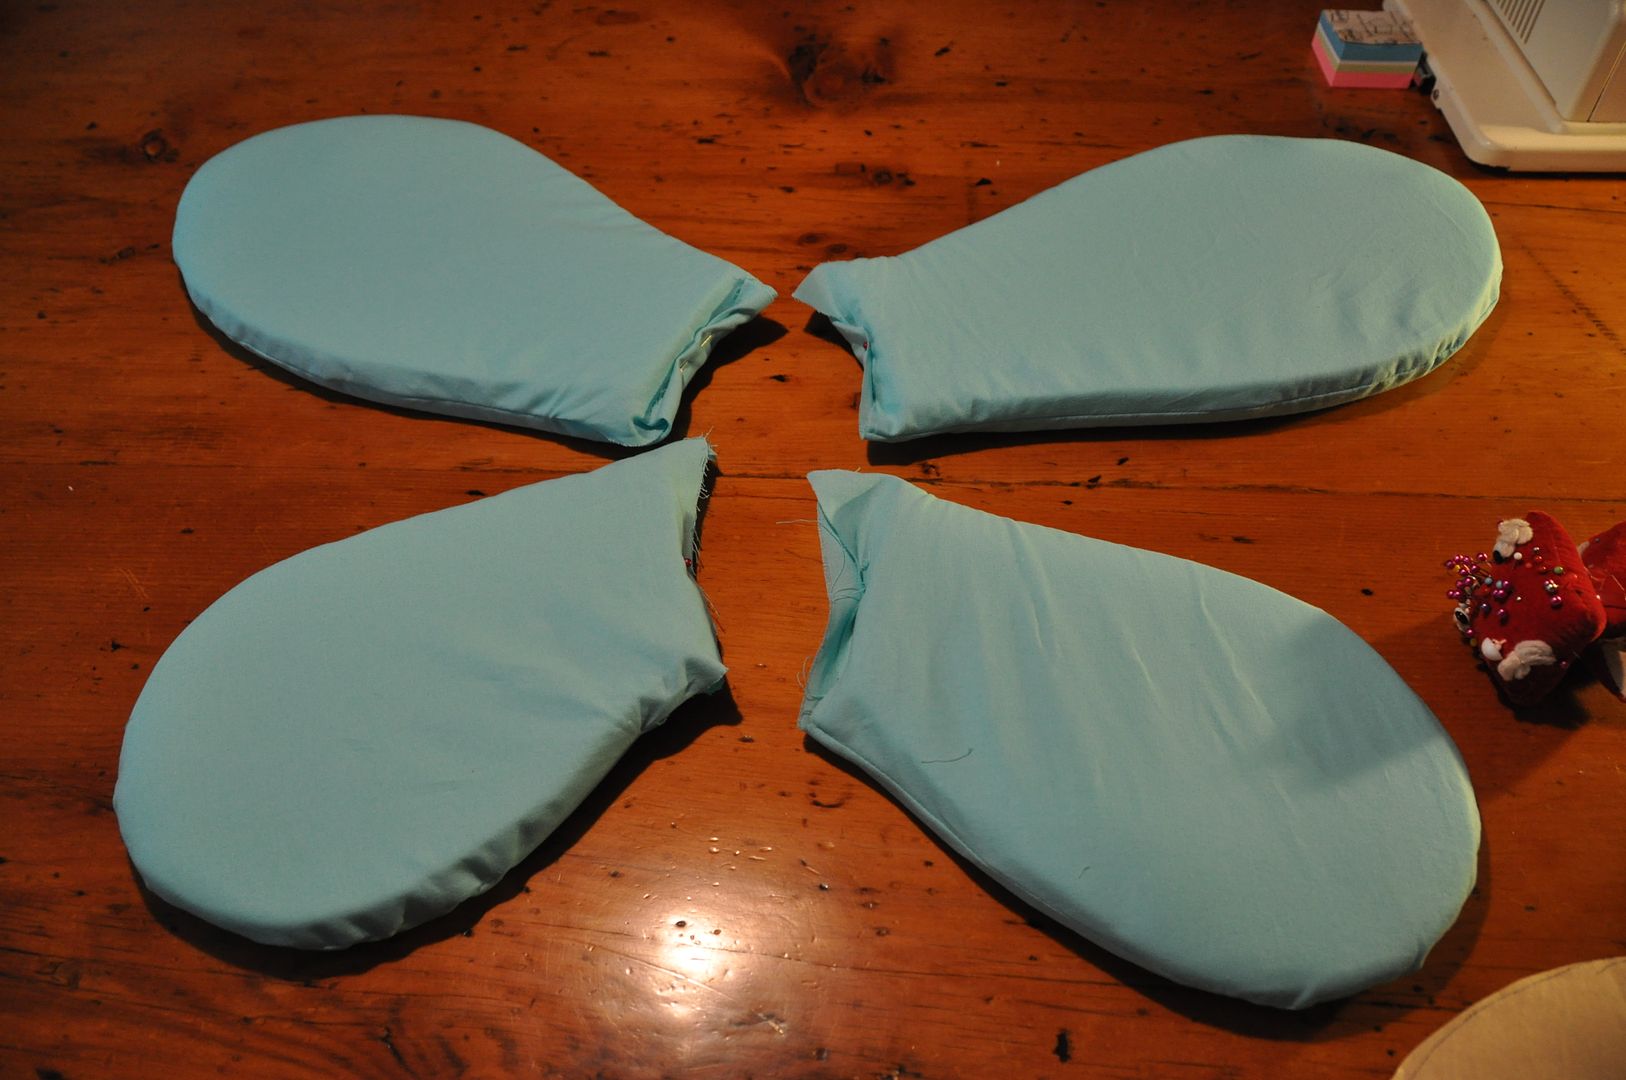
I then cut out the foam bits (double thickness for all wings), followed by the cover pieces. For the covers I made them slightly larger (by about 1/4"), as they had to go over an object with thickness.
I sewed the covers right sides together, leaving myself a large gap at the base through which I could stuff my foam cutouts.

On Kero's wing cut outs rounded out the edges, so they would fit the case better and look less blocky. Even then it was a struggle to get the wings in.

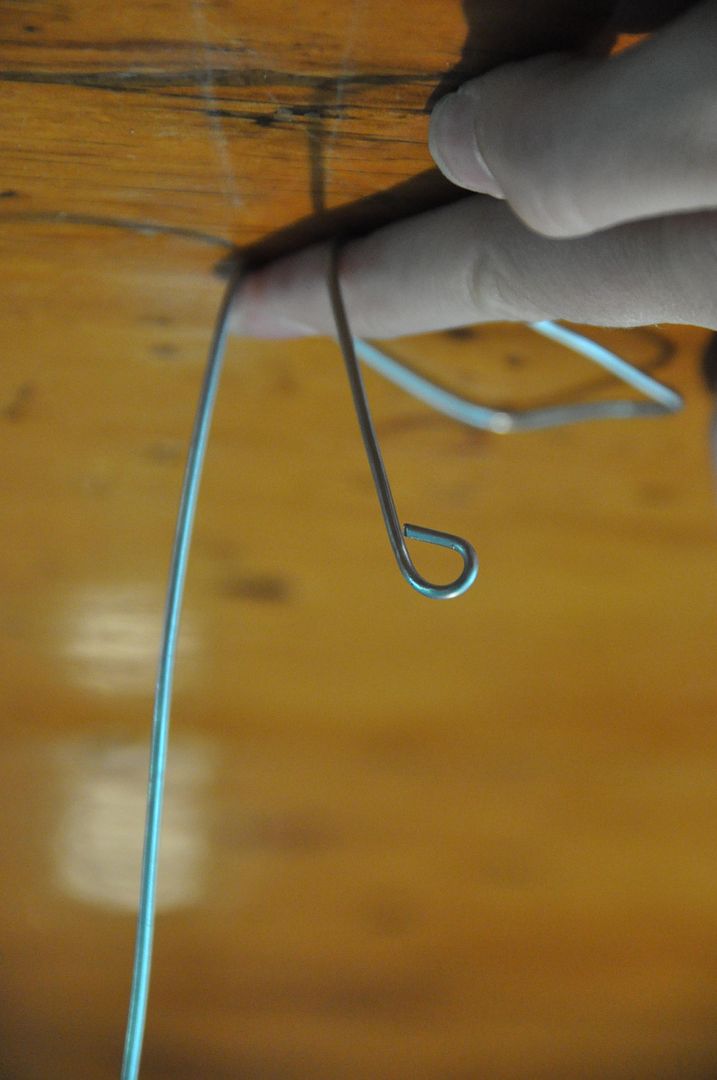
Then I started to work on the rigging. Kero's wings were sort of the trial and error run, before I figured it out and streamlined the process for Suppi's. I started with a piece of wire (1 for each wing) that I bent like in the picture above left.  These would slide through the opening in the base, up in between the 2 layers of 1/2" foam where they would be secured later.
I then cutout a back panel, using the fabric matching the shirts. The whole back piece would be made of styrene panels secured inside  a fabric casing.

I slid the wires inside the wings and placed them on the back panel to see how they would sit together. I marked where I needed to put the holes for the wire to stick out of the back panel. These holes I did in the same style as normal button holes. These were only on one side of the fabric cover.
Keeping the wires the same distance apart as on the panel, I marked and hot glued the wires down to my base pieces, made of rectangles of styrene.

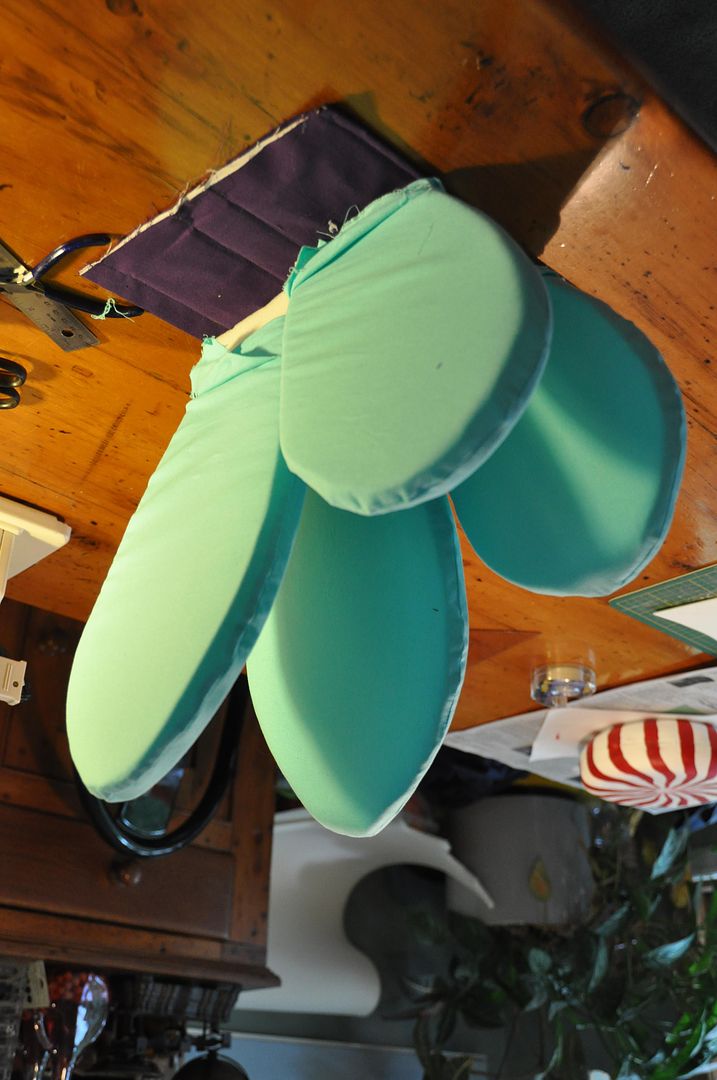
Unbending the ends of the wires for the time being (they were bent over so they won't poke holes in the foam wings), I slid them between the 2 layers of fabric and out through the holes in the back panel. When in place I stitched a line  along the bottom and top edge of the panel to keep them from sliding around.

At this point I re-bent the ends of the wires. Then I carefully marked and hot glued the wings to the wires.
Then I had my friend Alli assist me by tucking all the covers underneath and hand stitching them together to finish them at the bases.

Lastly I made the 2 swirls for Kero's wings. This was simply 2 ovals of foam that I made cases for. When they were together I stitched the swirls directly onto them, through the foam layer, giving them the plush look.
These were a lot of fun to wear, though mine kept sliding down at the back. This could have been fixed by making my back panel bigger, as my sister did not have this problem at all.

Tuesday, September 10, 2013

Kero & Suppi - Wigs & Ears - Cardcaptor Sakura

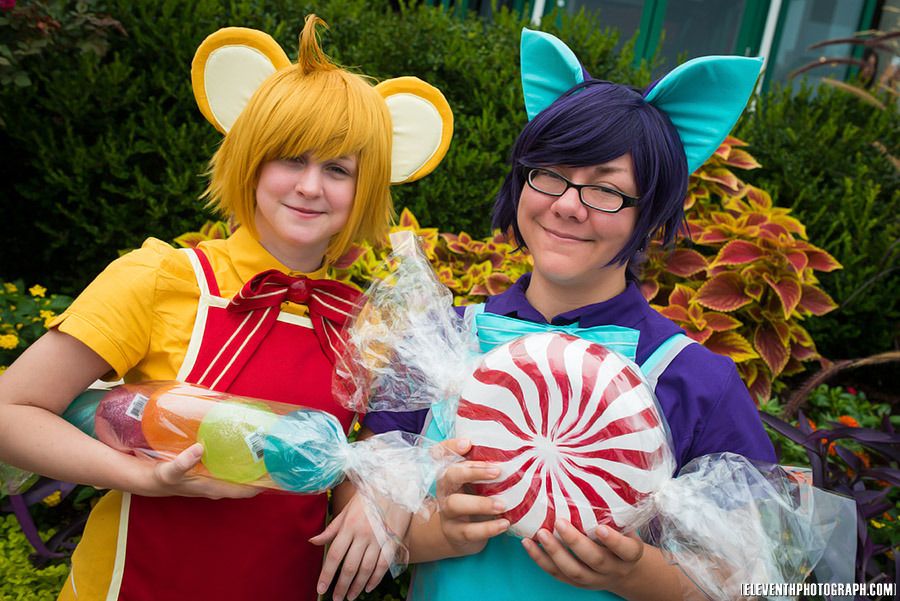
Lets talk wigs and ears! So for these costumes I actually had to start by ordering the wigs. Because these gijinka costumes are so colour specific,  I had to ensure I had the right colour wig and then buy my fabric to match that colour. I got both wigs from Epic Cosplay. This was my wig for Kero, and this was my wig for Suppi. It was difficult for us to decide on a colour for Suppi, as he is one of those characters that is a different colour in every reference picture; sometimes he's grey, navy, black or purple. We decided to go with purple as it complimented Kero's yellow nicely.

Once again, thanks to Eleventh Photograph for our mini photoshoot! Go here for the Shirts & Shorts
I started by cutting bangs into both Kero and Suppi's wigs. I was careful to feather/layer the hair so it wouldn't look straight cut.

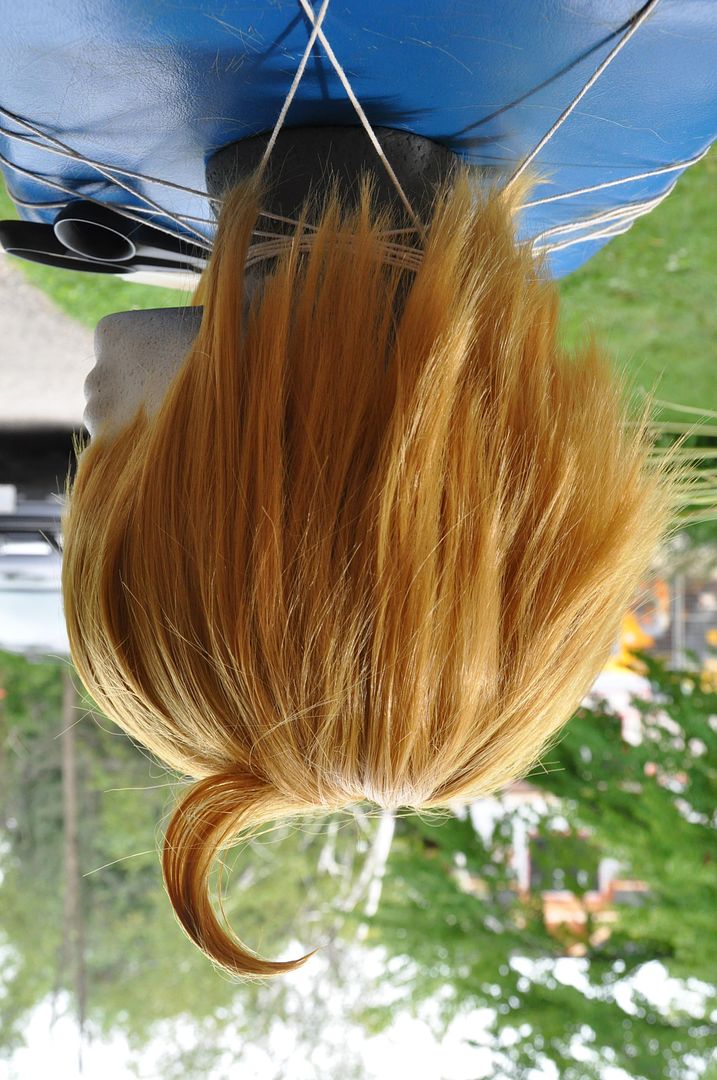
On Kero's wig I shortened the back a bit. I like this wig style for Kero as the kick at the back give him a little more attitude. I also added a cowlick (or ahoge) because he is a bit of an idiot and I think it suits him. :P

On Suppi's wig I left the back long, which was later tied into a cute ponytail. :D
I then made a paper cutout of the shape I wanted for the ear to help me determine sizing. I cut out a foam piece using my paper as a tracer. Then I cut a c-shape to fill the outer rims of each ear. These border pieces were hot glued in place. I bevelled all the edges of the foam pieces so they weren't so square. They would look less blocky in the cases that way.
 I cut 4 pieces that would be the ear covers. Then I made the inner ear accent pieces. These were sewn right sides together and flipped inside out so they could be neatly top-stitched onto the ear. With one piece of the cover pinned carefully in place underneath, the inner ear accent pieces were top-stitched directly to the foam insert.
Then the cover pieces were sewn right sides together, then flipped right way out to cover the foam inserts. Then I added an extra layer of foam into the back of each ear.

The raw edges were then folded inside neatly and the bottom of the ear was stitched closed.

I carefully marked where I wanted the ears place on the wig using hair clips, parted the hair and stitched the ears to the wefts and undernetting of the wig.

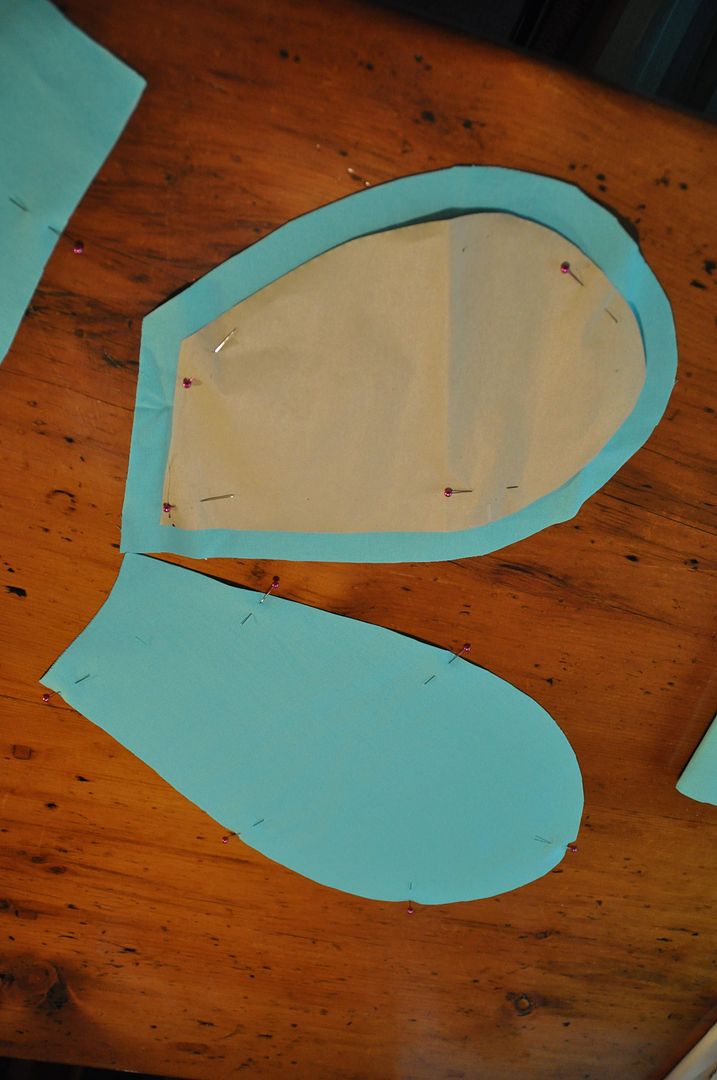
For Suppi's ears the process was a little different. I made a paper cutout that I curved and mocked up on the wig. When I was satisfied with the shape and size I cut 2 ears out of foam. I cut out a small dent at the base where I wanted the ear to bend the most.
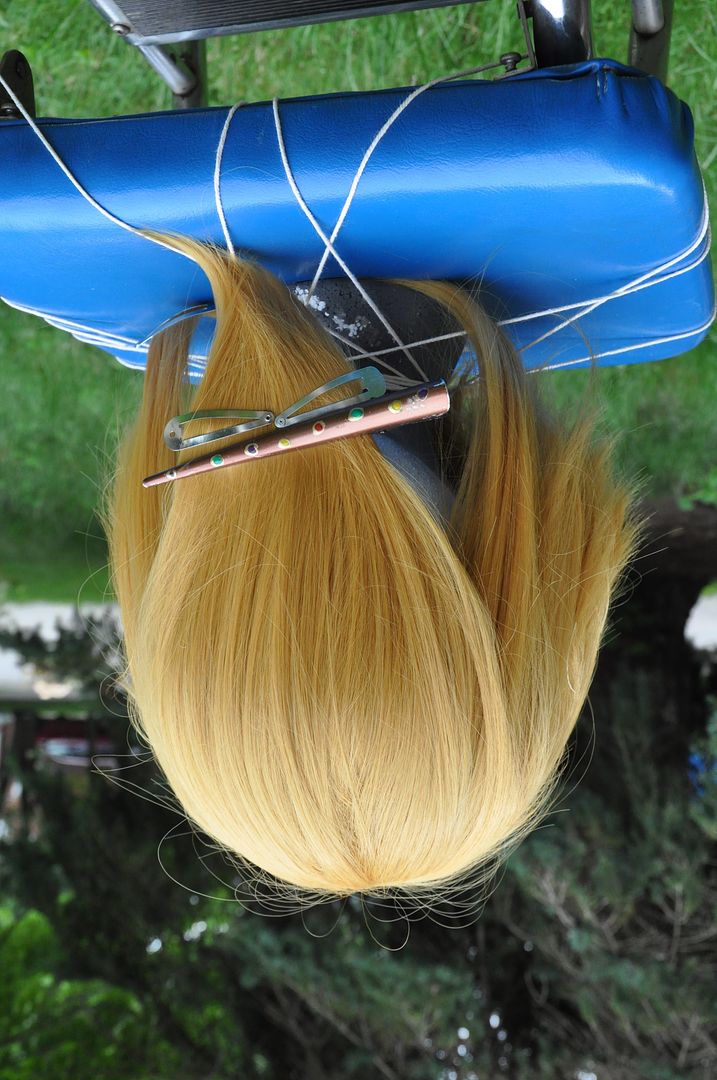
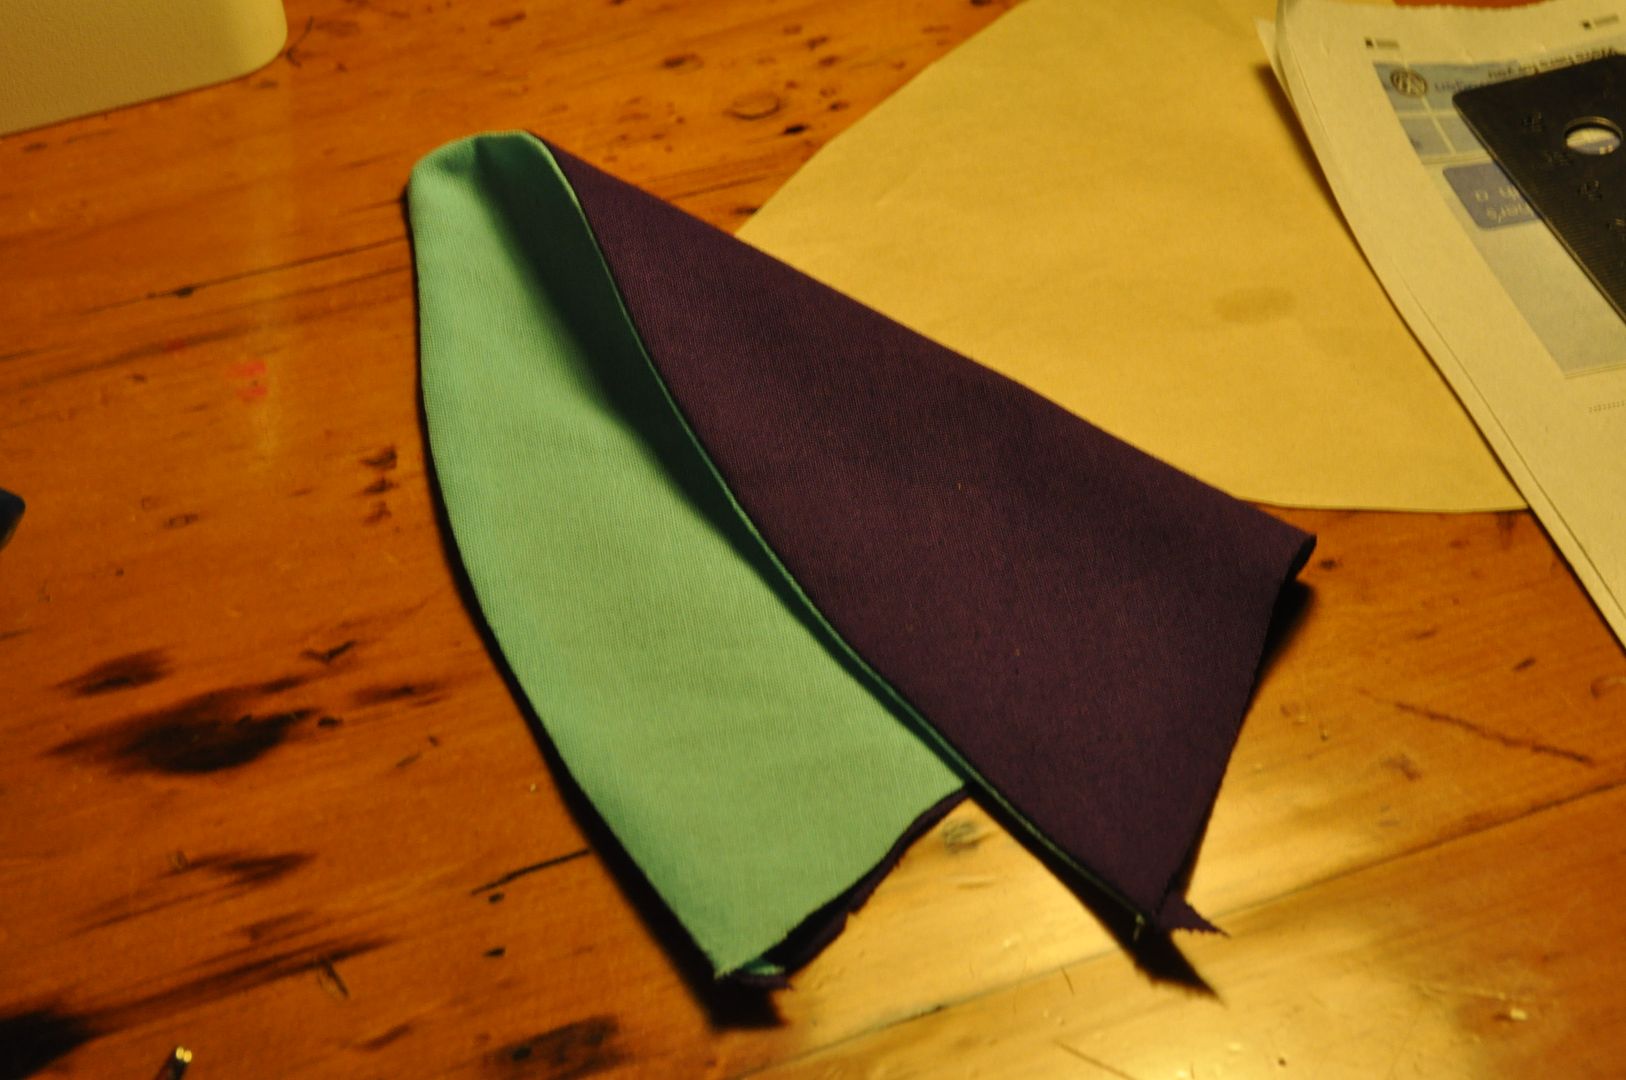
The covers were much easier than Kero's. Each ear cover was simply made from 2 pieces of fabric (one side teal, one side purple), slightly larger than the foam insert. These were sewn right sides together then turned right way out and pressed.
The foam was then slipped (more like shoved) inside the cover, and the bottom stitched closed with the raw edge folded inside neatly.

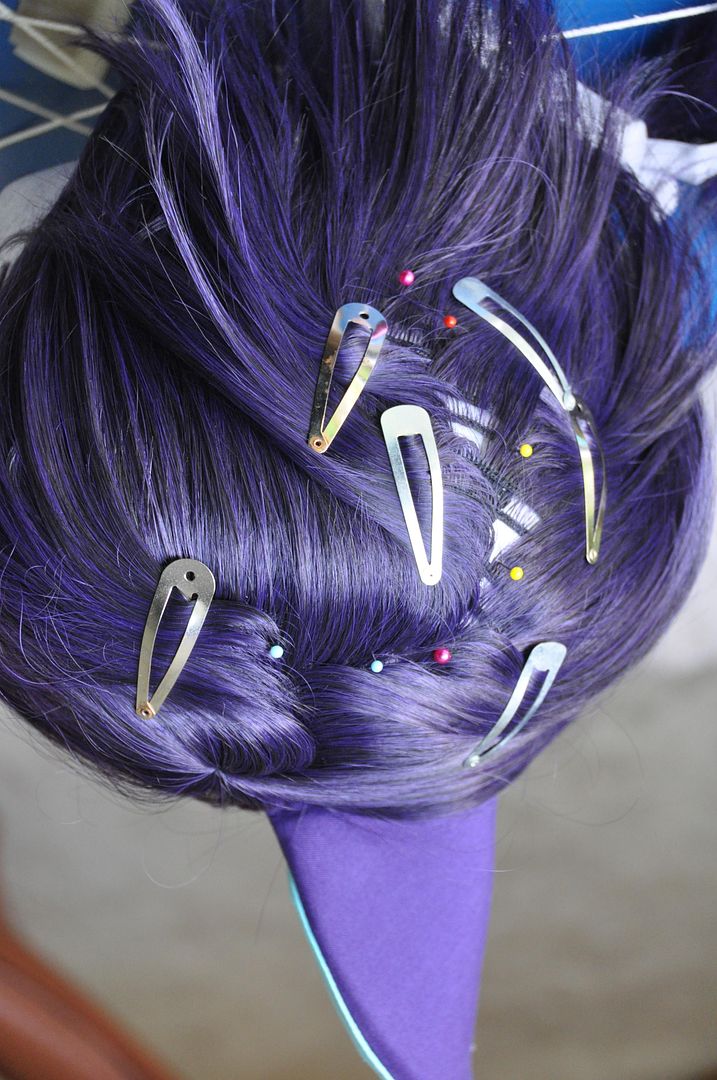
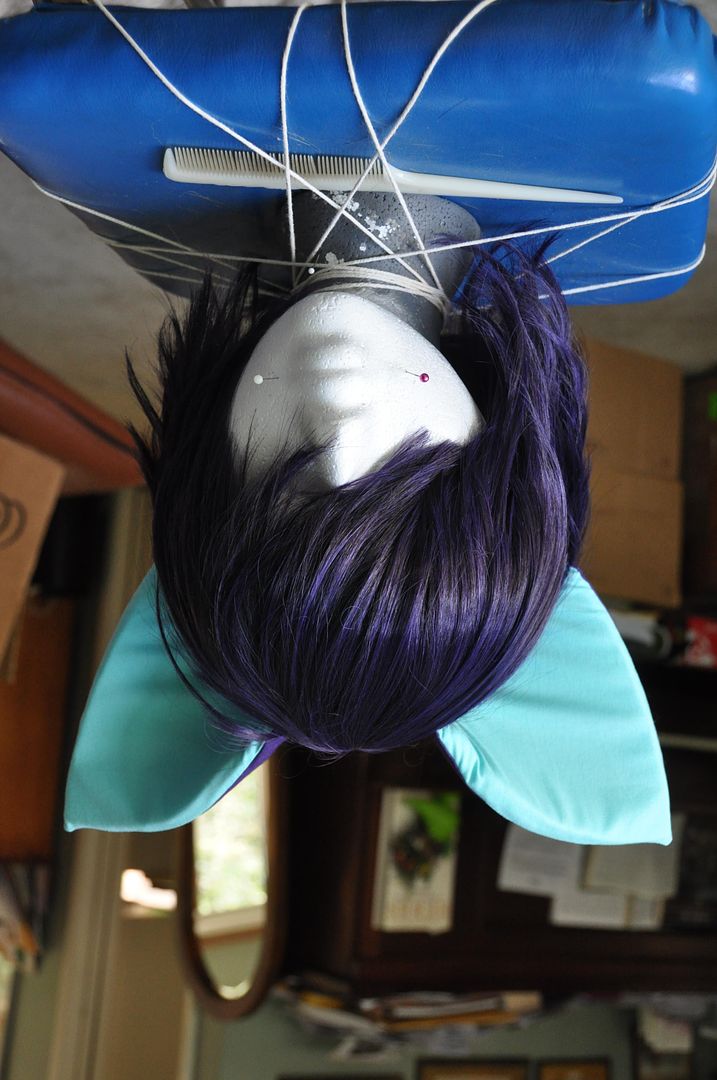
Like I did for mine, I tried the wig on my sister and used hair clips to mark the placement. (This is particularly important if you have a large head, as placement will look different on the wig head than on your actual head.) Then I put the wig on a foam head and re-marked where the ear would go using sewing pins. Then I clipped the loose hair back, away from the area and stitched the ears on by hand.

I liked having the ears attached to the wig as opposed to clipped on. It's nice to wear the wig and not have to worry about the ears slipping/becoming lop-sided, though it does make the wigs a tad more difficult to store. The foam ears were really light and easily stood up on their own, without needing any wires (though I imagine larger ears would require some infrastructure).

Overall these wigs were great to wear, and fun to make. My cowlick sustained some damage during the trip down (which was not unexpected as the car was pretty packed with stuff), so it needed some TLC at the con, but it held up well when I wore it.