Showing posts with label caulking. Show all posts

Wednesday, October 23, 2013

Presea - Wig - Tales of Symphonia


(Edit: Now with completed photos!)

This was my first time doing a pigtail wig. This method is more difficult, and far more time consuming, but less expensive than the method I used for Asuna's wig. For Asuna I bought a second wig and used the wefts from that to cover the netting at the back, but for Presea I chopped off the bottom half of the wig and used the leftover hair to make the wefts for the back. This only worked because Presea's pigtails only had to be longer than her shoulders (as opposed to Asuna's, which are supposed to be almost down to her knees).

In order to do this with one wig, I bought a 50" pink wig from Epic Cosplay.

(To see how I made the Dress, go here.)

For Presea's pigtails, I chose to go a little less extreme, I wanted them to have volume, but not be crazy/ gravity defying.


 To start, I divided what I wanted to be the front part of my wig (bangs and side burns). I made the bangs a bit choppy, making sure they covered some of the wefts that would be pulled into the pigtail underneath. I started with a lot of hair at the side, but thinned it out, and transformed about half of it into bangs.
I carefully parted the back of the hair along the center back of the netting.  Pulling the hair into pigtails I could see how much netting would be exposed. Also you can see how little volume is in those pigtails. (Some of it was added simply by adding all that extra hair in the back, the rest was done later with lots of hair spray.)

At this point I tried the wig on and figured out exactly how long I wanted the pigtails. I marked this point and chopped off the bottom of the wig, keeping all the loose hair carefully bundled.

Then I set about adding in the wefts. I took a large embroidery needle and would take small bundles of hair fibers lick the ends and thread them through. I would pull them about halfway through the needle. Then I would stitch the needle in and then out of the wig (from the outside). I would then pull one side of the bundle all the we through the wig. I would do this several times, then I would take caulking and smear it around the inside of the wig, sealing the fibers in place. Then I would wait for it to dry, then repeat.

(I totally marathoned "Murder, She Wrote", while making this wig. As the process is long, tedious, and does not require much brain power.)
 This was a messy process, and in the end it made the wig a bit lumpy. I cut out some of the excess lumpiness.

I had bought a heat sealer for this process, but it didn't work. It got hot, but wouldn't melt the fibers. We tried to contact the seller, but they ignored all our emails, so I was quite peeved that I spent 40$ (+shipping) on a useless piece of equipment.
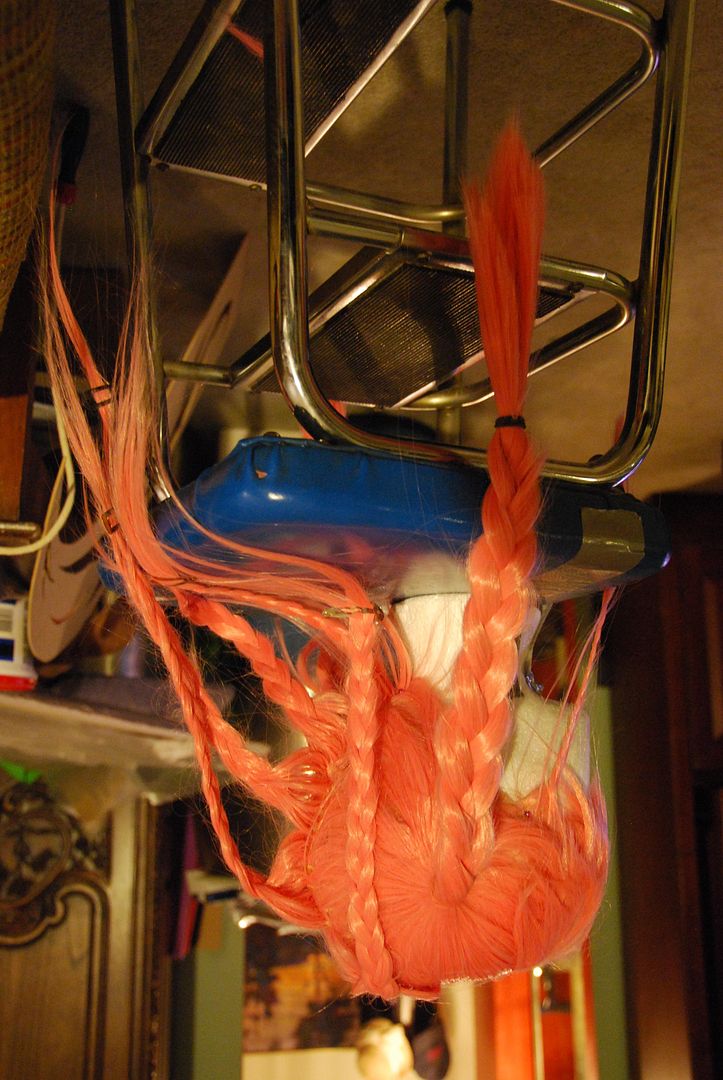
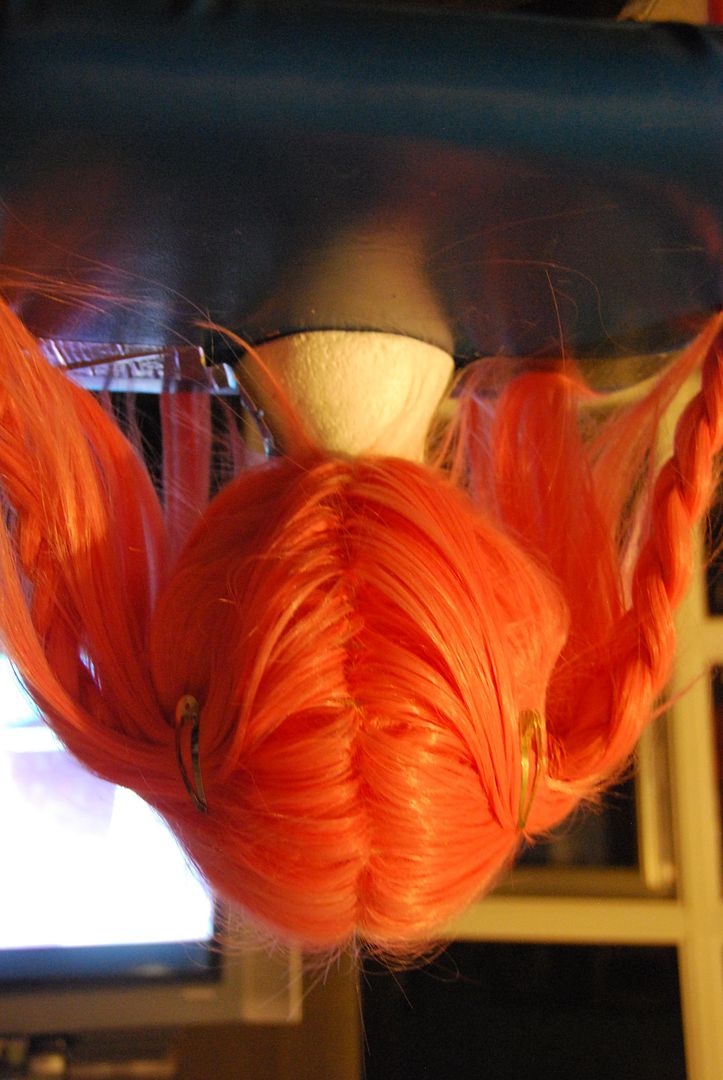
With all the loose hair around it was much easier to braid all the sections I wasn't working on so the wig wouldn't become hopelessly tangled.

Then carefully, using a comb, I parted the back. Now it looked much better than when I started!
First I thinned out the bottom of the pigtail, so it would look so straight cut. The layers helped make it look more spiky/punkish.

The next step was to add some volume to those pigtails. I tied the pigtails with elastic bands (normal hair ties slip too easily). I pulled the pigtail apart at the base and used a liberal amount of hair spray, using a hair dryer to help it dry faster. (The brand of hair spray I use it Got 2B Glued, in combination with a hair dryer it works wonders.) I would then pull sections and spray them individually, trying to make the pigtail as wide as possible. (Look a the picture on the left to see the pigtail without hairspray, and the one with.)
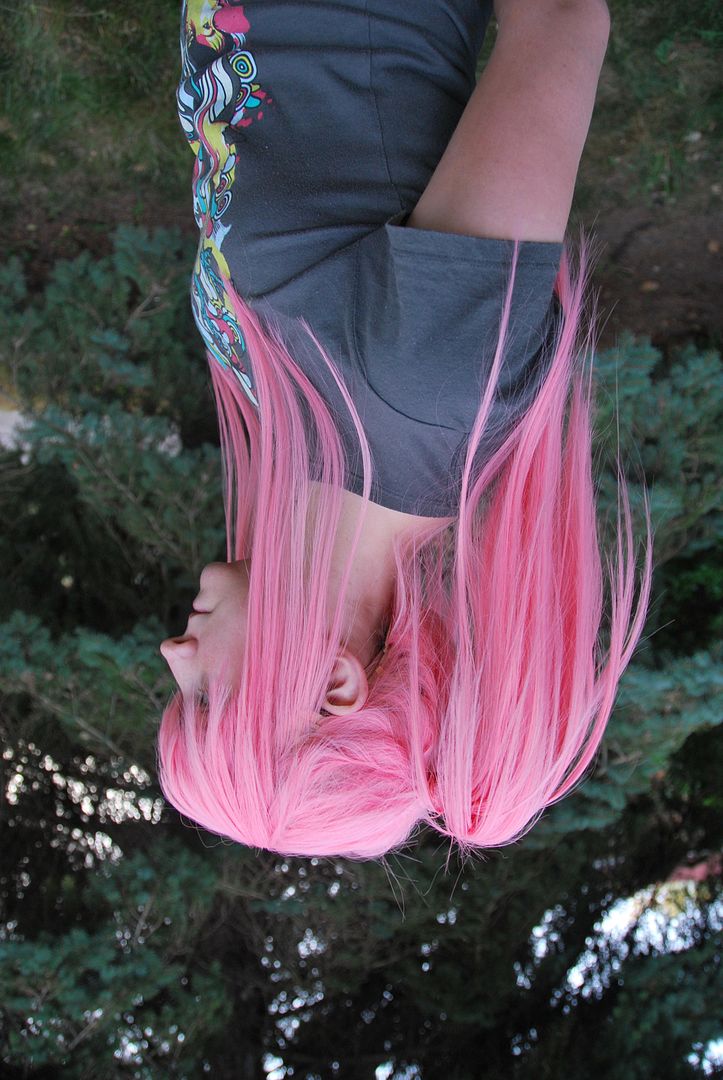
Then this wig was ready to be worn! Unfortunately the costume was not! This wig had to wait a whole year for it's debut!

I am not 100% satisfied with the full finished costume, and I plan to do some major touch ups on the battle axe, which got damaged during the trip to Baltimore. Then I will do a photoshoot so you guys can all see pictures of the finished costume!


Tuesday, October 9, 2012

Cosmo - Wig & Crown - Fairly Odd Parents


Let's take a look at how I constructed my Cosmo wig!

To see how I made the wings and blouse, go here!

For the photoshoot, go here!
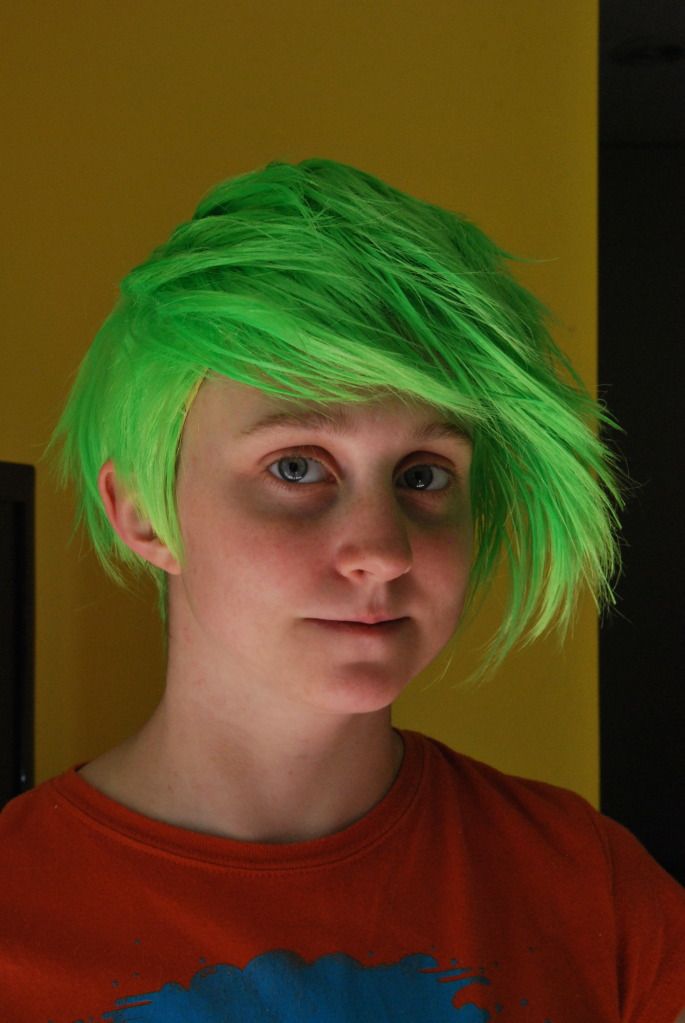
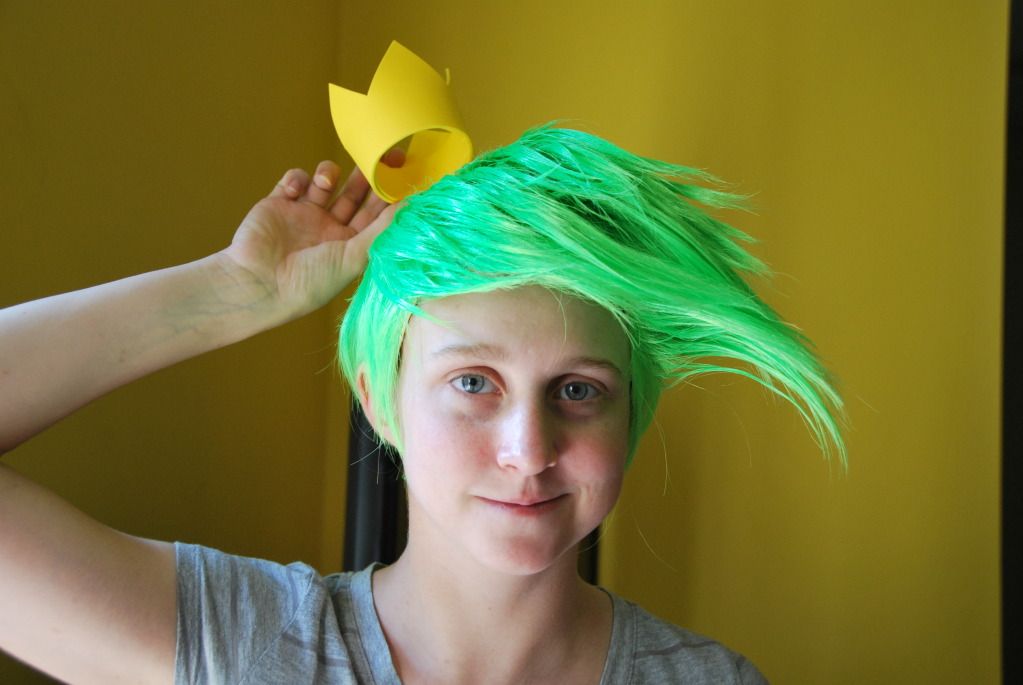
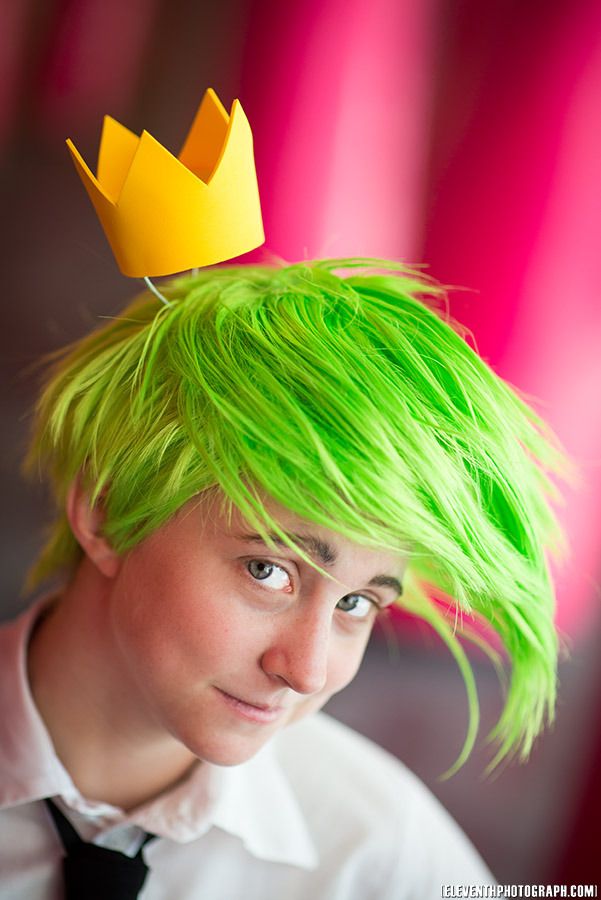
Cosmo's wig is probably one of the most difficult I have attempted in quite a long time, but I think it is one of my best works. I am very satisfied with this wig.

In this process I learned how to make wefts, spikes, and how to wash a wig.  
The problem with Cosmo's hair is that it only ever shown at 3/4 view, and that whenever he turns his head his hair flops. In short, Cosmo is a 2-dimensional figure, so how does one translate that into 3D?

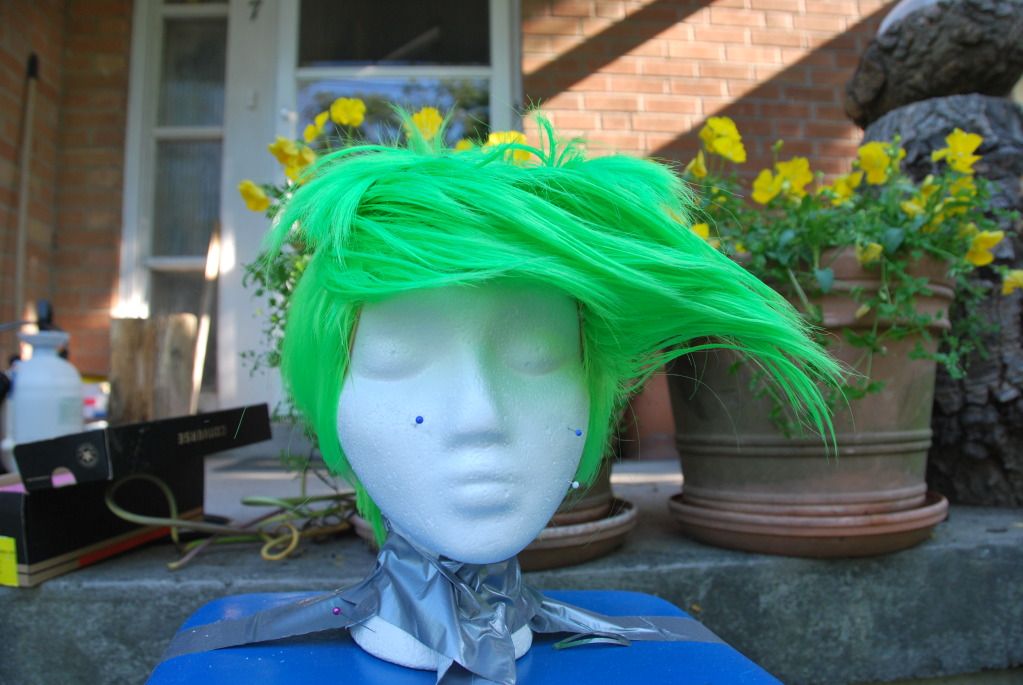
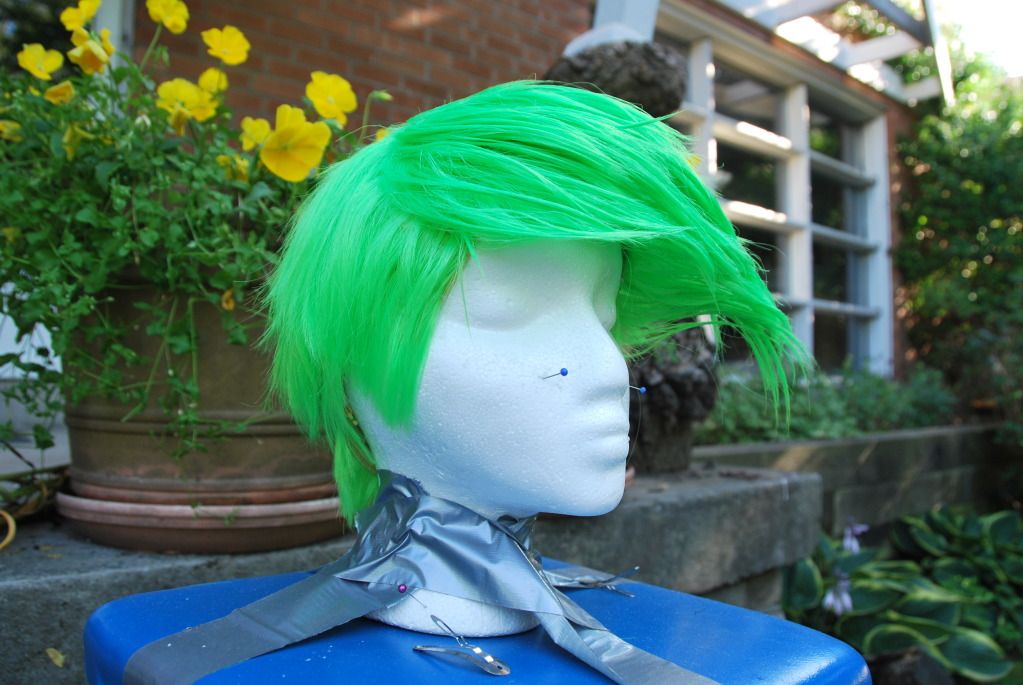
My logical decision was to make the hair flop to one side. I picked the right side arbitrarily. One problem with this is that it doesn't look good from every angle, but it is the only way to really achieve this look.


I got the wig off of e-bay. I figured that this would be a good length to style from, as I needed the length in the front for the hair-flop. I did not take into account the fact that the hair flop starts at the back of the top of the head...

On this wig--like most wigs of this style and quality--the hair fibers start from a central spot on the top of the wig, with rings of wefts surrounding that spot spreading out from the center.  If you pull the wefts up, you expose the the netting of the wig, which looks awful, but in order to achieve the look I wanted I needed to pull hair from the very back of the top into the hair-flop...

I realized that in order to do this I needed to create extra wefts to sew in and cover the gap that would be created. But on such a short wig, the problem was where to pull the hair from.


Under circumstances that aren't limited by money or time, perhaps I could have bought a second wig that I could have butchered for the extra wefts. However, I had neither luxury. This would also leave me with a lot of leftover hair in a colour I was not likely to re-use. Additionally, I had not realized this beforehand and was unsure if I would even be able to find my exact ebay seller to acquire another bright green wig... I had a difficult enough time finding this wig in the first place.

My solution was to save all the hair as I trimmed the back, so I could accumulate enough to make the wefts. This meant that I had to be careful when making my cuts at the back, because the clumps I took out needed to have enough length and substance to for wefts, while still trying to not destroy the back of the wig with a terrible haircut.
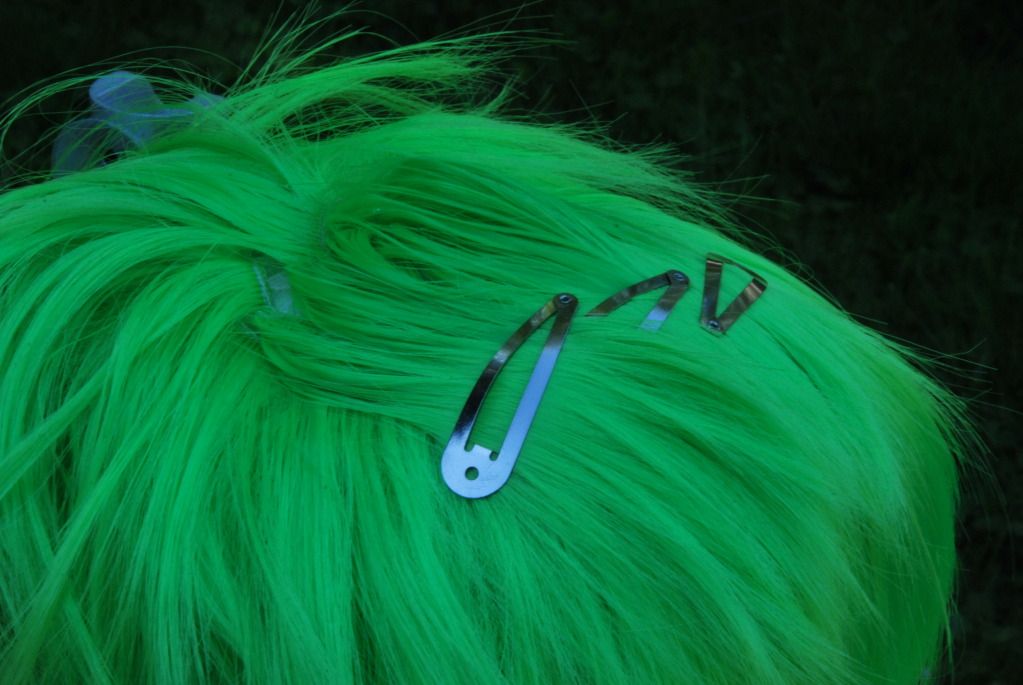
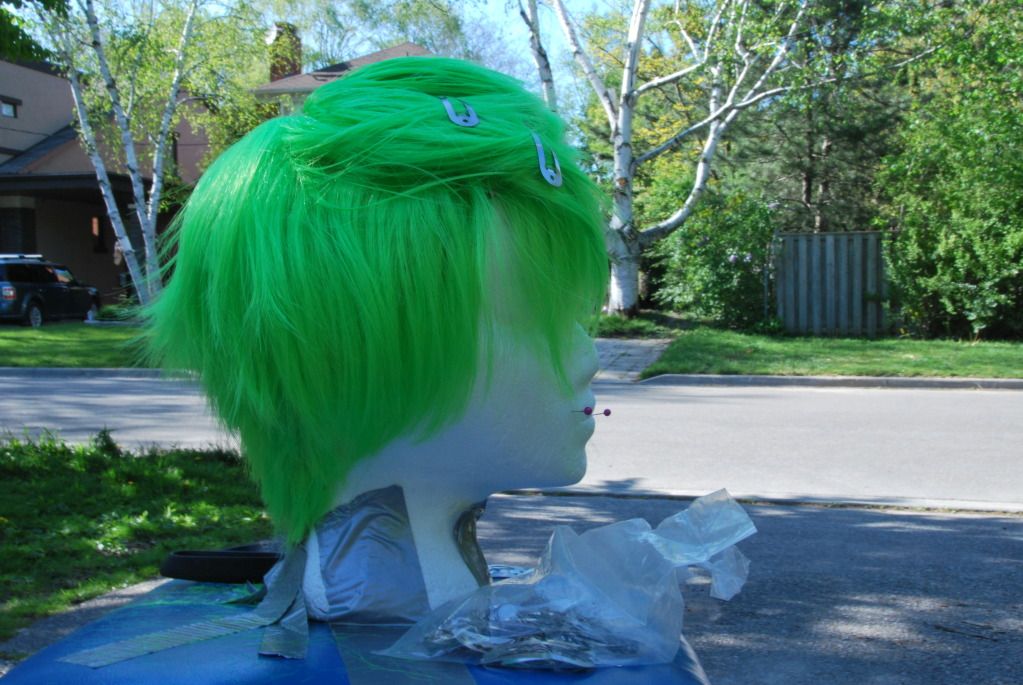
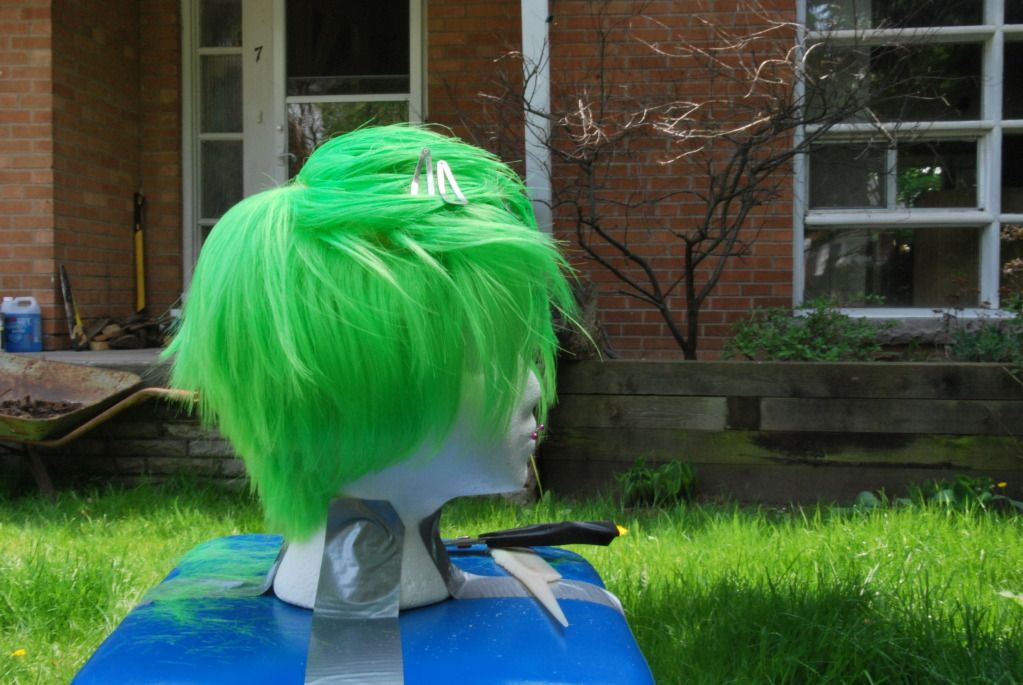
I take the section I wanted to incorporate to the hair-flop (which was being very uncooperative) and clipped it into place, spraying it a bit to help it stay.

I had to buy a new bottle of my Got 2B Glued, as we had run out of our last bottle which had lasted quite a few wig stylings.
While the top was drying, I evened out the back and started to work on trimming the sides. I wanted it to be close cut to the ears.
I began to work on making the sweep for the bangs. I worked on cutting the lefts side and worked my way over to the right. All the while spraying the hair into place.
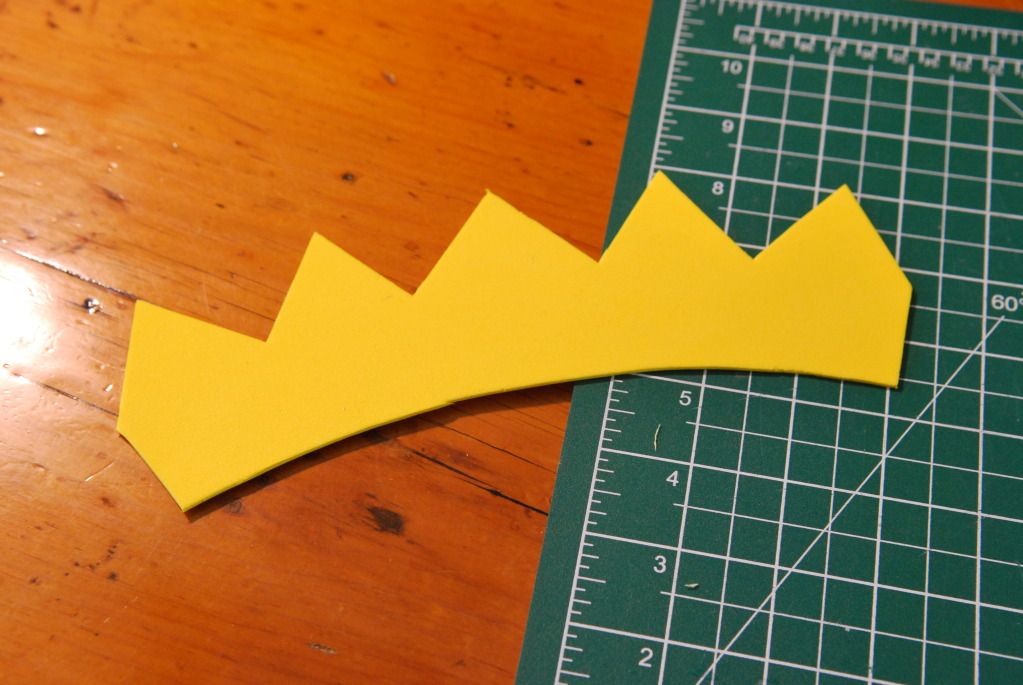
I made the crown out of craft foam! I used weldbond to glue it into a circle, using tape to hold it in shape while it dried.

That was the end result of my first attempt at cutting and styling this wig. I wasn't completely satisfied at this point, but I knew that it was going to get messed up when I sewed in the wefts anyway.

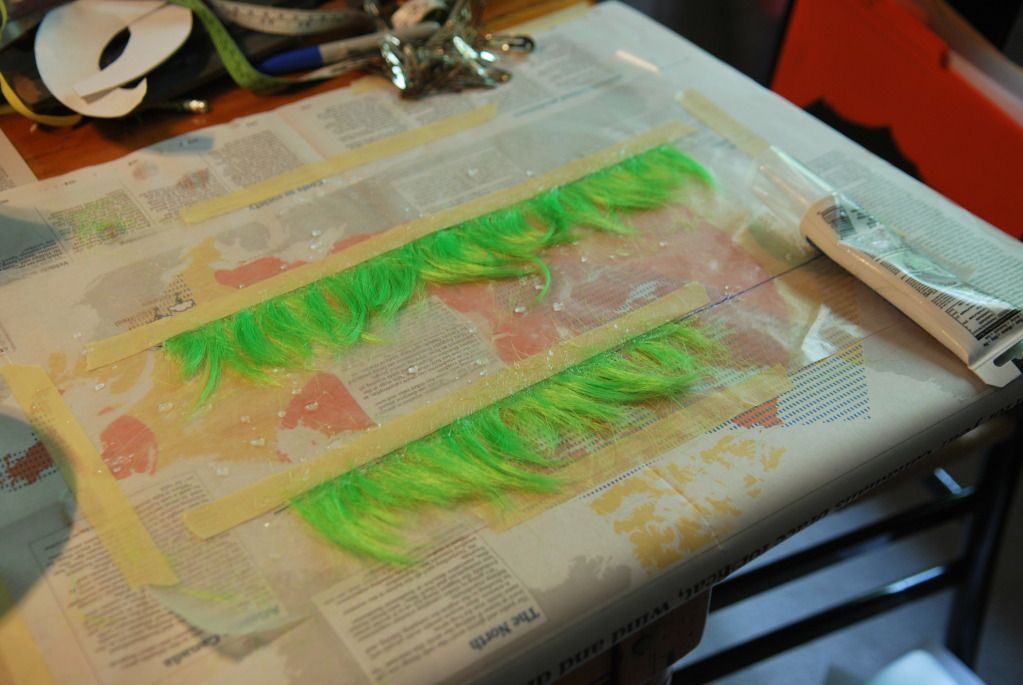
I looked up this tutorial online on how to make wefts. The easy way.

What you do is take a piece of wax paper and tape it down as your work surface. Then you draw a straight line and spread out your loose hair, lining up all the ends with the straight line you drew. Then tape them down with some masking tape. Then you take clear caulking  and spread it out along the taped edge. Mash it in with your finger. It will be sticky, so have some water handy to keep your fingers wet--it will help lessen the sticky. Leave that to dry. Once it is dry, flip it over and mash in some caulking on the other side. When that is dry you can remove the tape and presto! Wefts!
I cut open the netting where I wanted to insert the wefts and painstakingly hand-stitched them in. Then I clipped back the new hair and hand-stitched the hole closed.
At this point the styling had been messed up quite a bit by the man-handling while I did the hand-stitching, and it hadn't been the best spiking job in the first place, so I decided to wash out my original styling job and do it again.

I filled the sink with water and added a bit of shampoo. I put the wig in and left it to soak for about 20 min. Using my fingers I gently worked apart the spikes. I rinsed it out to remove all the hairspray.
I patted the wig dry with a towel and the hung it to dry.
Once it was dry I pinned it back to the wig head and set up for styling again. One thing that I didn't have for the first attempt was a hairdryer, and I can tell you that it makes a huge difference!!!

I split the hair evenly where I inserted the wefts and sprayed the hair into position.

Then I began taking sections of hair and spraying them, making sure the hairspray really penetrates the base of the spike so it has a good foundation.

I kept adding more and more sections, using the hair dryer to set the spikes.
Then the styling was done!

So fabulous!
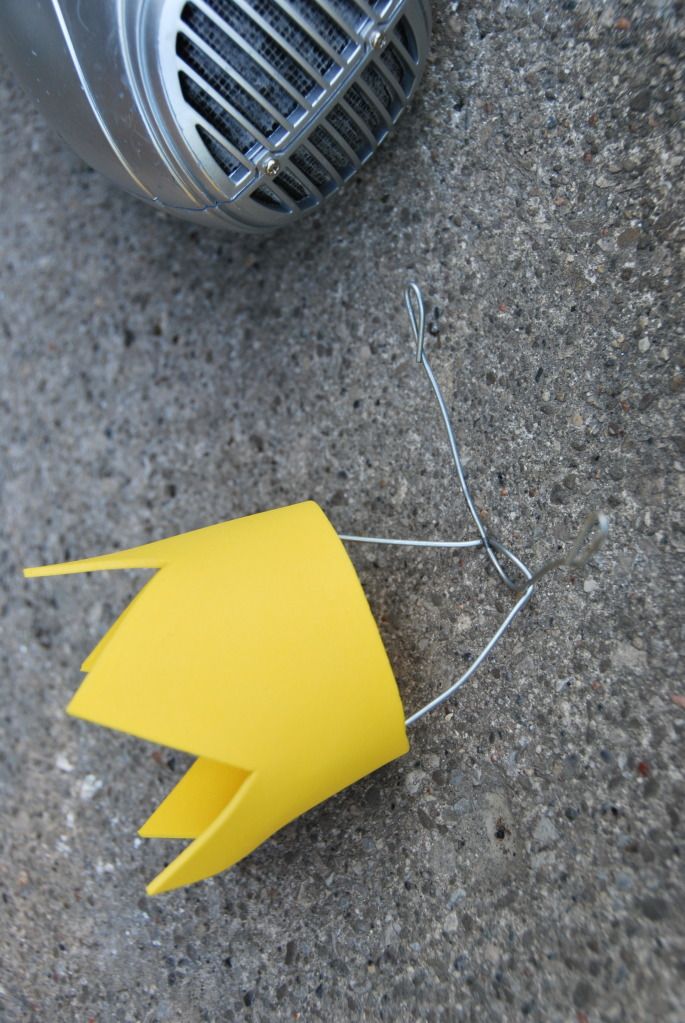
Then I attached my floating crown. The wire was shaped into an X, with the wires bent over at the middle. I bent over the ends so they wouldn't scratch my scalp. Two of the tines were bent upwards, then the X was inserted into the wig. The two tines were stuck out between the wefts, making sure a weft covered the middle of the X. The tines inside the wig were given a slight curve so that they would fit to my head snugly.

An inner ring of craft foam was attached to the crown to hide where the tines attach to the inside. The crown was simply friction fit on.

The way this is attached, the snugness of the wig is what holds it in place, and it is so comfortable I don't even notice it's there. ;D

With that, the crown is done, and so is the wig! :D