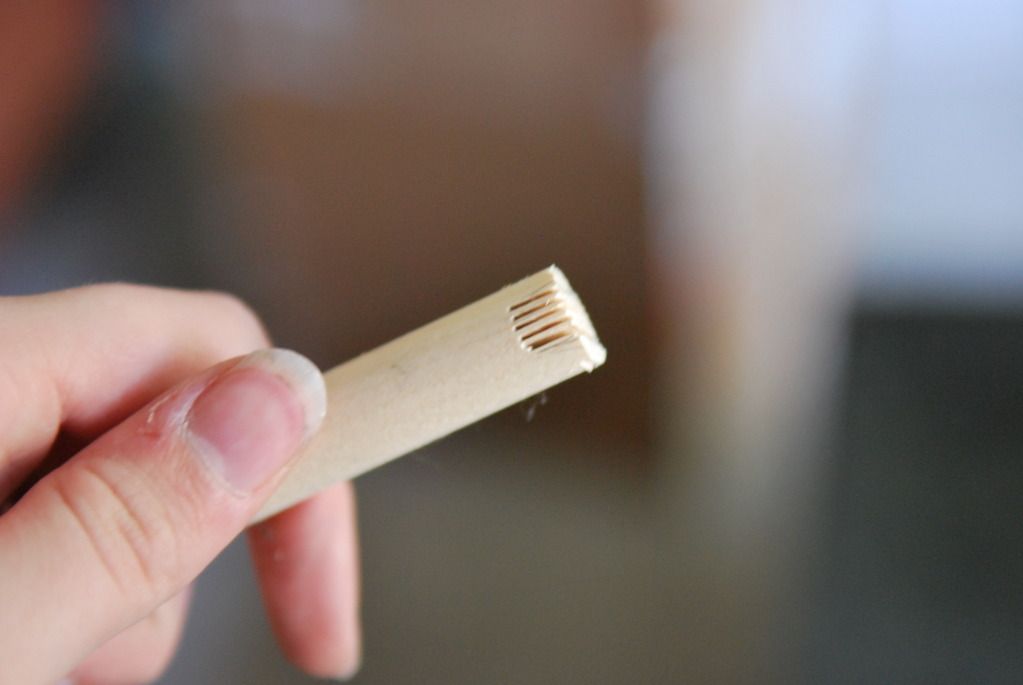
Showing posts with label dowel. Show all posts

Thursday, December 3, 2015

Sakura - Clow Wand - Cardcaptor Sakura

I'm back from hiatus guys, so let's look at the final part of my Sakura costume series--lets talk about the Clow Wand!

The wand was the only part of the costume that I did not have time to build for the original debut of the Sakura 1st Opening costume at AN 2013. Instead it was built for the Sailor Suit version for Otakon later that summer.

Once again shout-out to EleventhPhotograph for doing both the quick pics at Otakon and the awesome shoot this fall.

You may notice a slight difference between the photos from the school uniform shoot and the 1st opening outfit shoot I did over a year later--I redid the paint-job on the wand. Because the wand was originally painted in the hotel room the night before the con with acrylic paint and no reference picture. And I got the colours (based on the anime and not the manga illustrations) wrong! Yes, this does happen. (The eyes are pink like the handle and not red like the beak--whoops!) So, for subsequent events I had it repainted with spraypaints and finished it with a nice gloss coat to give it some extra shine. The gloss coat looks much better than the flat colours alone.

Also, at AN this past year I dropped the wand and broke it, chipping the beak. After fixing that I had to repaint it a third time.

I haven't built as many prop-heavy costumes in recent times (Splatoon doesn't count because I didn't build the props!). Props is where I started, and I would really like to get back into making more props. But I am always drawn in by more fabric construction heavy costumes I suppose?

Without further ado, lets get started talking about the build. I began by sketching out the wand at full scale based on the reference photos. Once I was satisfied I used my sketch as a template to make the 4 wing pieces out of styrene. Did I mention I am still working on leftover materials from the Asuna armour? Because I am.

I also used this to cut out the basic shape of the bird head in insulation foam. I cut out a place to stick the rod up the center.
I used a dowel for the rod. I suppose the wand could have been lighter if I had used a pvc pipe instead of a dowel, but I totally didn't think about that until way later and by that point it was too late to swap it out without restarting.

I cut 2 more copies of the insulation foam bird head shape and glued these to both sides. Then I started carving.
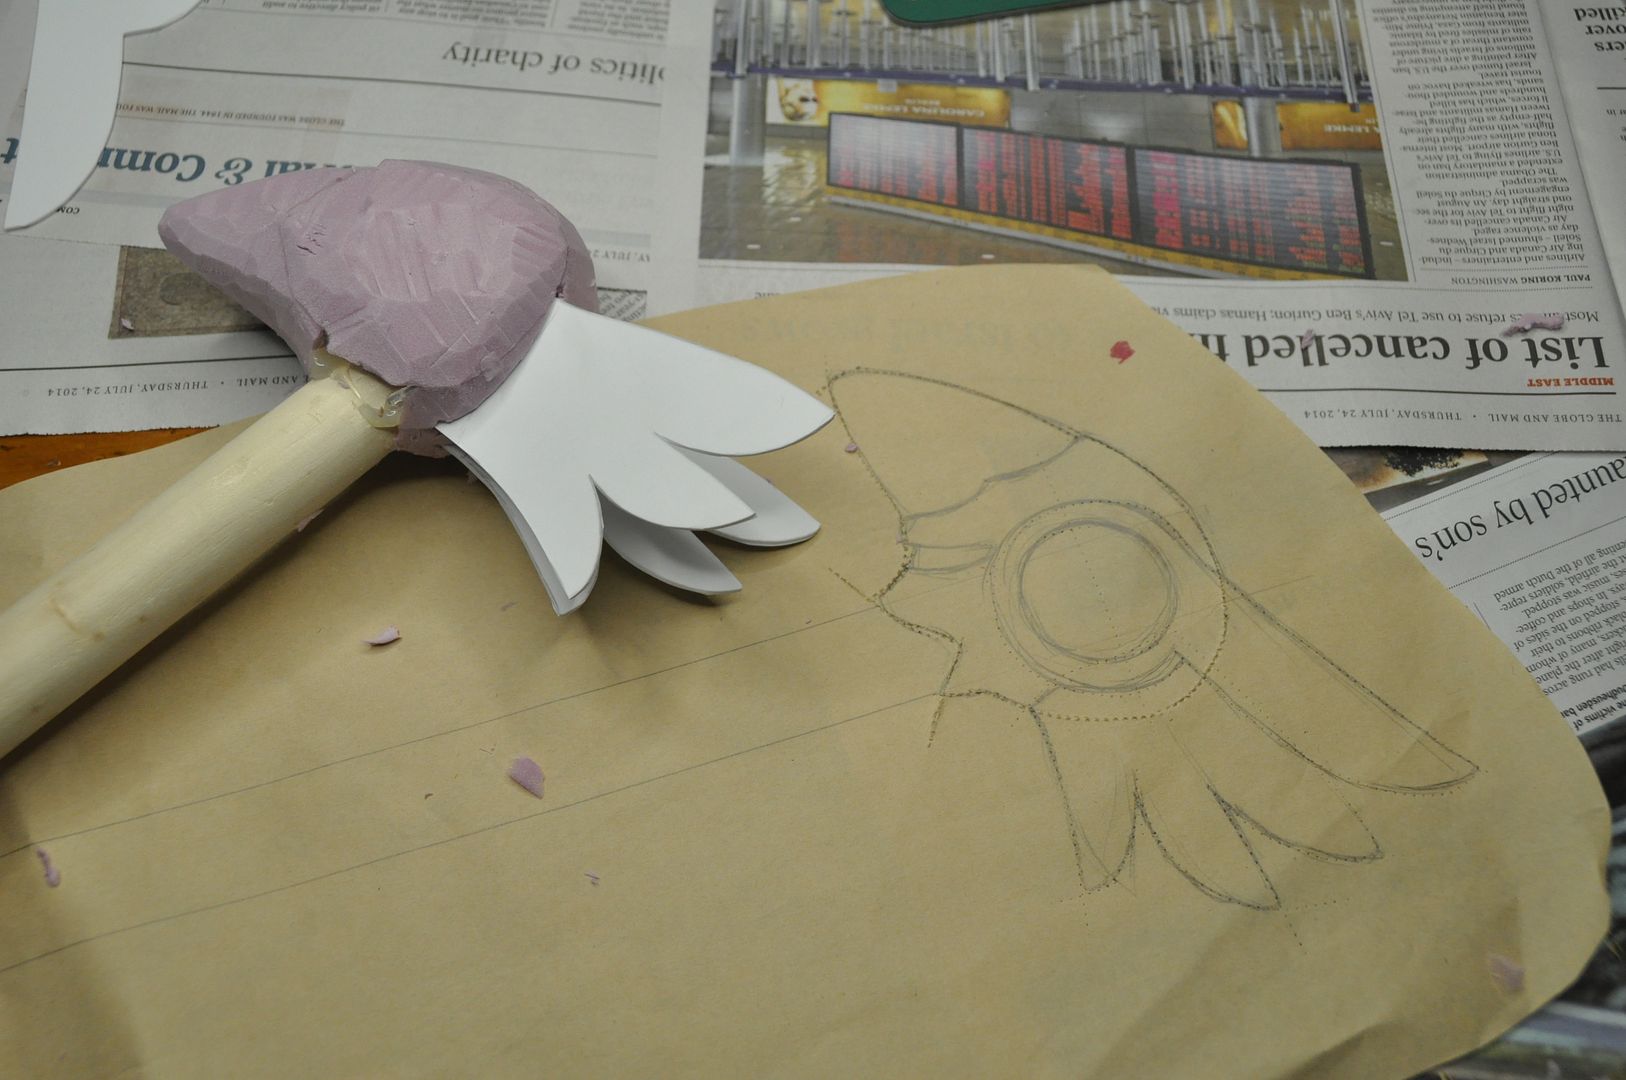
Then I cut two angled slits in the back to stick the first two wings. These were glued in place.

Then I used apoxie sculpt to add the raised details. I also used apoxie sculpt to make the detail on the bottom end of the rod. I had to do that in 2 stages though because the sculpting material tends to not want to stick to what I want it to. So I made a base layer in the approximate shape and then built up a smooth layer over top.


Once I was satisfied with the sculpt I sanded it down a bit. Then I glued the top wing on and built up the eye detail with more apoxie sculpt.

Then I sanded down the beak and painted over a few layers of gesso.

From this point onwards Clow Wand version 1.0 was finished in poor lighting in a hotel room using acrylic paints. The picture at the top of the article was the resulting paint job. Not terrible, but I was not satisfied.
I sanded off the majority of the original paint job so I could start with a more or less smooth surface. I decided to completely redo the paint job to better match the original Sakura costume.

I carefully used some leftover Shell Shock to paint a thin coat over the unprotected foam beak surface (this is what chipped off when I dropped it a year or so later).
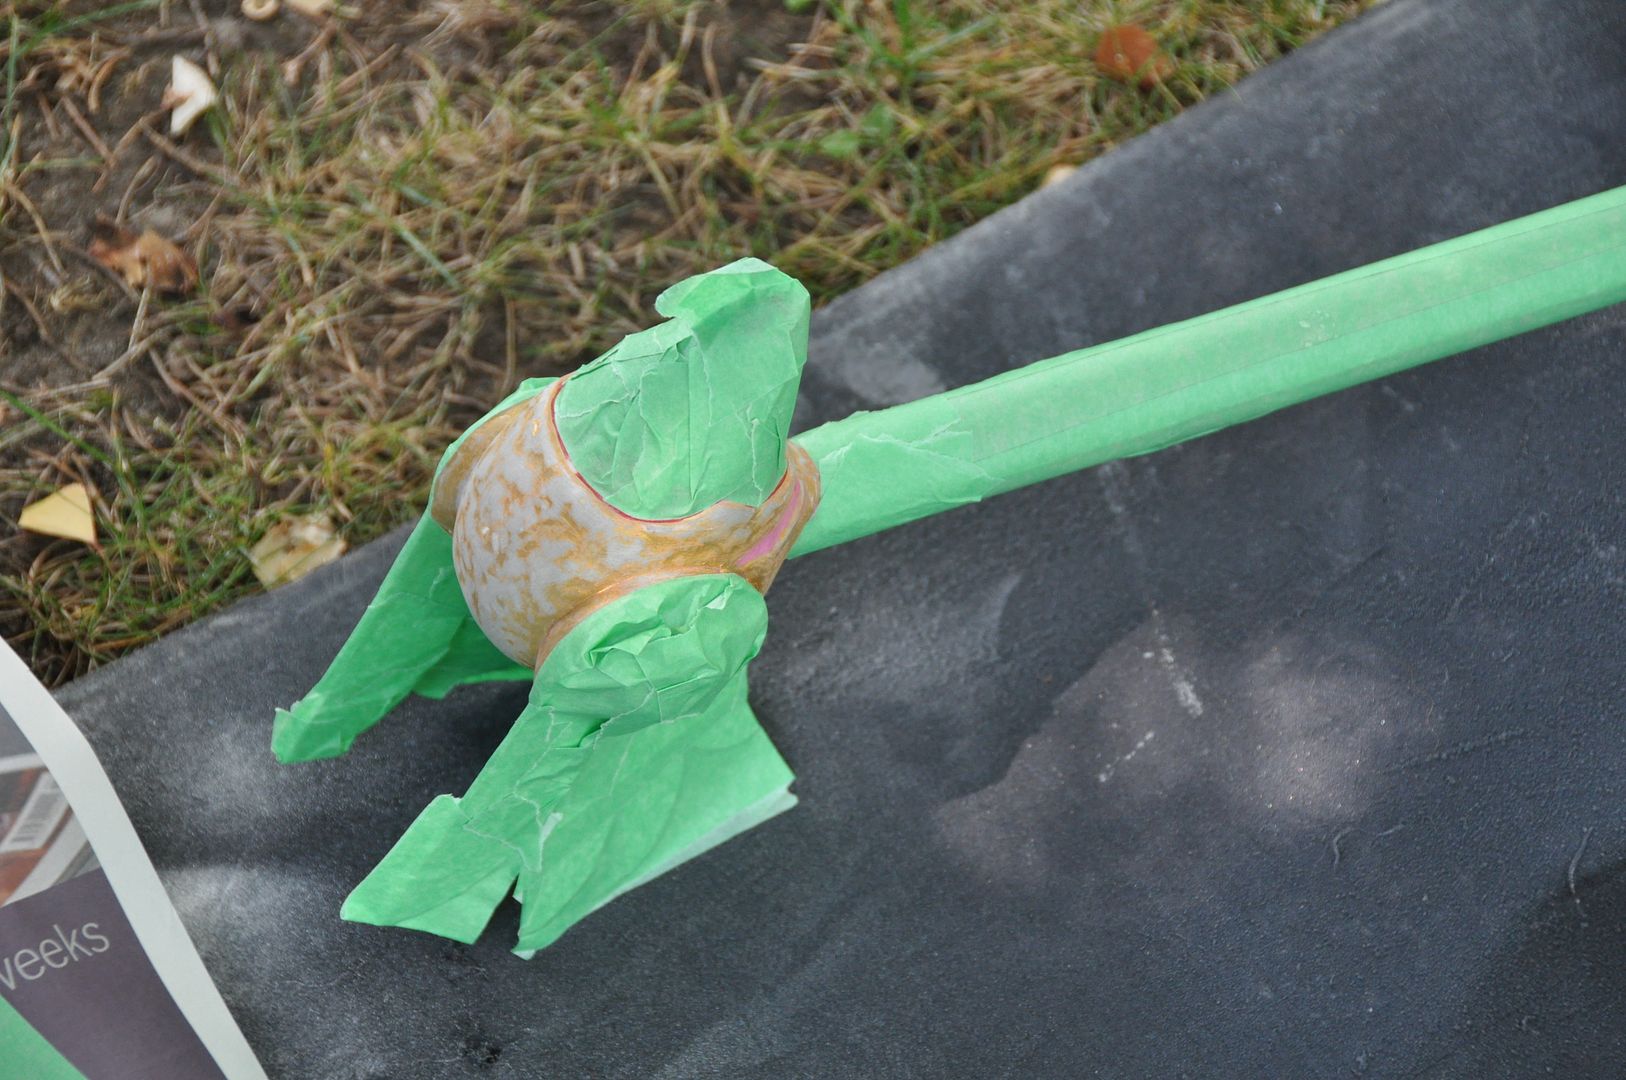
Using copious amounts of painters' tape to mask other areas, I began the paint process first with the gold. Then I hand painted the pink areas with acrylic, before re-masking and moving on the the red areas.

I finished the whole piece with nearly an entire can of gloss coat applied in many thin layers. 

This prop was pretty easy to make, it just took a bit of time with dry times, cure times, and sculpting times. 
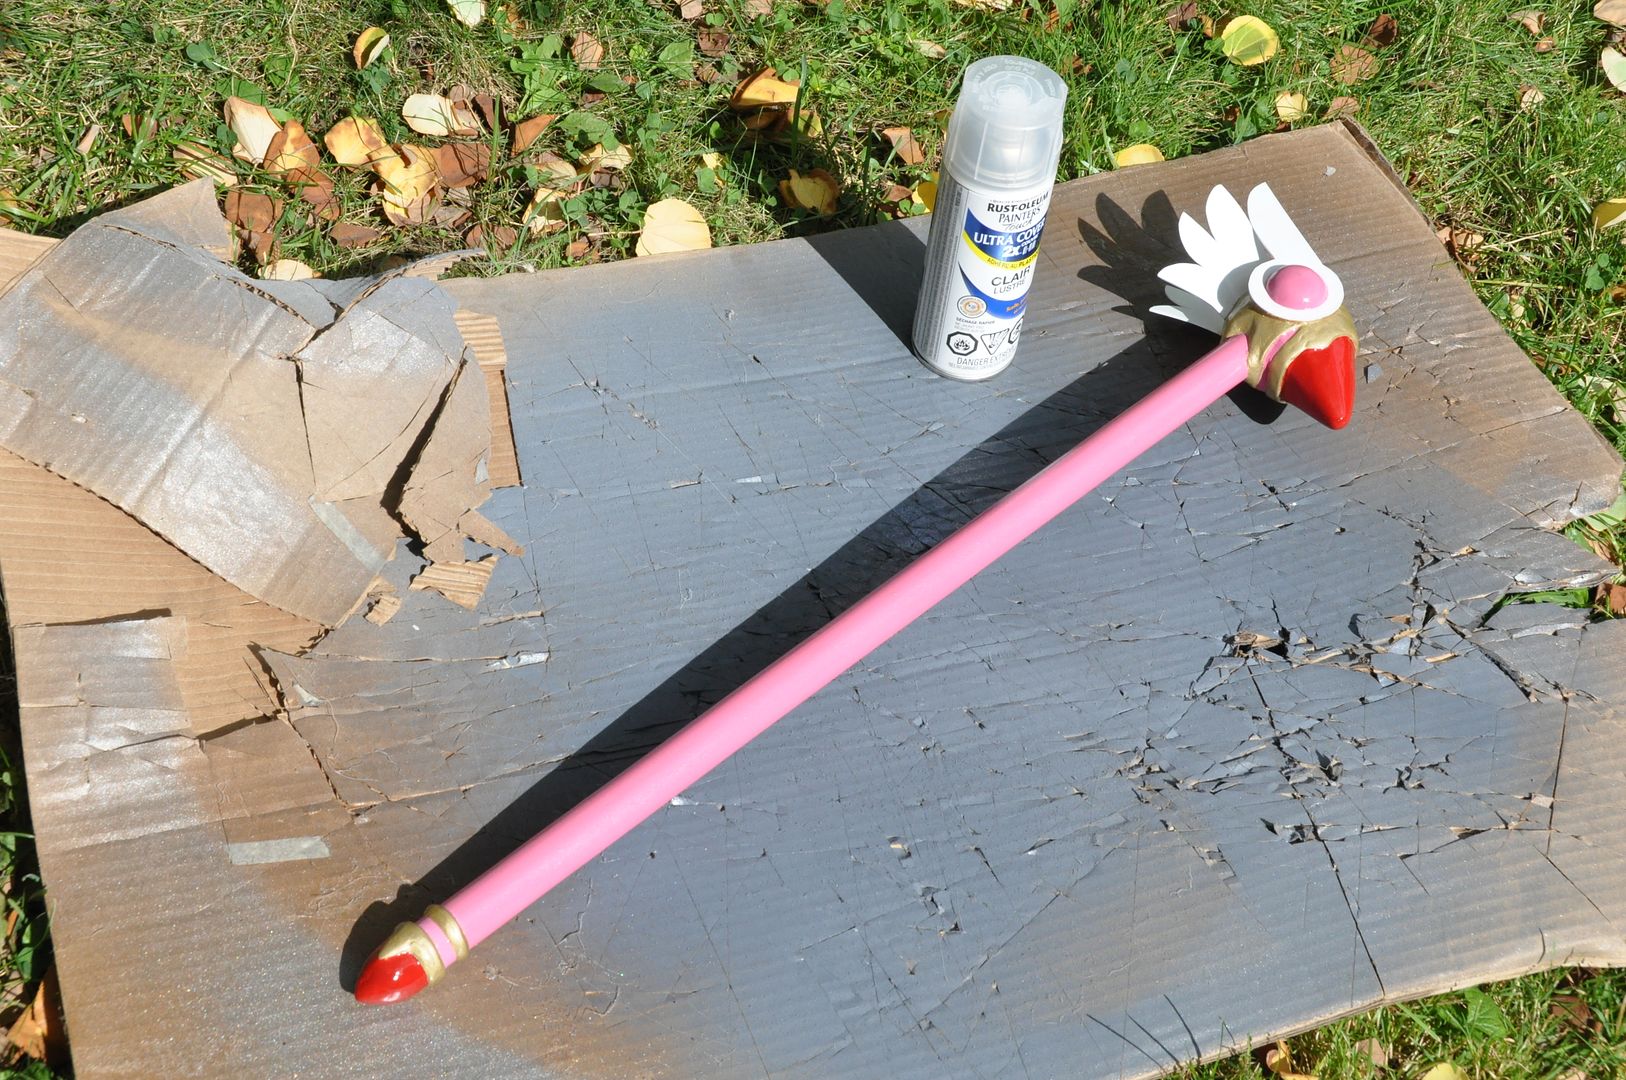
And that's it folks! After years of waiting, I finally finished documenting my Sakura costume! Haha

Stay tuned: Vaporeon is coming up next!

Tuesday, December 9, 2014

Set Model - My Fair Lady


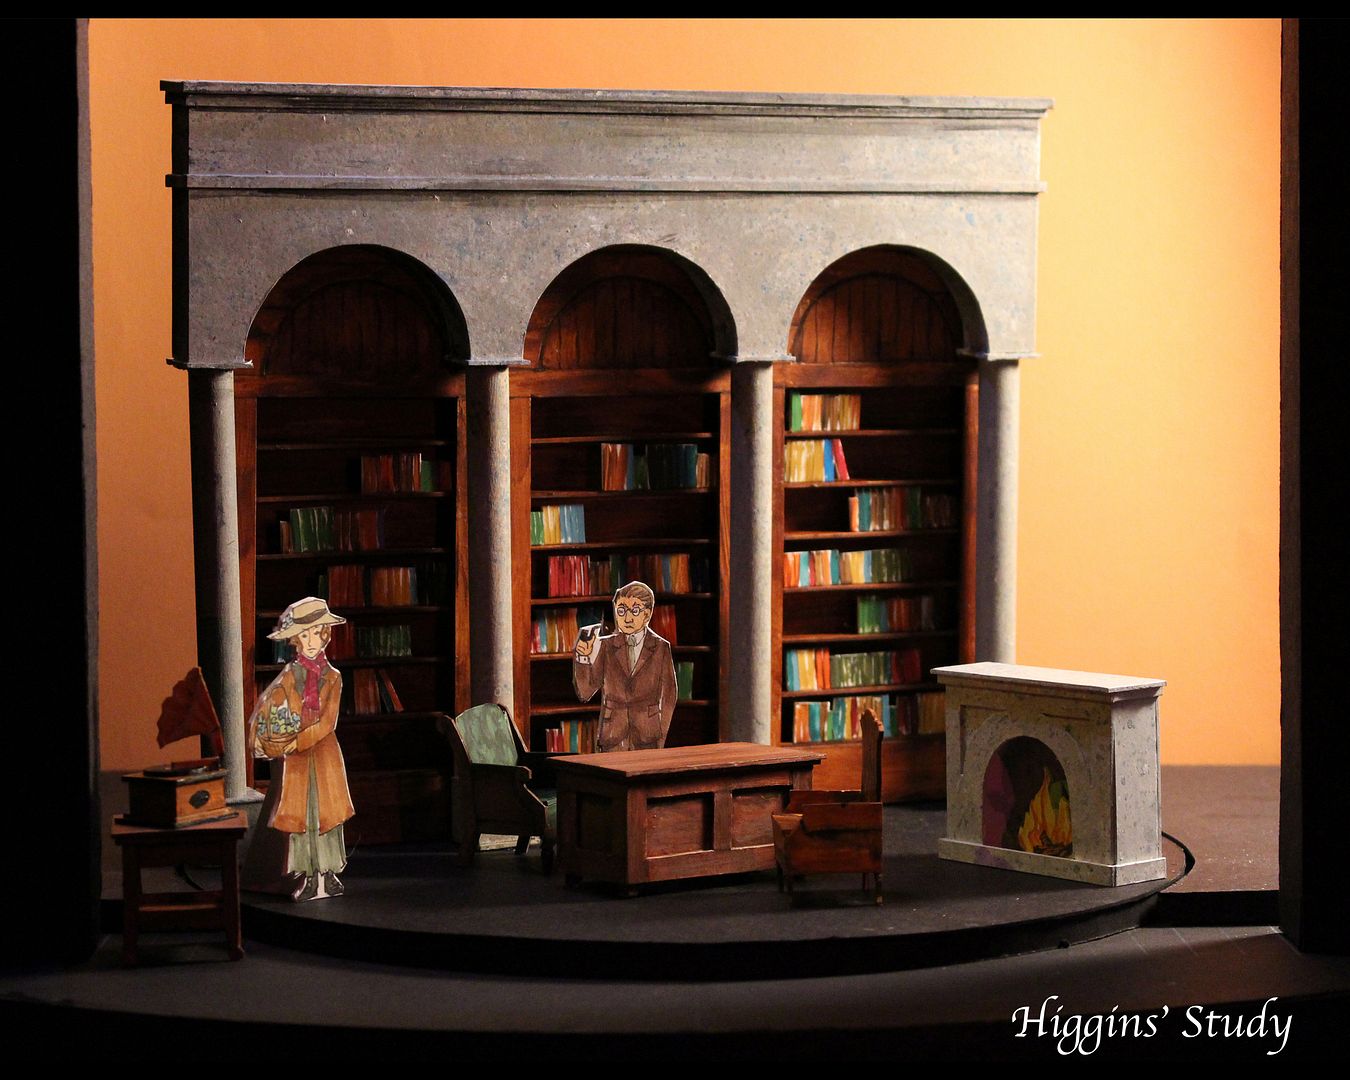
This is a project I finished and presented last week for my set design class. It is a scale model of my set design for the musical My Fair Lady by Alan Jay Lerner and Fredrick Loewe (based on the Pygmalion by George Bernard Shaw).

The model box is made of foam core and black matte board. The set itself is constructed primarily with illustration board, but also some wooden dowels, clear plastic (from folders I got at the dollar store) and muslin for the little burlap sacks.

The whole thing is painted with acrylic paints. And made me really glad I took that scenic painting class last year. Otherwise I would have no clue how to paint stone or wood properly...

 I've set the play in the original time period/location of around 1912, London, England. I did lots of research on the city and the architecture of the time period. I wanted to to something that reflected the design aesthetics of the late 1800's to early 1900's. Because even if you set a play in 1912, not all the buildings and furniture would be brand new--I mean we still have furniture from the 70's in my house!

The archway is the centerpiece of the design, onstage for the entirety of it. It sits on a turntable that allows it to rotate to create different locations/scenes both indoors and outdoors. I was inspired by both the architecture of London, as well as the woman's silhouette in the costume of 1912.

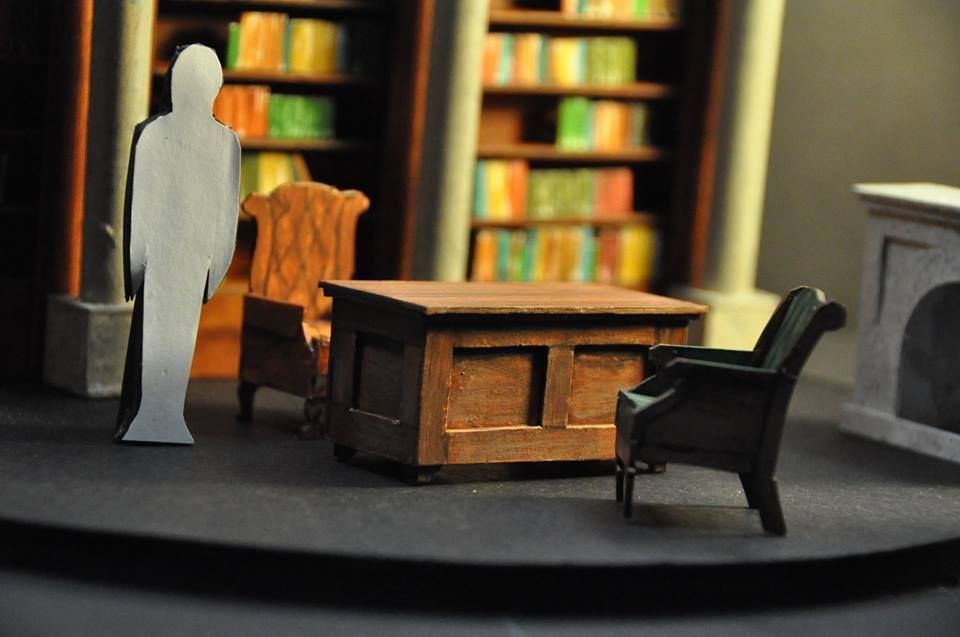
This set was Higgins' office and could be used for all the interior scenes in Professor Higgins house.  Higgins' office had the most complicated pieces to build. It took a long time to make all the tiny furniture. Everything is constructed at 1/2"=1'-0", meaning the seats of the chairs are only about 1" wide. The bookshelves are rolled in and set up behind the archway for these scenes.


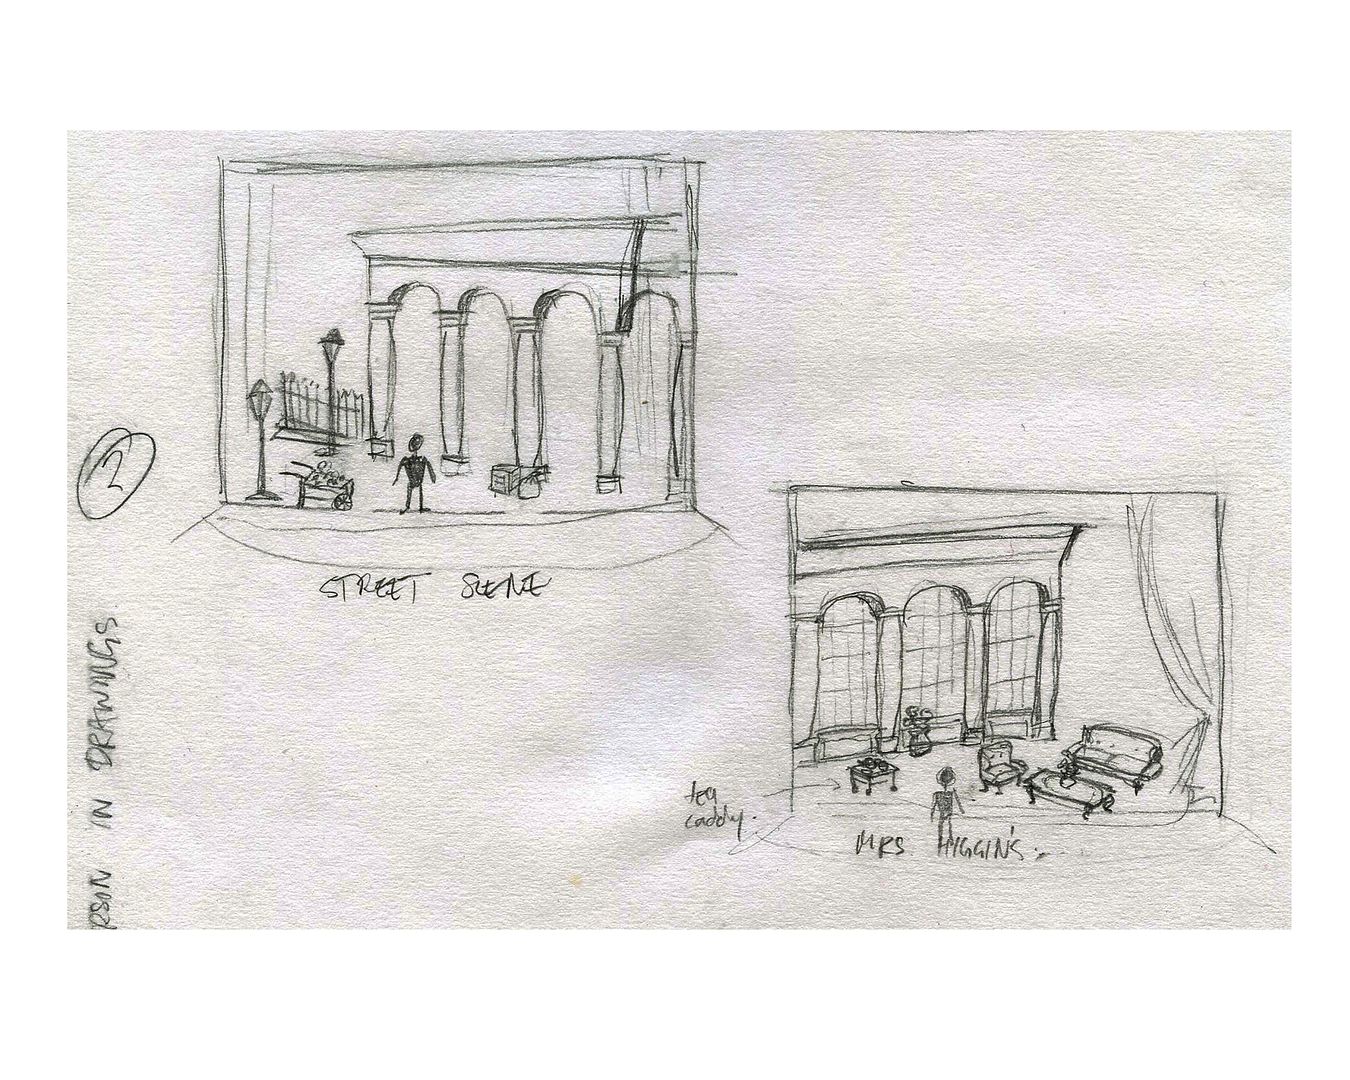
 This configuration is for the street scenes such as the musical numbers "Why Can't the English?", "Wouldn't it be Loverly?", and "With a Little Bit of Luck".

This configuration would be used for the scenes outside of Higgins house like "On the Street Where you Live" and "Show Me".  It reuses elements of the street scene set pieces. 

There are a few other scenes I designed, such as the ball and the racetrack, but those were not built for the project as I ran out of time and energy. The ball would have had the arch centered at the back with drapes hung behind and at the side of the stage. The racetrack would have had the same placement except no drapes, instead using the fences at the back and cafe tables in front. The racetrack scene is by far my favourite scene in the whole play.

Overall I am really proud of the finished result. :)

Tuesday, October 16, 2012

Cosmo - Wand - Fairly Odd Parents

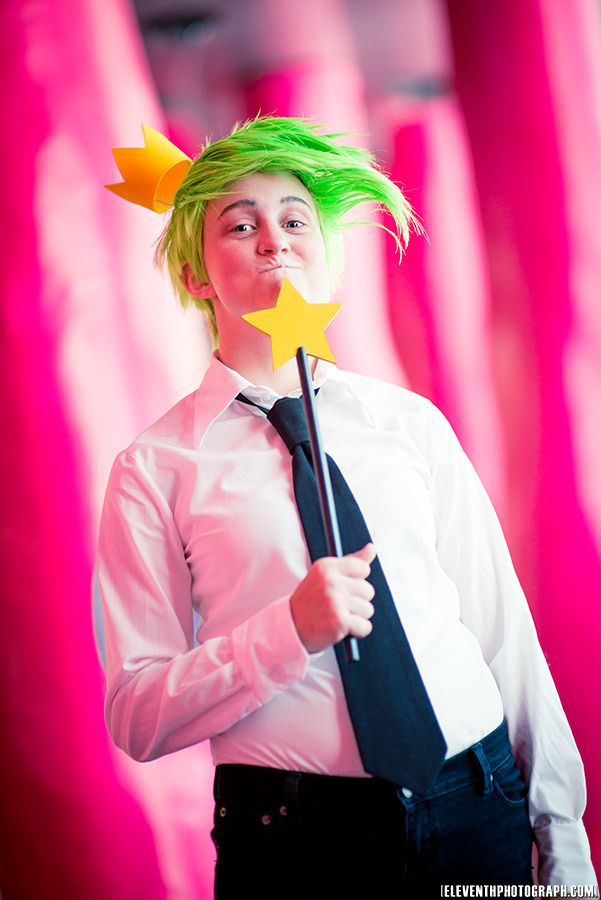
For the last bit of my Cosmo costume: here's a quick look at how I made my magic wand. It was really simple.

For the photoshoot, go here. ;D For the wig tutorial go here, and for the wings and blouse go here!

Probably the hardest part of the whole process was making the trace of a symmetrical 5 pointed star. I made this piece out of 1/4" masonite. I used a protractor and marked every 36 degrees around a central point (that gives us 10 marks equal distance apart. Because 360 degrees divided by 10 is 36. For those of you who cared about the math.) Then I drew a line from each mark to the center. 5 marks were the points and the 5 in between those were the 'valleys'. I made the distance from center to tip the same for all points. Then I did the same for each valley. By doing this achieved a perfectly symmetrical shape that I could cut out.

Then using my bandsaw I cut into the end of a wooden dowel, creating a groove that I could stick the star into. I rounded out the end of the dowel using some sand paper.

I cut the star out on my bandsaw and sanded the edges a bit so it wasn't so lethal.

I sanded down the handle to smooth it out a bit, so the wood grain would be less apparent when painted.
I painted the star and the handle separately with some spraypaint I had on hand. Once the paint job was finished I stuck the star on with some Weldbond. After it was dry it was ready to go!