Showing posts with label puffed sleeves. Show all posts

Thursday, December 10, 2015

Vaporeon Gijinka - Bolero Jacket - Pokémon

It's finally here, the one you've been waiting for--Vaporeon. In terms of quantity of pieces alone this is perhaps one of the most complicated costumes I have ever constructed. Hence, this one will be broken up into 5 shorter posts.

First of all I would just like to my deepest gratitude for the huge amount of support I received working on this costume. This one was a long time in the works. Special thanks go to my friend Harriet who dedicated many hours of her time and hand-stitched on 95% of the beads, hooks and clasps. Seriously, this costume wouldn't be nearly as sparkly without her help. I gave her the official title of Bead-Dazzler. Another shout out to my friend Alex who accompanied me on my initial fabric shopping scavenger hunt and helped me pick out the perfect fabrics for this costume.

Secondly, a million thank you's to Elemental Photography for the wonderful photoshoot and the wonderful pictures. I wasn't feeling so confident in a costume with so much exposed skin, but Amanda made me look and feel like a million bucks! You rock!

Credit for this amazing design goes to Cowslip. I discovered the Pokemon Gijinkadex collection of designs about 2 years ago now, and I fell in love with them. There are so many beautiful ones to choose from--I knew immediately that I wanted to cosplay one eventually. Picking between them was a challenge. I think I narrowed it down to 4, and then I let you--the fans--give your opinions on which you wanted to see me do. The votes were pretty divided--the Moltres design was also pretty popular--but eventually the decision was reached that Vaporeon would be the best one to do. Perhaps I will revisit the Gijinkadex in the future and do another one, but for now I am satisfied with Vaporeon.

I started the costume in May of 2014, originally intended to compete in the Anime North Masquerade later that month. This was at the same time I was working on completing the last 2ft of embroidery on my Forest Guardian and also building Sakura (1st opening outfit) and Isabelle--both sizeable projects. You can definitely say that I over-extended myself, particularly because I hadn't planned to still be working on the Forest Guardian at the time--I had intended to complete that for CostumeCon32 in April. By the time I hit AN prep suffice to say I was already super burnt-out.

I knew from the start that Vaporeon would be a challenging build--there was tons of detailing on every single piece. And there were so many pieces. No seriously, this costume has 22 individual pieces. It is actually kind of amazing that this costume is the one with the most pieces, and the most layers, while simultaneously being the costume with the most exposed skin I've ever done.

Ultimately, I underestimated the complexity of the project, by the time Anime North rolled around it was still not even at a point where it was wearable. I decided it was not possible to finish on the timeline I had and decided to compete in Forest Guardian instead. So I made my new goal completing it for AN2015.

...Unfortunately due to my hectic job schedule, that didn't happen either. Hahaha I didn't even try I was so busy. I finally completed it for Otakuthon later that summer--it took another month to fully complete the costume. I am pretty happy with the end result. There are only a few small things I want to adjust with the sleeves, but the rest of it worked out fabulously.


(Credit for the above shot goes to Don Dolce Photography!)

Let's talk about the first part of the build--the bolero jacket. It is the first piece I started and one of the last things I finished.

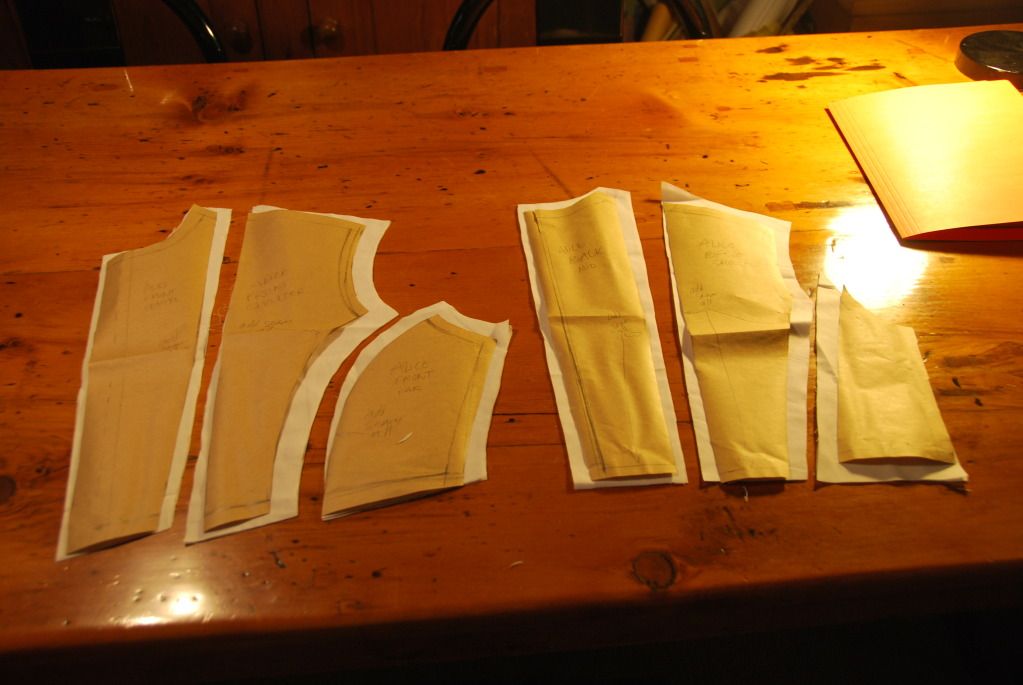
I started by draping the pattern for the bolero. I first outlined the edges and the seam where the big collar would be inserted using twill tape, then I used scrap pieces of muslin to pin in place, following the curves of the body form and trace my pattern pieces. It created 4 pieces. I then tested this pattern by making a mockup.

The next step was to pattern the big collar pieces. I made the first upper collar mockup out of paper so that it would be rigid, which would give me a better idea of what the final wired collar would look like. I ended up altering it slightly, then I made the second under collar with the offset spines.

Below you can see the pattern for the upper collar with the under collar below it.


I cut my collar pieces out of their corresponding fabrics. The upper collar was made with two layers of white cotton, sewn right sides together along the spined edge and then carefully clipped and flipped right way out. I ironed it and top stitched 1/8" from the edge to finish it nicely.

The under collar was made in the same fashion-except that it was made with the bottom side in the blue silk to match the rest of the bolero.
Here you can see all the pieces that made up the bolero jacket. Since the blue silk was so thin, I decided to line the body of it with a leftover navy cotton I had in stock (leftover from my bicycle skirt).

The piecing together of the collar was exceedingly complicated. I will do my best to explain, but ultimately I will have to say that I barely understood what I was doing. hahaha

There are 3 collars: the blue silk inner collar, the white wired collar, and the white and blue floppy under collar.

First I flat basted the blue inner collar to it's navy cotton lining. (The raw edge would get finished with bias tape later.)
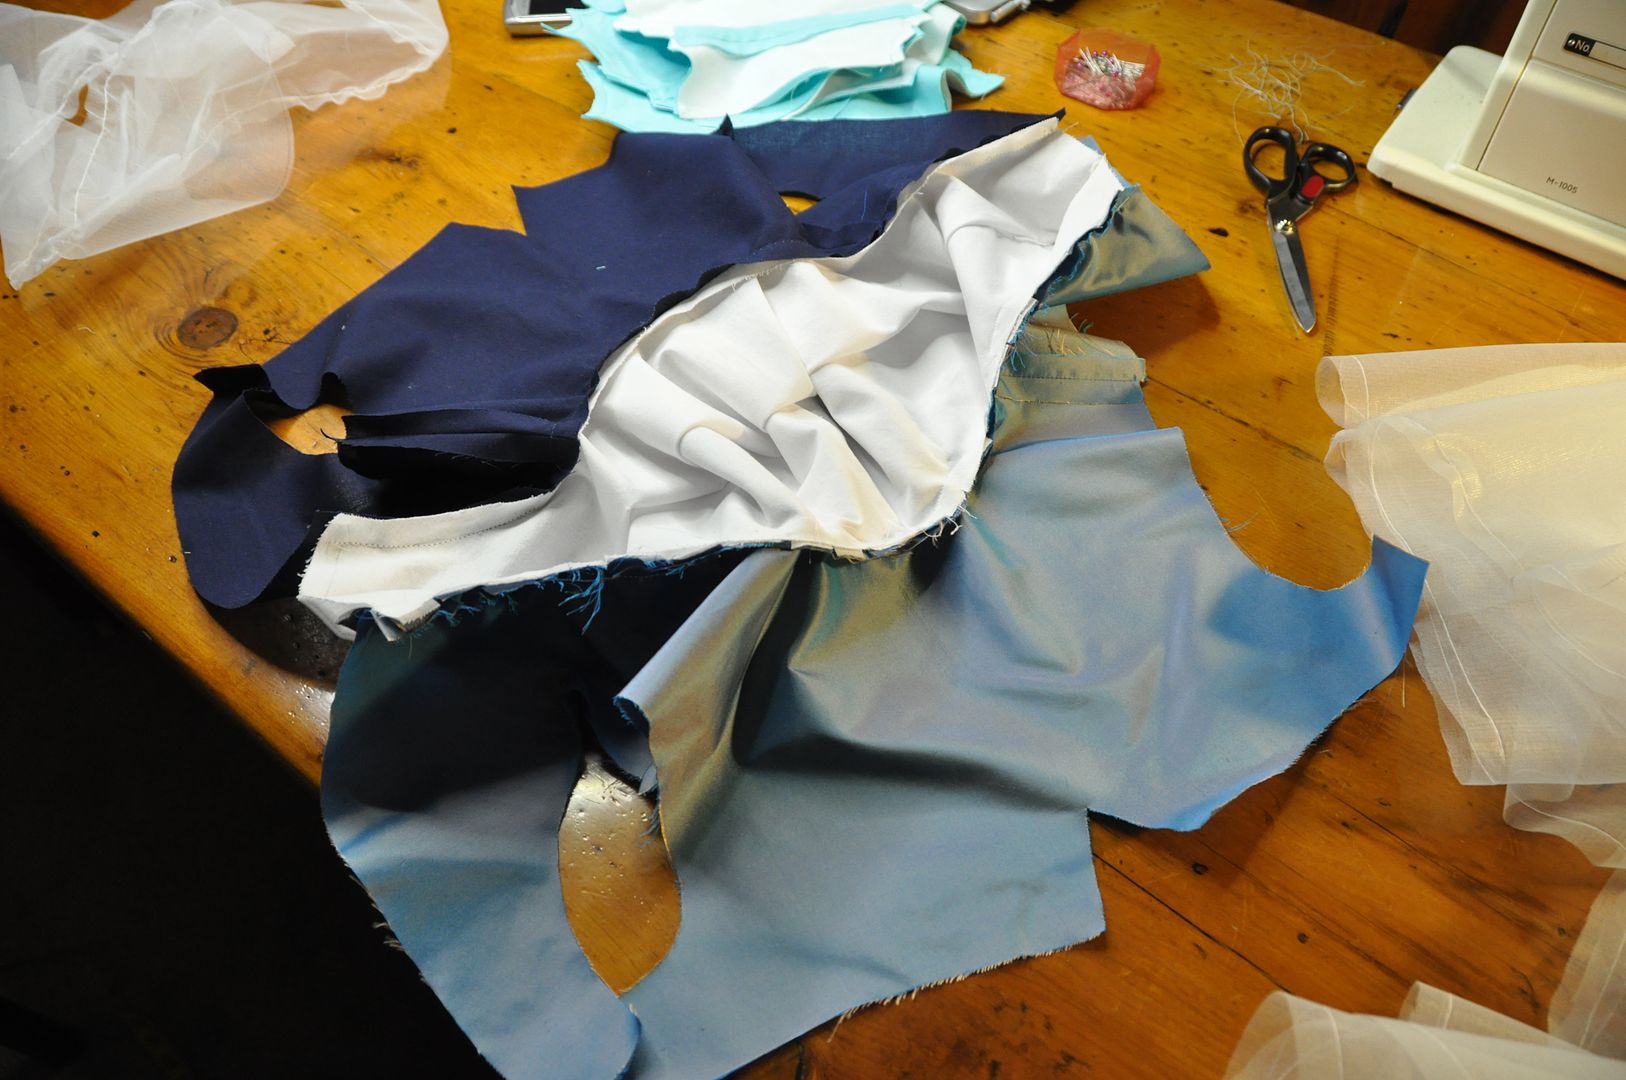
I sewed the bottom side of the top collar to the bottom collar along the unfinished edge. This was sewn to the silk outer part of the jacket body along the collar seam. (So: jacket body, bottom collar --both edges, top collar (bottom edge).)

I sewed the top side of the top collar to the inner collar and the navy lining of the jacket body. (So: top collar (top edge), inner collar (and its lining), jacket body lining.)

Pictured left you can see how this left the top collar wide open for me to add the channels for the wires. Which was the next step.

Once the wires were in place I glued some felt to cover the ends that would sit in the jacket body. The felt helped to both keep them in place and make them less likely to wear through the fabric. The wires have an angle in them and extend past the collar seam and into the back of the jacket so that they rest against my back and therefore actually provide structural support.

Then carefully aligned it and I sewed the collar closed--this meant all 3 collars, the jacket body and lining were attached. The order from bottom to top is: jacket body, bottom collar (both edges), top collar (now both edges), inner collar (and its lining), jacket body lining.


I ironed the seam, pressing the jacket lining down, which hid all of this construction on the inside--giving it a nice, clean finish. Then I sewed channels for the bottoms of the wires to sit between the jacket layers. Then I basted the lining to the body along the raw edges--including the armholes. 
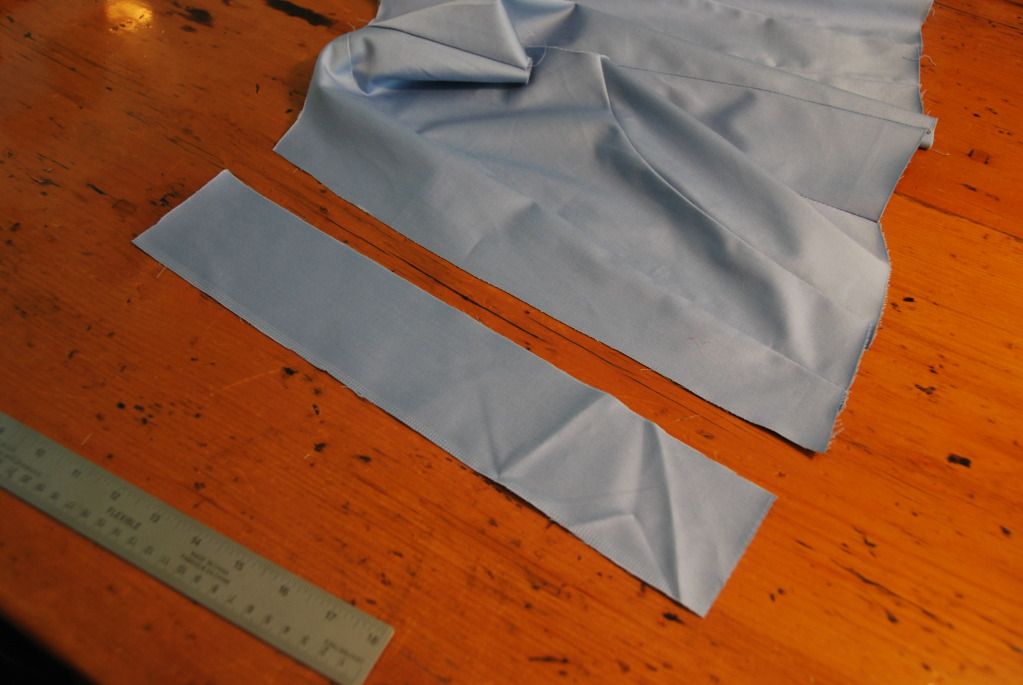
I used a basting stitch along the sleeve tops and cuffs to create puffed sleeves, which I then attached to the armholes. A year later I would return and finish the sleeve hem with a simple rectangular cuff. 

Next I finished the edges with a silver bias tape I made myself. I also used bias tape to finish the armhole seam neatly. 

Here you can see the inside of the jacket.

After this I sewed on some frogs for the closure on the top collar.
This pointy edged navy bit was top stitched to one side of the front opening of the bolero. It has dome fasteners to attach it to the other side of the opening for easy removal.

Details such as gems and beads were added later, I will go into details on those in a later post.

Thursday, October 9, 2014

Sakura - Sailor Suit - CardCaptor Sakura

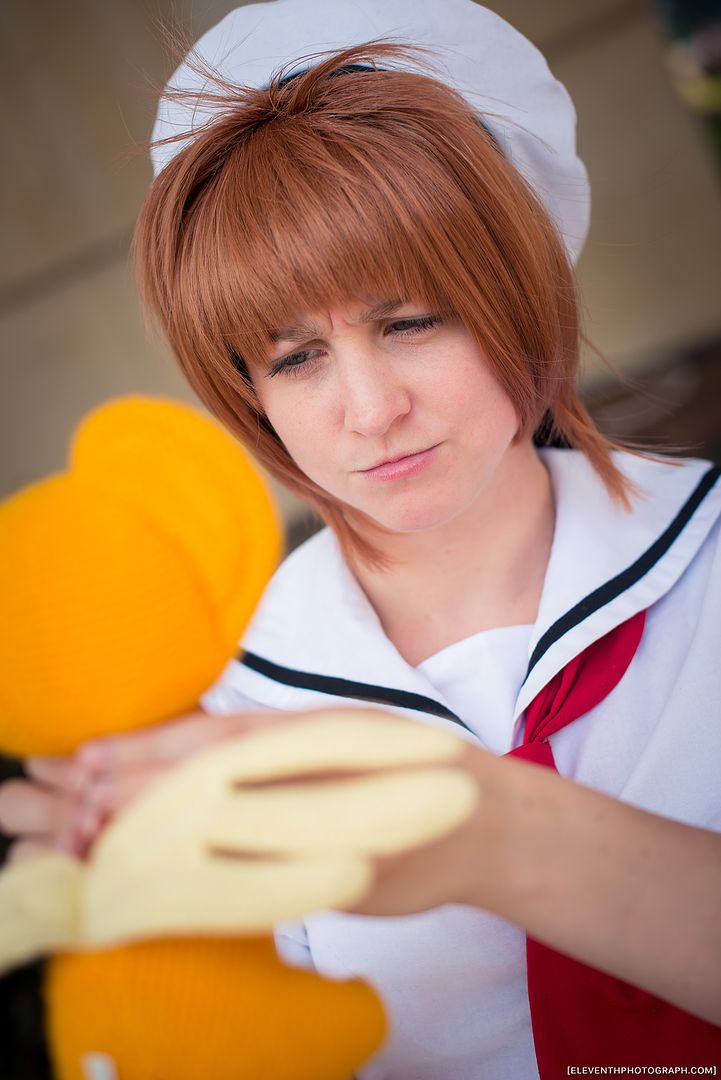
First let's take a look at my more casual Sakura outfit: her school uniform (spring/summer version). I've been cosplaying for over 10 years and this is my first school uniform/sailorsuit outfit I've ever made! Crazy huh? This cosplay was especially picked for Otakon because it packs into a suitcase really easily, I already had the wig, and it has very few layers which makes it great for insanely hot weather.

I got a couple cute pics with EleventhPhotograph at Otakon this summer! Many thanks! Also thanks to my sister Alex for lending me her adorable Kero plushie while she is away in Japan!

One thing I made sure of when I bought my fabrics for this costume was that none of my fabrics were shiny. I've seen many school uniform costumes done with shiny fabrics and I always think it looks cheap... Lets be honest, I've never seen a real school uniform that is shiny/satiny. It's also not coloured to look shiny in the show either.
To start I patterned a basic block for the shirt, ignoring the usual front and back darts in favour of only having a small dart come in from the armhole at the bust. I curved in the sides a bit at the waist, but did not make the shirt tight fitting. This was to ensure that a) I could slip it on over my head even though it is not made of stretch fabrics, and b) so I looked younger. Sakura is supposed to be a between grades 4-6, meaning she is a child, so I wanted to make sure that I didn't look too old for the character. In spite of the fact that I am not particularly well-endowed, a fitted blouse would still reveal curves that a child would not have, so hence a more loose fitting shirt was in order.

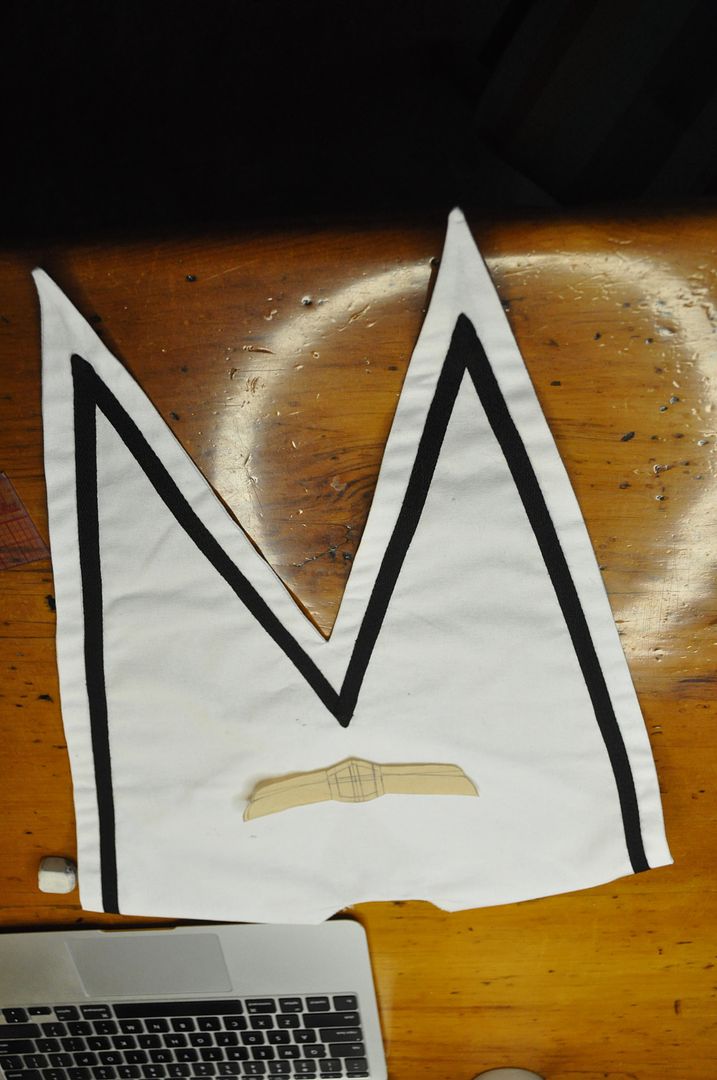
I patterned the neckline and sailor collar by creating a mockup of the shirt and then draping the collar on Molly (my Judy) with muslin. This way I was able to easily figure out the proportions.

Once that was done I laid out my fabric and cut out my pieces.

The collar was first sewn right sides together, excess fabric clipped and then flipped right way out and ironed.


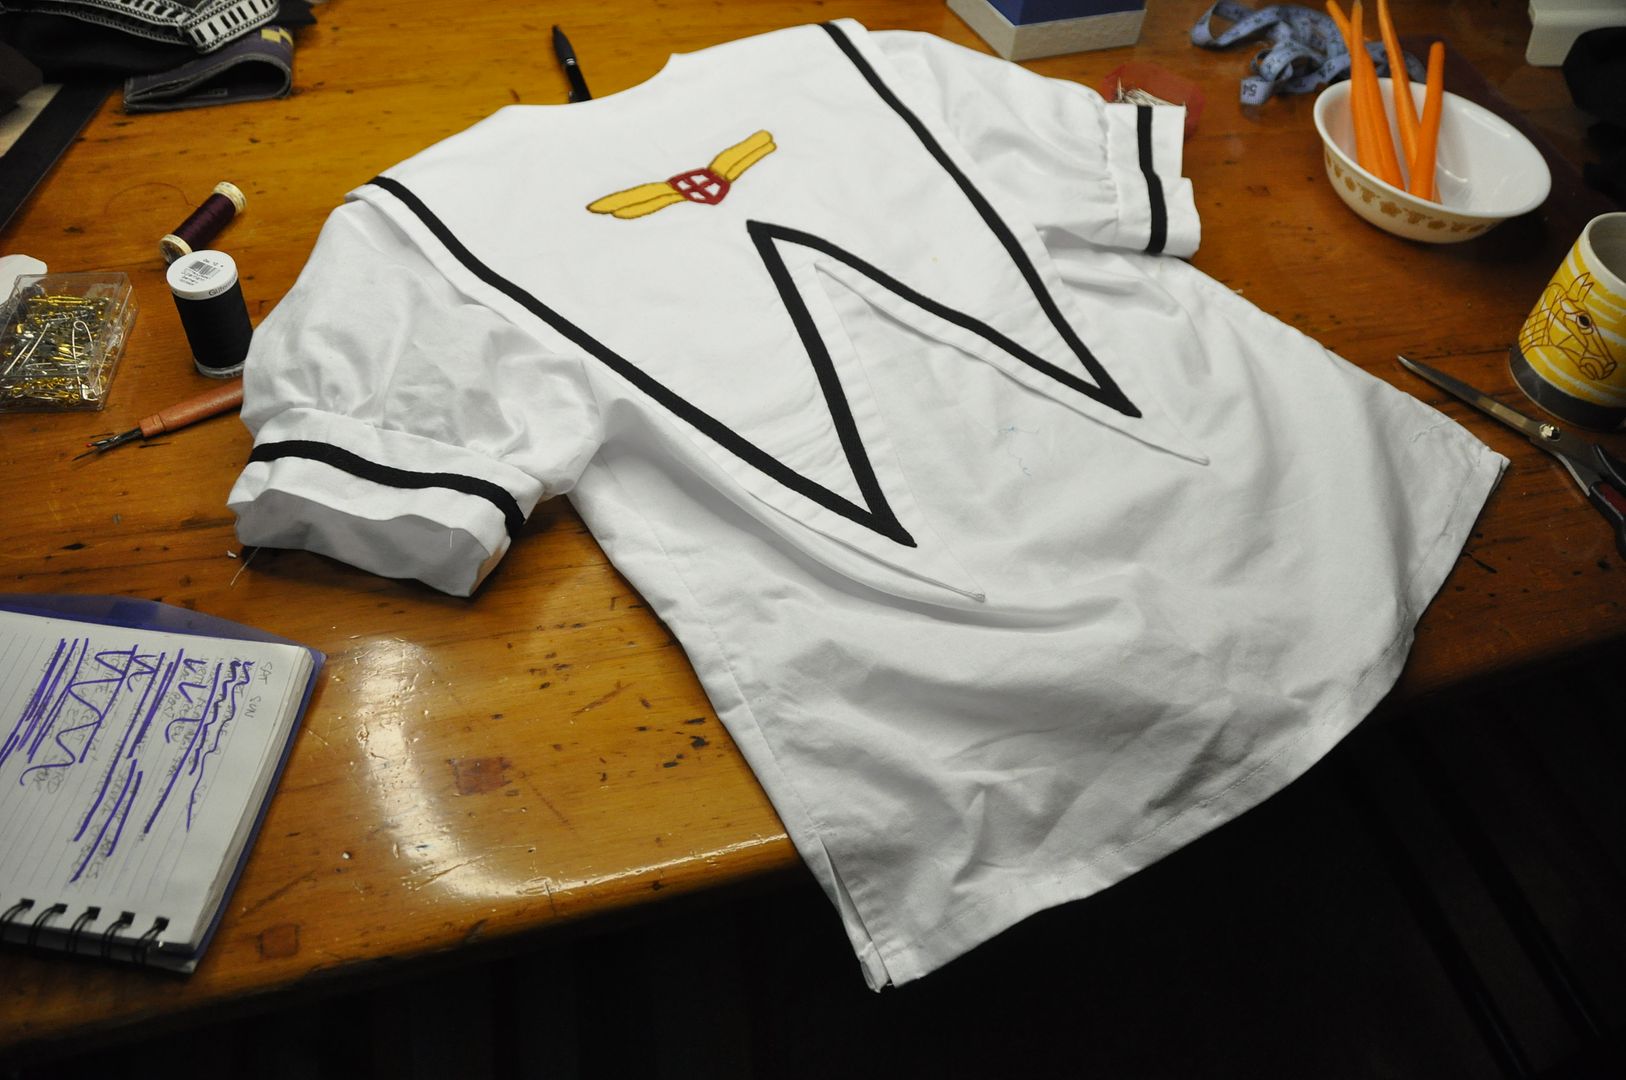
I then top-stitched on 1/4" black twill tape to make the edge detail. I made sure my bobbin thread was white (as opposed to black to match my top thread) so my stitching would be virtually unnoticeable from the other side.

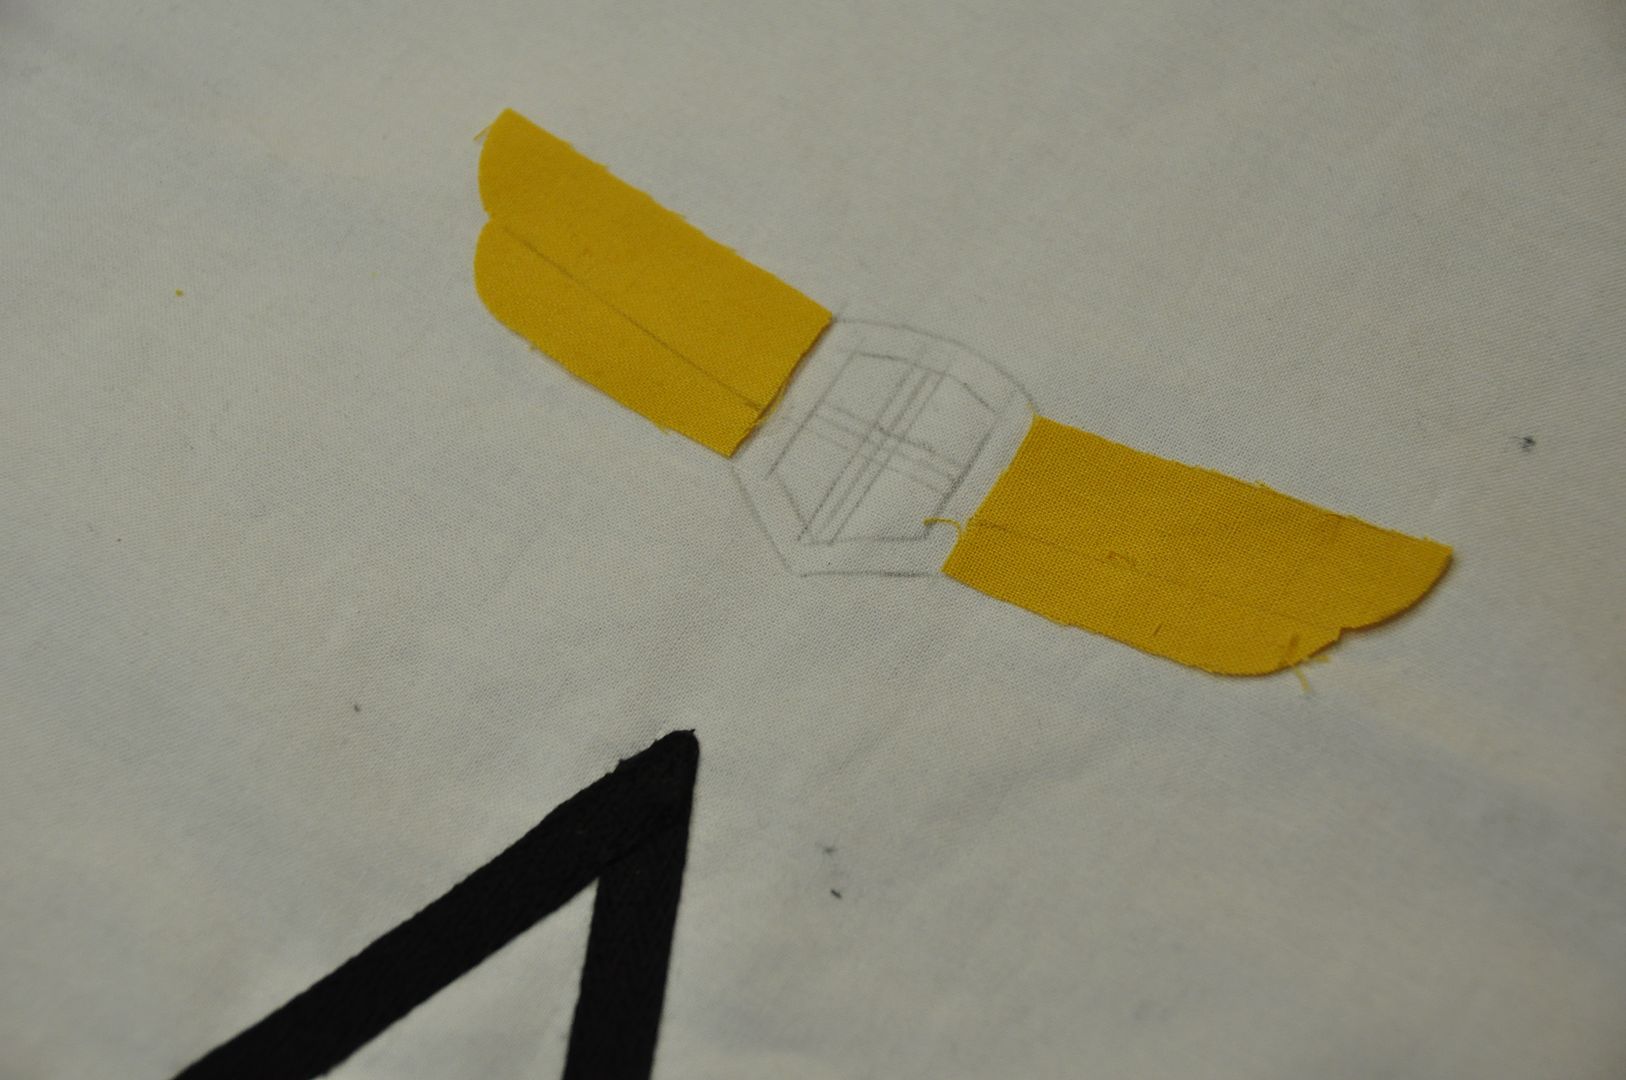
Then I sketched out the crest for the back detail.
Next step was the appliqué and embroidery of the crest on the back. Using yellow fabric leftover from Kero, I blocked out the areas for the 'wing' part of the crest. This saved me from having to fill that area with an embroidery stitch. Instead I merely sewed around the edges. Next I did the red shield-shaped piece in the center.
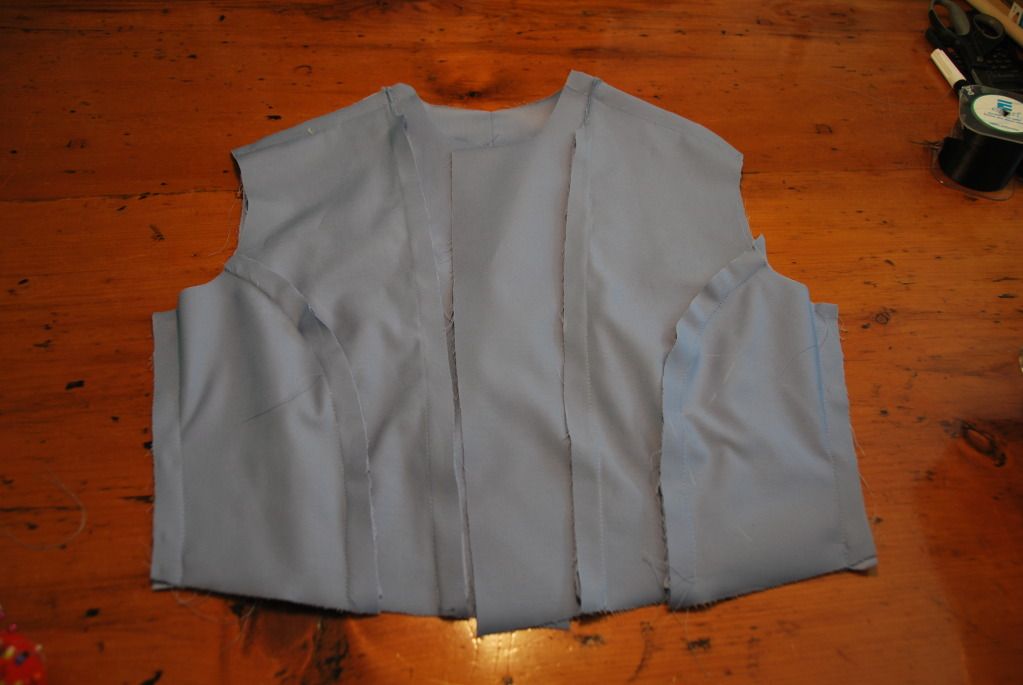
After finishing all the seams inside the shirt,  I made some puffy sleeves. I made sure they weren't too puffy, so they were only slightly larger than the armhole. I used a basting stitch along the sleeve cap and bottom and cinched them to the right diameters before sewing them to the armhole and cuffs respectively. The cuffs are just rectangles sewn into a loop and folded in half lengthwise that I have sewn another stripe of black twill tape on.

I hemmed the bottom of the shirt with a simple rollover, but went back and changed the side seams to have a 2" slit up each side.

Then I attached the collar to the outside ans zigzagged the raw edge. I flipped it to the inside, pressed it, then top stitched it down. I took extra care to reinforce the point of the v-neckline.
The last step for the shirt was to create a little triangle  to sit under the v-shaped neckline. It was secured with dome fasteners so it could be removed so I could take the shirt on and off. 

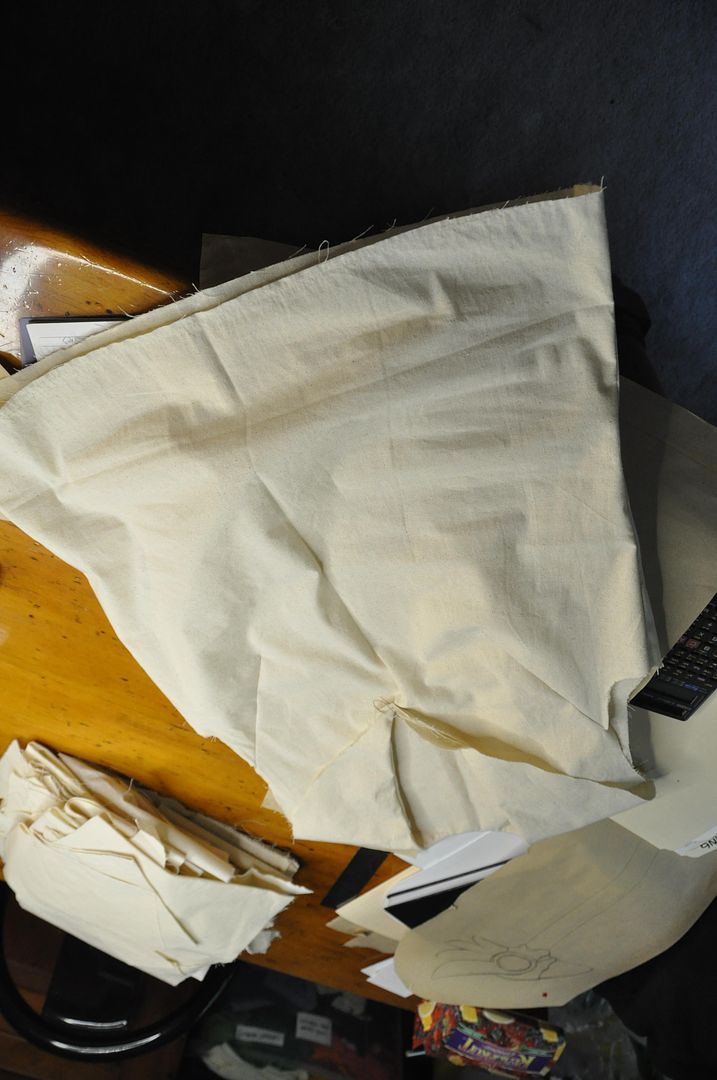
Now lets talk about the skirt. Creating a pleated garment is all about math, unfortunately. The garment has 10 pleats. In order to make it fit snugly at both waistband an over hips I had to take 2 measurements, one at waist, and on 4" down from waist. Then I divided those numbers into 10 equal parts and carefully drew out a pattern piece. Left you can see one of my side panels. The thin trapezoids are the parts that would be visible, the wide ones would be hidden in the folds. 

The hardest part of patterning this was making it so the side seams would be inside a pleat and therefore virtually invisible. 

The size of the skirt at the bottom was arbitrarily decided, but I knew I wanted it to be pretty full, because it's CardCaptor Sakura guys.
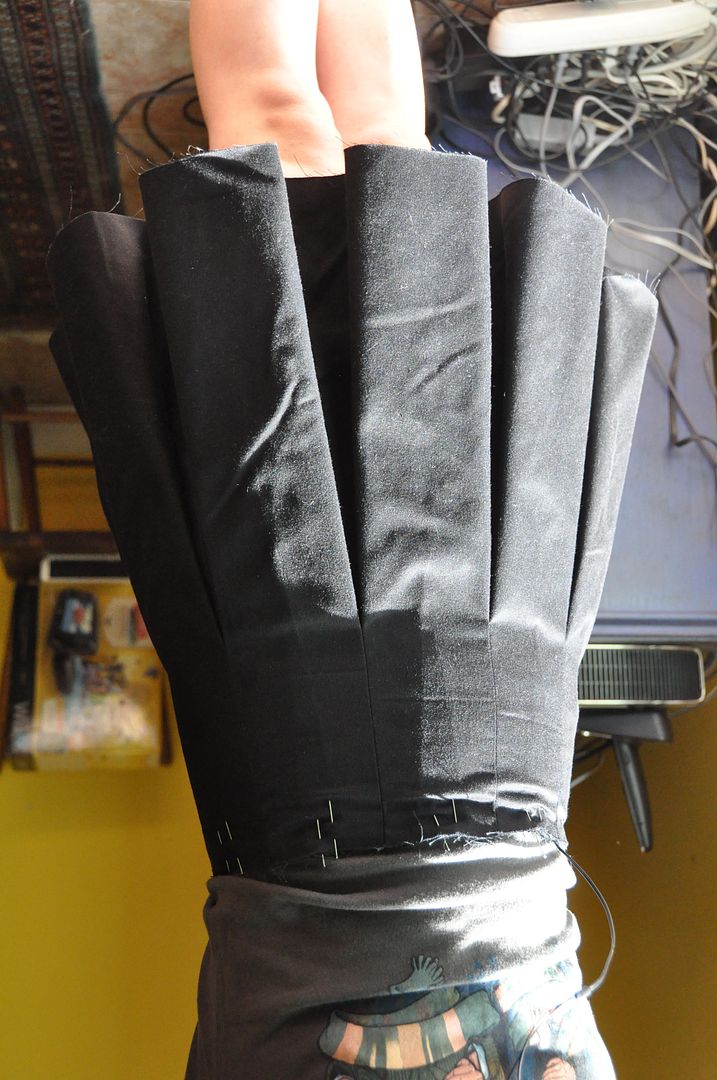
Each of my three skirt pieces I sewed the center pleats into before sewing the pieces together. I sewed the center back together and added in the zipper before finishing the pleats directly beside it.
I ironed the pleats centered, rather than off to one side (because that's how it looks in all the reference photos). I didn't press the pleats all the way to the hem either, because I wanted them to still have that soft, rounded look. For your own reference look at my Long Pleated Skirt to see what pleats look like when pressed to one side, all the way to the hem. Very different, right?

Once the pleating and waistband were finished I hemmed the skirt.
The saddest part is I couldn't figure out how to work pockets into the skirt, so this costume has no pockets. Oh well.

Above you can also see my mockup for the hat. Surprisingly this is the item I was most excited to make. I've always loved the hats that Clamp designs, particularly these adorable sailor hats. I love that they magically perch on the back of the head.

When making hat, always take the band measurement while wearing the wig you will be wearing under it, otherwise you run the risk of making it too small!

Below you can see the pattern pieces for this--the pieces on the right are both folded in half.

First I assembled the band, with is a long rectangle, sewn into a loop and then folded in half lengthwise. For the cap first I sewed the c-shaped piece into a circle, then sewed it right sides together with the top of the cap.
I finished the inner seams, then pressed it right way out. Next I attached the band, leaving a gap at center back to attach the black tails. The tails were sewn right sides together, clipped, flipped and pressed. These were then inserted into the gap at the back, splayed at a slight angle, and stitched in place. I then finished the inner seams of the hat.
Last piece to make was the under skirt. Above you can see the pattern, which is completely different from the pleated over skirt which is made of rectangles. This is because a) pleating is time consuming, b) all you see is the edge and c) I didn't want all that bulk under the already considerable bulk of those pleats.

Using the 2 measurements I took earlier to create my pleats, I made the top piece of the underskirt. Then I made a circle skirt piece to attach to that (of which I cut 3, making the bottom 1.5 circles). This ensured that all the flare of the underskirt would be below the stitch line of the pleats, reducing bulk.

I attached a lace trim to the bottom edge as an extra cute detail.
At the center back at the waist of the underskirt, it was finished to remain open. The underskirt was attached to the overskirt by buttons (holes on the underskirt, buttons on the inside of the overskirt). This way it was removable and could be washed separately.

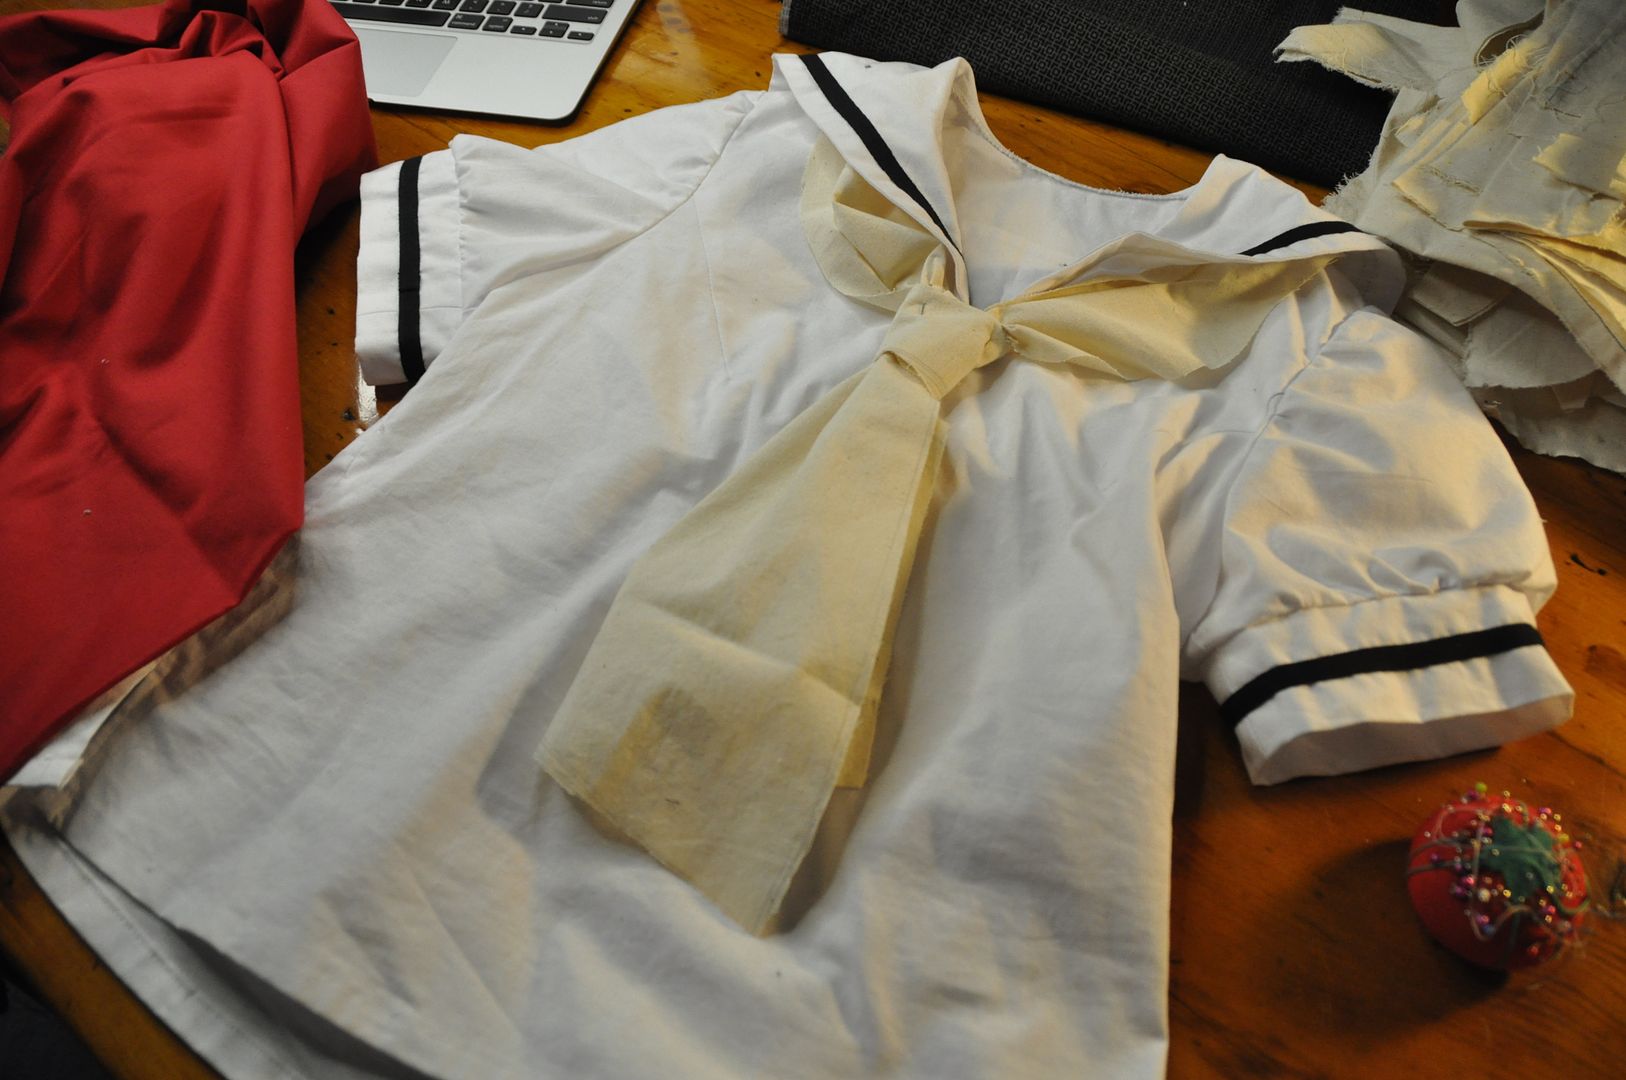
Lastly I made a tie. I mocked it up with leftover muslin scraps, and then made a nice one out of red twill.

Each of the individual pieces were stitched right sides together then flipped right way out and pressed. I top stitched more black twill tape along the bottom of the tie edge. before hand stitching the pieces together. The last thing I did was make a velcro closure at the back.  Because I have no idea how to tie a real sailor tie.

Tuesday, September 4, 2012

Alice in Wonderland - Dress

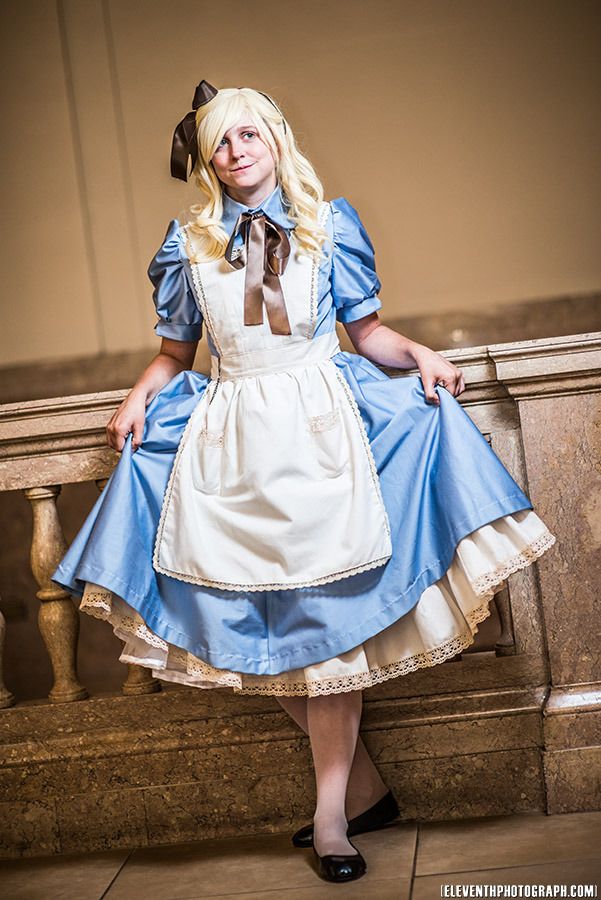
Here's a look at how I made my Alice in Wonderland dress. This costume debuted at Otakon back in July. I also wore it to Otakuthon and FanExpo this past month.

(My Alice posts will be divided into three parts: the dress, the petticoats and the apron. )

Special thanks to Mike of Eleventh Photograph for the awesome photoshoot! Go here for the pictures!

This was a costume that I had wanted to make for a long time and I am really happy with the end result. This version is loosely based off of both the '60's Disney movie, the original illustrations from the book and my own designs. I wanted to go less cartoon-y and more historical.

I had a great difficulty deciding on my blue fabric. I didn't want something excessively shiny, as I find that can look extremely tacky, but I did want a fabric that had a bit of a sheen and some nice weight to it. After much scouring I eventually found this fabric at a really reasonable price and also somehow managed to miscalculate and buy almost twice as much as I actually needed... whoops.

I started to pattern this by figuring out how wide I wanted the skirt to be at the bottom. I guesstimated the circumference and divided that number by 4. Then I calculated the length of the skirt, from where I wanted it to start to where I wanted it to fall. Keeping in mind that it would puff out in the end because of the petticoats.  I drew this out on craft paper. I tapered it in at the waist, because although I wanted it to bunch and ruffle, I didn't need like 200 inches of fabric doing that at the waist...
With great care and consideration, I patterned the bodice of this dress. Basing this off my measurements, a blouse pattern and my original design I created a bodice that was well fitting. I wanted to have a button up front, with 2 seams on each side making the dress taper in at the waist. The pattern I created consisted of 12 pieces that would form the bodice (+ the placket I would add later).
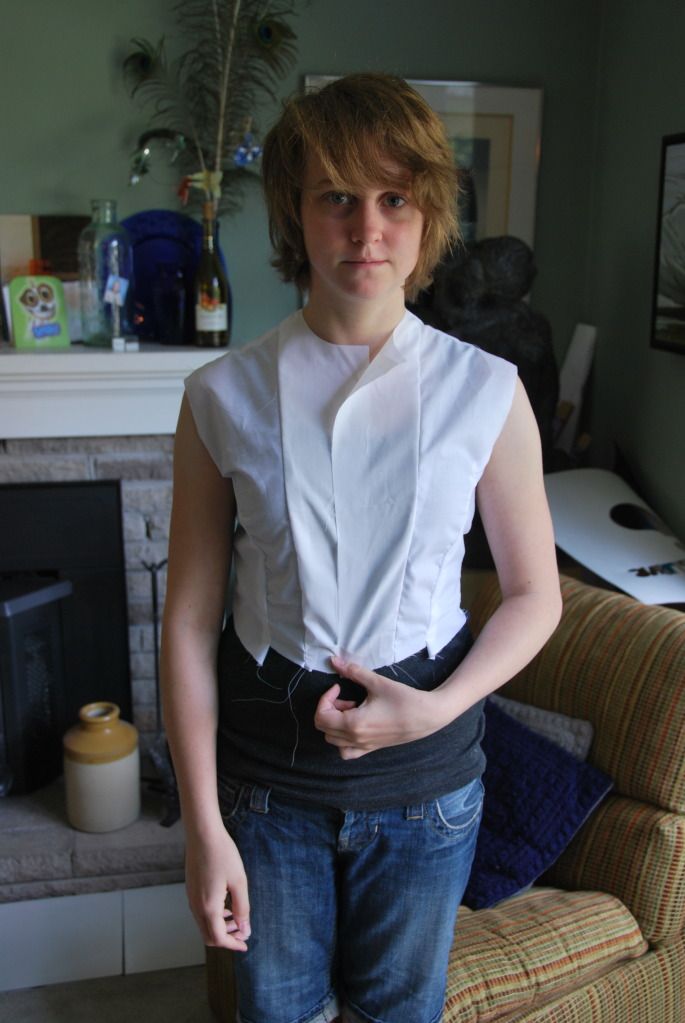
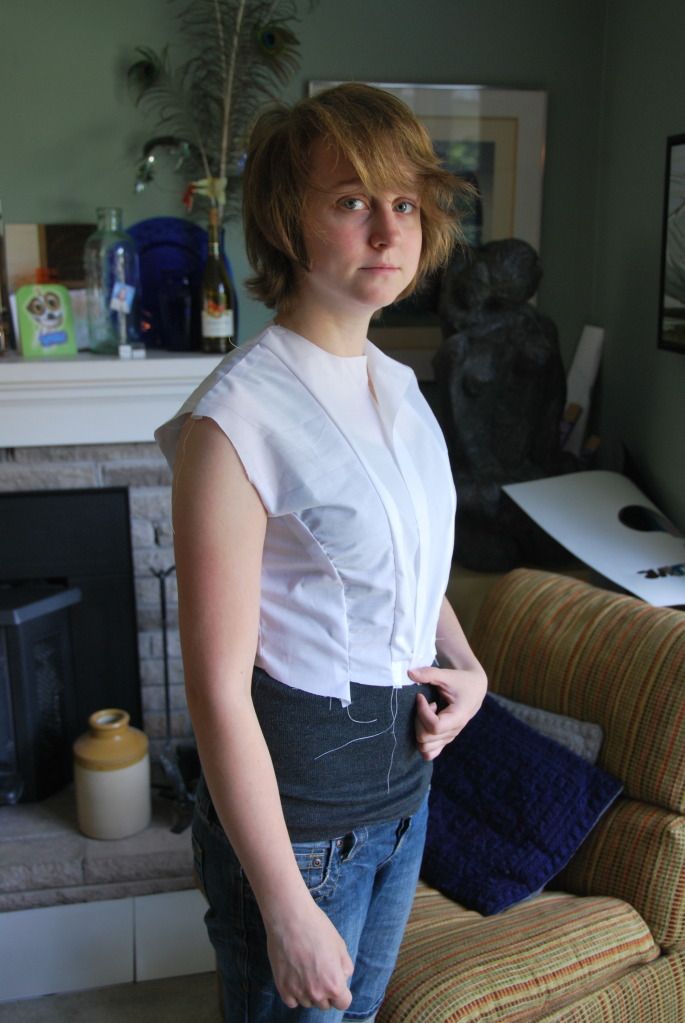
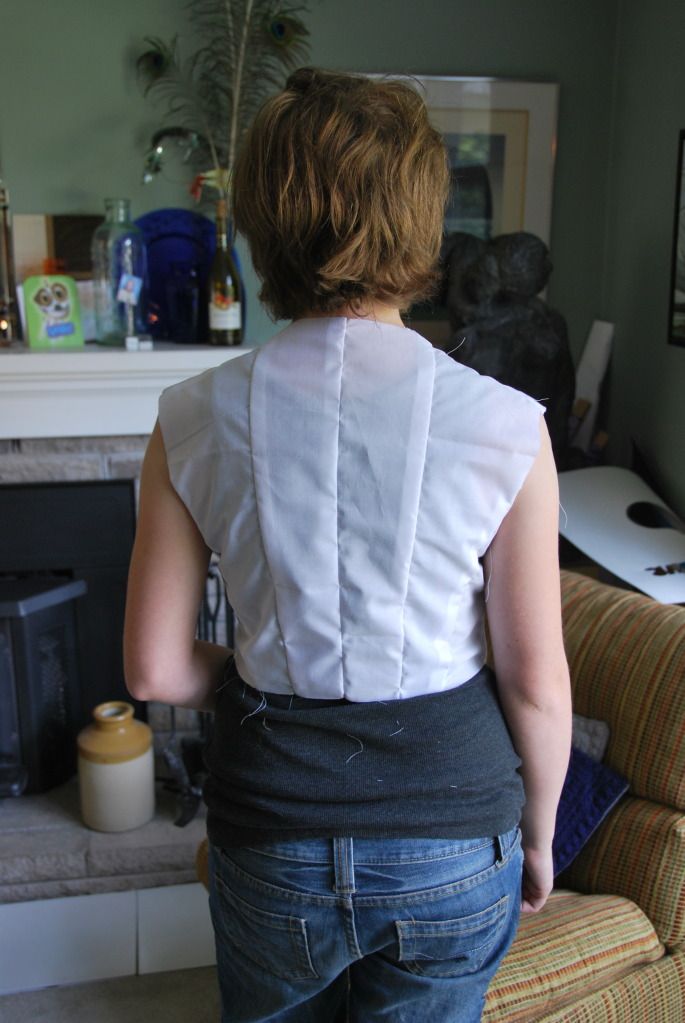
I first made a mock-up to determine if my pattern worked. Some adjustments were required--I ended up lengthening it by 1/2" and I took the shoulders in a bit--but overall the fit was good.
I then cut my pieces out of my good fabric, making sure to add the seam allowances.
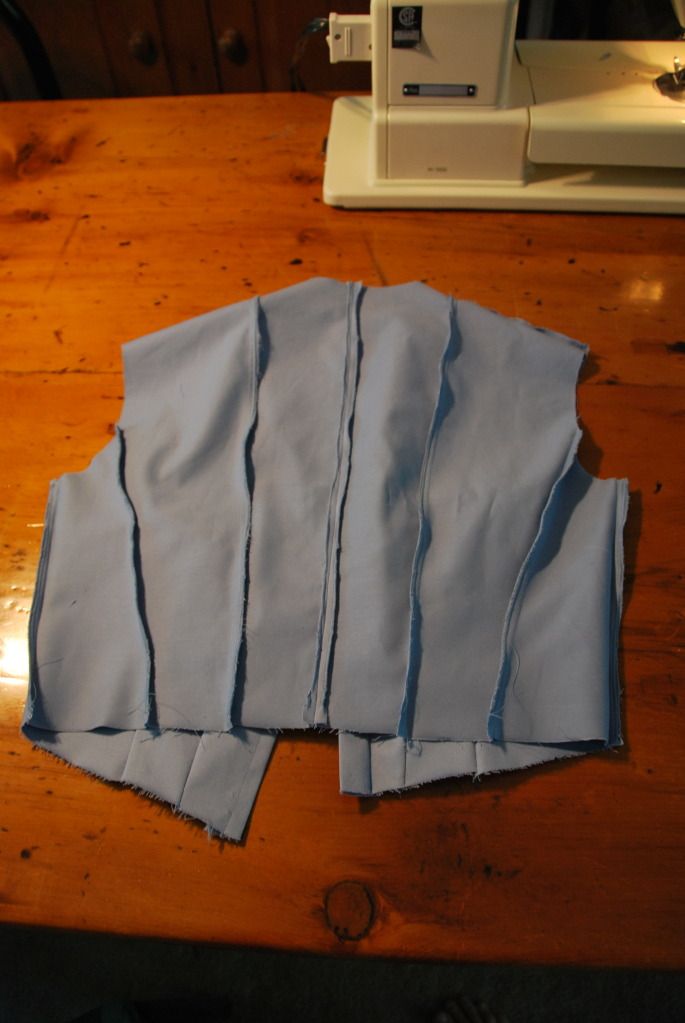
I sewed the front panels and back panels together. I pressed the seams flat.
I clipped and finished the tops of the seams that would be sewn in the shoulder seam. I left the rest of the seams in the bodice unfinished so I could make adjustments, but I had to do up the sides and shoulders first so I could determine the fit.
I then added the placket to the front where the button holes would go.
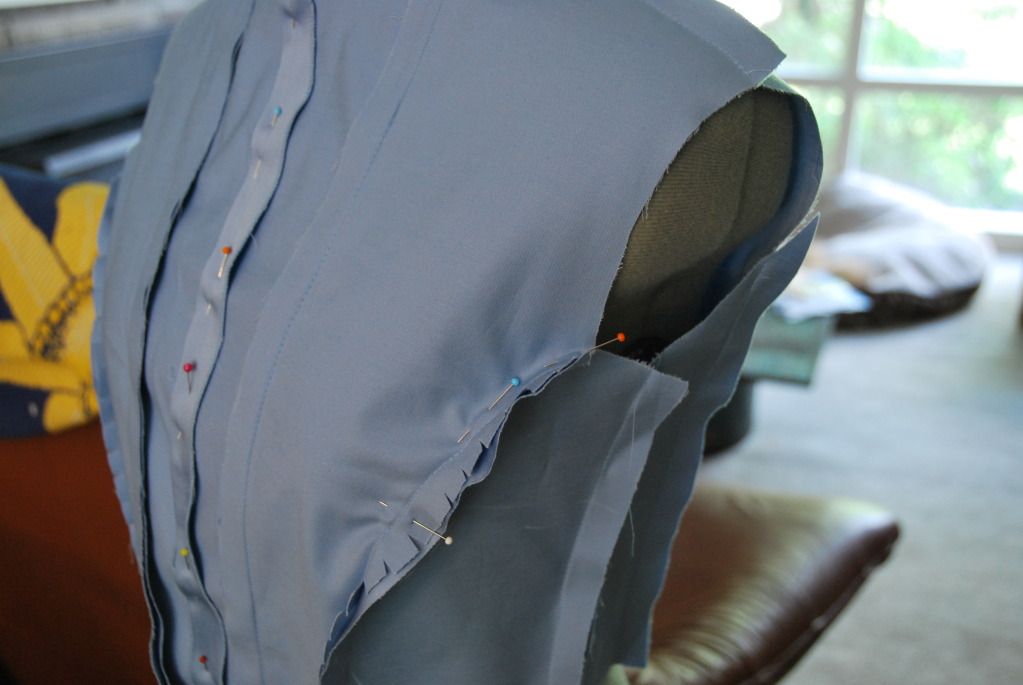
Once the placket was complete, I made a few more adjustments to the fit, particularly at the arms and shoulders. It is easiest to pin these adjustments when the garment is worn inside-out.
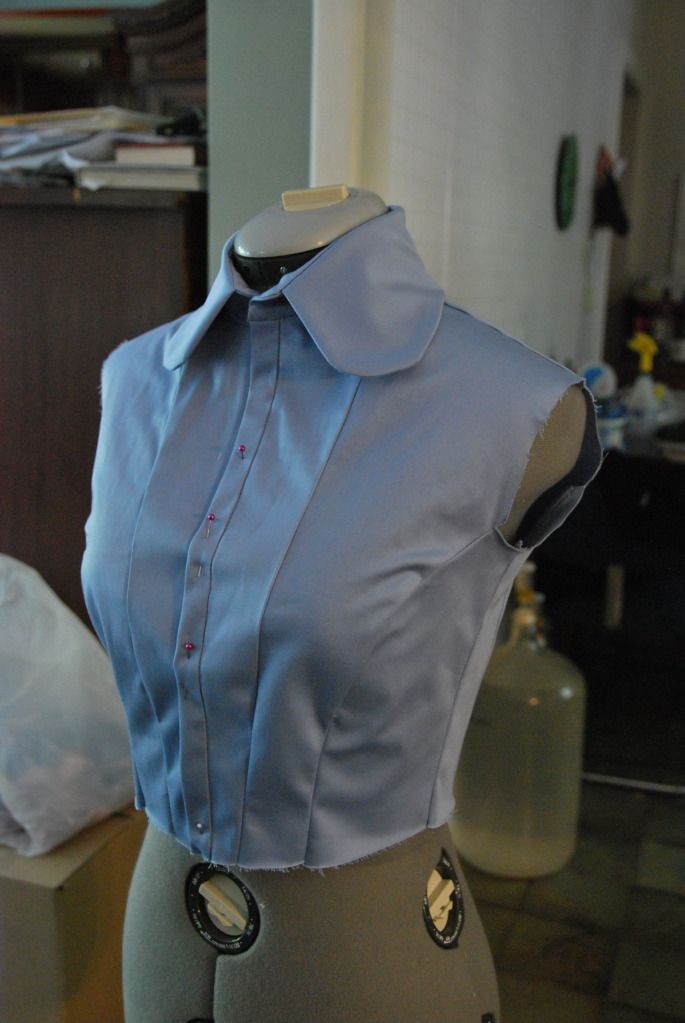
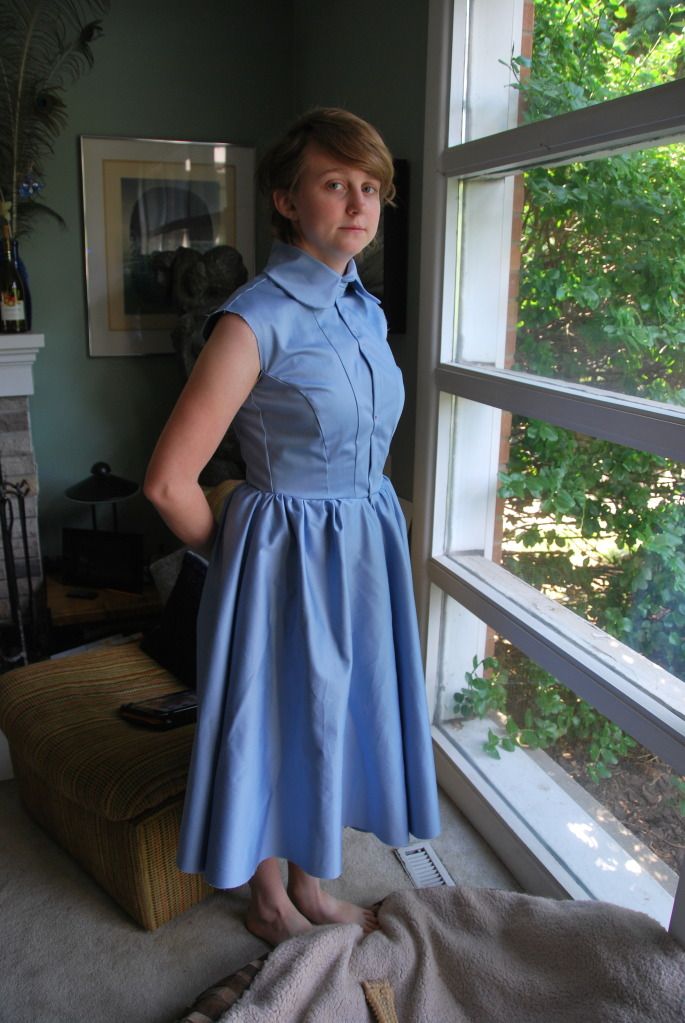
I tried it on and decided the fit was right,so I was ready to move on. (Please ignore the fact that my pants are kind of falling down even though I am totally wearing a belt...)
I then got to work on the collar. I based the pattern pieces off the blouse pattern I had from my Doctor Who costume, but I changed the shape of the collar at the front to be rounded as opposed to pointy.
I sewed the outer part of the collar together, clipped it, turned it right way out and pressed it. Then I sewed it into the inner part of the collar. After clipping and pressing that, I was able to attach it to the bodice.
I finished the inner seams of the bodice, and then attached the collar. First on the outside and then using a ditch-stitch to finish the inside. Pretty! :D
I sewed my 4 panels for the skirt together and finished the inner seams. On on of the seams I left a 2.5" gap at the top that was un-stitched. This is where it would be attached to the front opening. By having this 'slit' I would be able to easily remove the dress when it was unbuttoned, but with the overlap it would be unnoticeable when buttoned up.
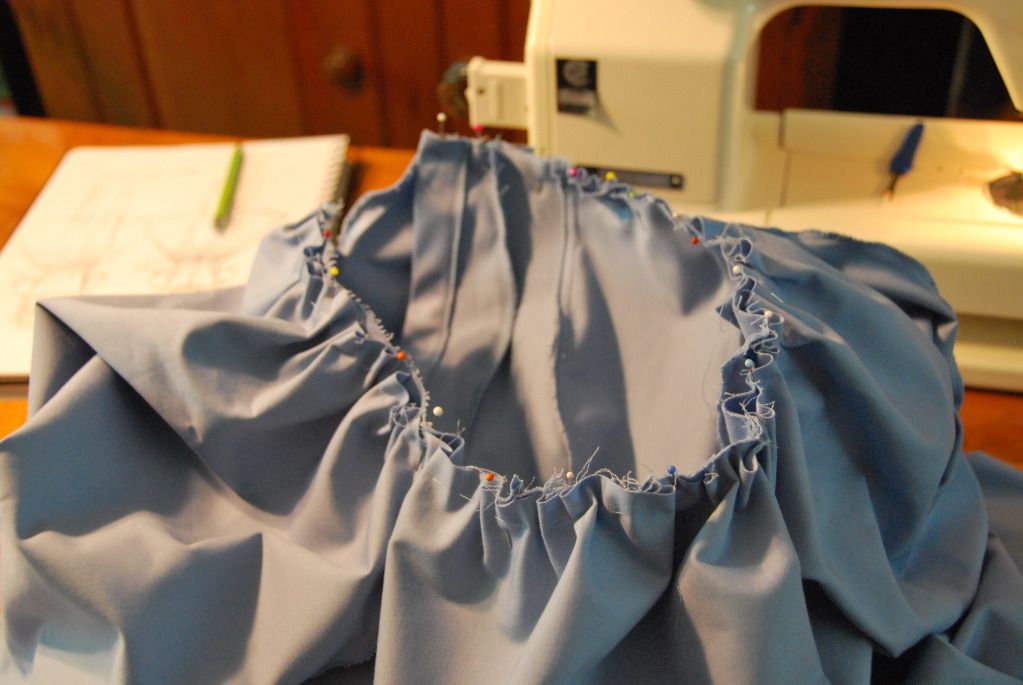
I then used a basting stitch and sinched up the skirt to the correct cicumference so it could be attached to the bodice. This was pinned in place and sewn on (right sides together).
The dress so far. At this point I knew I needed to take in the shoulders even more, because even with a half inch seam allowance the sleeves would still sit too low.
I marked and pinned the dress for hemming. I had a sewing party with a friend and she hemmed the dress beautifully for me while I made gloves for another costume.
The sleeves were patterned and the sinched so that they would be pouffy. I attached them, and added a slit, which would be where the sleeve would close with a button. This slit was finished off with a bias tape made of my same fabric.

I then gathered the bottom of the sleeves and added the little cuffs. The button and loop were the finishing touches here.

The last thing I did for this costume was to add the button holes to the placket and sew on the buttons.