

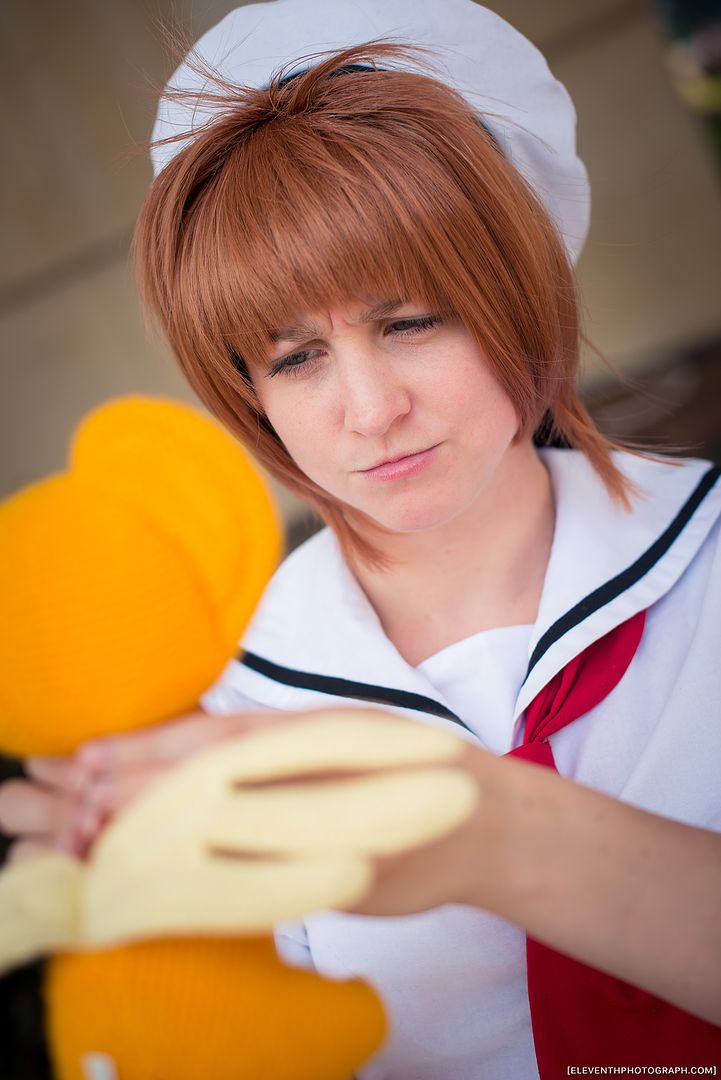
I got a couple cute pics with EleventhPhotograph at Otakon this summer! Many thanks! Also thanks to my sister Alex for lending me her adorable Kero plushie while she is away in Japan!
One thing I made sure of when I bought my fabrics for this costume was that none of my fabrics were shiny. I've seen many school uniform costumes done with shiny fabrics and I always think it looks cheap... Lets be honest, I've never seen a real school uniform that is shiny/satiny. It's also not coloured to look shiny in the show either.

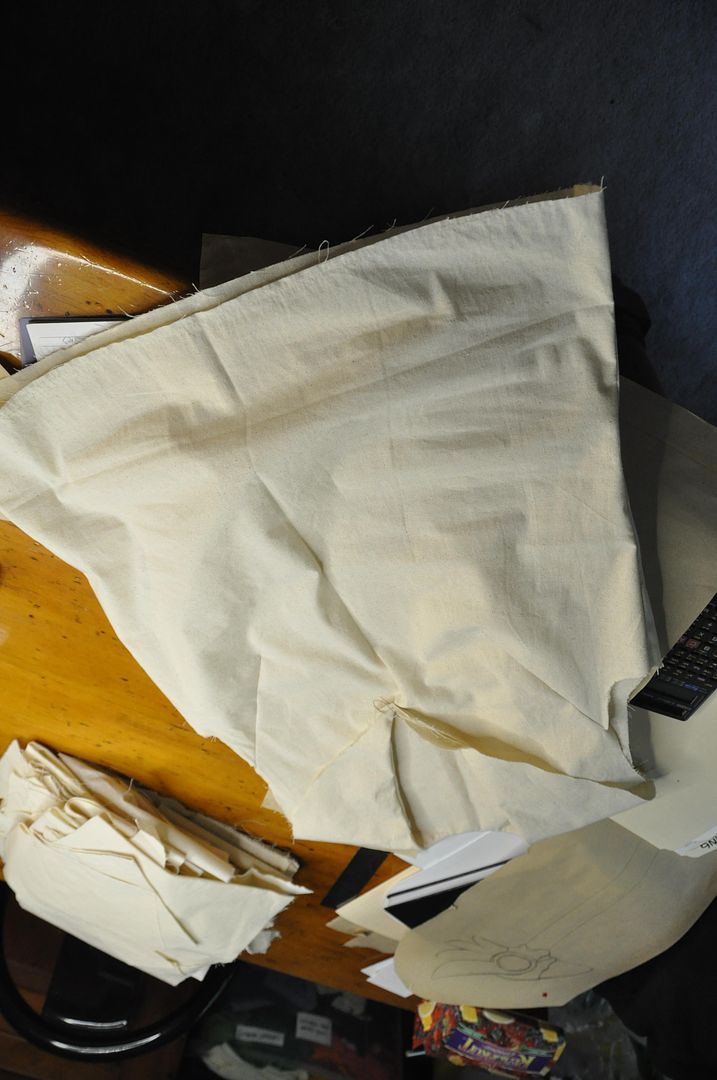

 Once that was done I laid out my fabric and cut out my pieces.
 The collar was first sewn right sides together, excess fabric clipped and then flipped right way out and ironed.
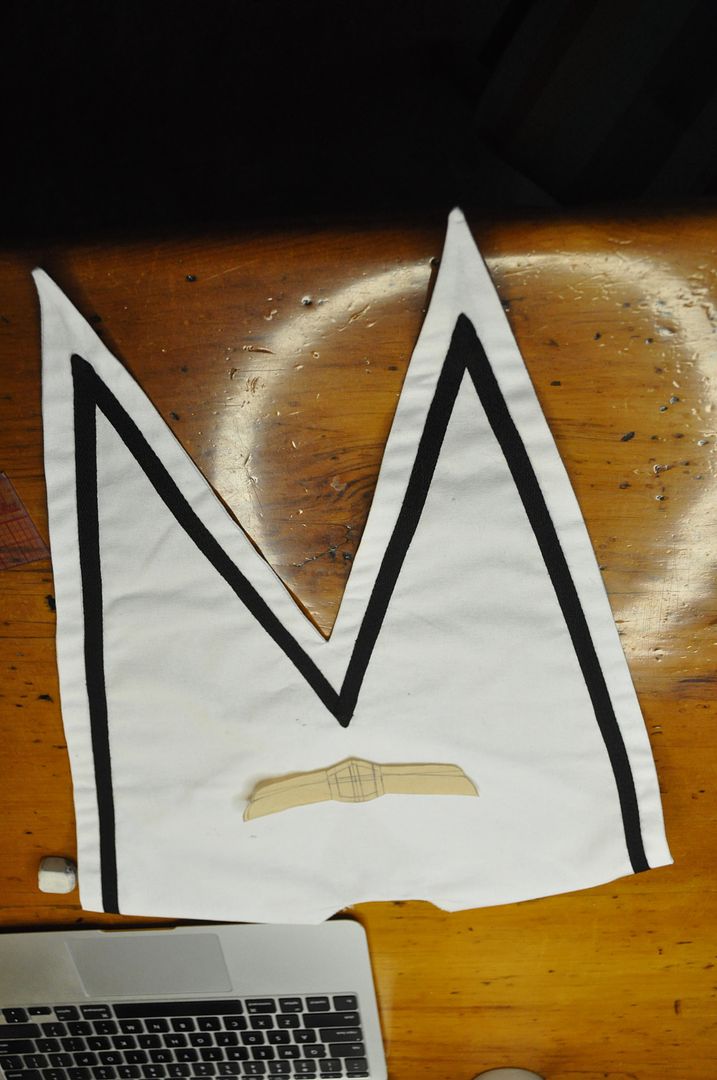
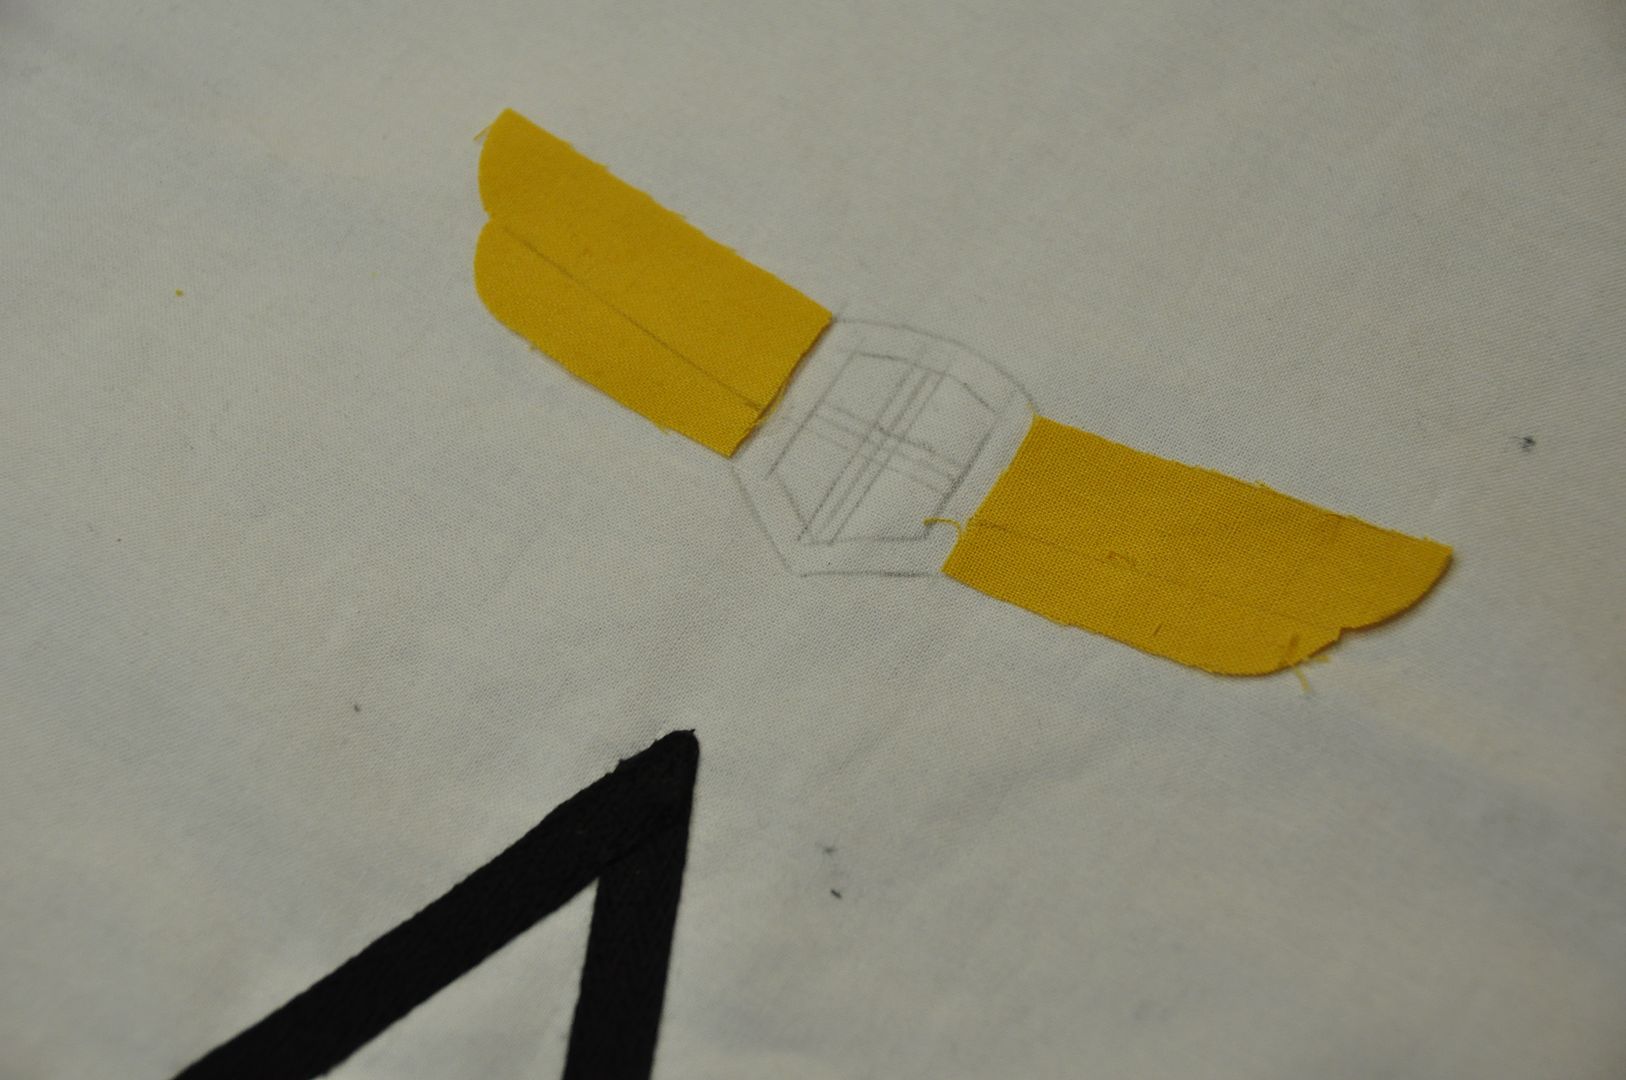
Then I sketched out the crest for the back detail.

 After finishing all the seams inside the shirt, I made some puffy sleeves. I made sure they weren't too puffy, so they were only slightly larger than the armhole. I used a basting stitch along the sleeve cap and bottom and cinched them to the right diameters before sewing them to the armhole and cuffs respectively. The cuffs are just rectangles sewn into a loop and folded in half lengthwise that I have sewn another stripe of black twill tape on.
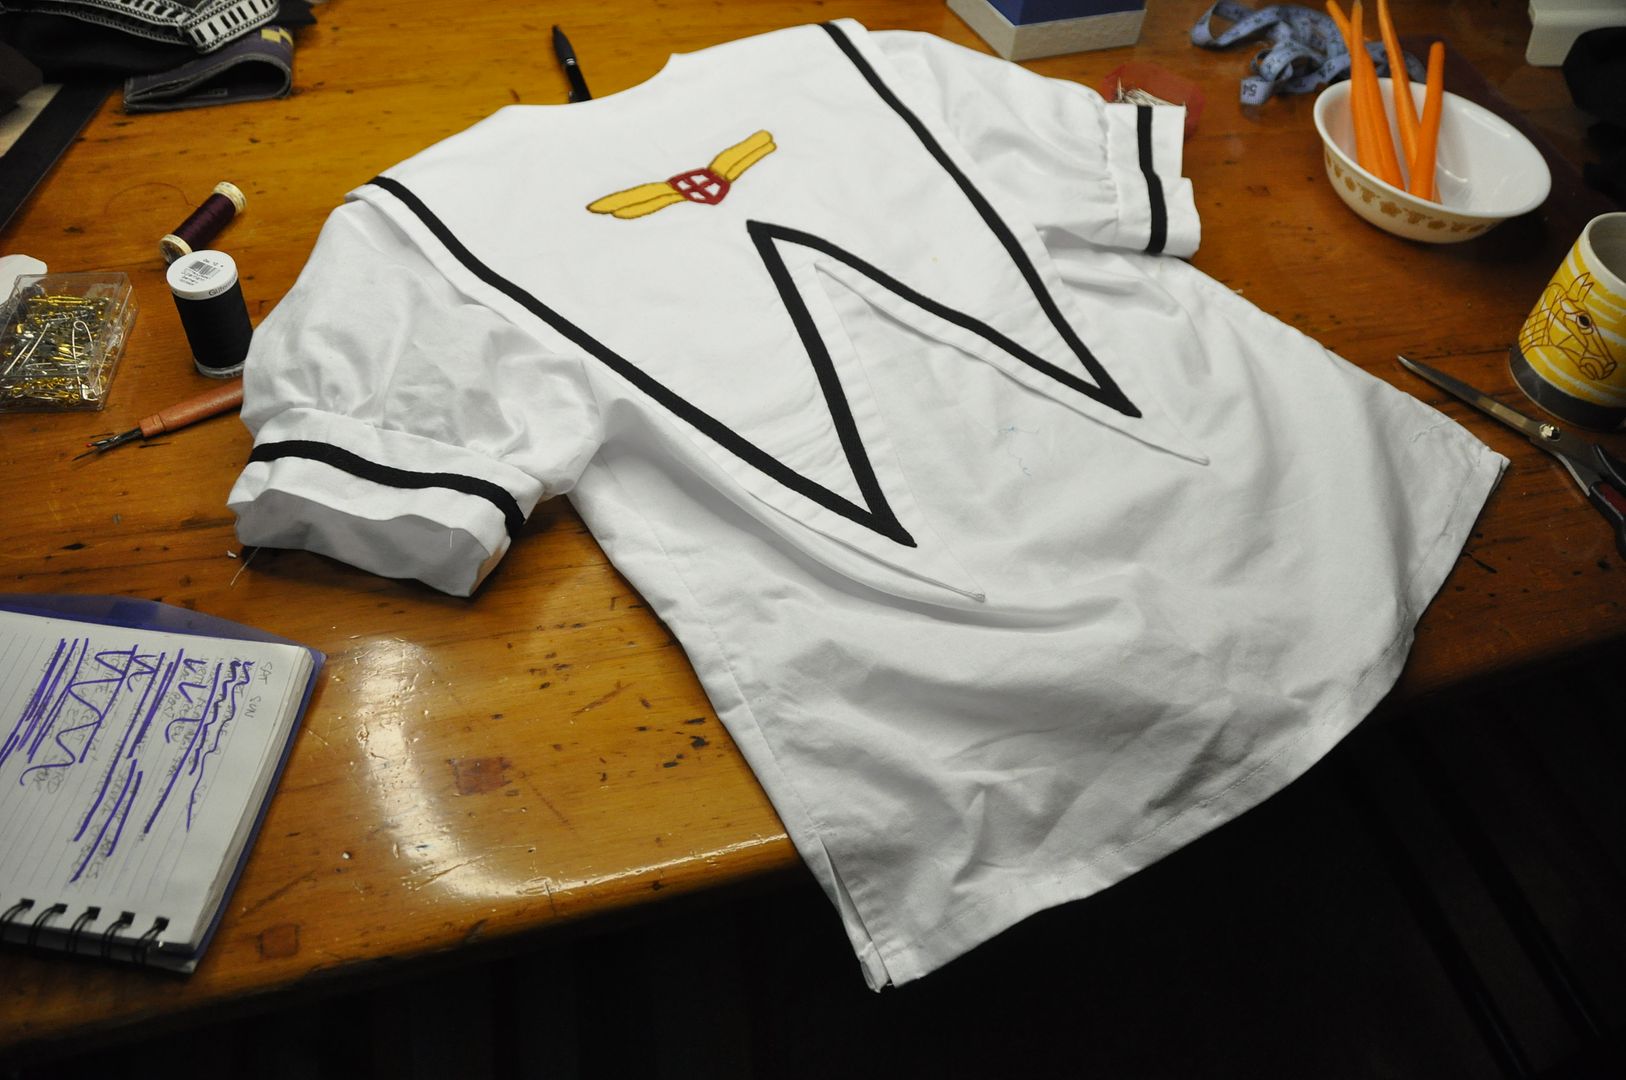
The last step for the shirt was to create a little triangle to sit under the v-shaped neckline. It was secured with dome fasteners so it could be removed so I could take the shirt on and off.
 Now lets talk about the skirt. Creating a pleated garment is all about math, unfortunately. The garment has 10 pleats. In order to make it fit snugly at both waistband an over hips I had to take 2 measurements, one at waist, and on 4" down from waist. Then I divided those numbers into 10 equal parts and carefully drew out a pattern piece. Left you can see one of my side panels. The thin trapezoids are the parts that would be visible, the wide ones would be hidden in the folds.
The hardest part of patterning this was making it so the side seams would be inside a pleat and therefore virtually invisible.
The size of the skirt at the bottom was arbitrarily decided, but I knew I wanted it to be pretty full, because it's CardCaptor Sakura guys.

 Each of my three skirt pieces I sewed the center pleats into before sewing the pieces together. I sewed the center back together and added in the zipper before finishing the pleats directly beside it.
 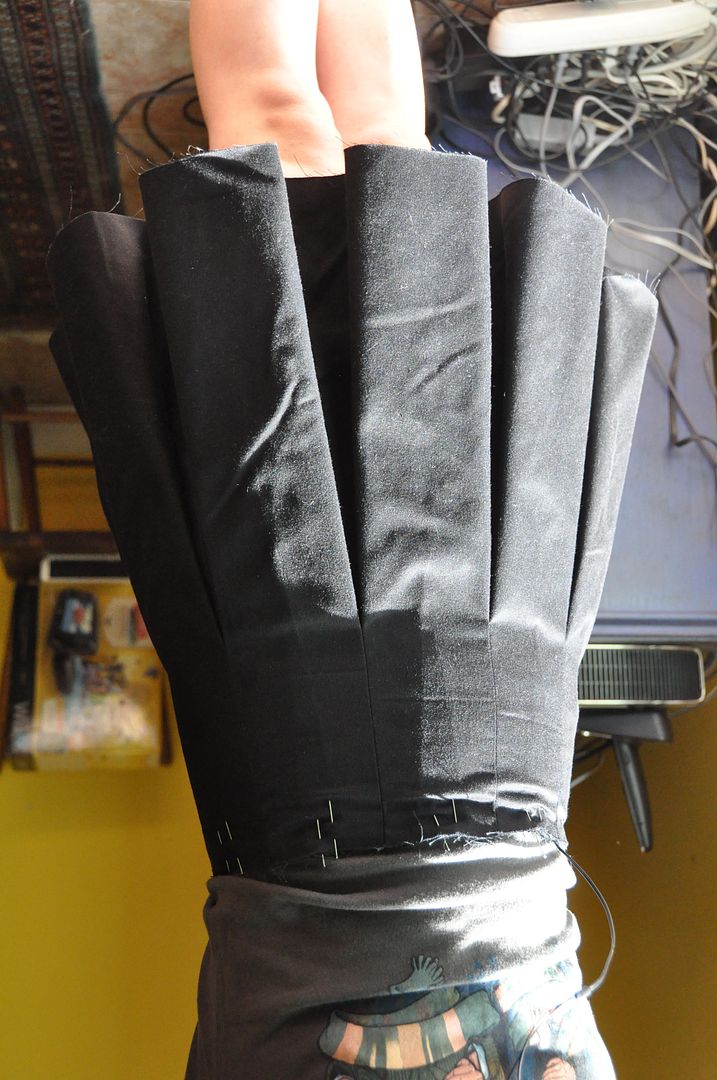 I ironed the pleats centered, rather than off to one side (because that's how it looks in all the reference photos). I didn't press the pleats all the way to the hem either, because I wanted them to still have that soft, rounded look. For your own reference look at my Long Pleated Skirt to see what pleats look like when pressed to one side, all the way to the hem. Very different, right?
 Once the pleating and waistband were finished I hemmed the skirt.


The saddest part is I couldn't figure out how to work pockets into the skirt, so this costume has no pockets. Oh well.

Below you can see the pattern pieces for this--the pieces on the right are both folded in half.
First I assembled the band, with is a long rectangle, sewn into a loop and then folded in half lengthwise. For the cap first I sewed the c-shaped piece into a circle, then sewed it right sides together with the top of the cap.

 I finished the inner seams, then pressed it right way out. Next I attached the band, leaving a gap at center back to attach the black tails. The tails were sewn right sides together, clipped, flipped and pressed. These were then inserted into the gap at the back, splayed at a slight angle, and stitched in place. I then finished the inner seams of the hat.

I attached a lace trim to the bottom edge as an extra cute detail.

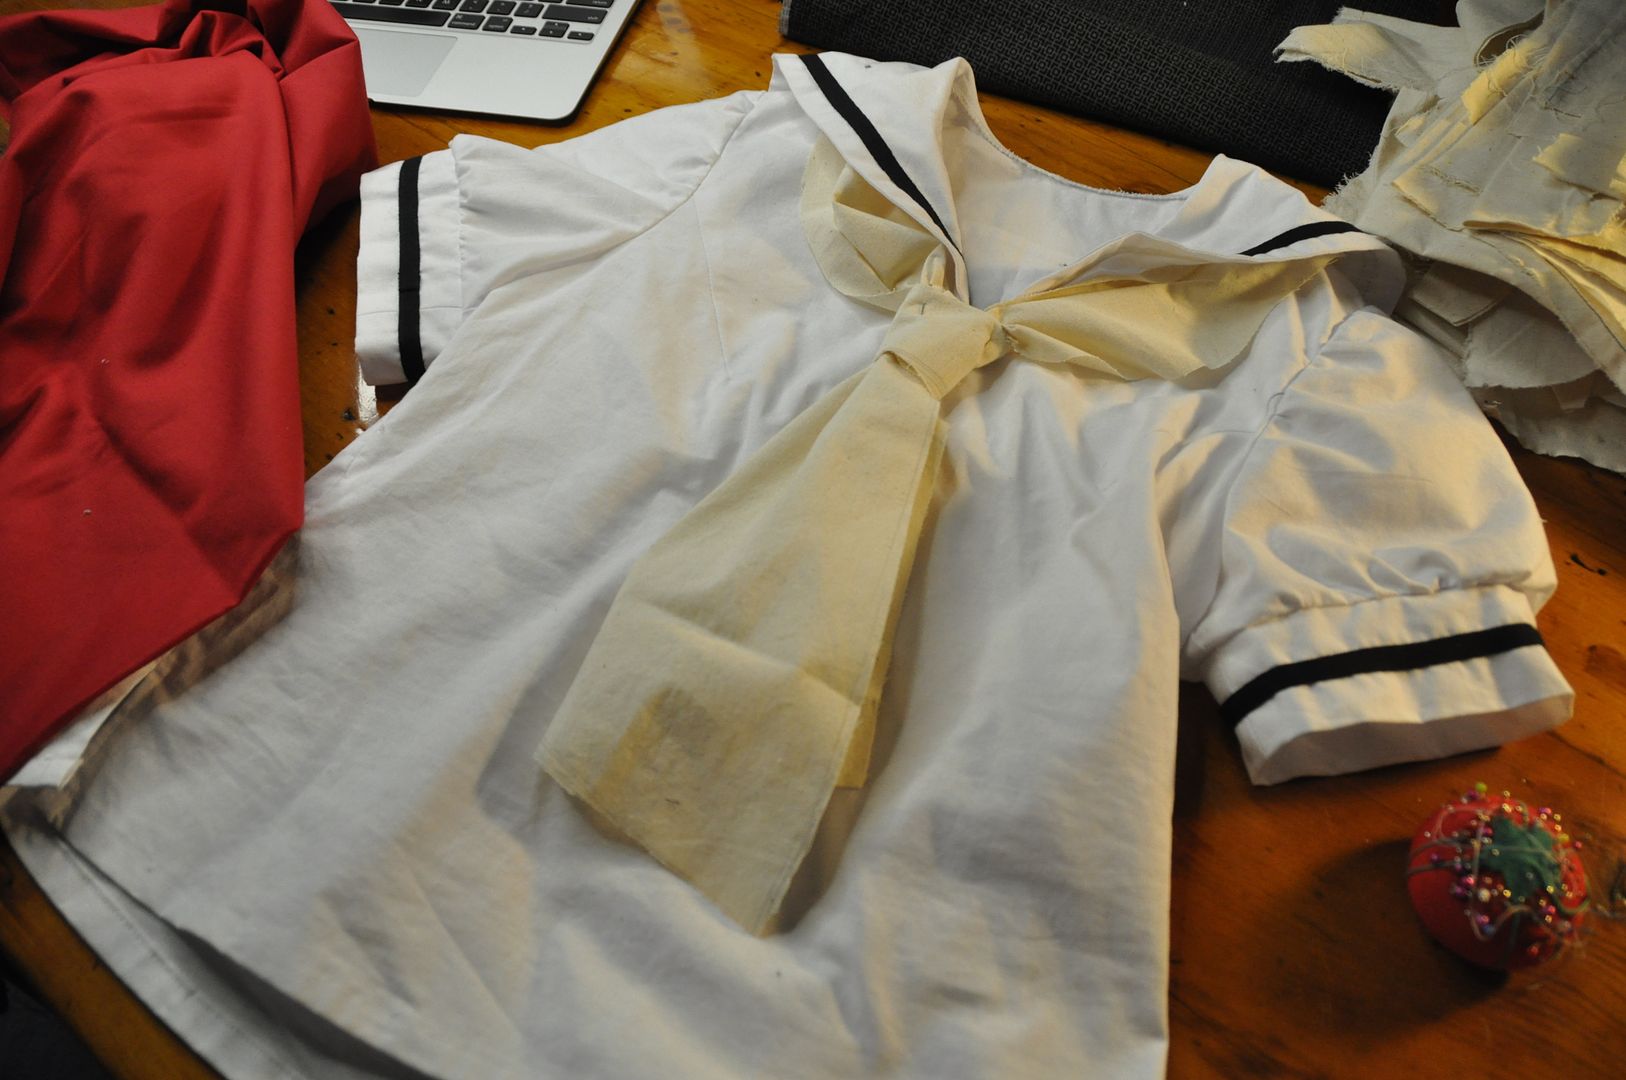
Each of the individual pieces were stitched right sides together then flipped right way out and pressed. I top stitched more black twill tape along the bottom of the tie edge. before hand stitching the pieces together. The last thing I did was make a velcro closure at the back. Because I have no idea how to tie a real sailor tie.

No comments:
Post a Comment