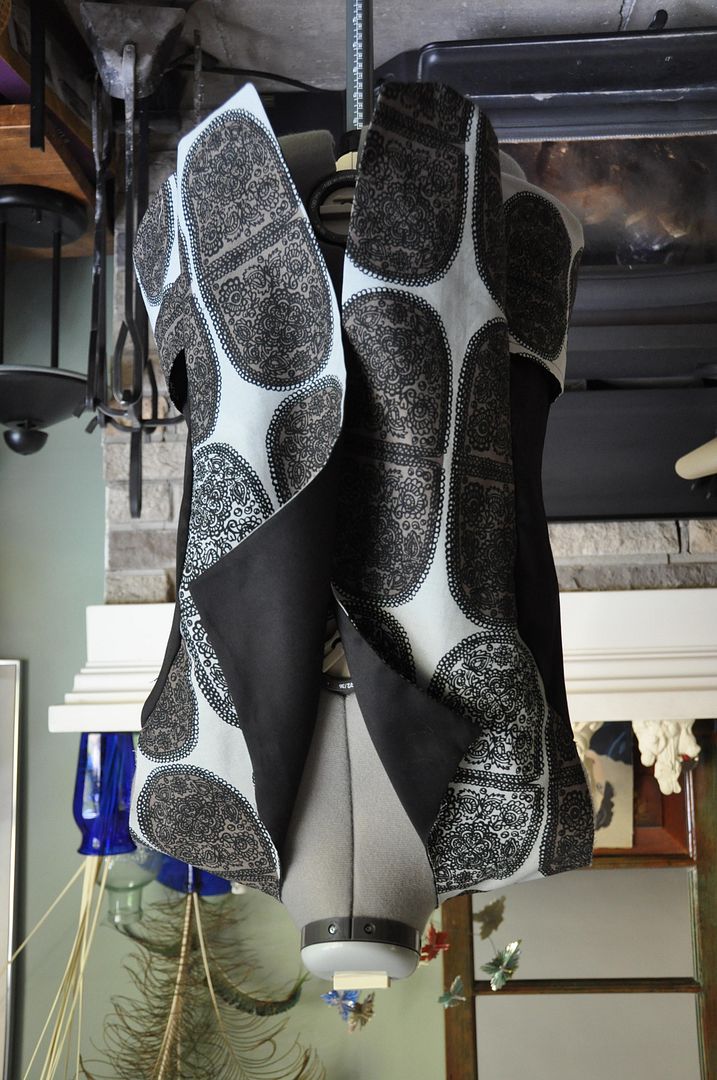
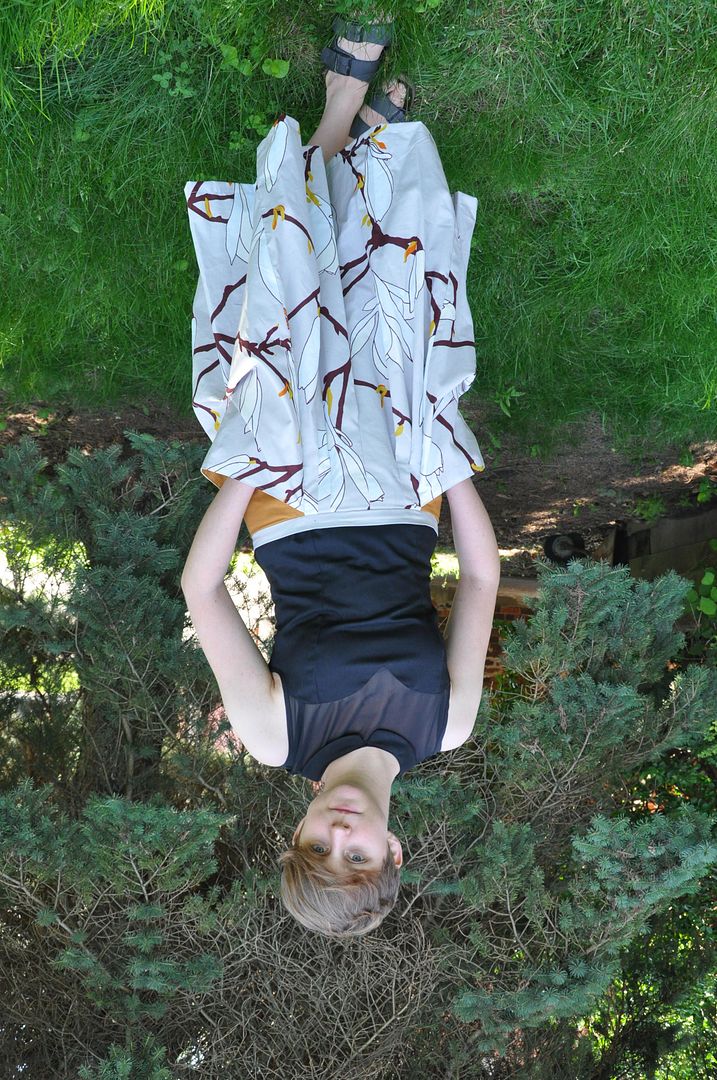
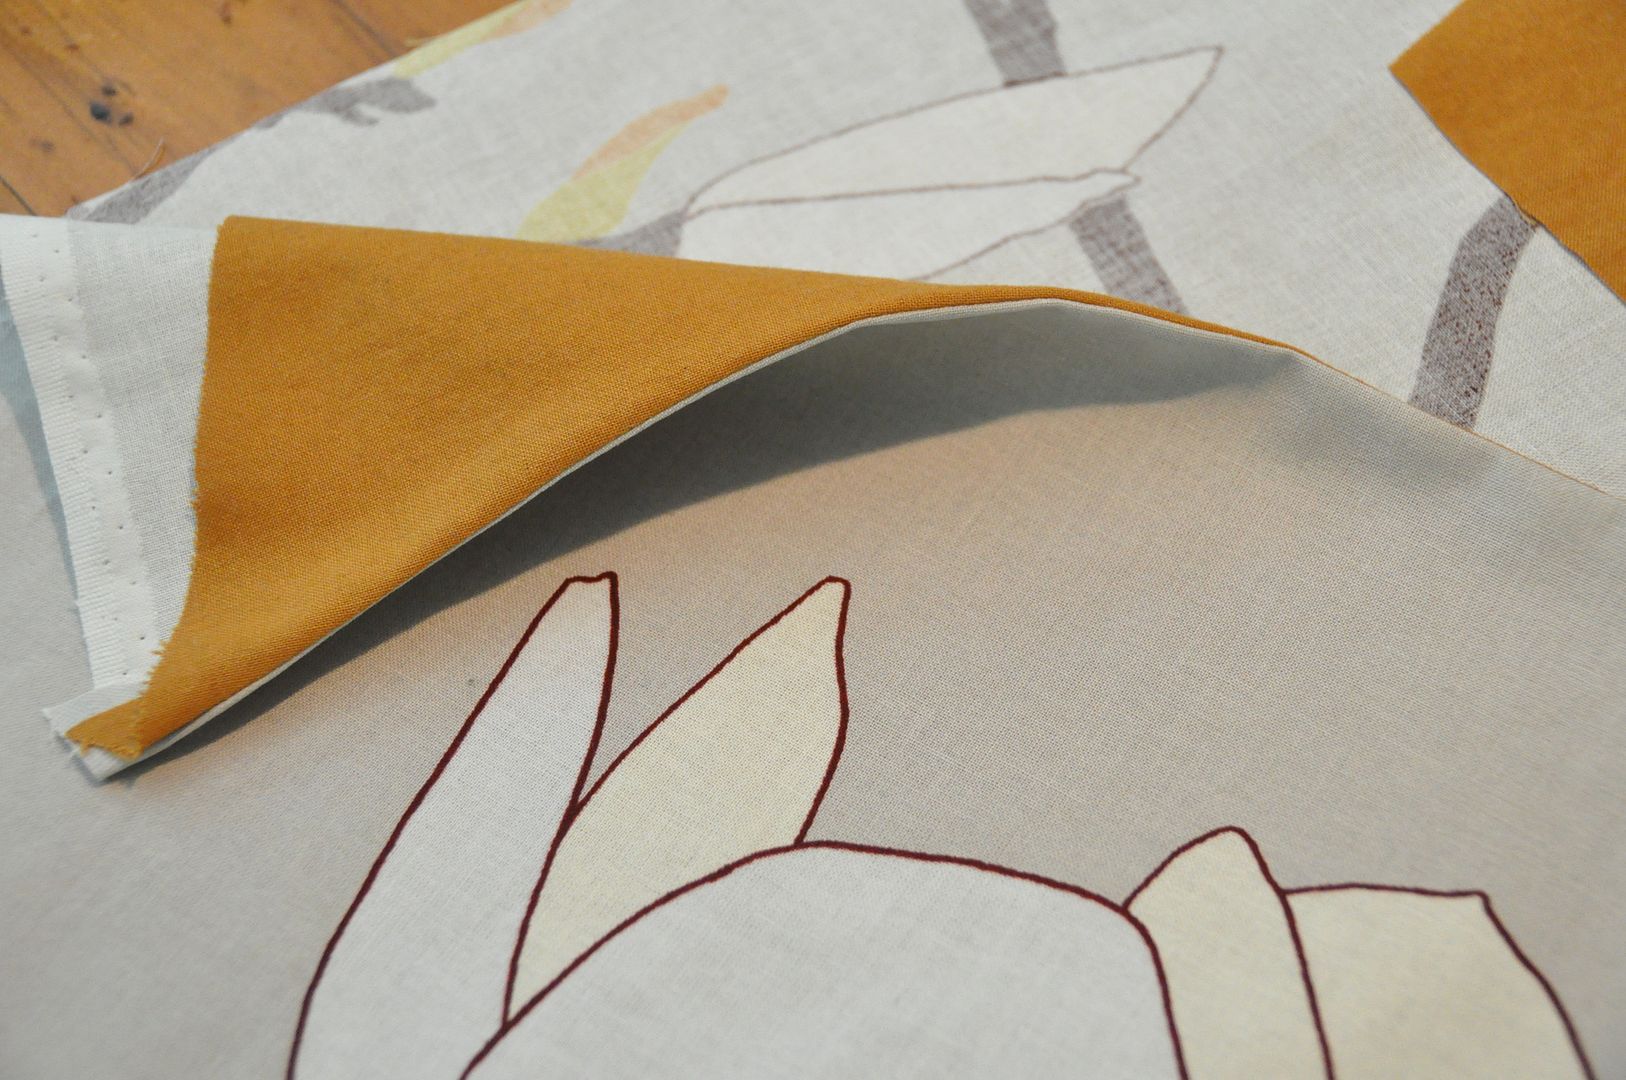
Taking a short break from costumes to show off an original design of mine using a Marimekko fabric I got from my sister as a gift. :) It was a really interesting experiment for me in making a fitted garment with a large print fabric. I really love the warm and cool grey tones in this fabric.
A summer project for me, though the only reason it took me all summer is that I kept stopping work on this in favour of more pressing cosplay projects! Hahaha
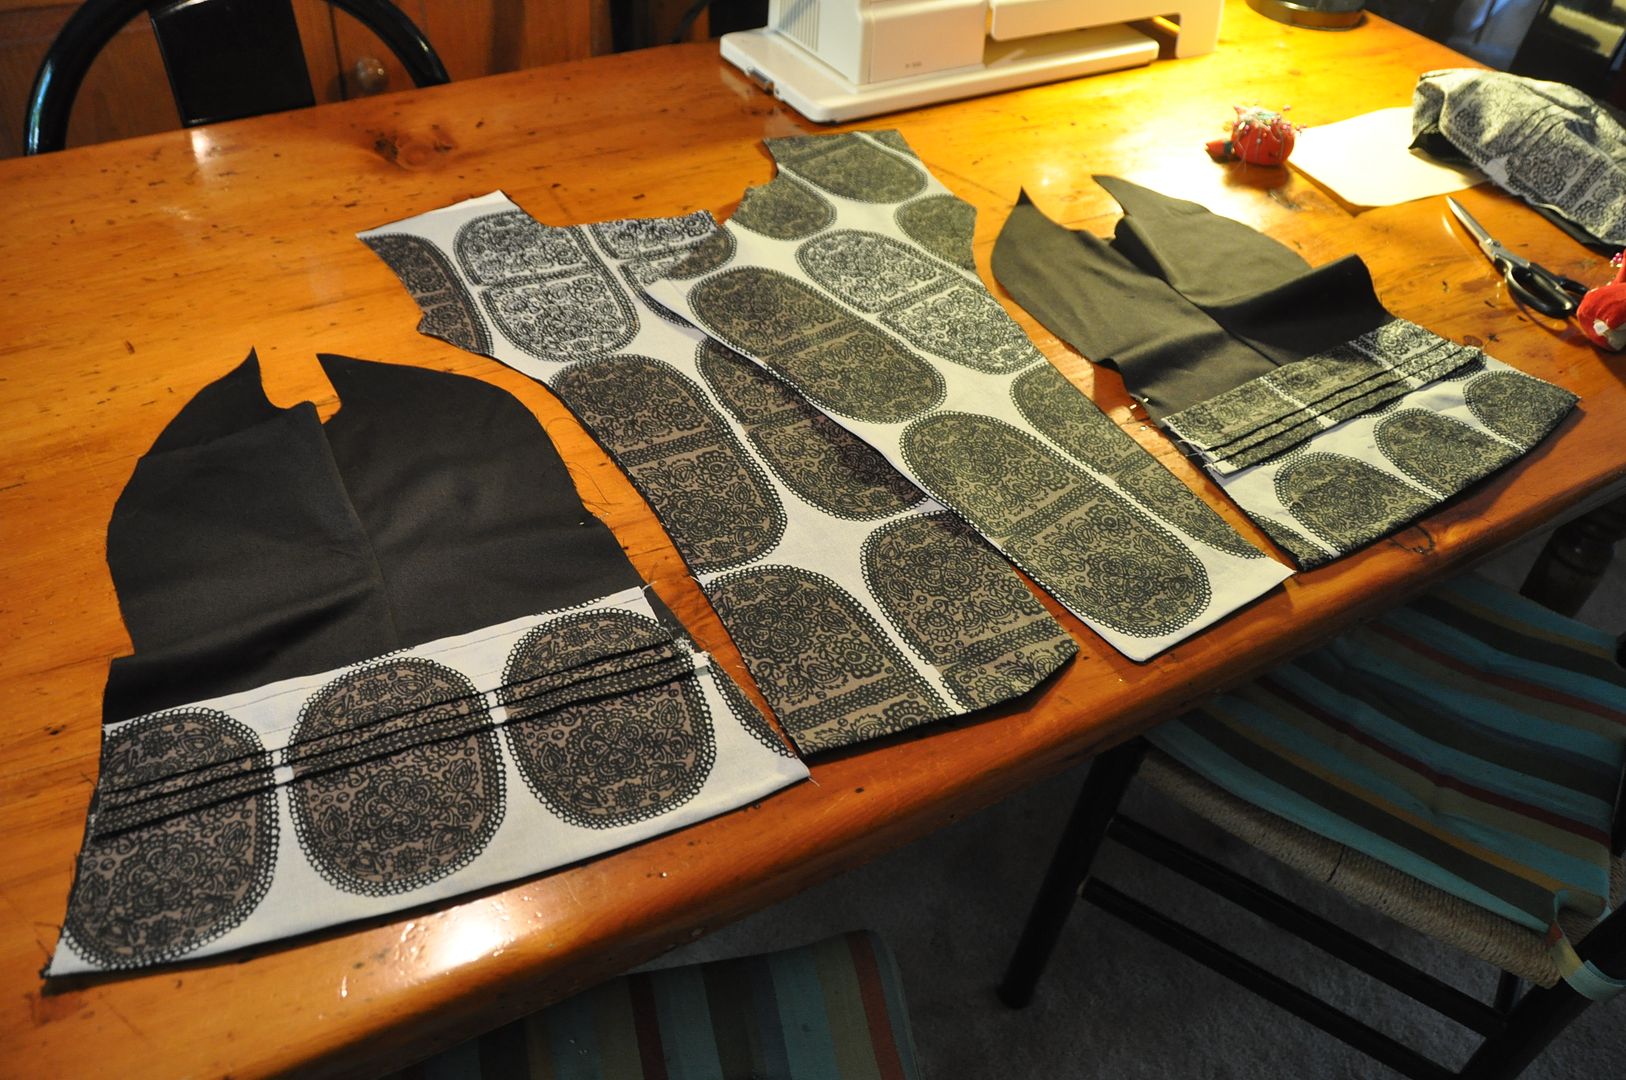
You will most likely notice that I used a black fabric on the sides and under arms: this is completely intentional from the very beginning. (Meaning I did not run out of fabric.) I felt such a large print would be overpowering if it were used on the whole jacket, and I actually had designed it this way from the beginning. The black panels on the side make the jacket far more slimming. ;D

For patterning this I started with a modified basic block. I added in a seam down the back and the asymmetrical front overlap. I made a muslin mockup first before cutting my good fabric. Because this was a jacket, I had to make it a bit larger to ensure it would fit over other clothes (as a jacket should).
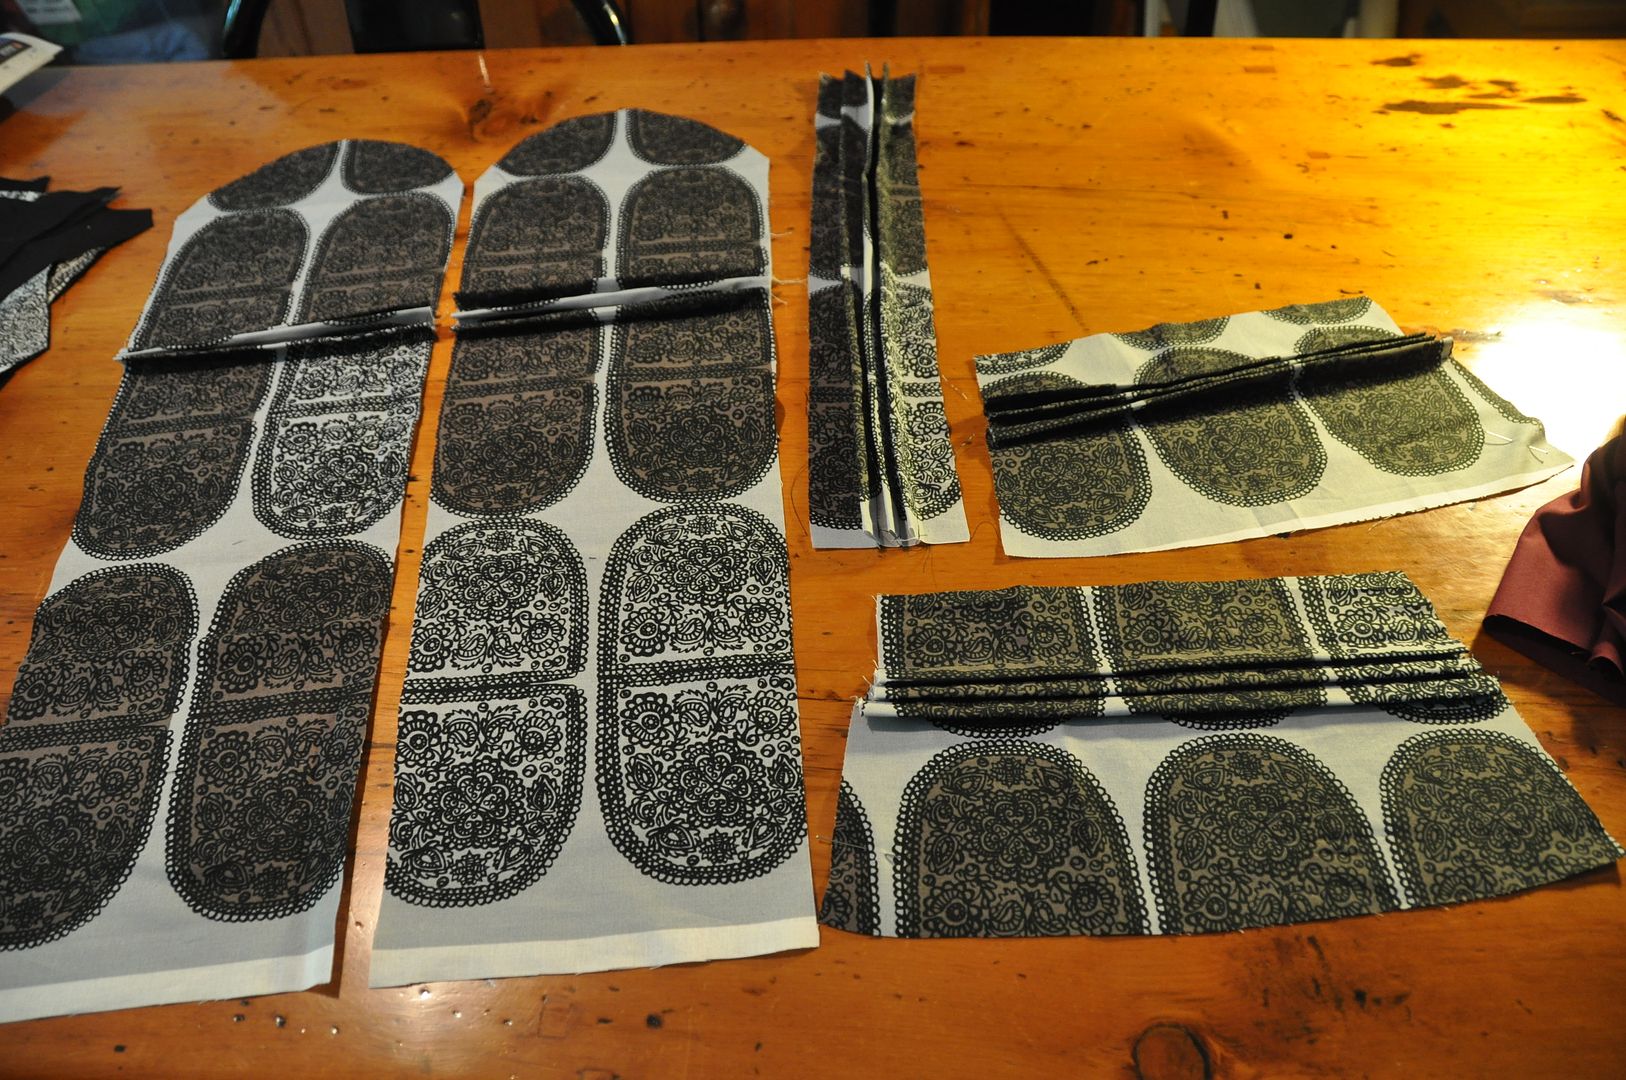
I also cut two pieces (inner and outer) for the collar. You will notice that the patterned outer piece is much wider; this is because of the folded fabric detail. Same with the sleeve.

My folded ruffle detail was pretty easy to make I simply pinched 1" sections of fabric together and sewed them, these were each 1/2" apart. They were then all ironed to the same side.
I also cut the 2 pocket pieces, and added the same detail there.
I added a black facing piece to each of my front overlapping panels. I sewed these right sides together (only along the finished edge, not on the seam edge where they attached to other pieces), clipped the excess, turned them right way out and ironed them.
Then I sewed the black side pieces to my sleeve.
The outer collar was stitched to the inner collar along the top and side edges, right sides together, then clipped, flipped and ironed.
I sewed my side seams together, then attached my pocket pieces to the sides along the bottom hem.
I also faced the bottom portions of the two back panels where the slit was in the back so they would have a nice finished edge on the hem.

I sewed the two back panels together up until the slit. When cutting these pieces I took great care to ensure that the pattern lined up along the back seam. It was difficult, but it turned out beautifully!
At this point I began to put it all together. I sewed the front, side and back panels together, and then the shoulders. I then ironed and finished all the seams. I also top stitched down the seams from the outside with black thread.

Then I added on the collar and the sleeves. After trying it on I then marked and hemmed the sleeves.
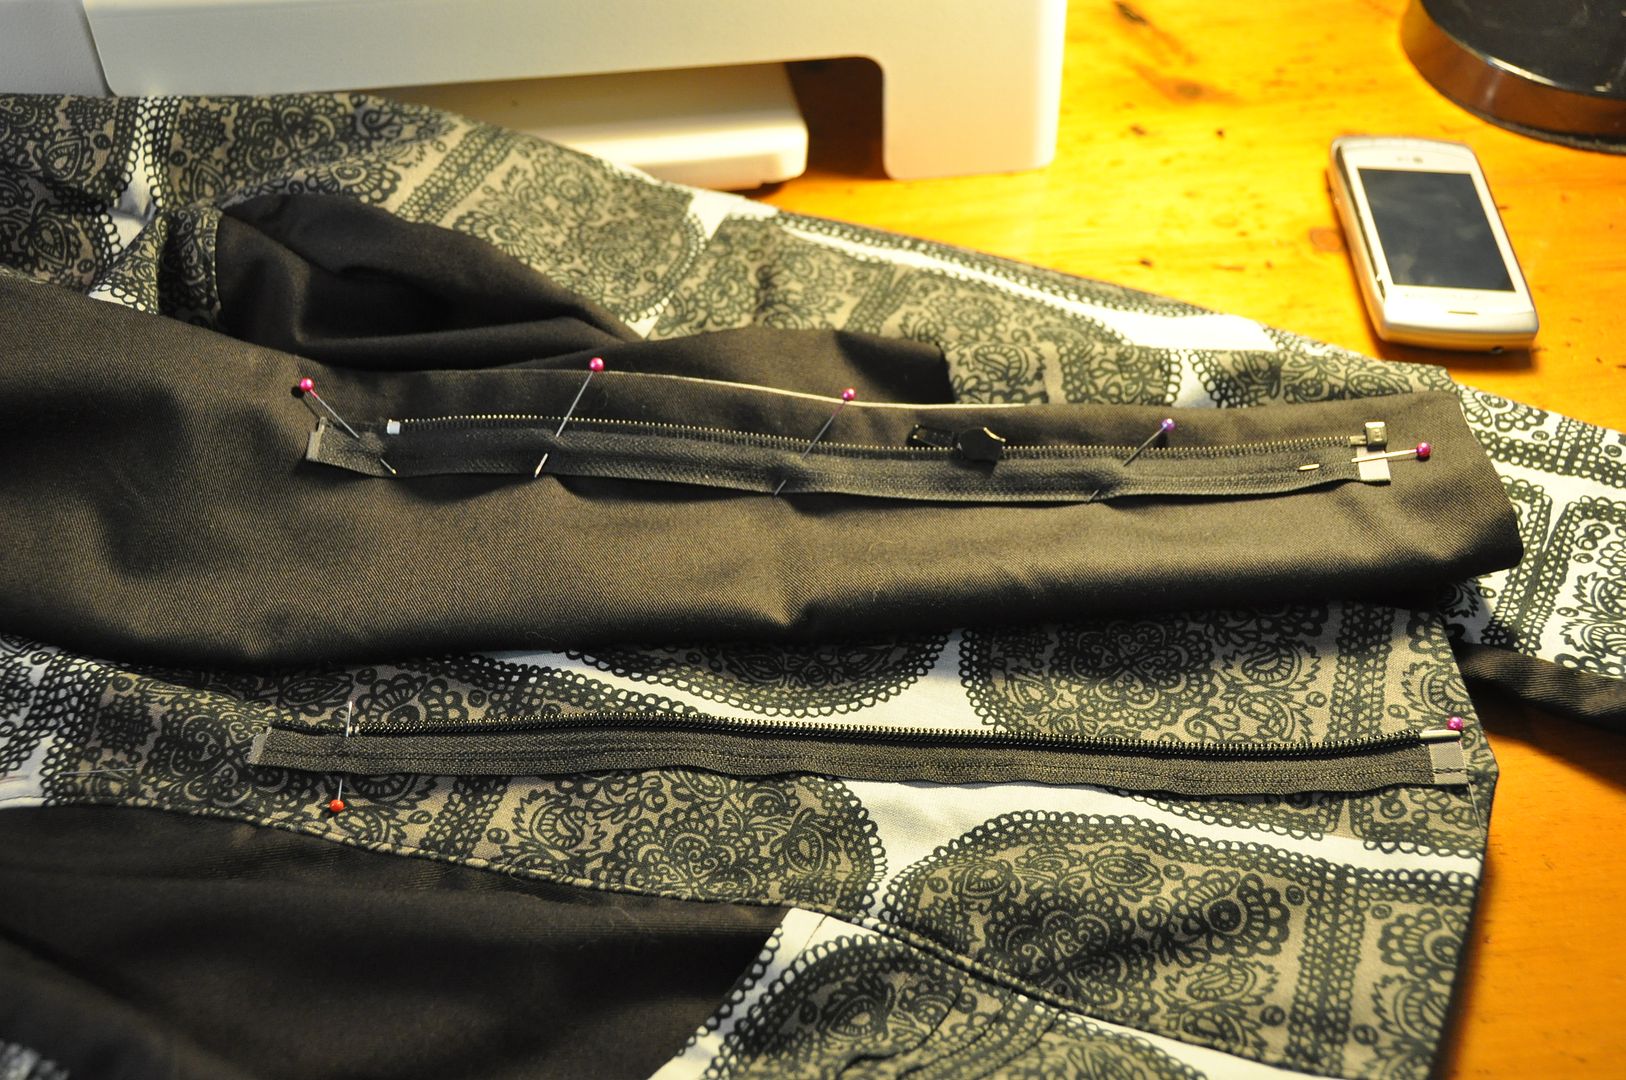
I marked (first on myself) where the jacket should sit when closed, then marked where the zipper should go. Funny story: normally I buy zippers for bags, skirts and dresses, not jackets. So the first time I bought a zipper for this jacket I bought one that didn't separate at the bottom! D: I had to go back and buy one that actually worked for jackets.
The zipper I separated into its two pieces, pinning them to the jacket separately. These were sewed down securely.
The last thing I did was add the black fasteners at the top with the velcro and metal d-rings/buckles.

I really need to buy a pair of black shoes so I can wear this in public...

 Hey guys! Happy Canadian Thanksgiving!

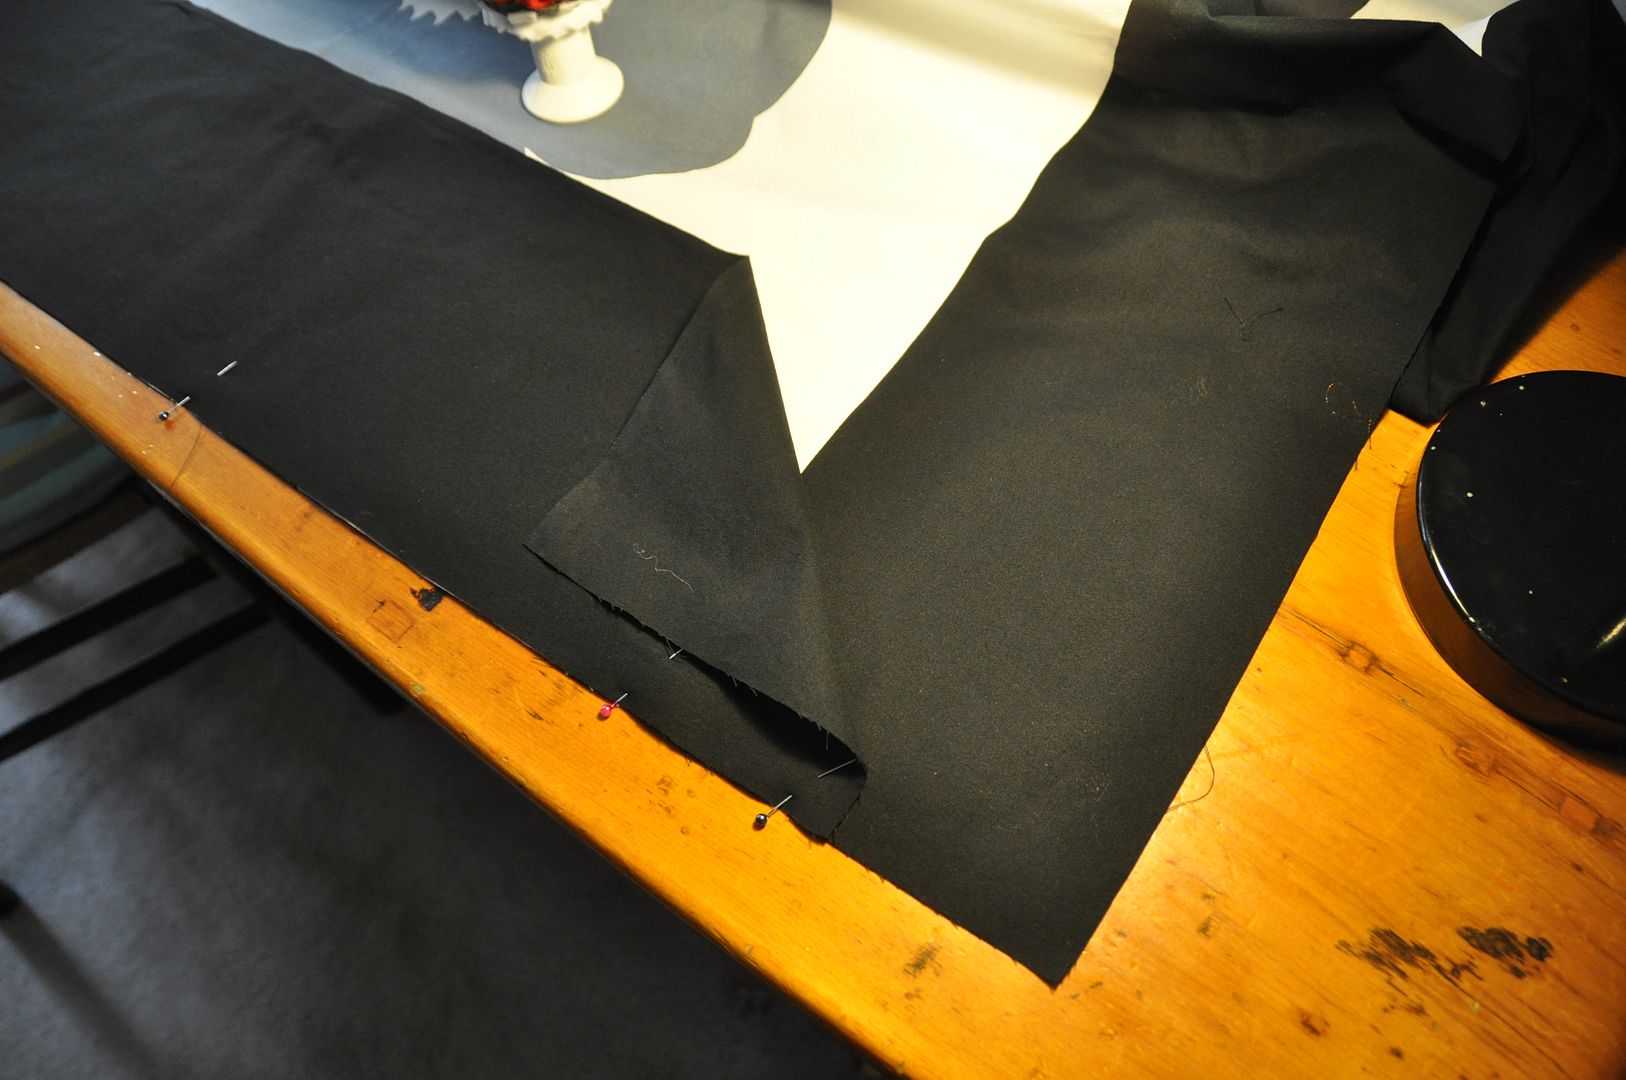
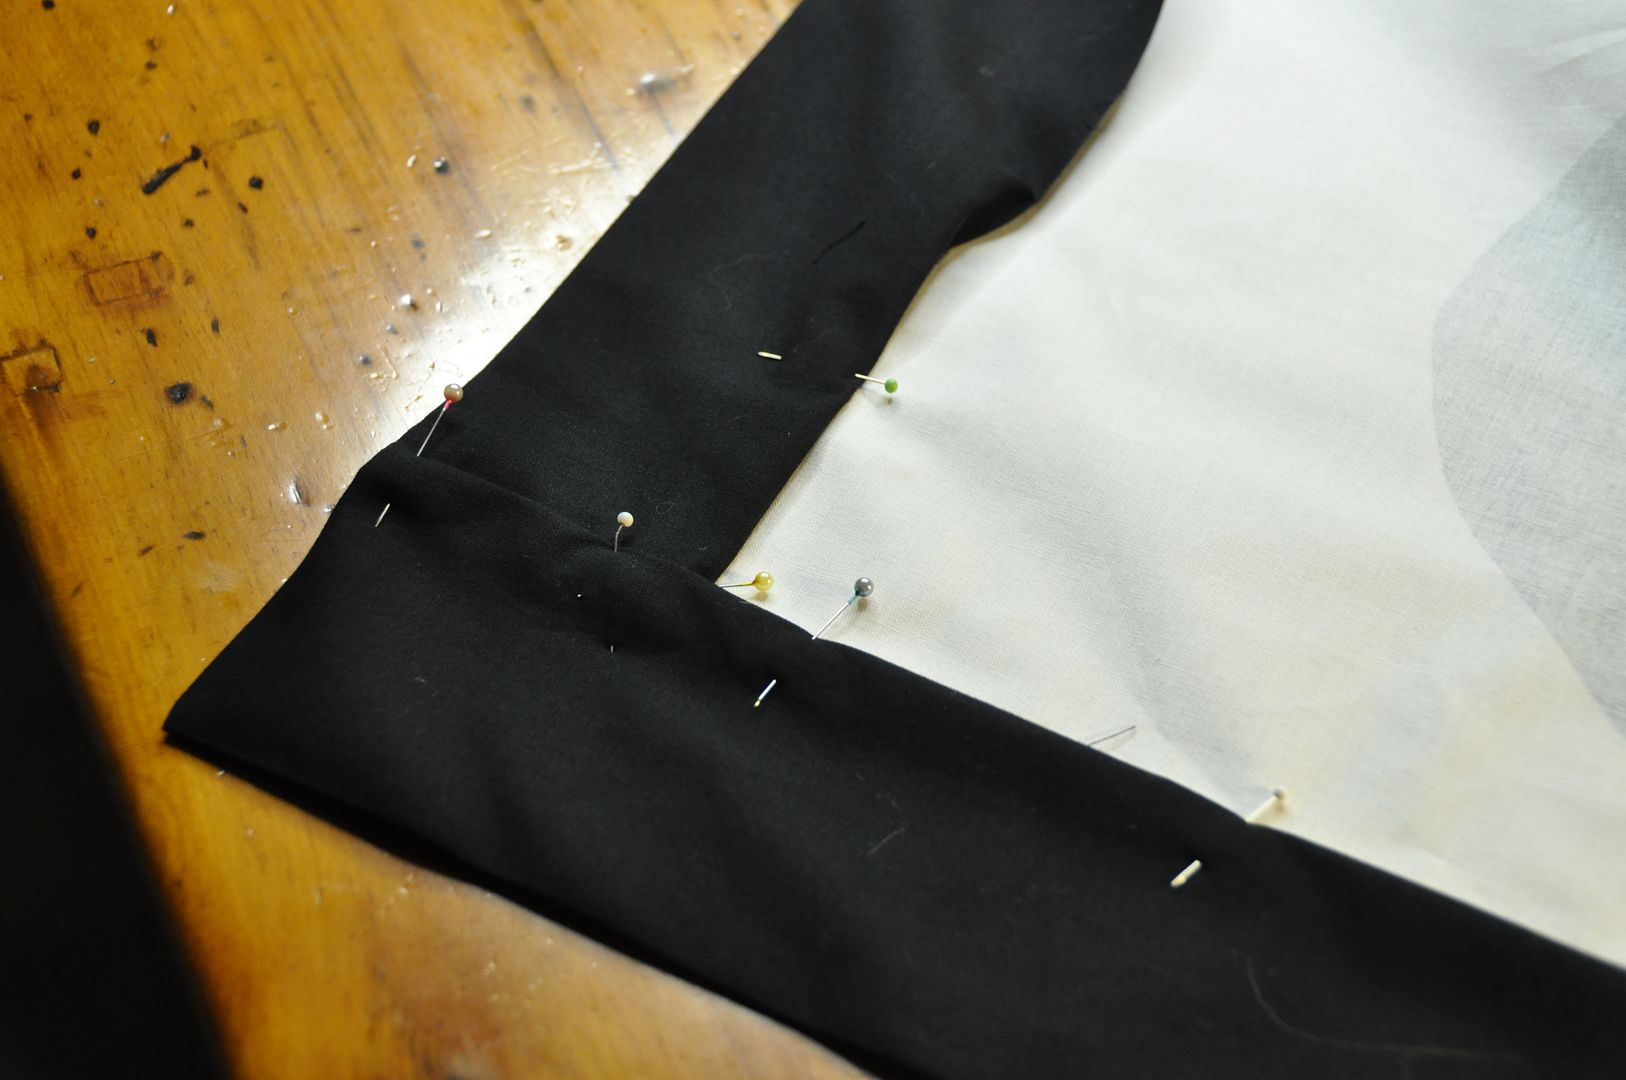 I carefully marked 3" from the seam line, folded and pressed the border. I folded the seam allowance to the inside and pinned it in place, making sure that it still overlapped the seam line. I ironed the whole piece, then I ditch stitched the border.