Showing posts with label pouch. Show all posts

Thursday, October 13, 2016

Presea - Accessories - Tales of Symphonia

Welcome to Presea Part 4: Accessories! Feel free to venture back and check out the Gloves & Boots, Dress, and Wig. Many thanks to the ever fabulous Elemental for the amazing photos! We braved the cold and pulled it off!

This costume had a lot of smaller pieces involved. This post covers the belt, pouch, dagger, and Exsphere (necklace).

For this project I actually bought a piece of real leather to work with. I used the suede-like side as the outside (as opposed to the shiny side), because I thought it was more true to the character.
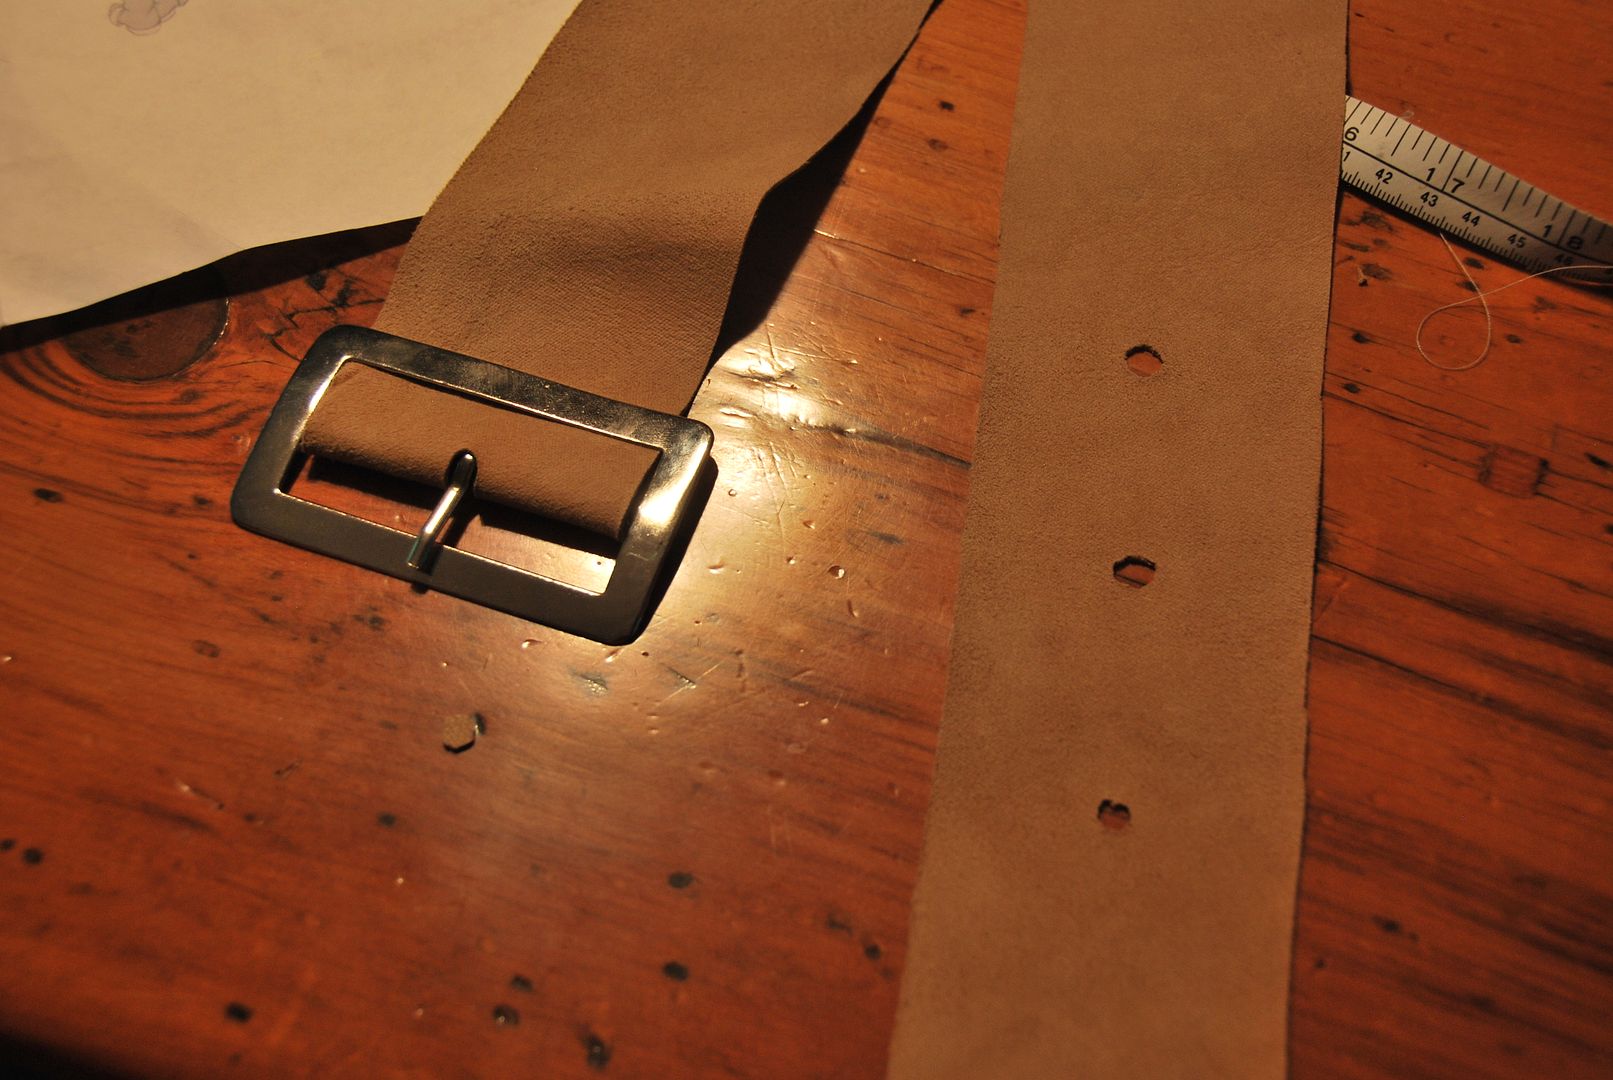
The first piece I cut was the long strip for the belt. Later I went back and reinforced this strip by sewing a second layer to it. I used scissors and carefully cut out the holes. The buckle was found in an store on Queen street after much searching.

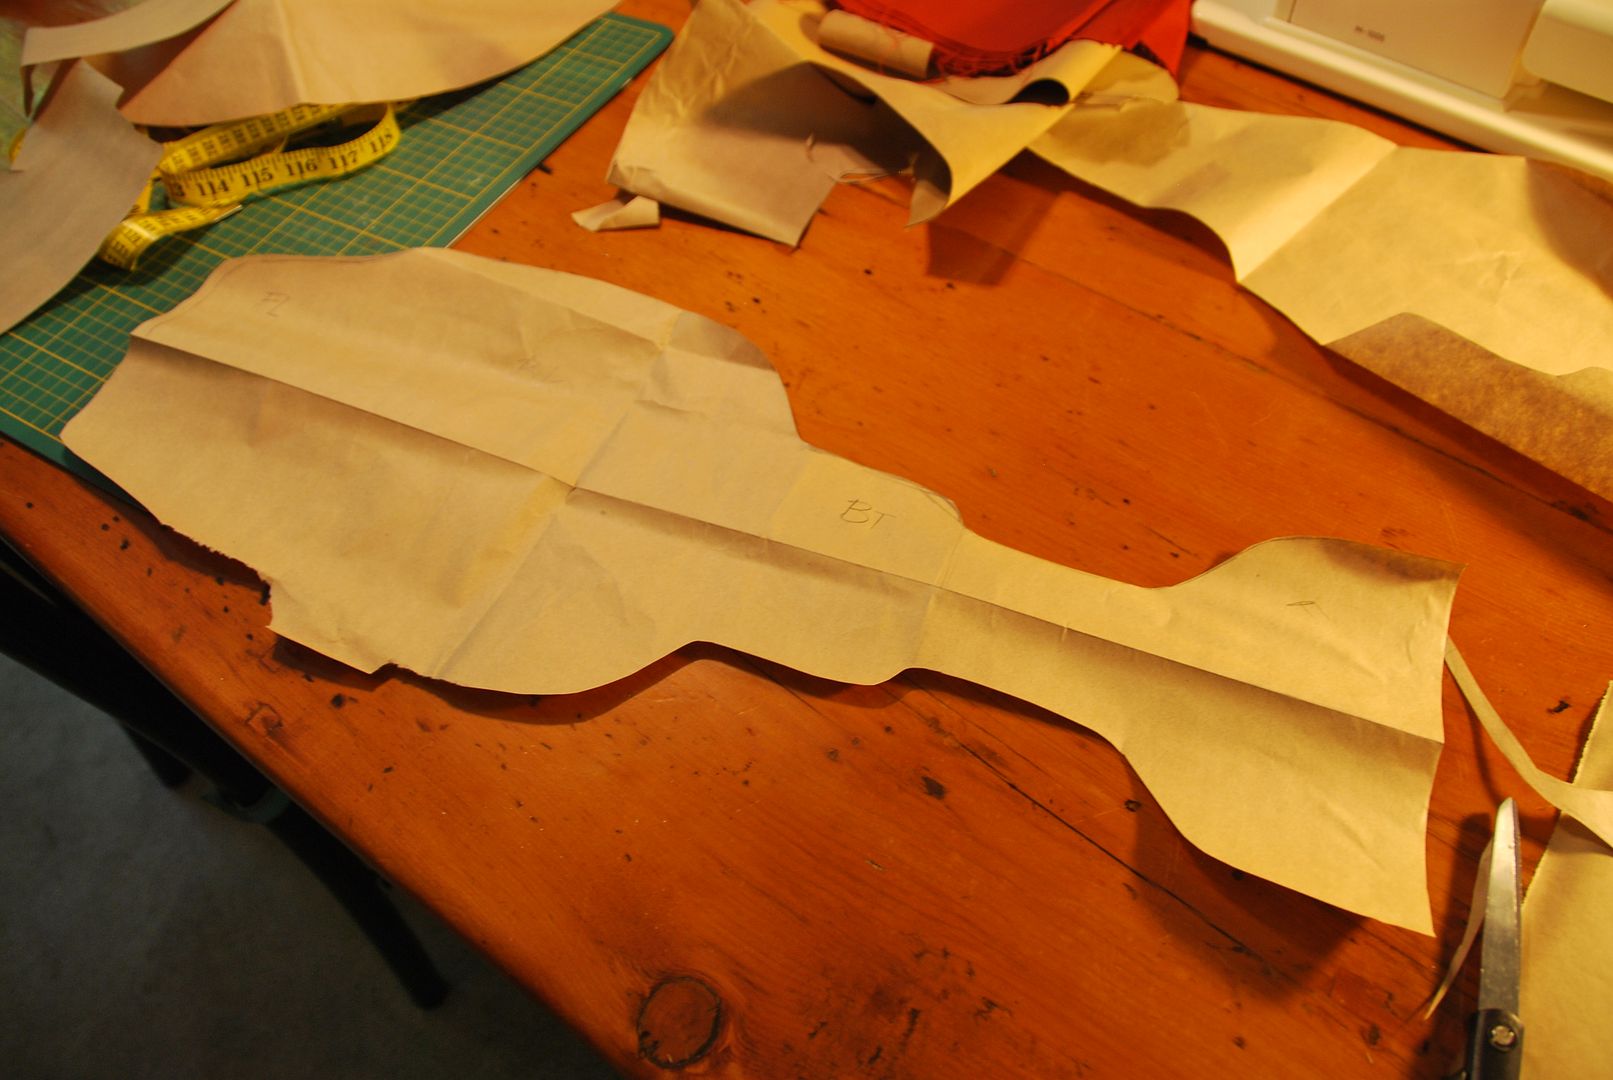
Then I patterned the pouch.
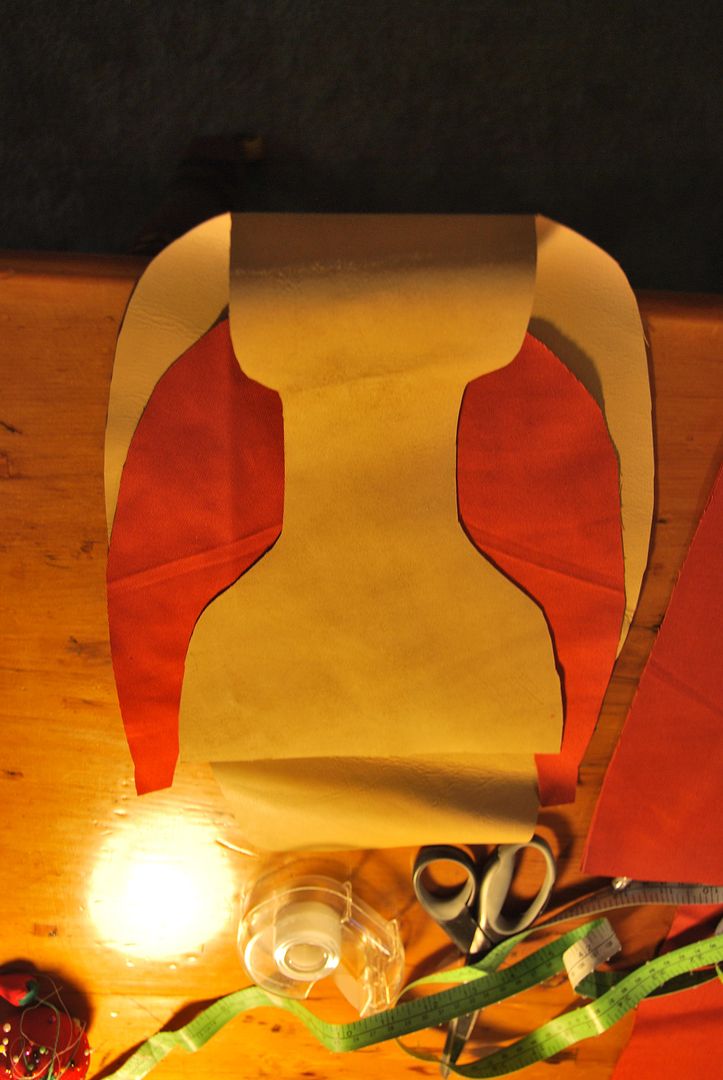
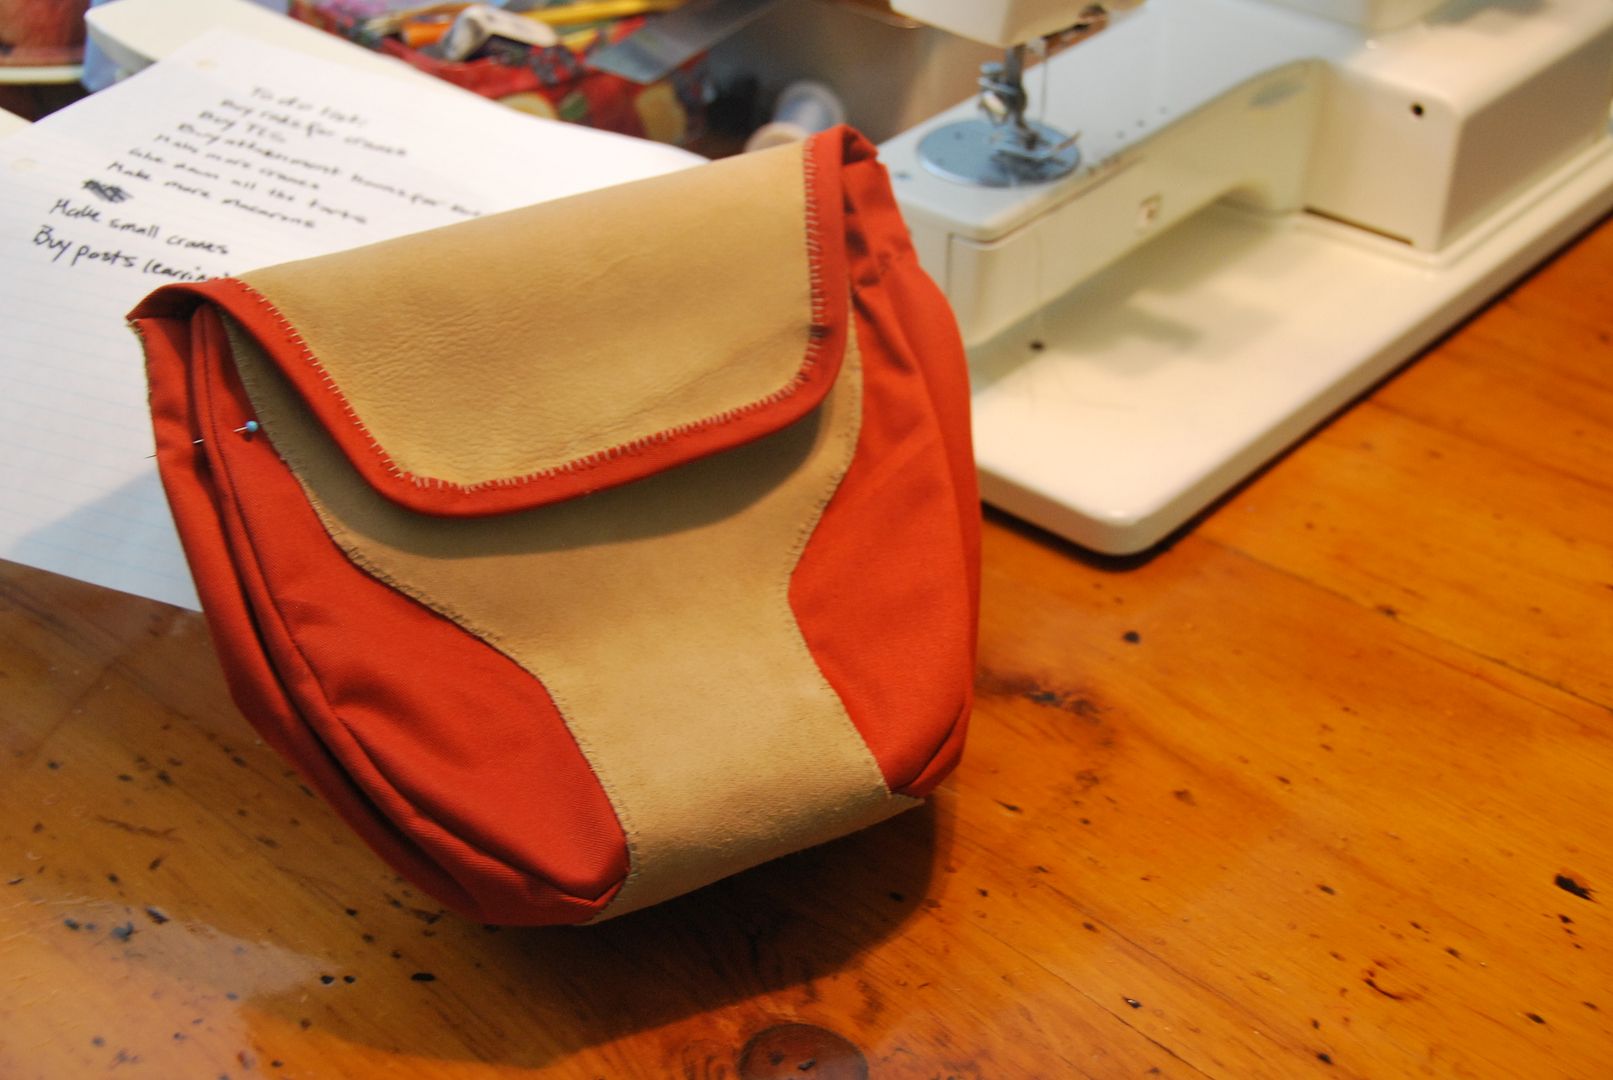
The pouch consists of one curvy strip of leather that folds over on itself to be the front, bottom, back and flap of the pouch.
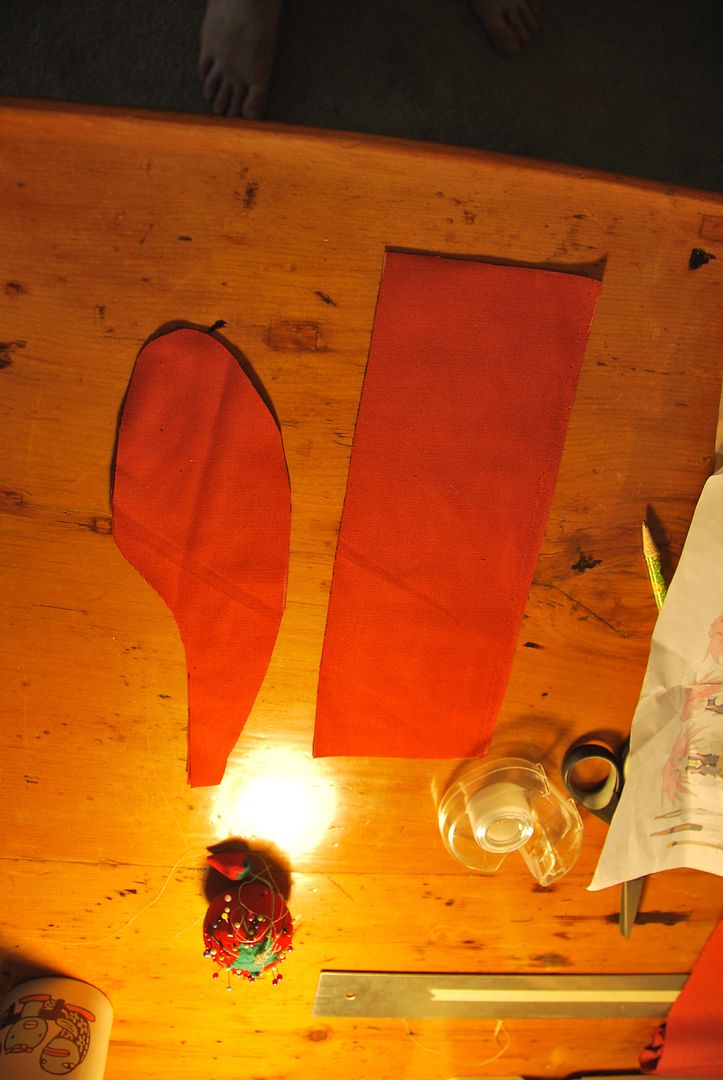
Then there are the 2 panels that form the two orange curved sides of the bag.


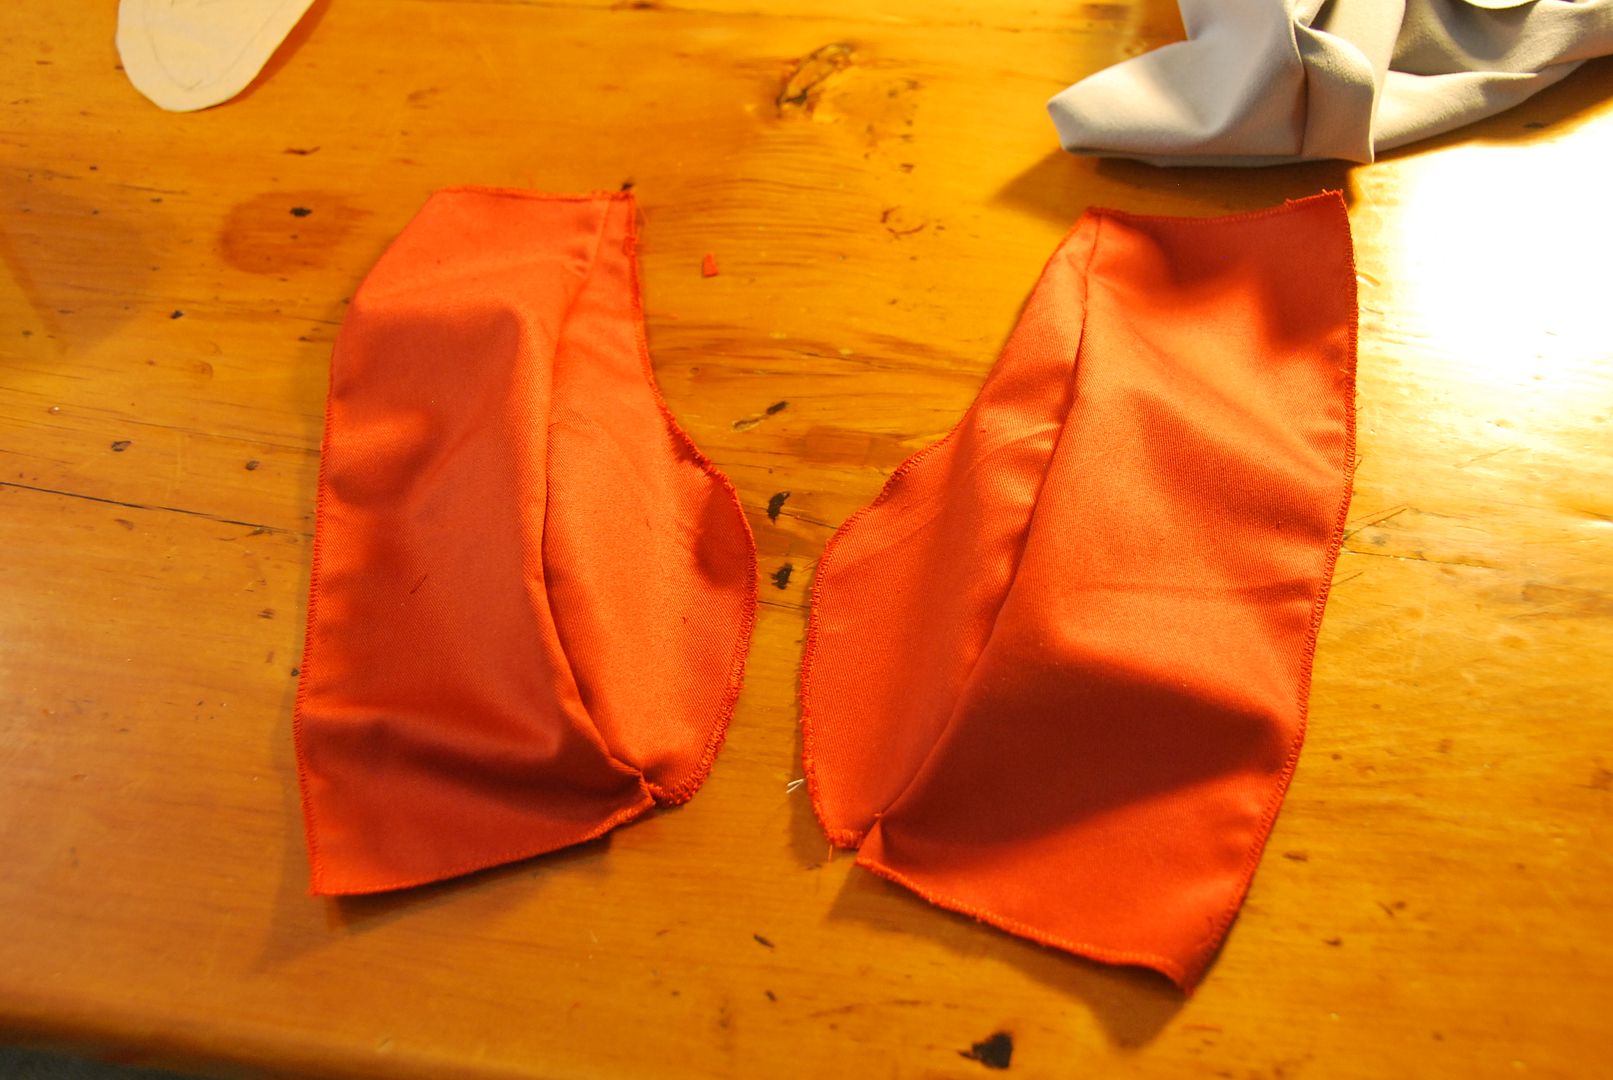
These were stitched together, then all the edges were finished.

These were then marked and very carefully hand stitched to the leather. At this time I was unsure if my sewing machine could handle leather, so I hand stitched all the leather on this costume. Turns out it can, with the right needle, which I found 1 year later when I returned to finish the project. Unfortunately I finished all the leather work before then...
I made a matching bias tape and stitched that on as well. The last step was to cut 2 slits in the back so the belt could be fed through the pouch.

I had intended for this bag to be functional, but unfortunately it was too floppy to hold it's shape with anything inside...
Next up is the dagger! The dagger is also attached to the belt, but the character never uses it, it seems purely part of the design.

I made the dagger out of wood, cutting it out with a jigsaw.

I had my friend Ian dremel out the blade edges because at the time the sanding bit on my dremel was not working. When I received it back I hand sanded it even smoother.
I created a sheath and loop to attach to the belt. The loop was on an angle so the dagger would be angled like it is on the character.

I started the paint treatment with grey primer, then silver and finally a light blue acrylic for the face of the blade.

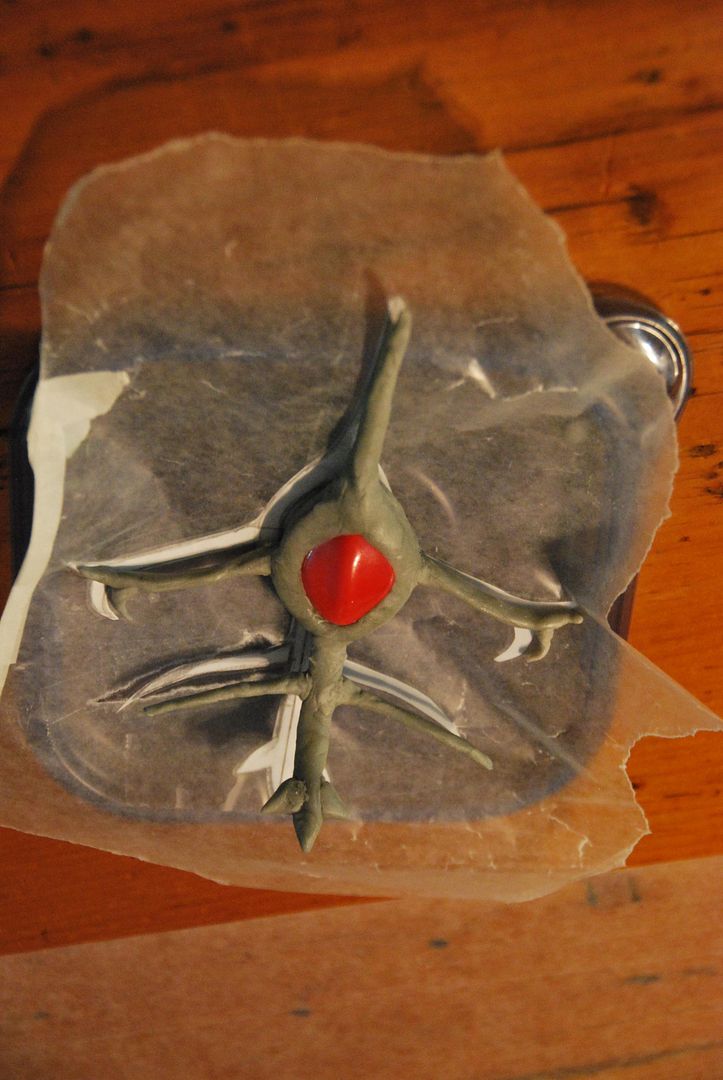
The last detail was the Exsphere. I started by drawing out the piece full scale, then making a wire frame for it. I bought a large red bead for the gem in the center. I sculpted the piece with apoxie sculpt, which is great for this kind of thing as it dries super solid. Later I went back and broke the two side arms and bent them further back to better contour the neck. I filled in any divots with more apoxie sculpt and sanded it smooth.
 

I masked off the gem with painter's tape and then sprayed the piece a matte black. Then I painted over that with a gold acrylic paint. Lastly I created a short chain so it could be worn. The actual character has this gold piece built around the gem, which is fused into her skin, I didn't think that was necessary for me! Hahaha I just had to be careful not to look down suddenly, otherwise I would be jabbed in the neck.

Tuesday, July 15, 2014

Forest Guardian - Belt, Bracers & Quiver

Greetings! Welcome to part 2 of Forest Guardian. If you want to look at my pants, shirt and cape, go here!

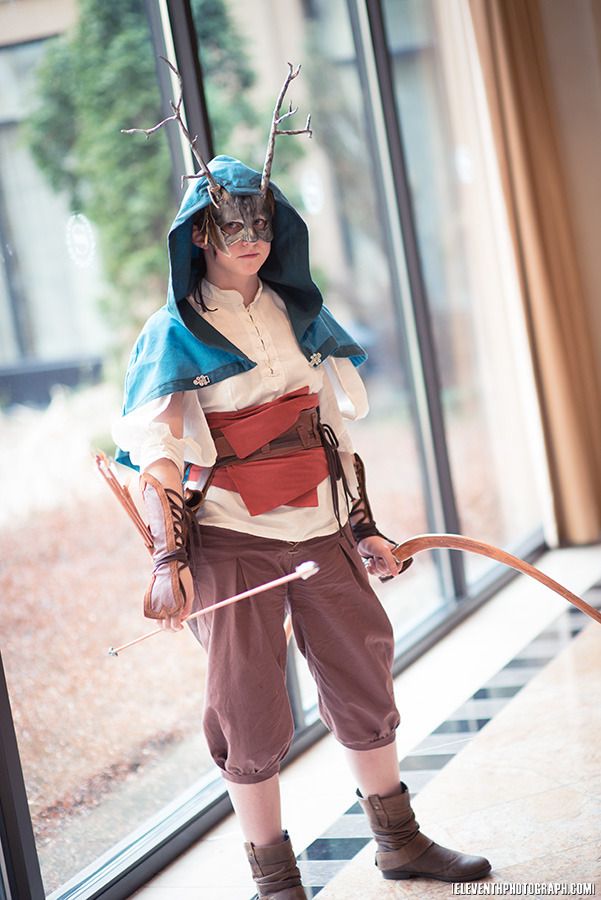
Thanks to EleventhPhotograph for taking some nice shots of me at Costume Con!

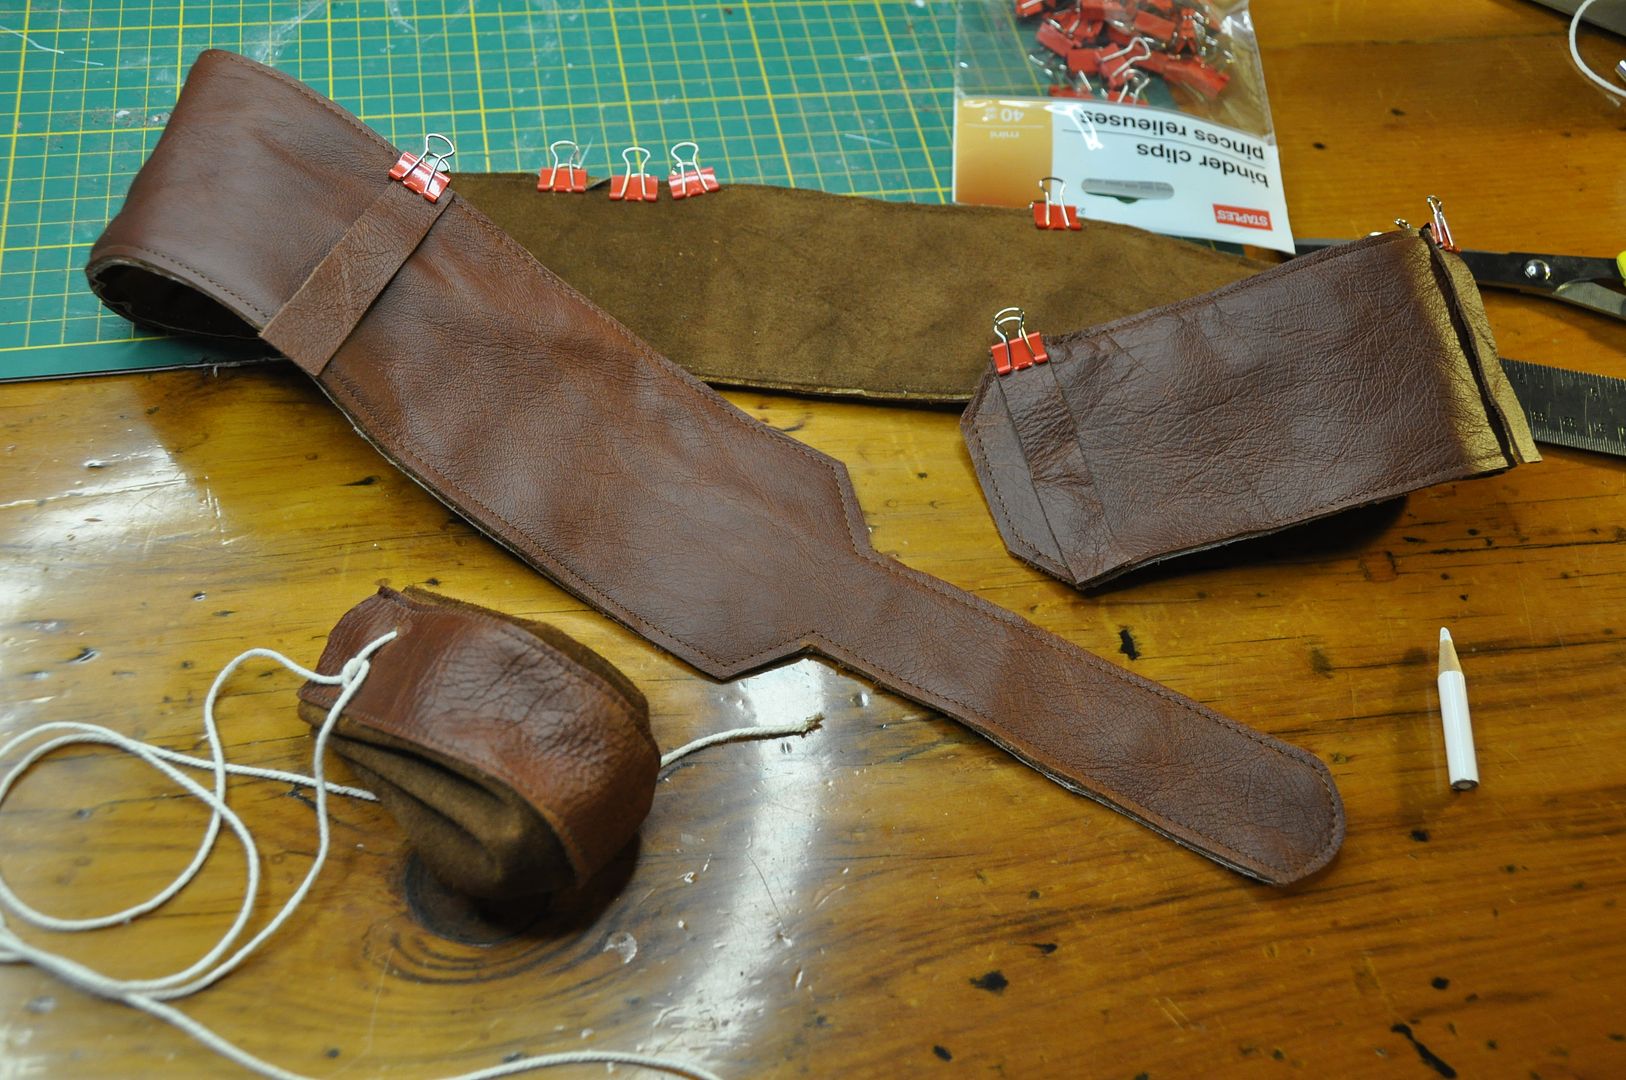
I must say, I am very inexperienced at working with leather, but I daresay I learned a great deal on this project! Namely that leather stretches a lot when you try to sew layers together. You can't pin it, but mini bulldog clips work surprisingly well. I suggest picking up a pack from Staples (or any other local office  supply store) if you are going to do this, its worth it. I have red and green ones! :) Also get a leather needle for your sewing machine.

You may notice that there are 2 different colours of leather used in this project; I used the 2 different sides of my main leather (the leather side and the suede side) as well as a matching suede for reinforcement purposes. Any outer detail is done with the suede side of the leather, while the inner reinforcement layers are done in suede.

I started with the bracers. First I patterned my shape in paper, when I was satisfied I cut out 3 for each arm: 1 suede, 1 leather, 1 leather (with the middle cut out).

I sewed the suede and leather layers together, then sewed the fancy outline piece on suede side out.

Then I attached the loops for the lacing. It was basically a strip of suede with circles cut out of the middle folded in half. (Above you can see it folded and open) These were sewn on following the top stitching line of the inner part of the topmost detail piece. I added one more loop above where my middle finger would be on the inside so I could take the end of the lace and secure my hand into the bracer. They were designed to go over the top of the hands, and without that loop they would just flap awkwardly. The bracers are strong enough, but still bend easily at the wrists allowing me full range of motion.
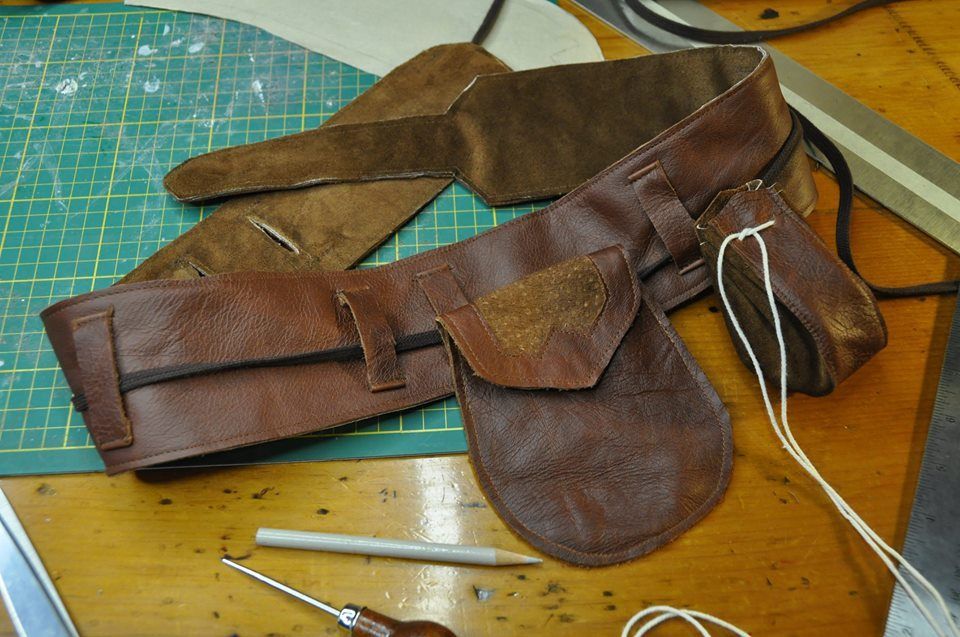
Next I made 2 pouches for the belt. One is a coin purse, the other was for my cellphone. I didn't have any pockets in this garment, so the pouches were both practical from a wearers point of view as well as a design point of view. Meaning most adventuring type characters would need a place to put stuff.

The coin purse was actually based off the dice bag of a friend of mine at D&D. It was made using a strip of leather with an eye shaped piece of suede attached to each side. the suede was pinched and folded evenly along the top edge where I marked and punched holes for the laces. When pulled tight the laces cinch in the top, closing the purse. I attached a loop at the back to hang it off the belt.

The second pouch, or my ye olde cellphone pocket was made by simply plopping my phone down on the leather and drawing a rounded shape slightly bigger than it. I cut 2 pieces like this and attached beltloops to the back piece before sewing them together. Then I made a fancy flap to go over the top.

 The belt itself is both decorative and functional. It had to be strong enough to support the weight of the quiver and pouches while still remaining tight and holding the layers in place at the waist. Like the bracers there is a piece of leather with a piece of suede underneath to give a bit more support. Visually I didn't want any buckles on this costume, I wanted all the closures to be done with ties, because it looks more organic/more handmade. The belt folds under itself and the narrower section is threaded through a slit in the belt.

This is then cinched tight with a tie. On the surface of the belt there are belt loops that hold up the ties. This keeps the pouches and quiver from shifting positions. The tie is simply 4 different laces sewn together at each end with a triangle of leather. There are a couple feathers hanging off the end as a detail.

The quiver itself was a big rectangle with a "cuff" added at the top to make it a little more fancy.

Attached to the main piece on the inside is a thin strip of styrene plastic (leftover from Asuna) to provide reinforcement and help the quiver keep shape when the arrows are removed. I simply sewed a piece of suede over it to attach it. The stitching is visible on the back of the quiver, but that part is to the inside and is therefore unnoticeable. (Though there are 3 pieces pictured I only ended up putting in 1!) I was going to make the quiver lined with an extra layer of suede to hide the reinforcement, but that didn't work well so I scrapped that bit.

I used bulldog clips to "pin" the quiver into it's finished shape and marked where the beltloops needed to go. I attached the beltloops to the back of the quiver, then stitched the bottom in, before closing up the side seam.

In the original design, the quiver was actually supposed to go at the shoulder, but with the straps, embroidered panel and cape that area was going to be too busy. Also I didn't want the straps to tug on any of the embroidery. So it was a last minute decision to move it to the hip, but was worried I would get called out on this for inaccuracy because I know next to nothing about archery. Incidentally I was told by a fellow costumer in the greenroom that it was actually a perfectly accepted location for the quiver (apparently used by Olympic athletes, or so I was told) more logical than a back quiver in certain circumstances. Woo!