
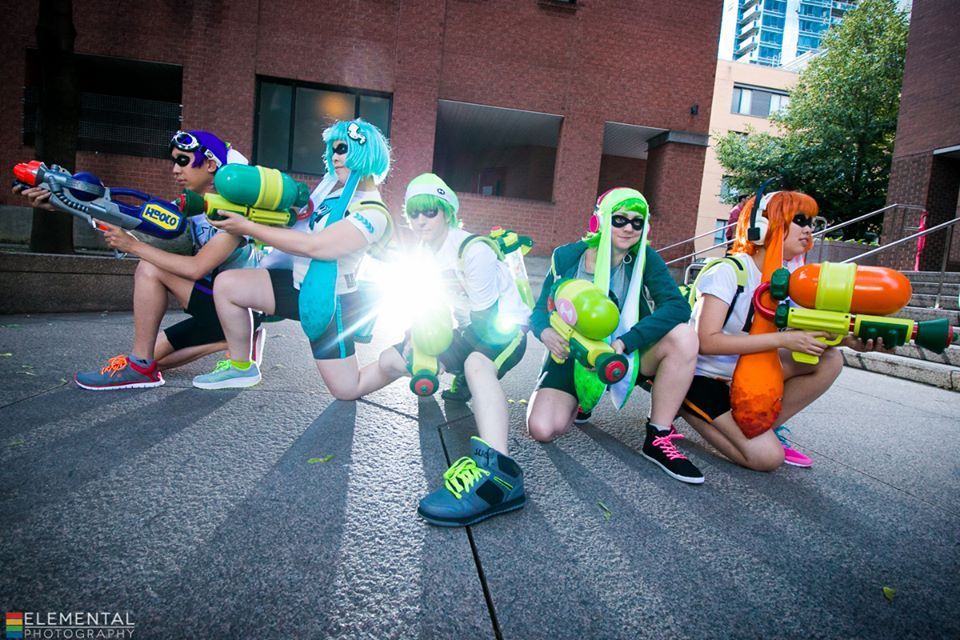
The current group from the photoshoot consisted of: Brian (Ragz Cosplay) --the brains of the operation; Andy (Yavarice) --our task manager; Michelle (Mage Cosplay) --a heat n' bond wizard; Kim --the only one who can actually has the power to create vector files; and myself--the squid hat pioneer. Special thanks also to our fellow squids--the wig expert Louise and magical wizard Adrien--for all their hard work as well! We look forward to them joining us for Squids 2.0. :) There will most likely be a second shoot at some point in the future, with even more Kids. Or Squids?

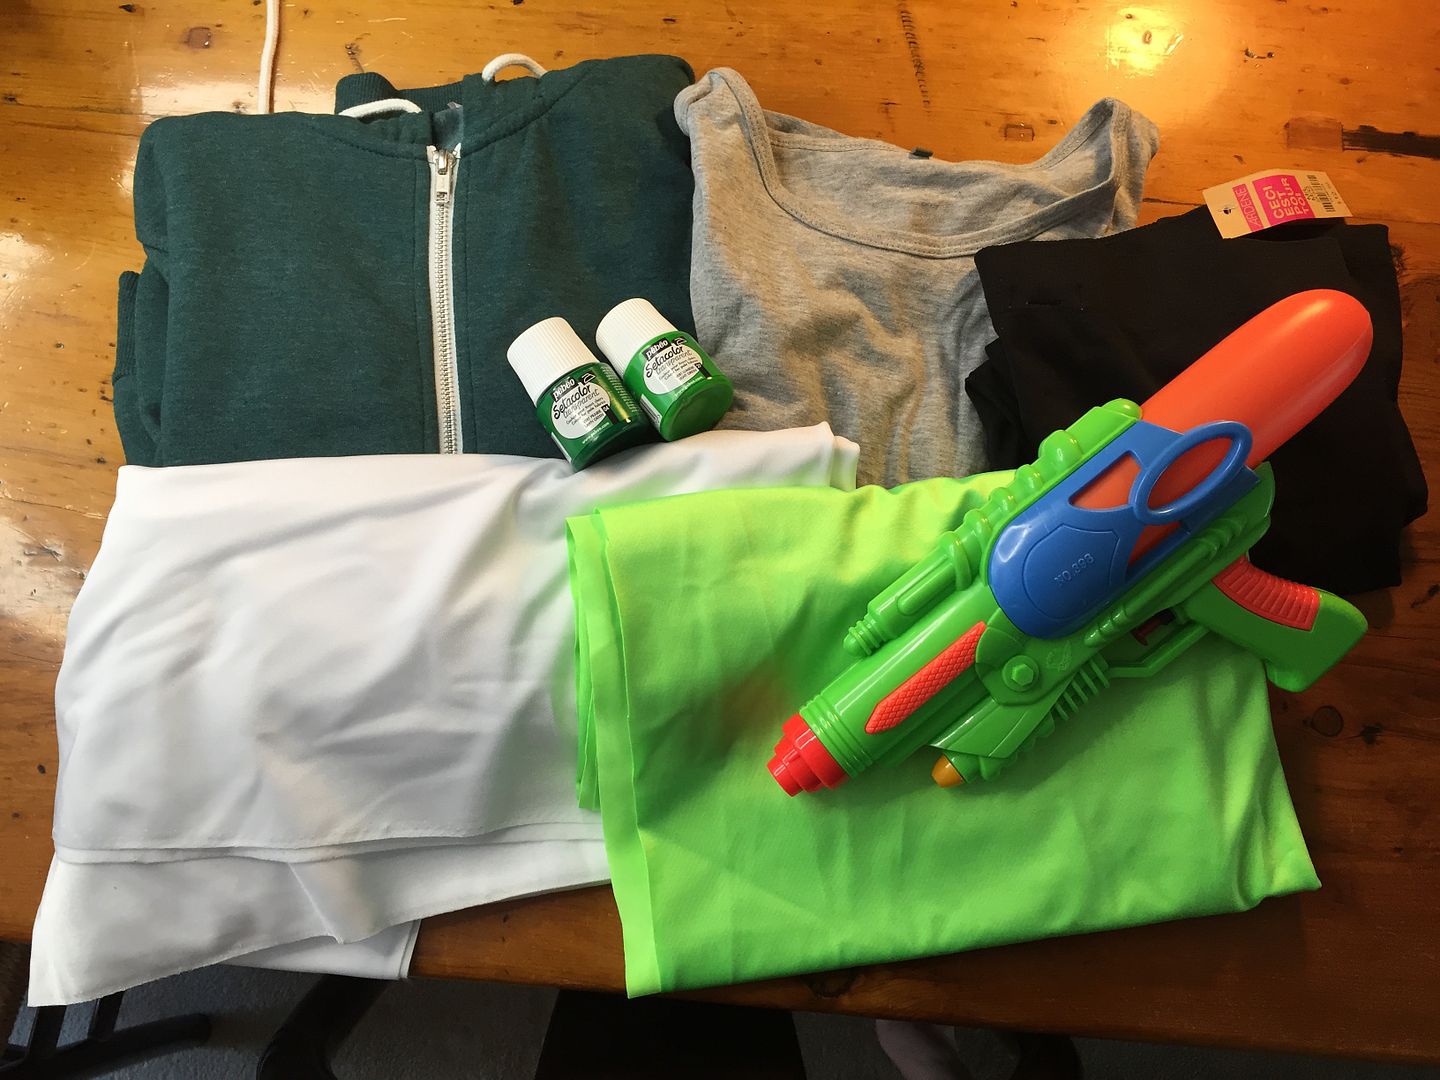
 For the clothes we all set about creating our own outfits. I tried to keep the base items I bought on the cheap side.
Since the Inklings all wear a standard pair of black biking shorts with a stripe their team colour down the side, we all found black leggings/bike shorts to modify.
For my shorts, I bought a pair of black leggings at Ardenes for about $10. I marked how short I wanted them, then cut off the excess. I topstitched a stripe of green spandex down the side of each leg using a zig-zag stitch--so it would allow the fabric to stretch. Then I hemmed the pants.


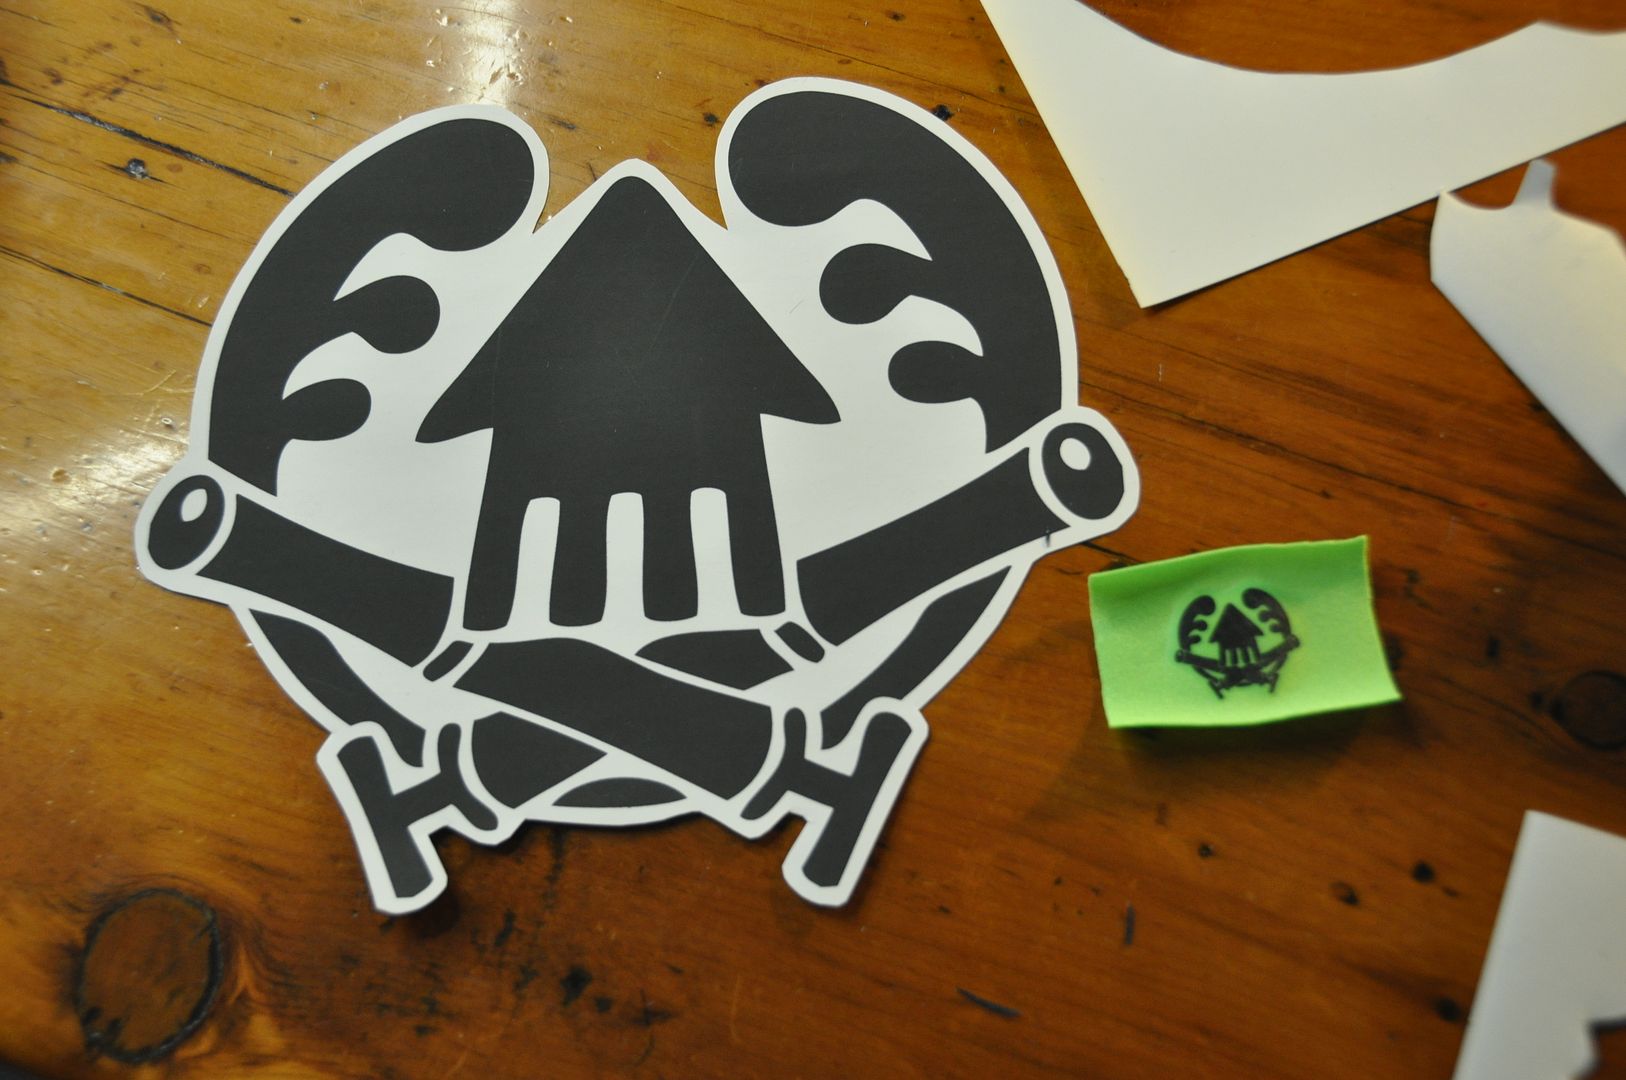
For the coloured tags on the shirt we each used a rectangle of our own team colour fabric and used a small version of our logo applied with heat transfer paper. Then we used heat n bond to attach the tags to our shirts.


For shoes, I got a pair of $14 high tops at Ardenes that I stenciled a logo on using fabric paint. I tried to make my accessories have a colour theme--which was pink. We had a group field trip to Walmart one night to pick up some accessories. We got some packs of brightly coloured shoe laces there, so I was able to swap out the boring white ones that came with my shoes for a pair of neon pink ones! Other members of the group picked up their brightly coloured running shoes at Walmart. I don't think anyone spent more than $30 on shoes.
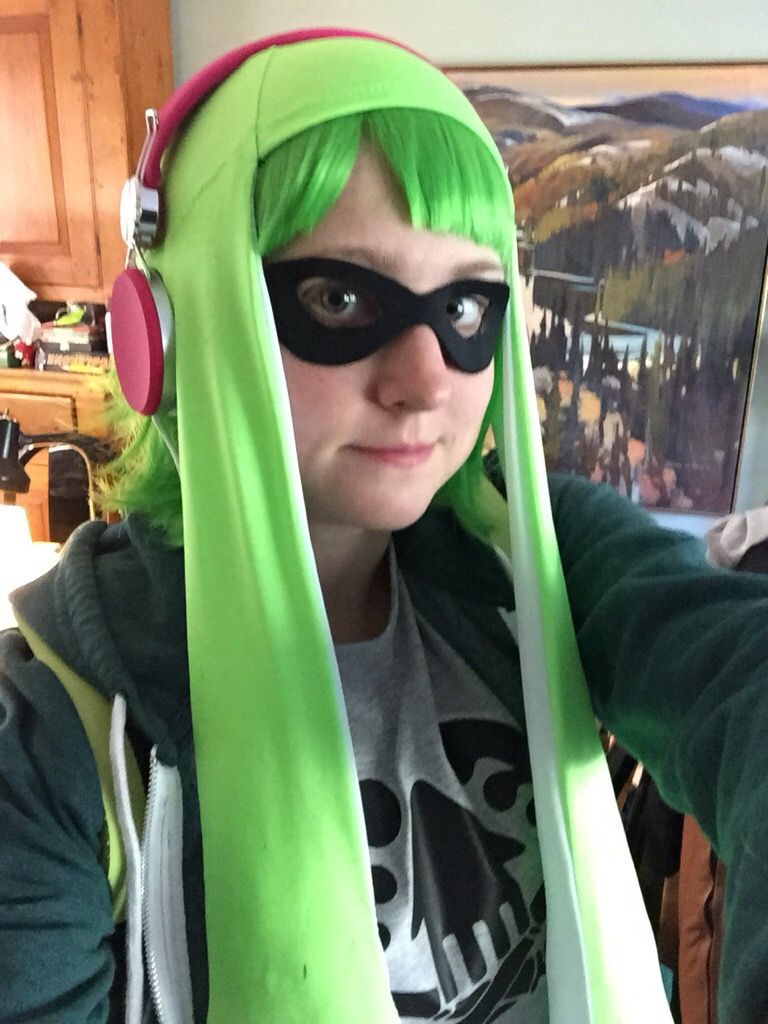 I picked up a pair of bright pink headphones in chinatown for about $20. So I wouldn't have to worry about making any pointed ears for the costume, which we made a group decision later to forgo anyway. I wish the headphones I bought were a little bigger, but I wasn't willing to spend any more on them. I may mod them at some point. Perhaps for Squids 2.0?
The masks were our solution to not having to paint large areas of our eyes black. A friend of of the group put together an easy superhero mask tutorial, which you can find here! These masks are lightweight and can be spirit gummed directly to your face, or tied on. Andy made my mask for me, and it looks awesome, but unfortunately the felt backing seems to irritate my eyes a lot. :( I am going to look into alternative materials to make the same thing, because I really liked the look of the costume with the mask. Next time I am definitely going to fill in the area around my eyes with black makeup, though.
Stay tuned for part 2!
Hey there squid/kid! If the felt is bothering your face, you can try following Lelola's tutorial except use black craft foam instead of felt. Make sure to iron at low temp so you don't completely melt the foam! Bonus is that you can mold the mask to your face while the foam is warm ^_^
ReplyDeleteThis comment has been removed by the author.
ReplyDeleteHow'd you lame the guns??
ReplyDeleteMake*
DeleteThe guns were actually made (using vacuuform) by a very skilled friend of the group. I talk a bit about it in my Guns and Tanks post, but ultimately I wasn't really involved in the process of building them except to throw money at the project--all credit goes to Adrien, the builder. I would link you to him for more information, but I don't know if he has a page?
DeleteThank you for the quick respond, and if you want to link me, I'd really appreciate it :D
Delete