Hey all! I made another corset this past winter. This is not an obsession I swear... This one is an underbust corset that is going to act as a waist cincher/posture modifier, to be worn under my Phoenix costume (which is currently on hiatus). I also made it with another future steampunk outfit in mind...
Showcasing here the new pistol prop I bought in Austria last month. Also worn with my
Long Pleated Skirt.
I like how the shape of this one turned out much better than my
black corset. Instead of using a fashion fabric on the outside, I just used the coutil. Except this time my coutil has a cool floral pattern on it! I picked up this fabric from the
Farthingales booth at CostumeCon32 last year. It's super strong and super pretty.

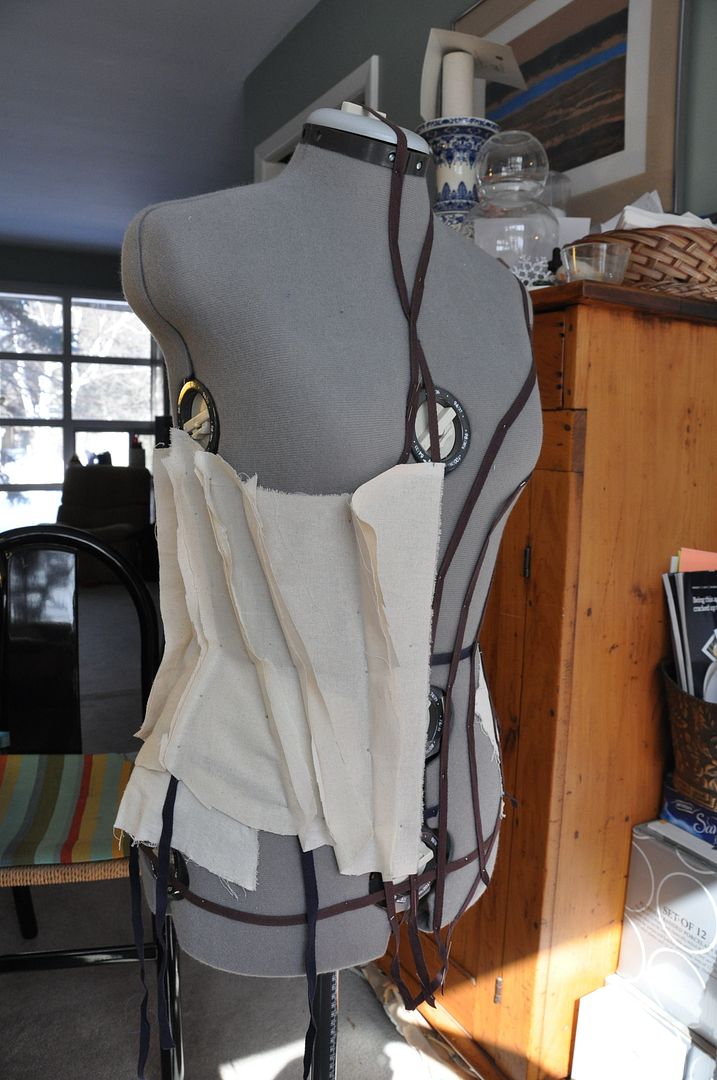
First I used twill tape to mark out my seam lines on my judy. Then I draped muslin over those sections to get my pattern piece shapes. I used a pen to draw the shapes on the fabric, unpinned the pieces and then cut along the lines I drew.
The pattern I ended up with looked like this. I numbered my pieces from 1-7 (center front to center back).
After making a mockup and tweaking the pattern to reflect the changes I made, I reduced the pattern so that it would have a 2" gap at the back. This means that I divided 2" into 7 parts and shaved off that amount from every seam. I shaved off just slightly more at the waist so that part could cinch even tighter.
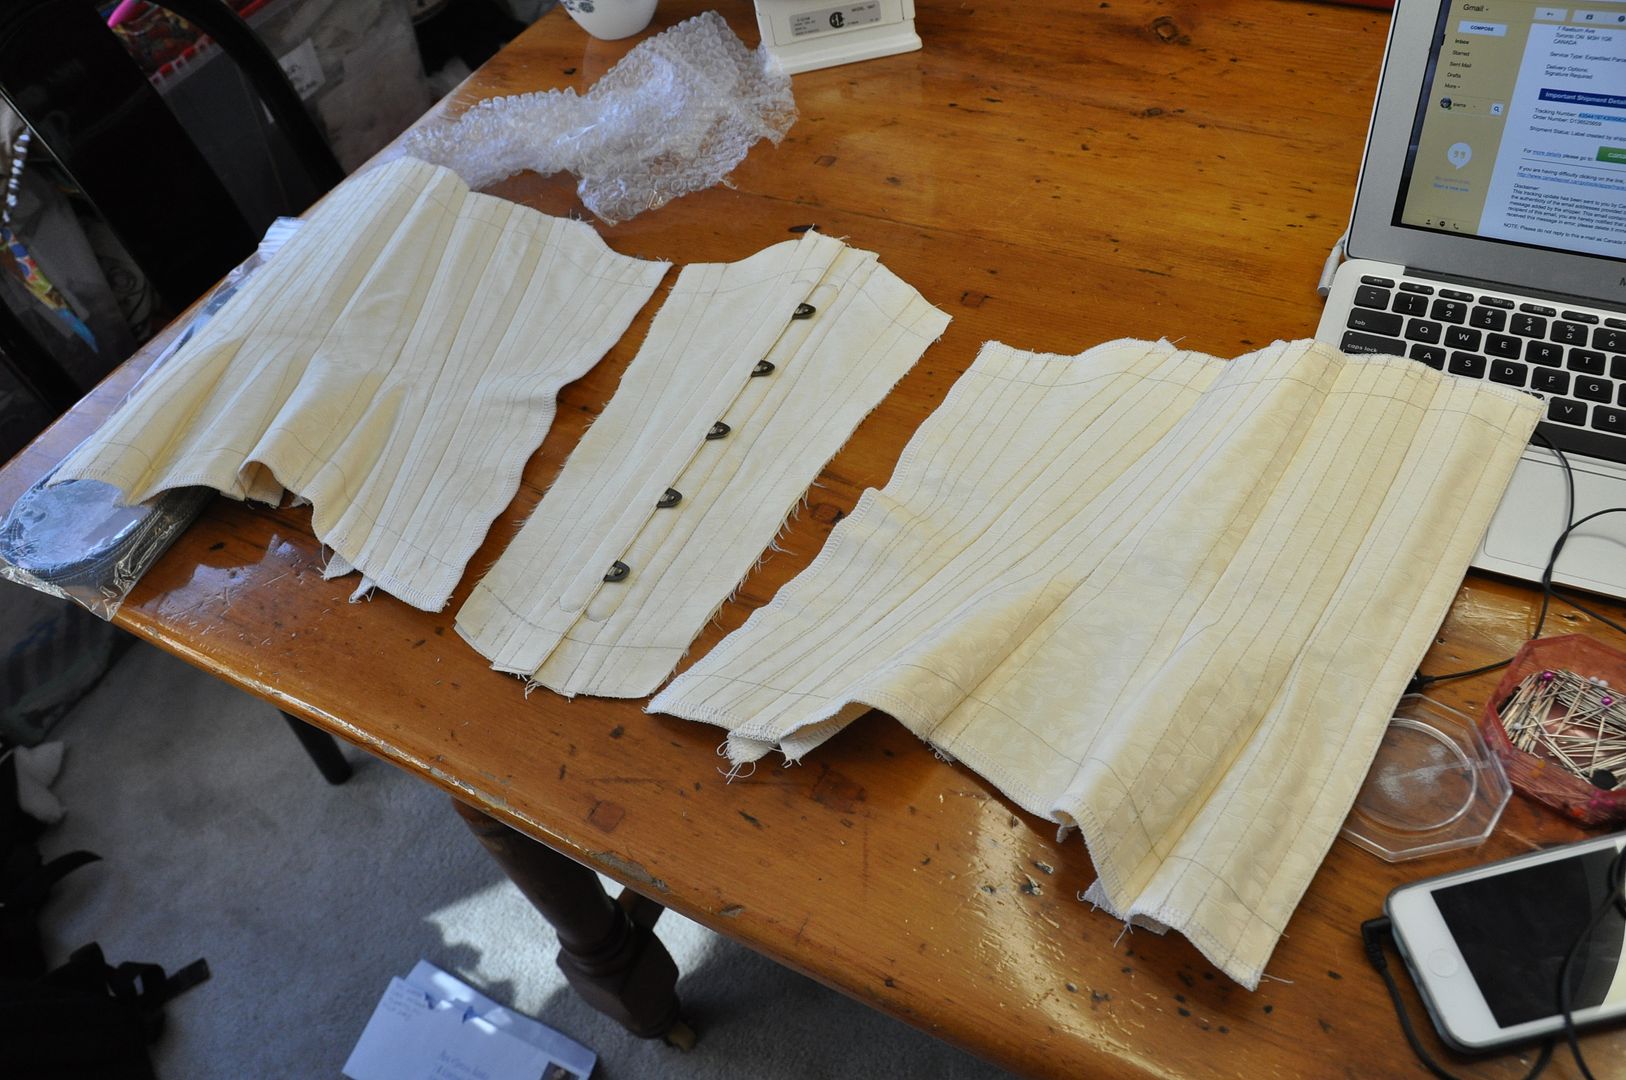
Then I cut my pieces out of my coutil. Remember you need
4 of every piece, a pair for each side.
For the center back panels I first sewed the pairs right sides together along the CB edge, then turned them right way out and pressed them. I flat basted all my pairs together (excluding the center front panels) and top stitched all the boning channels. The 14 panels looked like this.
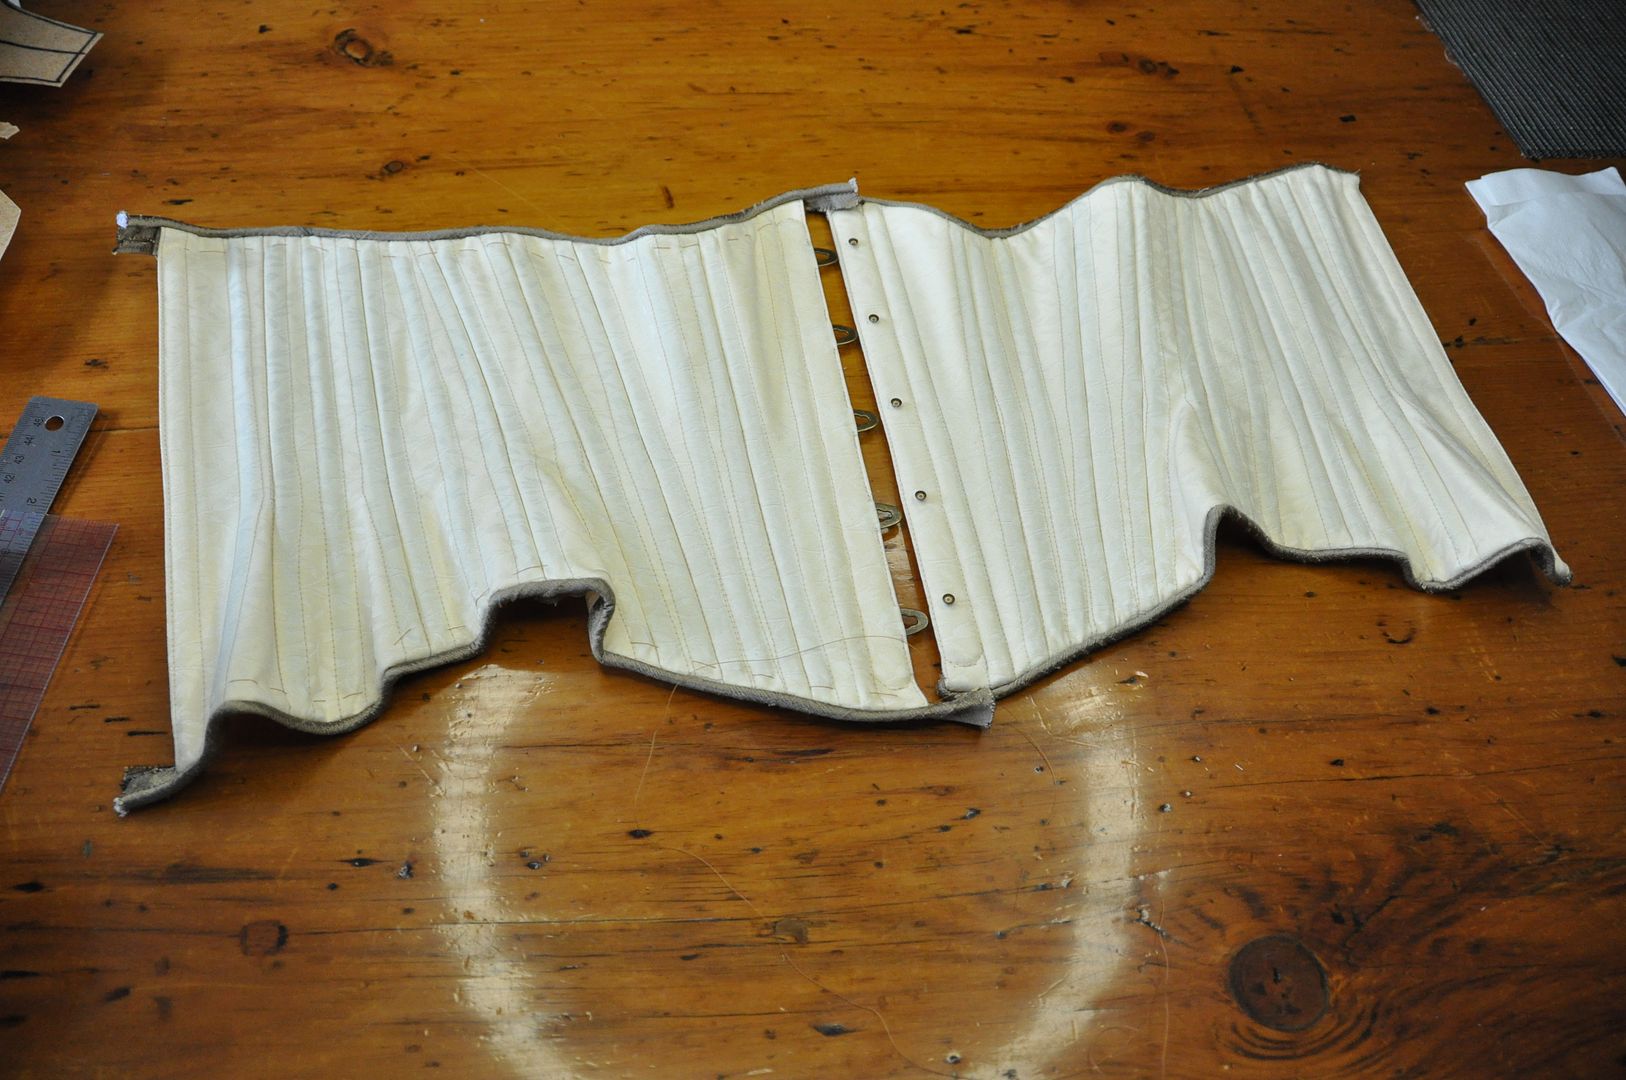
I added in the busk to the center front, then flat basted it and added the last boning channels. If you want a tutorial on how to insert a busk,
go here!
Then I began to sew the panels together. This is done very carefully, lining up the flat basted lines and the waist line. Accuracy is your friend.
Then I cut my spiral bones to length and inserted them.
I made my own piping trim from leftover fabric from my
Steampunk Corset. If you want a tutorial on how I make piping trim,
go here!
I attached the piping, then hand stitched down all the seams on the inside. Then I put the eyelets/grommets in the center back and added some cord to lace it.
Presto! Another corset! ;D


 First I used twill tape to mark out my seam lines on my judy. Then I draped muslin over those sections to get my pattern piece shapes. I used a pen to draw the shapes on the fabric, unpinned the pieces and then cut along the lines I drew.


No comments:
Post a Comment