

This was my final project for corsetry and the second corset I've ever made! This is also the first time a draped a pattern. I debuted this outfit at CostumeCon 32 and won a Hall Award for the ensemble. Planning on decking this out with more stuff in the future--like a weapon or possibly some gloves. But for now it's complete.
Special thanks to Mike at EleventhPhotograph for the photoshoot! I have a few more pics up on my Cospix profile!

I had a hell of a time figuring out my colour scheme (as I almost exclusively design in pencil, without colour), but I am glad for the colours I eventually chose. Special thanks to the lovely gal at King Textiles who helped me pick out my fabrics! I like the contrast with the muted gold and the pale orange versus the brown suede. Mostly I really like fabric with texture. The dupioni (gold) and the raw silk (orange) have such great texture! Someone commented that the raw silk looks almost like woodgrain.
 Here is my original concept sketch. I started my design process by sifting through the hundreds of google images of steampunk, corsets, and victorian fashion. I picked out the different elements I liked and came up with this. It is designed to be worn with or without the neck piece. In the original concept I had vertical buckles attaching the two at the back, but scrapped that during the build process, as I found them to be completely unnecessary; it would make it harder to get on and off by myself, and would clutter the design. I might add the chain detail at the front eventually, but I kind of like it without it.
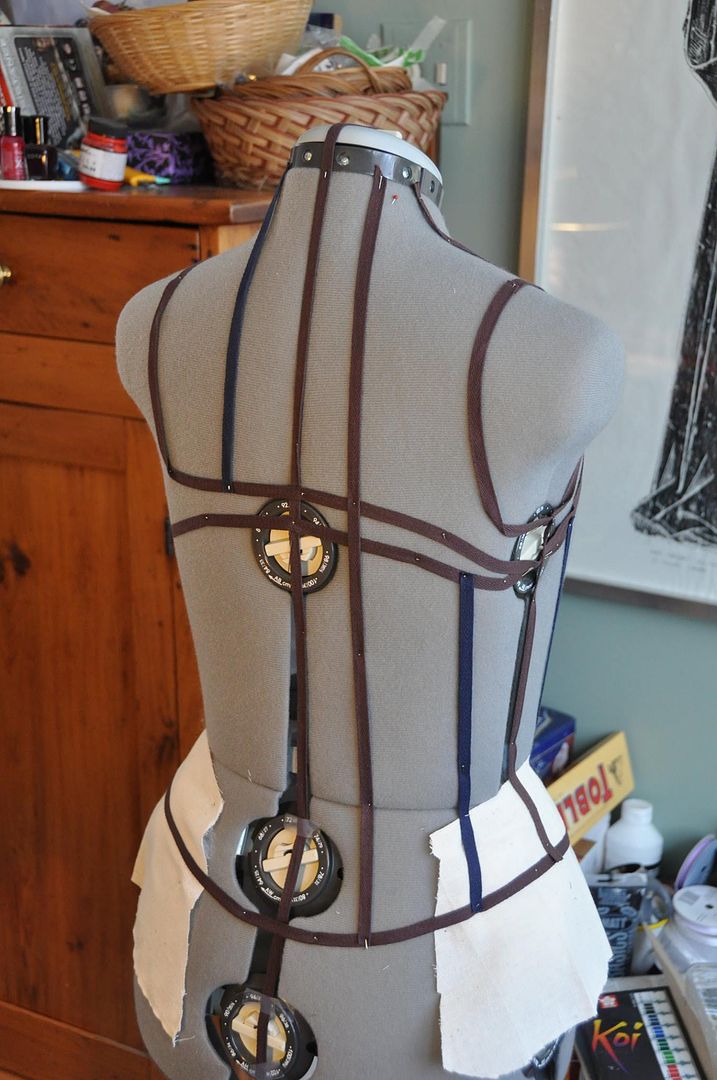
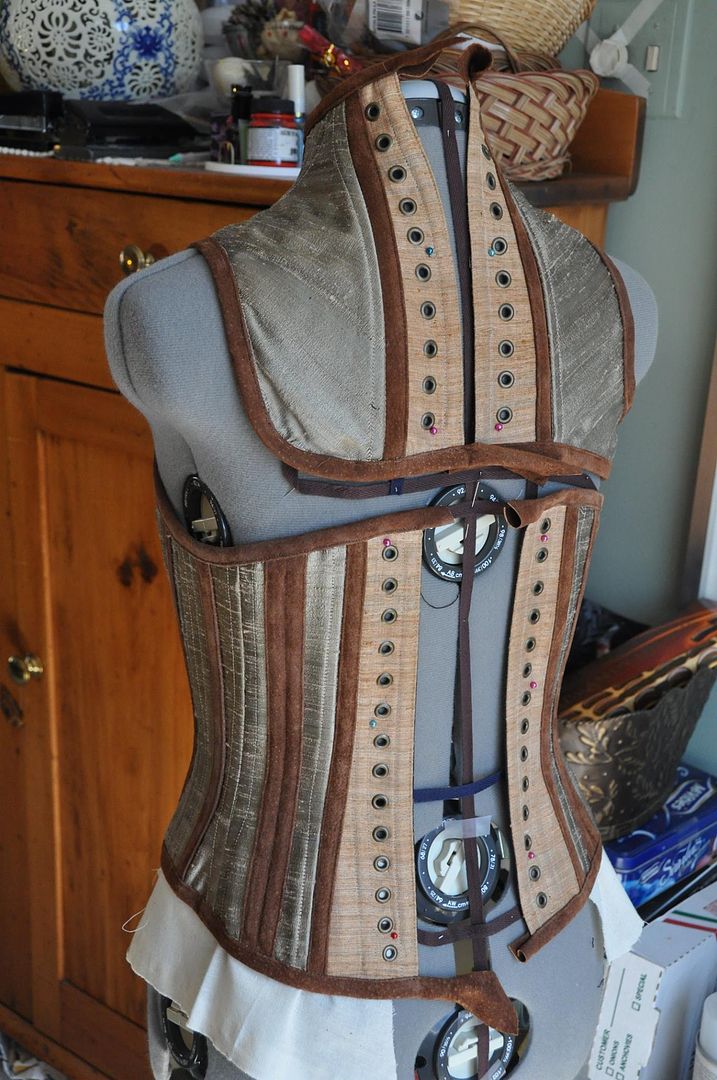
 Then using muslin I draped the design. Each section/piece is a different piece of fabric carefully smoothed to contour the body and pinned in place to the edges of the section. Then I took a ballpoint pen and traced the seam lines/edges onto each piece. I also marked the waistline. Additionally, when draping a corset it is best to keep the grain of the fabric perpendicular to the waist line, meaning the grain should run straight up and down the body. (Woven fabric stretches on bias/45 degree and can alter the shapes enough to be a problem later in the process.)


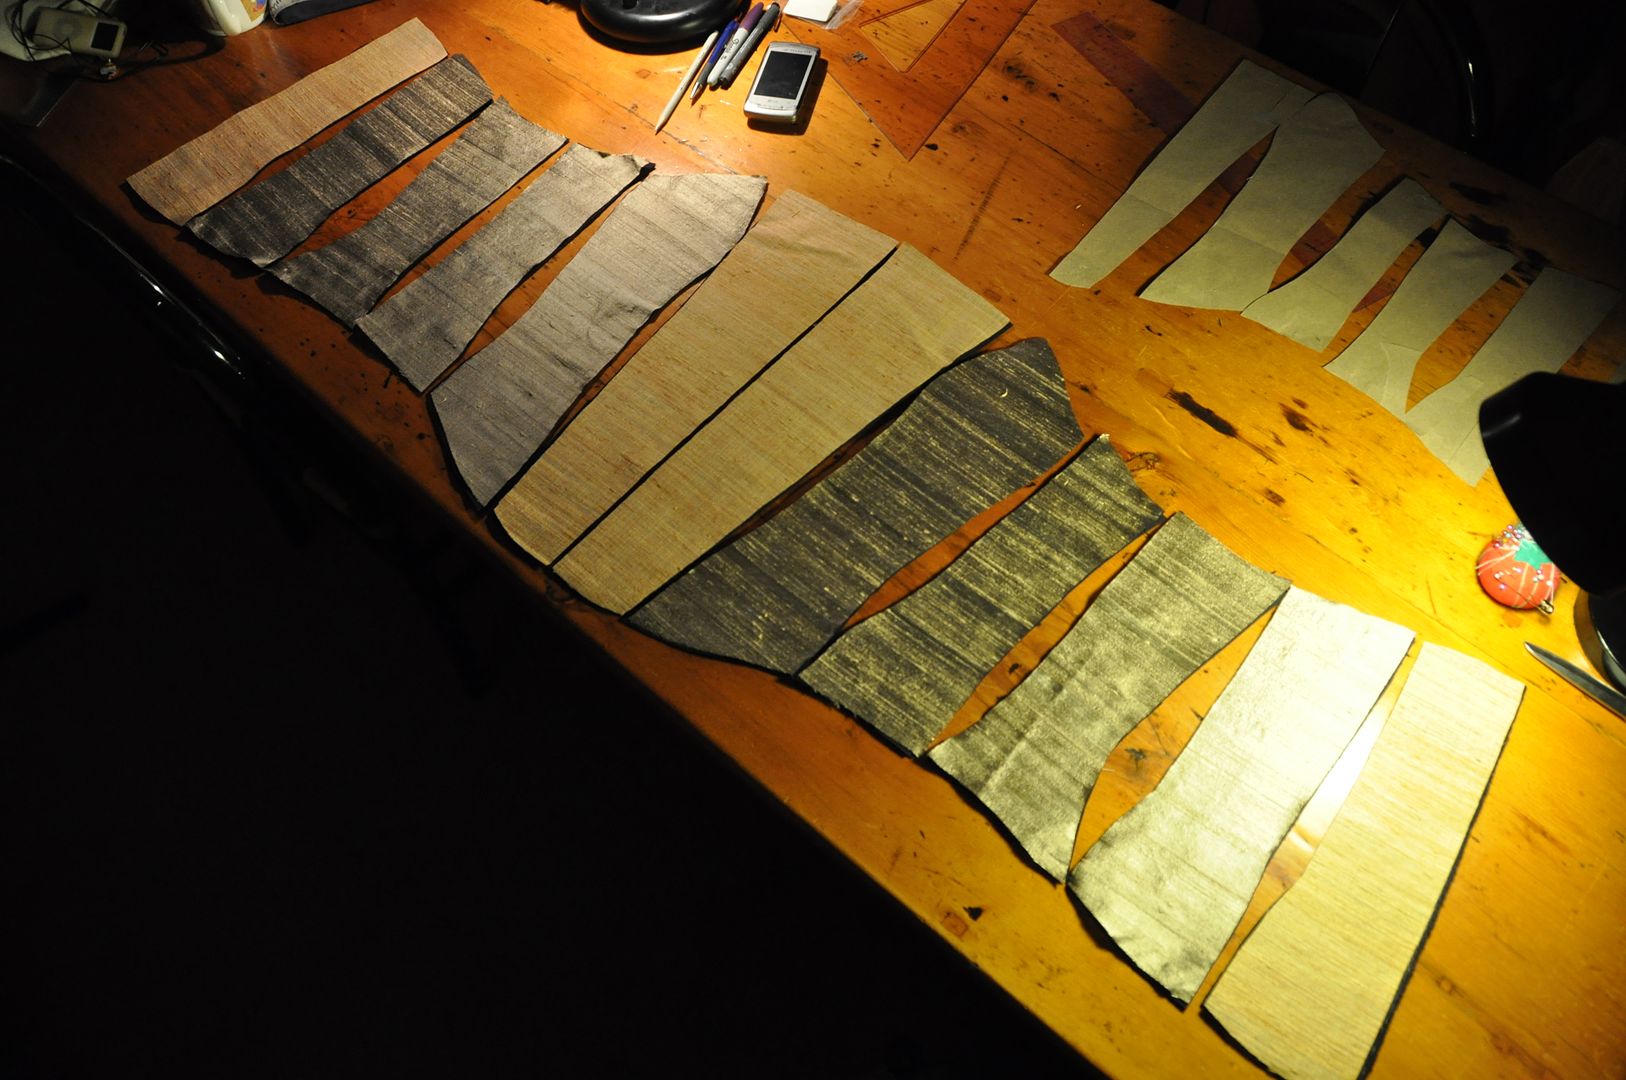
I used the leftover black coutil from my Black Corset, Beetle Green Trim to be the inner 2 layers of my corset (making this corset have 3 layers total). The silks I used as my outer "fashion layer" would be too thin to hold the bones without eventually fraying, also would not stand up to tight-lacing very well. I needed 4 of each of the 6 pattern pieces to make my inner layers. For the neckpiece I did the double inner layers in black twill instead, this would be less constricting and allow more motion (as twill is much less stiff that coutil), while still maintaining the desired structural stability.
I gave myself 1" seam allowance at the top and bottom of each piece, and 1/2" at the side seams.

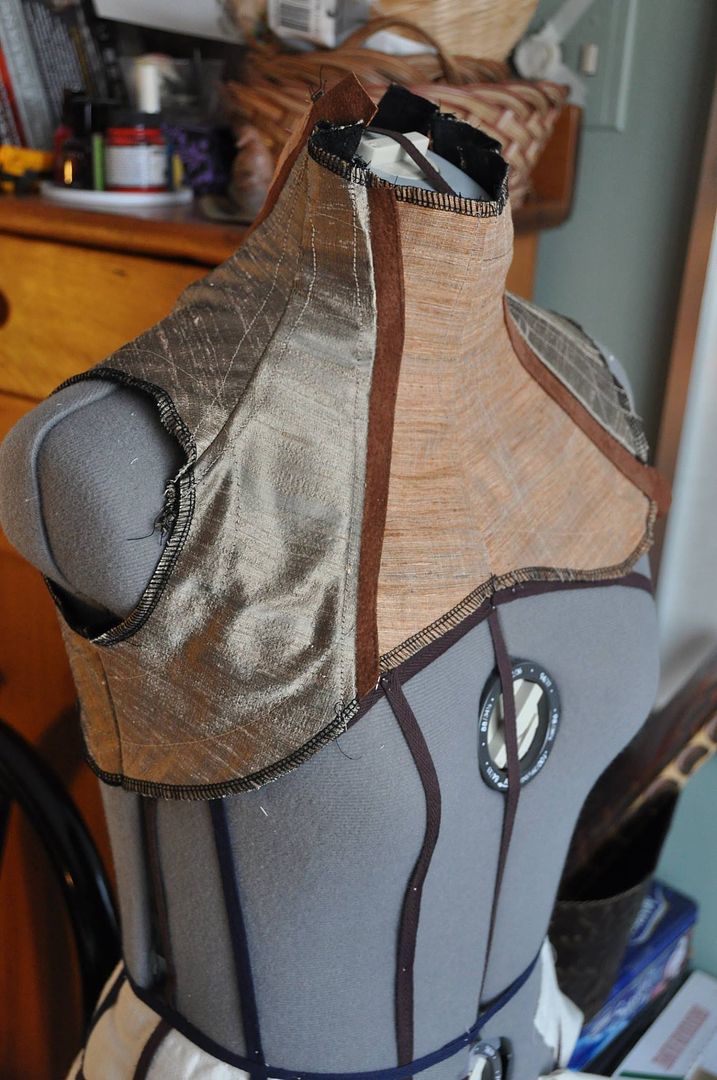
When it came to the neckpiece I did my best to just ensure the grainline was perpendicular to the neck. This meant I got some interesting diagonals on the shoulder/back.

For this corset I used 2 enamel bones for the center back and spiral bones for the rest. Overall there was 10+ meters of boning. The enamel bones don't bend sideways, which is why they are used in the center back, this keeps the lacing more straight/aligned than spirals which are bendy in all directions.
Next I added in the busk to the center panel. You can find out how I did that by reading my Busk Closure Tutorial. Don't worry, you can come back to this. Hahaha
 I basted all the layers for each panel together, following my seam lines, and serged the edges (excluding the center back, which was bagged out, pressed and top stitched first). This would prevent fraying while I worked as well as keep the layers from shifting. Then I prepped all the bone casings. For the internal bones (the ones next to each side seam) I drew out my lines carefully on the fabric and then machine stitched them. For the external suede cases I cut and measured the strips, then top stitched them on with the raw edges folded under.
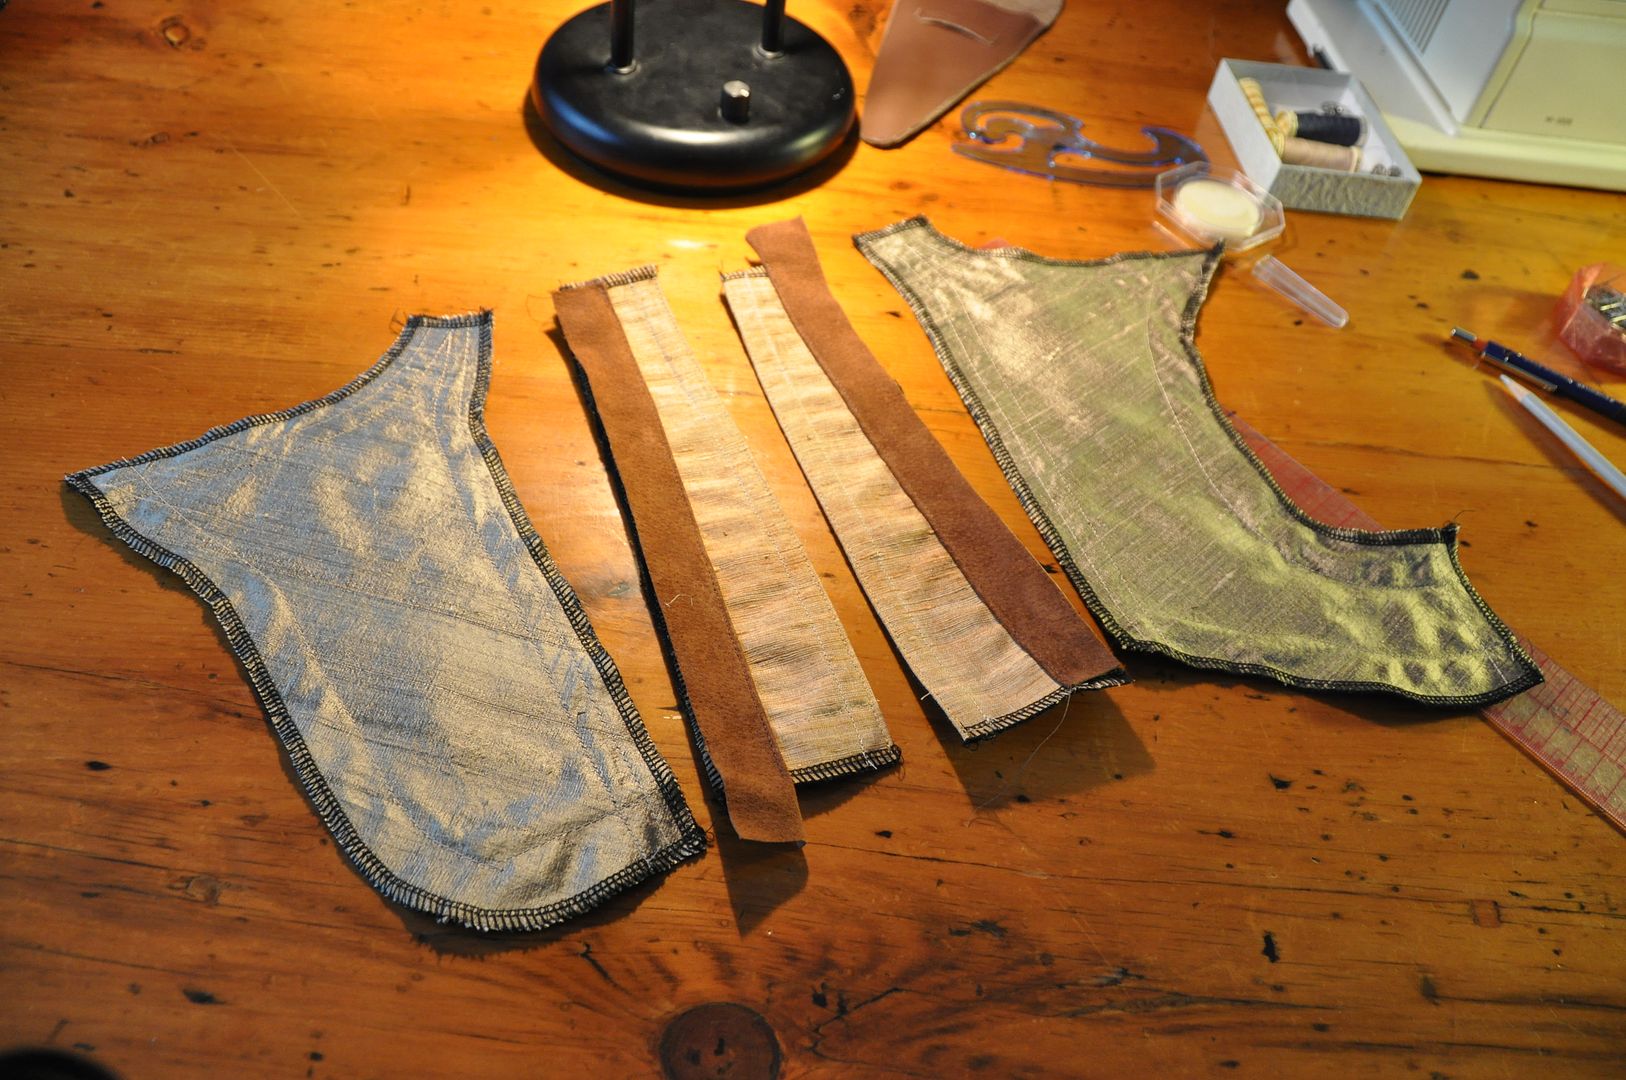

I sewed the side seams on every piece except the center front and back. I made sure to carefully line up my basting stitches and edges and waistline. I didn't want to overshoot into my bone casings anywhere. The most important thing here is patience and accuracy. It will make for a cleanly finished corset.

 Once the pieces were all together it was time to prep and insert the bones. This process actually took quite some time. It is easiest to cut, tip and insert each bone before moving on to the next, otherwise you are likely to get them mixed up. As a general rule you should cut the bones to be 3/4" shorter than the finished case, this allows a little more room for them to bend so they wont bust out of the casings when you try to sit. (Trust me, sitting is by no means overrated!)
In terms of cutting spiral bones, I highly recommend investing in a pair of aircraft cable cutters, which you can pick up at most hardware stores (though the salespeople are likely to be confused as to your intended use of that tool...). They are the best thing to cut through the bones, normal wire cutters just don't work very well (it can be done, it's just a lot of effort). They cost around 20$ though, so if you are planning on making multiple corsets it's a good investment, if not you may want to look into pre-cut bones (which are more expensive than buying a roll of boning). Figure out what works best for your budget/your project!


At this time I also pressed the inner seams open & flat, then cross stitched them down, this reduces bulk on the inside and makes it more comfortable to wear (because the seams wont get folded over weirdly when you put it on and be uncomfortable).


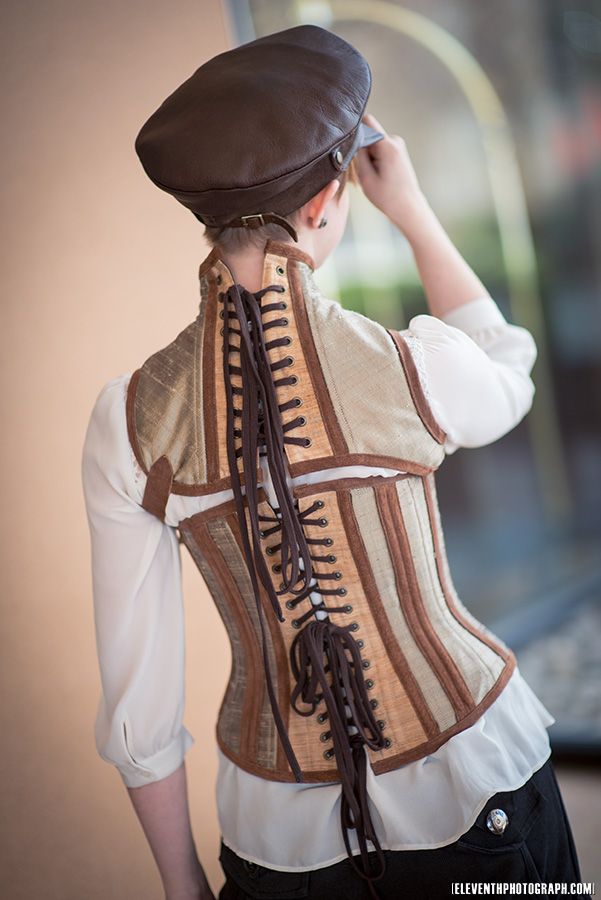
The last thing I added (besides the laces) was a buckle under the left arm. Again I picked a buckle with metal that matched the colour of my busk and grommets.
I'm sure I will be wearing this to many more events!
No comments:
Post a Comment