Tuesday, May 6, 2014
Wooden Night Table
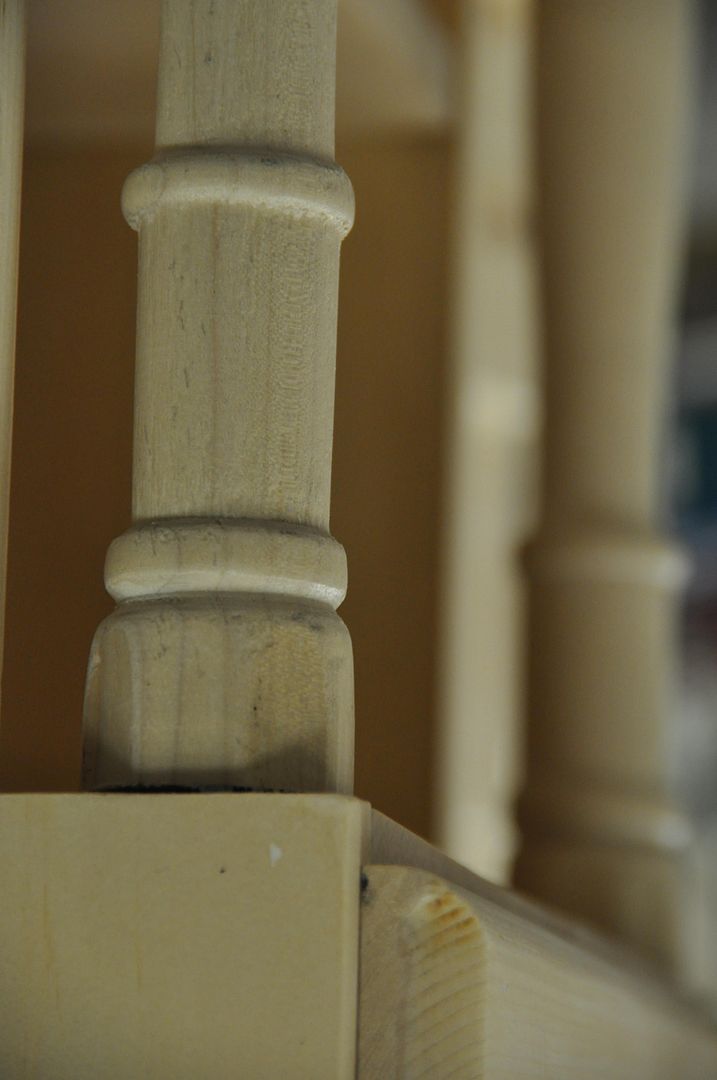
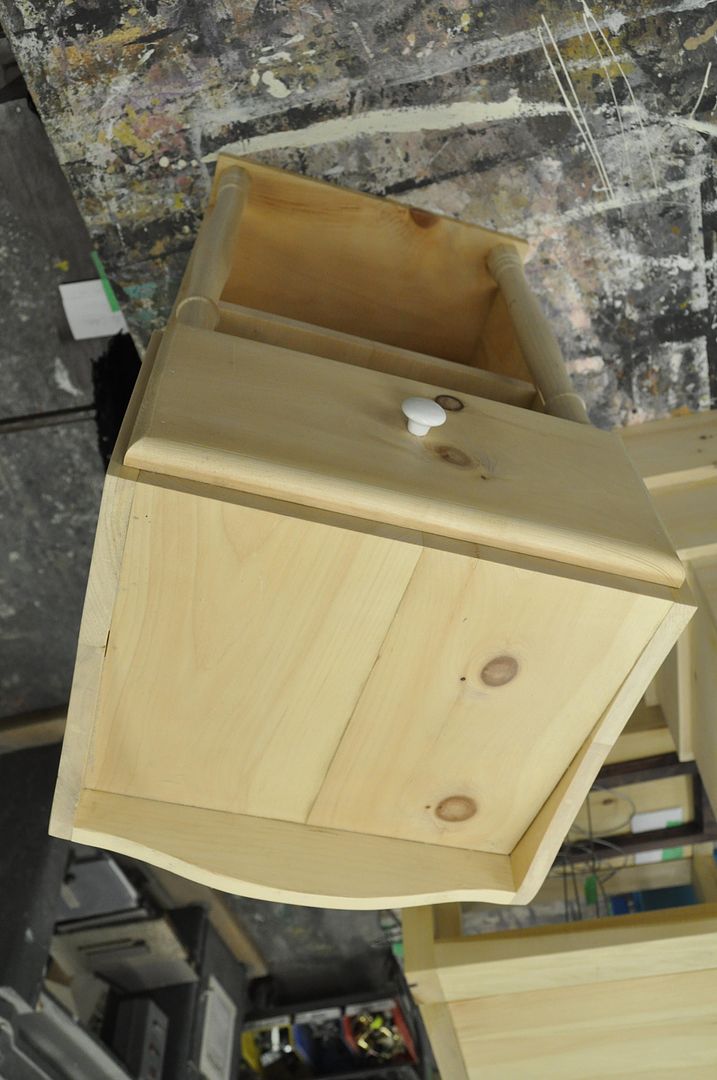
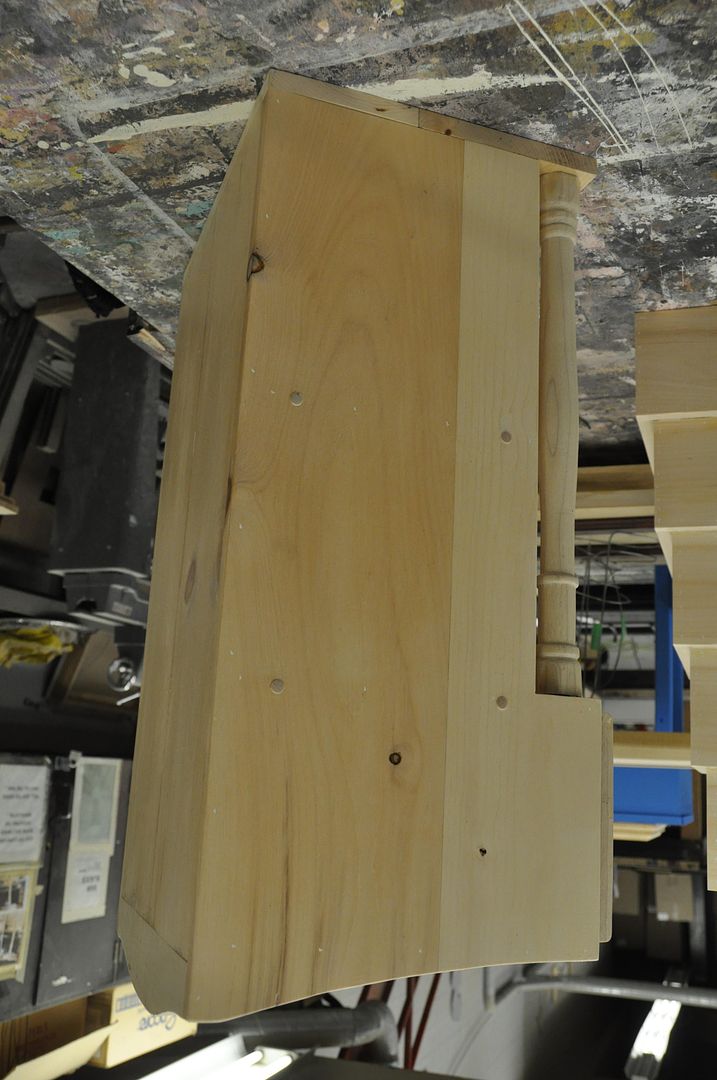
Before we get into all of the costume/fabric stuff for this season, here are some pictures of my final project for scenic construction this term. This piece was done as a commission for a friend of mine, as I had no need for any more furniture in my house. It's my own design, made to fit the needs of my friend: 1 drawer, 1 shelf, with a specific width and height to work with her room. It's made of poplar (except for the inside of the drawer, which is made of plywood.)
The big flat pieces are all biscuit-joined together, and much of the assembly (for the corners) was done with wood glue and a brad nailer with a few carefully placed screws for extra support. The majority of my pieces were cut with the chop-saw or the radial arm saw. Lots of sanding to make the piece smooth and even. The curved edges on the top were cut with a jigsaw. The rounded edge on the drawer was done with a router. It was finished with a clear eurythane coating (two coats with sanding in between). I had a lot of fun making this piece! I particularly enjoyed using the lathe to make the fancy round pieces on the front (which provide minimal structural support, but look darn cool!).
PS: I got an A+ and it's going in the "Greatest Hits" book. ;D
Wednesday, April 30, 2014
Costume-Con 32
Just had a fabulous weekend at Costume-Con 32!
I really loved the calm, open atmosphere. Everyone was very friendly and willing to talk about their costumes! In a way I preferred the demographic that attended this convention much more than that of Anime North. Overall the attendees were more mature, and very relaxed, whereas the AN crowd tends to be much younger and frenzied.
I bought some coutil for my next 2 corsets I have planned. (In theory I will be making these sometime this summer.)
Friday:
Wore my Eleventh Doctor coat with some more casual clothes underneath. I was on the "Intro to Tailoring Panel", which went fine overall, though I felt quite out of my depth. I went to the Single Pattern Contest and Monster Social in the evening. It was really cool to see the different things the contestants made with the few selected patterns. The Monster Social was a really cool event, that worked really well for a con of this size.
Saturday:
Although I was unable to finish the embroidered panel, which was to be the centerpiece of this costume, I still wore the rest of my Elven Archer original design costume. I did not compete in the Fantasy/Sci-Fi Masquerade, but I did go to watch it and it was absolutely amazing! Congratulations to all the entrants, your hard work really showed! Other than that I attended some really interesting panels.
Sunday:
I wore my new Steampunk Corset & Neckpiece. I won a Hall Costume Award for the ensemble, which was unexpected, but made me really happy! I attended the Future Fashion Show and the Historical Masquerade. It was cool to see the variety of costumes and eras represented in the Historical Masq. I went to a few panels, they were pretty good.
Monday:
I wore my Kero gijinka costume, which was its Canadian debut (previously worn at Otakon in Baltimore). I was on the "Cool Anime Costumes" panel, which was surprisingly well attended for 10am on Monday morning! The panel went really well, so that was good. Brought in some costume pieces to show. (Because panels are always better with things for people too touch/look at.) Went to a Game of Thrones Costumes panel, maybe someday I will make something from that series... Someday.
Overall, I really enjoyed Costume-Con. I picked up many good tips and ideas over the weekend and I am more motivated than ever to start working on new things! Looking forward to Costume-Con 35, which will be held in Hamilton, Ontario!
Pictures of my outfits are coming soon!
Tuesday, April 8, 2014
April Update
Hey all! This month is turning out to be crazy! So many projects, so little time.Madly at work finishing my projects for school, while simultaneously working on my original costume (Elven Archer) for Costume-Con, which is coming up at the end of this month. Fingers crossed that I will manage to get everything done! Right following Costume-Con I will be barreling straight into prep for Anime North, so look forward to that. Once again, I encourage you to become a facebook fan if you want to see cool progress as it happens.
Recently I have done 2 tutorial style posts, specifically looking at one aspect of a costume piece and how to put it together (namely my Piping Trim Tutorial and my Busk Closure Tutorial). Fact: I actually started this blog in part for my own benefit, writing down how I made things/how I did stuff so I could
look back and have everything documented. This way I could use it for
reference later when I wanted to do something similar, and even if I
forgot how to do something I would have no issue looking it up later. Wondering if you guys like these and if there were any specific simple tutorials that people would be interested in seeing in the future? (Like zippers, hook and eye tape, etc.)Last month I did a collaboration with Crowtrees Studio! It involves 3D printing and cosplay! :) I won't go into too much detail now (saving that for a later post), but I had 3 costumes scanned to be printed in miniature. They are still in progress cleaning up the 3D scans, but I am very excited to see the finished product. Below is a preview of one of the models!
That's all for now!
Tuesday, April 1, 2014
Busk Closure Tutorial
The example I am using is from my original Steampunk Corset, that will be posted sometime later in April. (For now you can follow my progress on Facebook!)
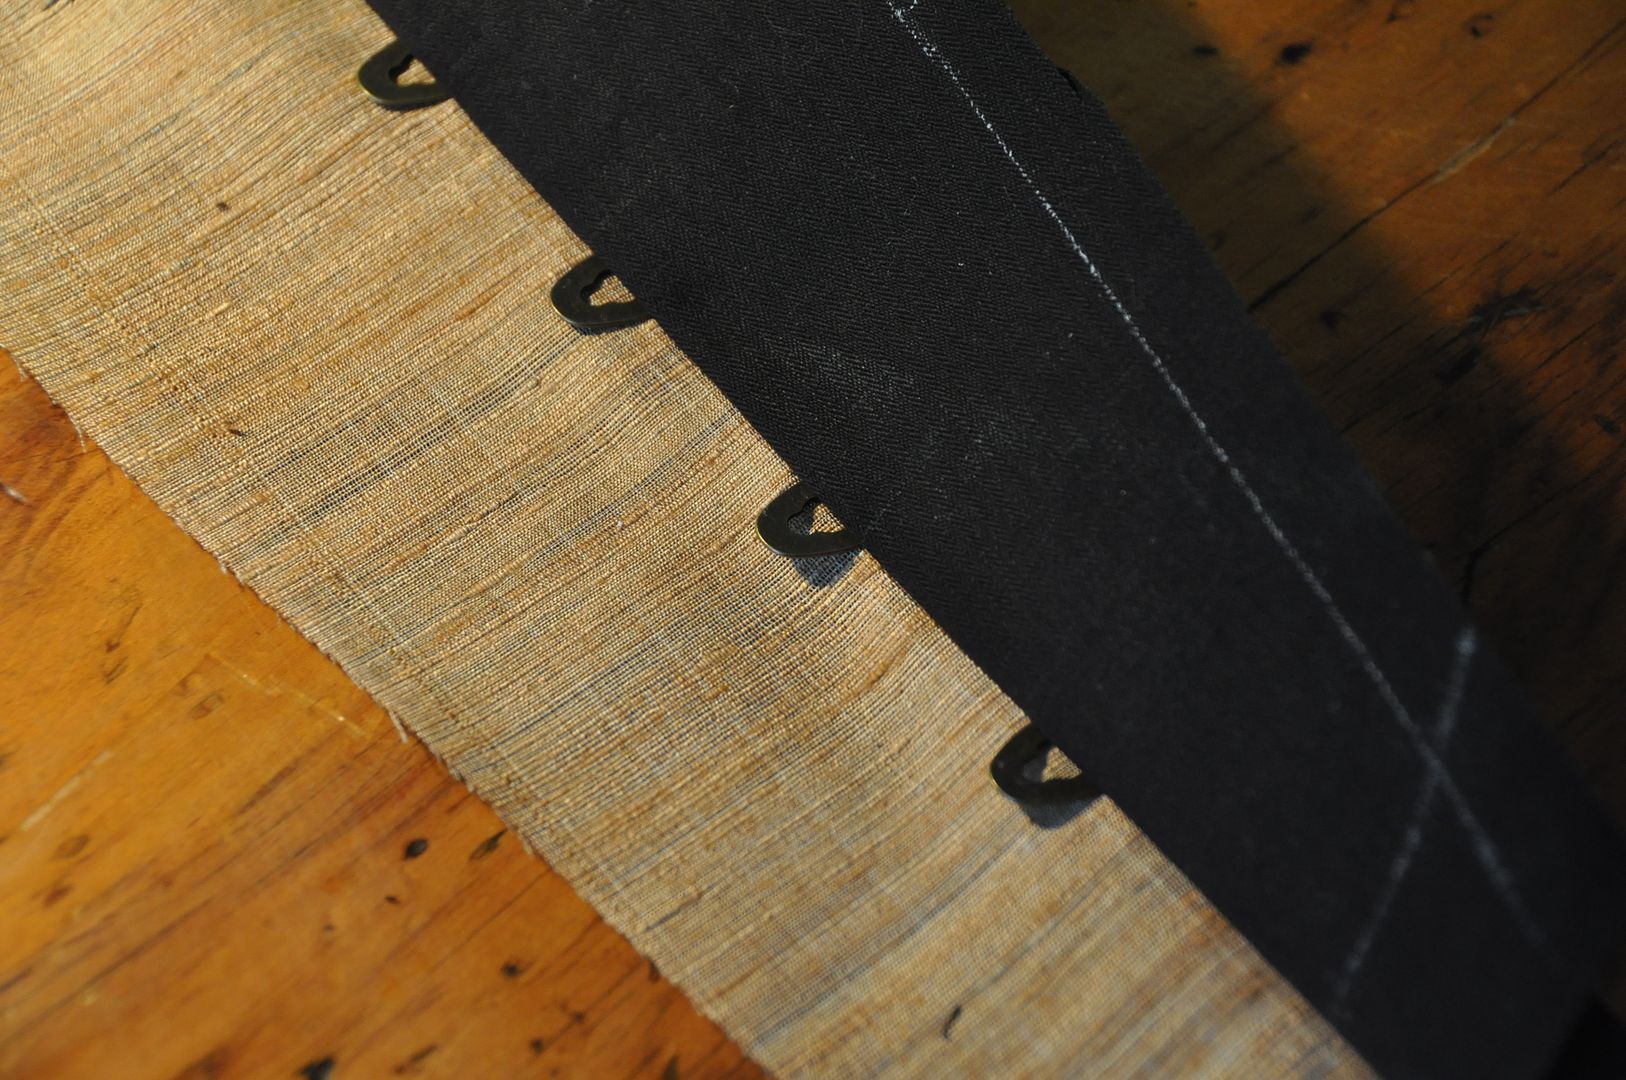
Putting in a busk is not extremely difficult, so much as it just requires a lot of patience and accuracy. Half the battle is purchasing a good quality busk that aligns properly. I got mine from Farthingales and it is really nice. They come in different colours too. The one I have has antique bronze coloured hooks and posts.
Each busk piece is inserted/sandwiched between 2 pieces of fabric; this keeps it nice and secure. So essentially you have 2 pieces of fabric for each side of the busk. If you have a fancy fabric for the outside there will be 3 layers of fabric on each side. It is important that if your fancy fabric is thin that you have a strong fabric underneath to protect it from the busk wearing through.
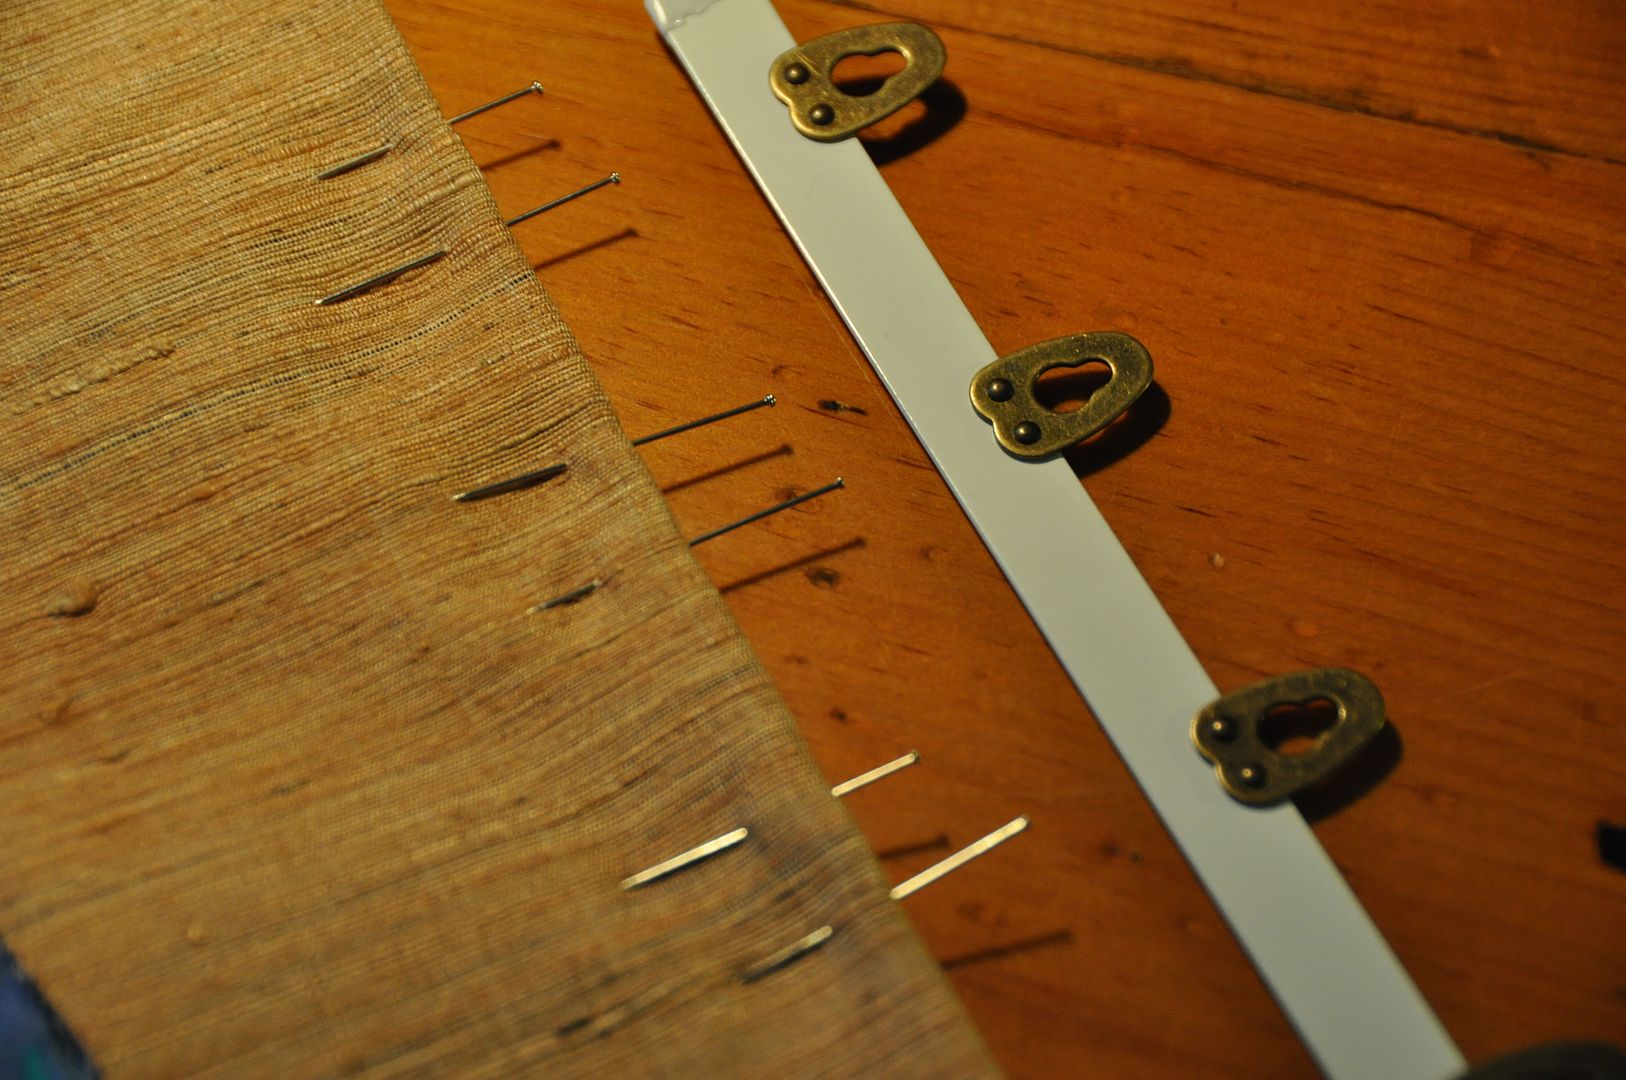
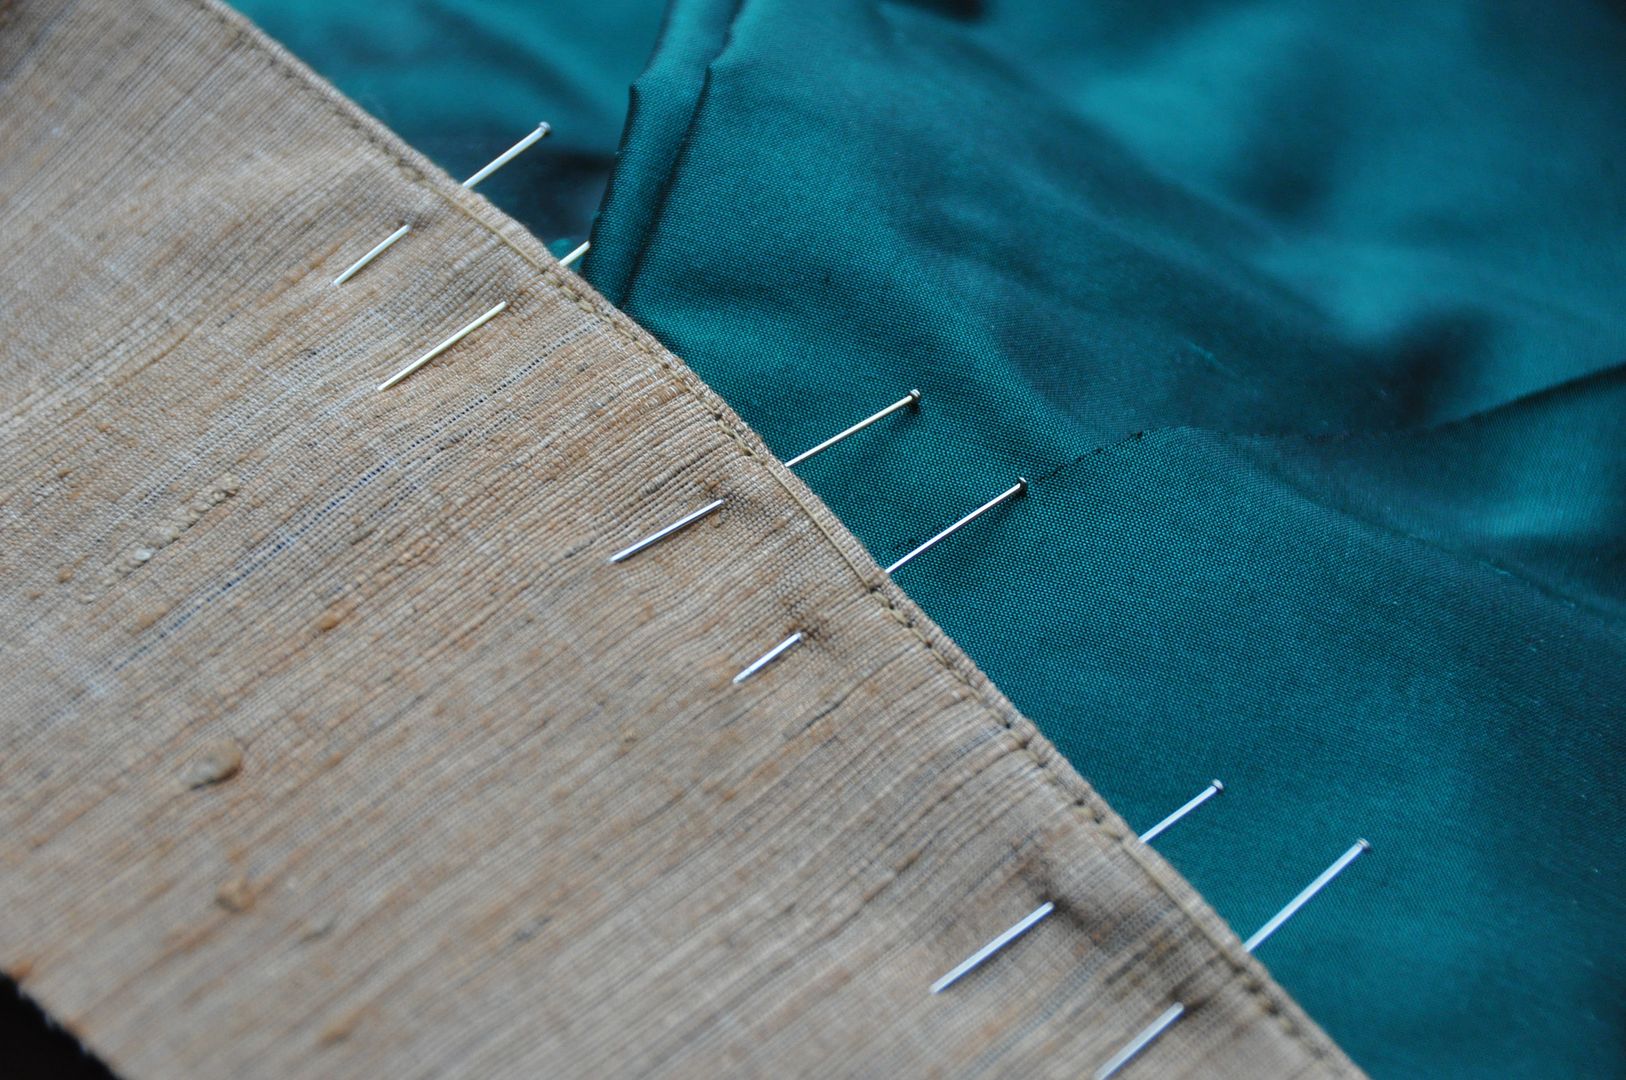
Firstly you line up the center front seam right sides together. (If you have a fancy fabric layer--called a fashion layer--for the outside, that will be sandwiched in the middle.) The hook piece should go in the left-hand side of the closure if you were to look at someone wearing a corset. Spacing the busk evenly between the top and bottom seam lines, mark where the openings need to go for the hooks. Make sure to be extremely accurate when marking for the openings!
Then you stitch along the center front seam, backstitch every time you get to a marked opening, then lift the machine foot and continue on the other side of each marked opening, ensuring to backstitch again when you start. Make sure not to stitch past your opening marking pins, otherwise the opening will be too small to fit the hooks. On the other hand, try not to stop short, or they will be too big and sloppy. There is no need to cut the threads each time you stop and start, you can do that at the end (but it isn't really necessary).
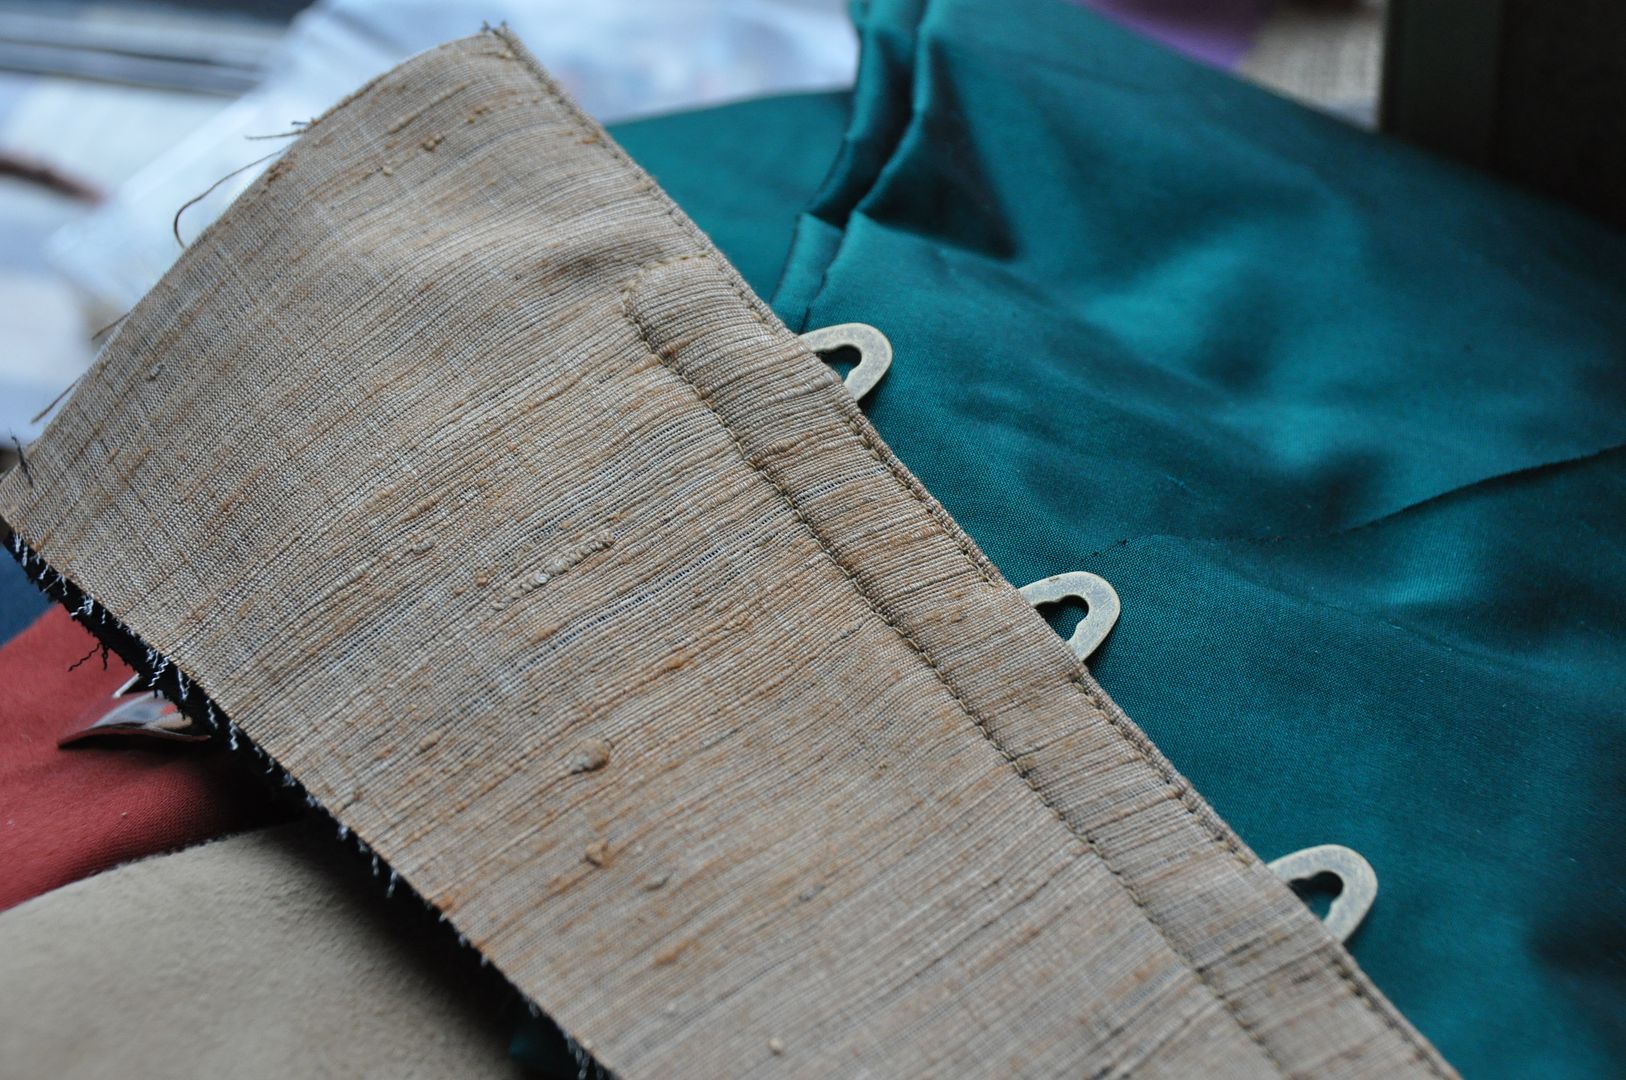
When you are done stitching, try fitting the hooks through the holes to double check that it fits.
Again use pins to mark your openings and topstitch 1/8" in along the edge. Like before backstitch at each pin and be careful to not overshoot your pins.
Next you prep the opposite panel for the post side of the busk. Sew the pieces right sides together on the center front seam. (Like with the first side if you have a fancy fabric it should be sandwiched in the middle of the two fabrics so it will be on the outside when you flip them.) Again flip it to the right side and press it. Then topstitch 1/8" in from the edge.
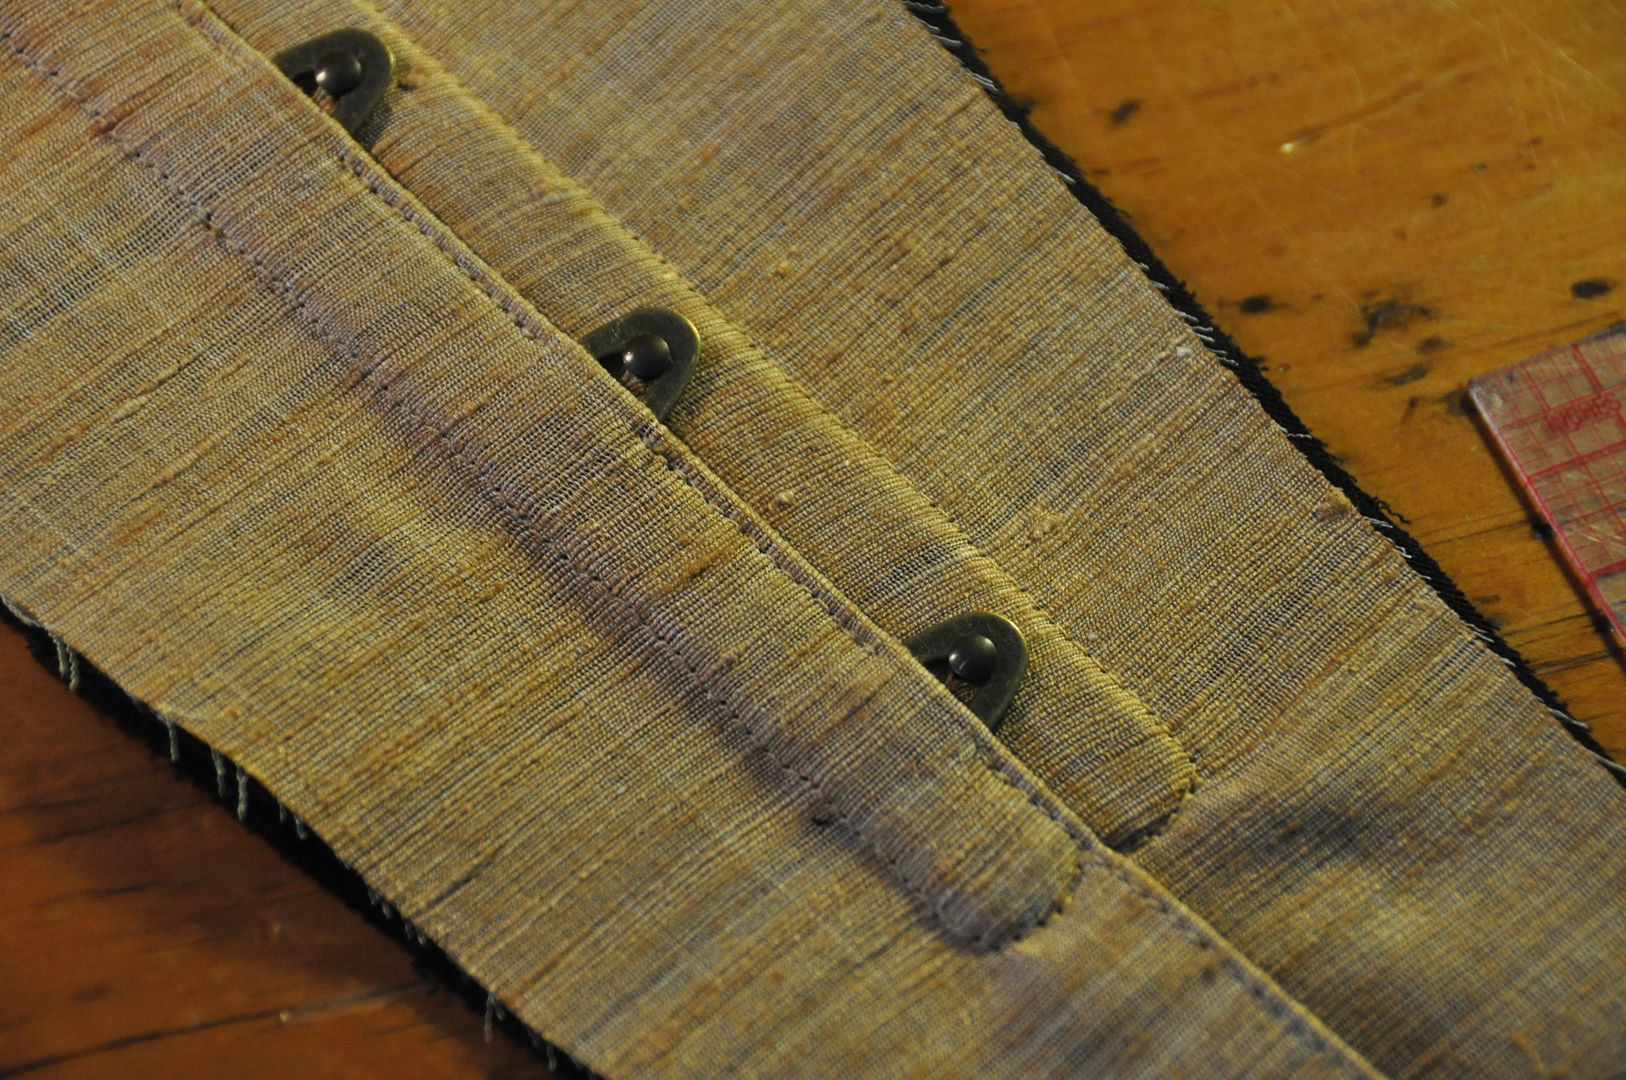
Using an awl carefully poke each hole and the slip the post through. These holes should not be going through all the layers, only the through the fashion layer (if you have one) and the top layer. It may take a couple tries to get the post through as these holes tend to close quickly. Use the awl again to loosen it if need be.
Once you have all the posts through then use the zipper foot and stitch around the busk the same as the first side.
And then you have a lovely busk closure! Very sleek, very strong. ;D
Subscribe to:
Posts (Atom)