Tuesday, April 1, 2014

Busk Closure Tutorial

Today I will talk about how to put a busk into a corset. A busk is a really strong hook and post closure that is frequently used in corset making as it provides a secure closure and holds up really well under tension.

The example I am using is from my original Steampunk Corset, that will be posted sometime later in April. (For now you can follow my progress on Facebook!)

Putting in a busk is not extremely difficult, so much as it just requires a lot of patience and accuracy. Half the battle is purchasing a good quality busk that aligns properly. I got mine from Farthingales and it is really nice. They come in different colours too. The one I have has antique bronze coloured hooks and posts.

Each busk piece is inserted/sandwiched between 2 pieces of fabric; this keeps it nice and secure. So essentially you have 2 pieces of fabric for each side of the busk. If you have a fancy fabric for the outside there will be 3 layers of fabric on each side. It is important that if your fancy fabric is thin that you have a strong fabric underneath to protect it from the busk wearing through.
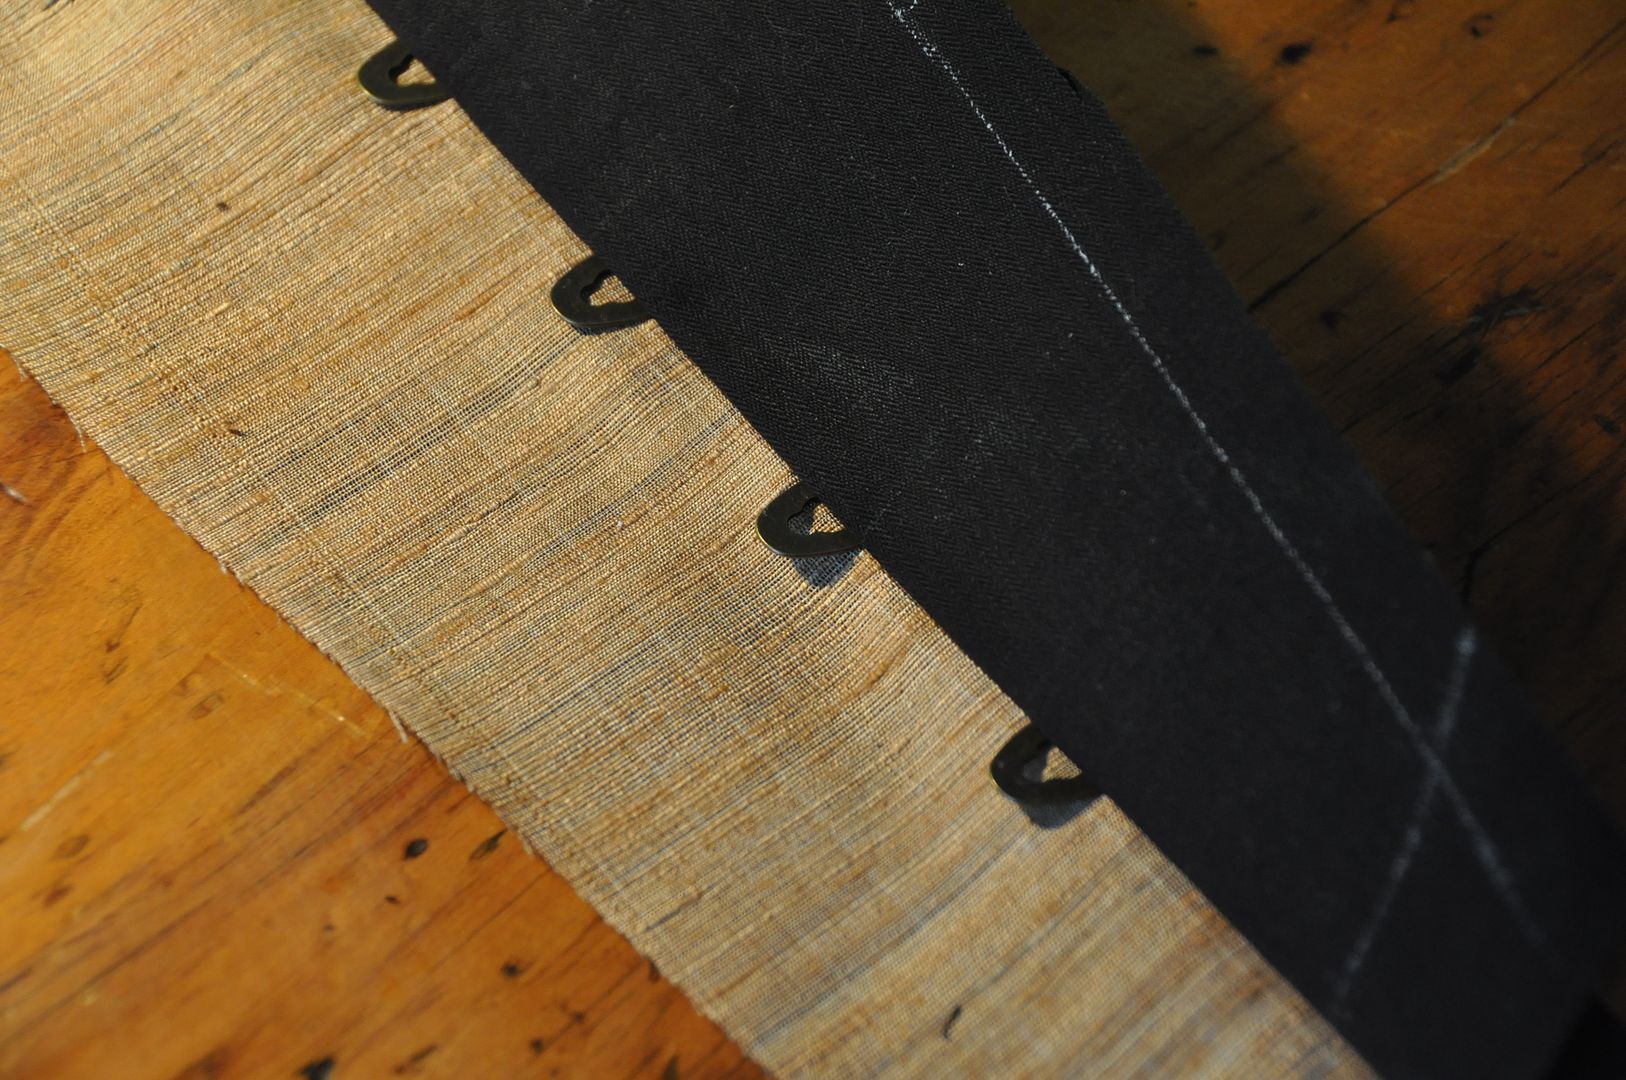
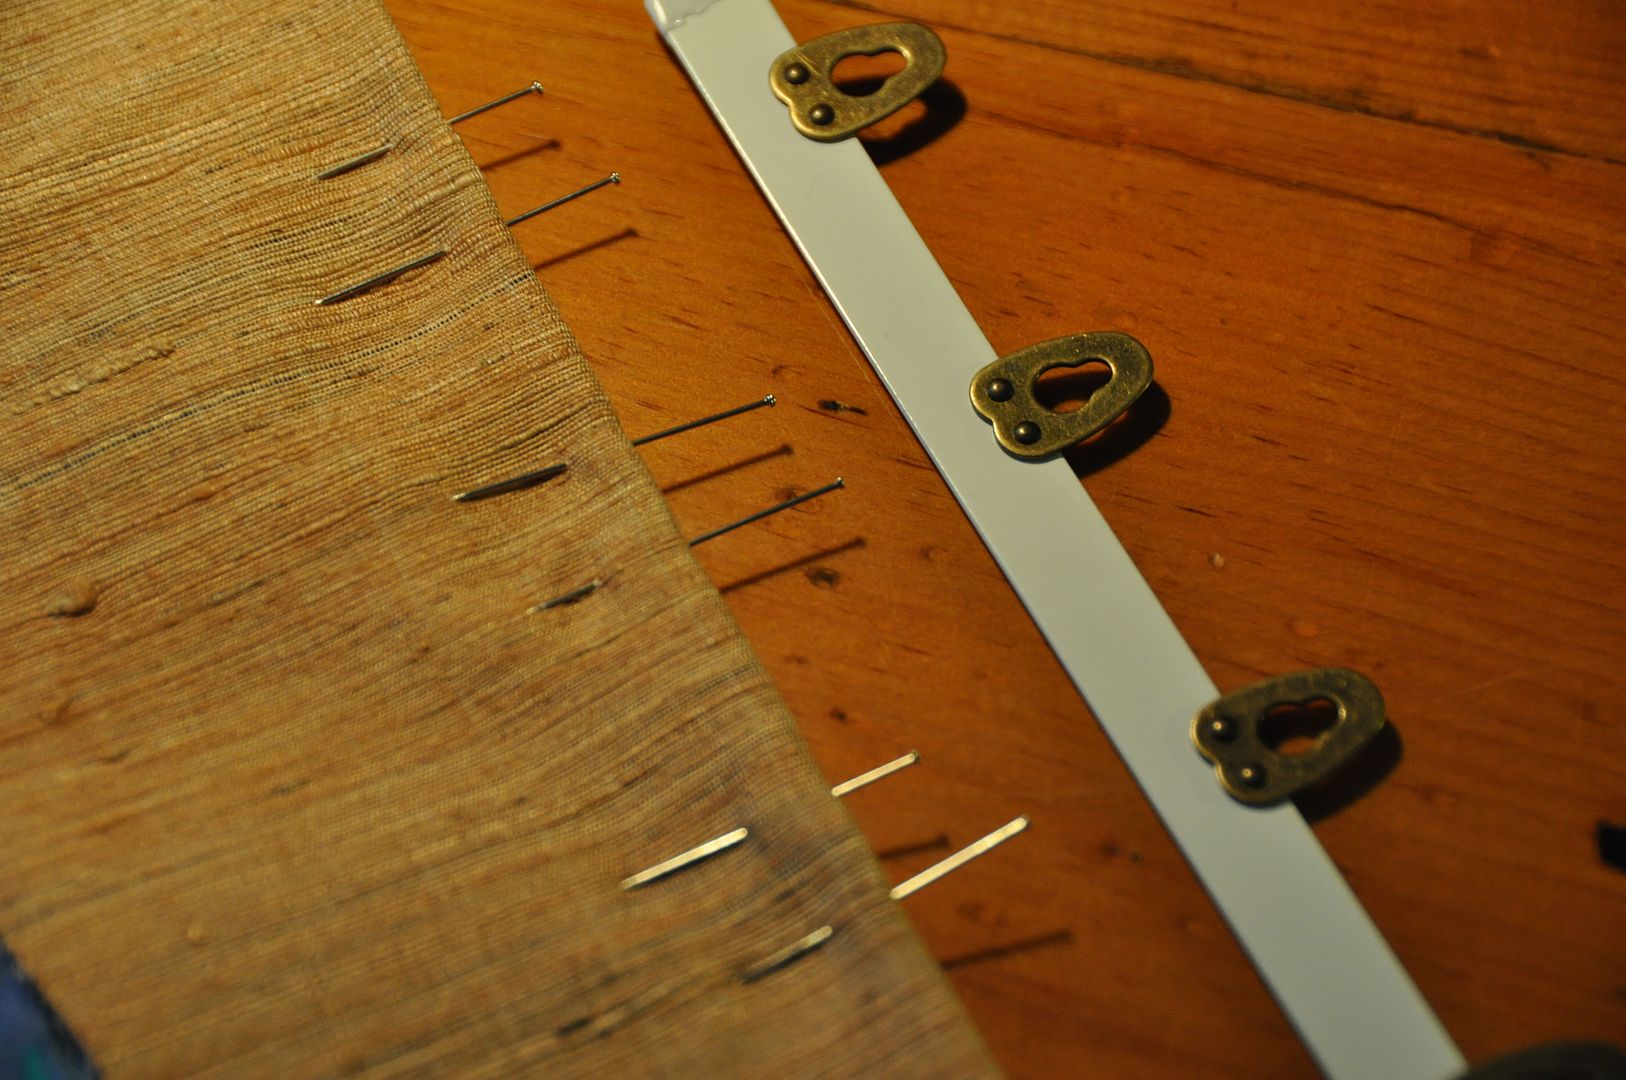
Firstly you line up the center front seam right sides together. (If you have a fancy fabric layer--called a fashion layer--for the outside, that will be sandwiched in the middle.) The hook piece should go in the left-hand side of the closure if you were to look at someone wearing a corset. Spacing the busk evenly between the top and bottom seam lines, mark where the openings need to go for the hooks. Make sure to be extremely accurate when marking for the openings!
Then you stitch along the center front seam, backstitch every time you get to a marked opening, then lift the machine foot and continue on the other side of each marked opening, ensuring to backstitch again when you start. Make sure not to stitch past your opening marking pins, otherwise the opening will be too small to fit the hooks. On the other hand, try not to stop short, or they will be too big and sloppy. There is no need to cut the threads each time you stop and start, you can do that at the end (but it isn't really necessary).

When you are done stitching, try fitting the hooks through the holes to double check that it fits.
Flip the fabric right way out and iron the piece flat. (You can actually get it to turn right way out cleaner if you press the seam flat open first then fold it over.)


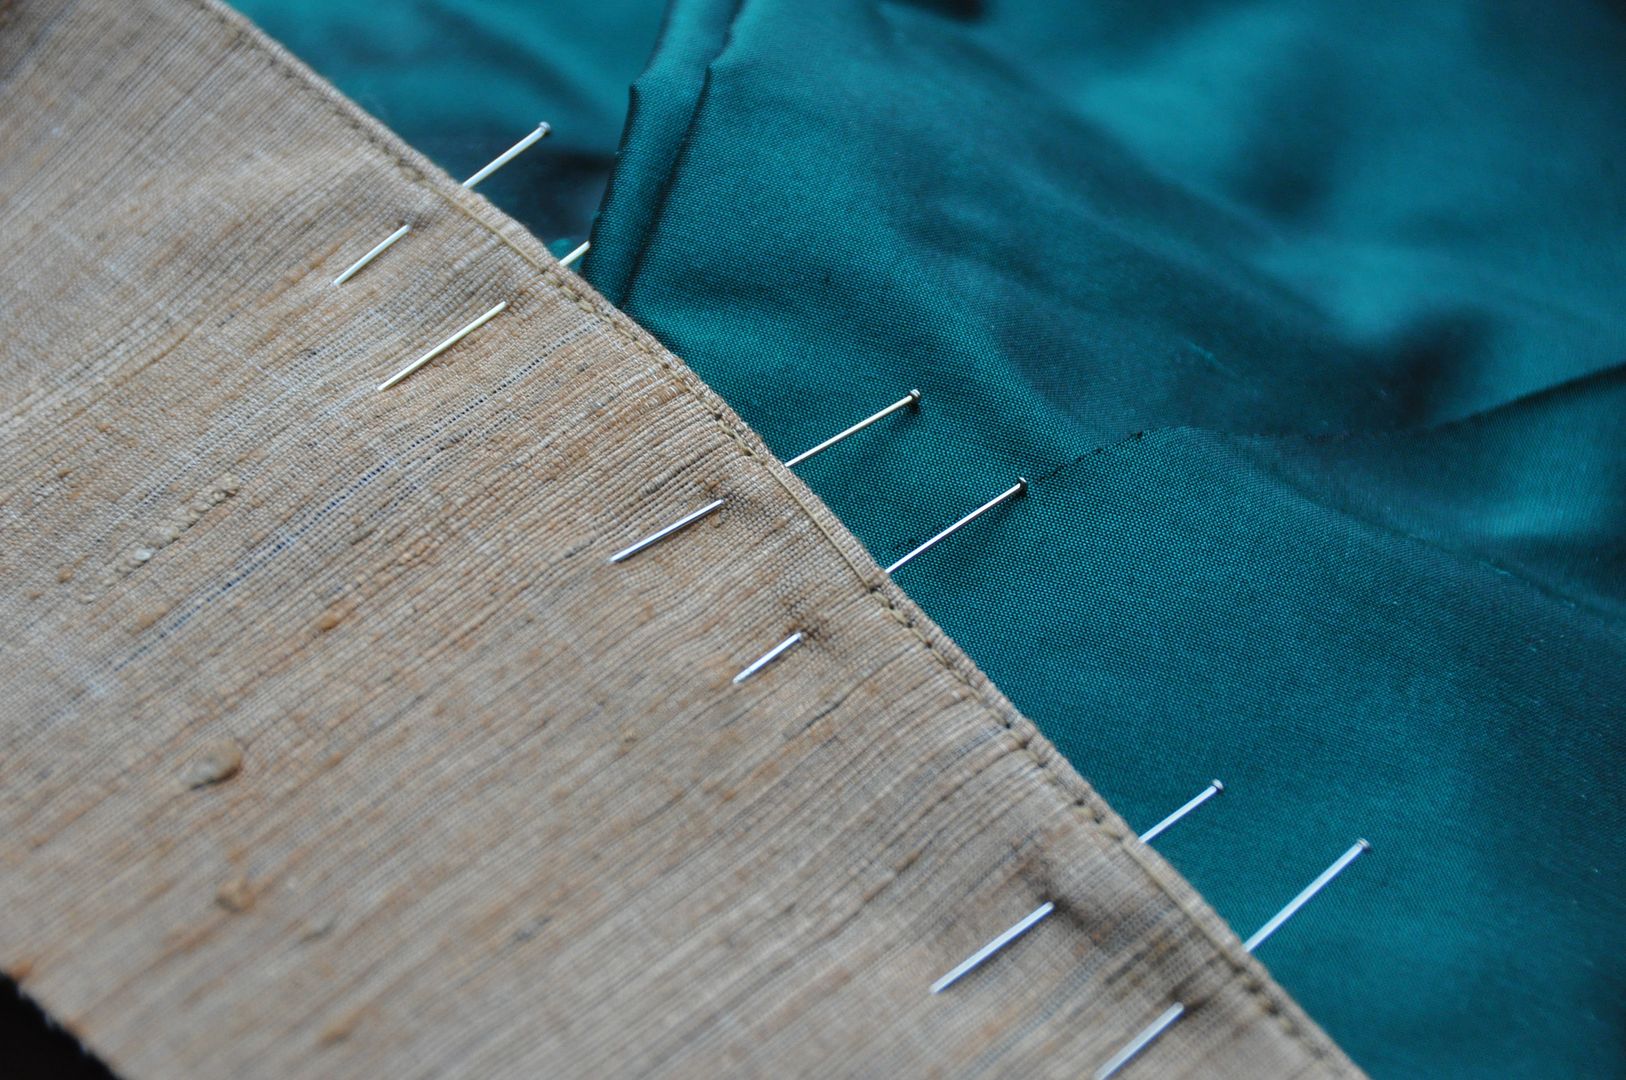
Again use pins to mark your openings and topstitch 1/8" in along the edge. Like before backstitch at each pin and be careful to not overshoot your pins.
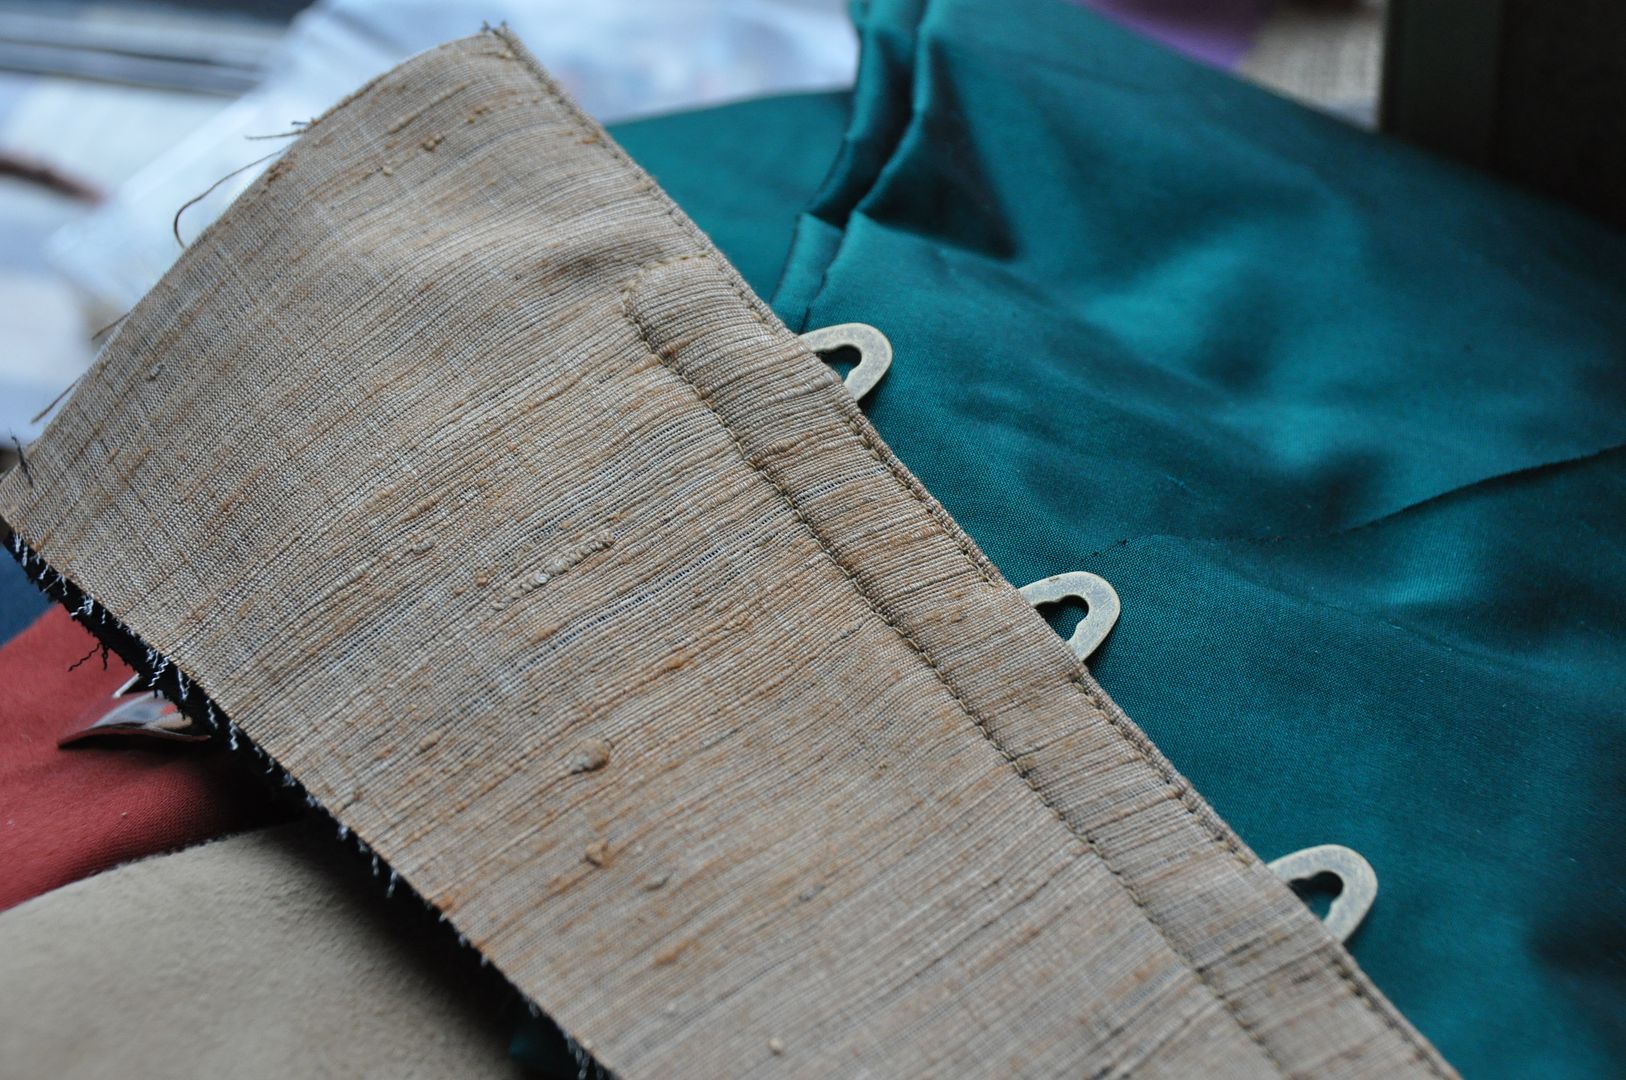
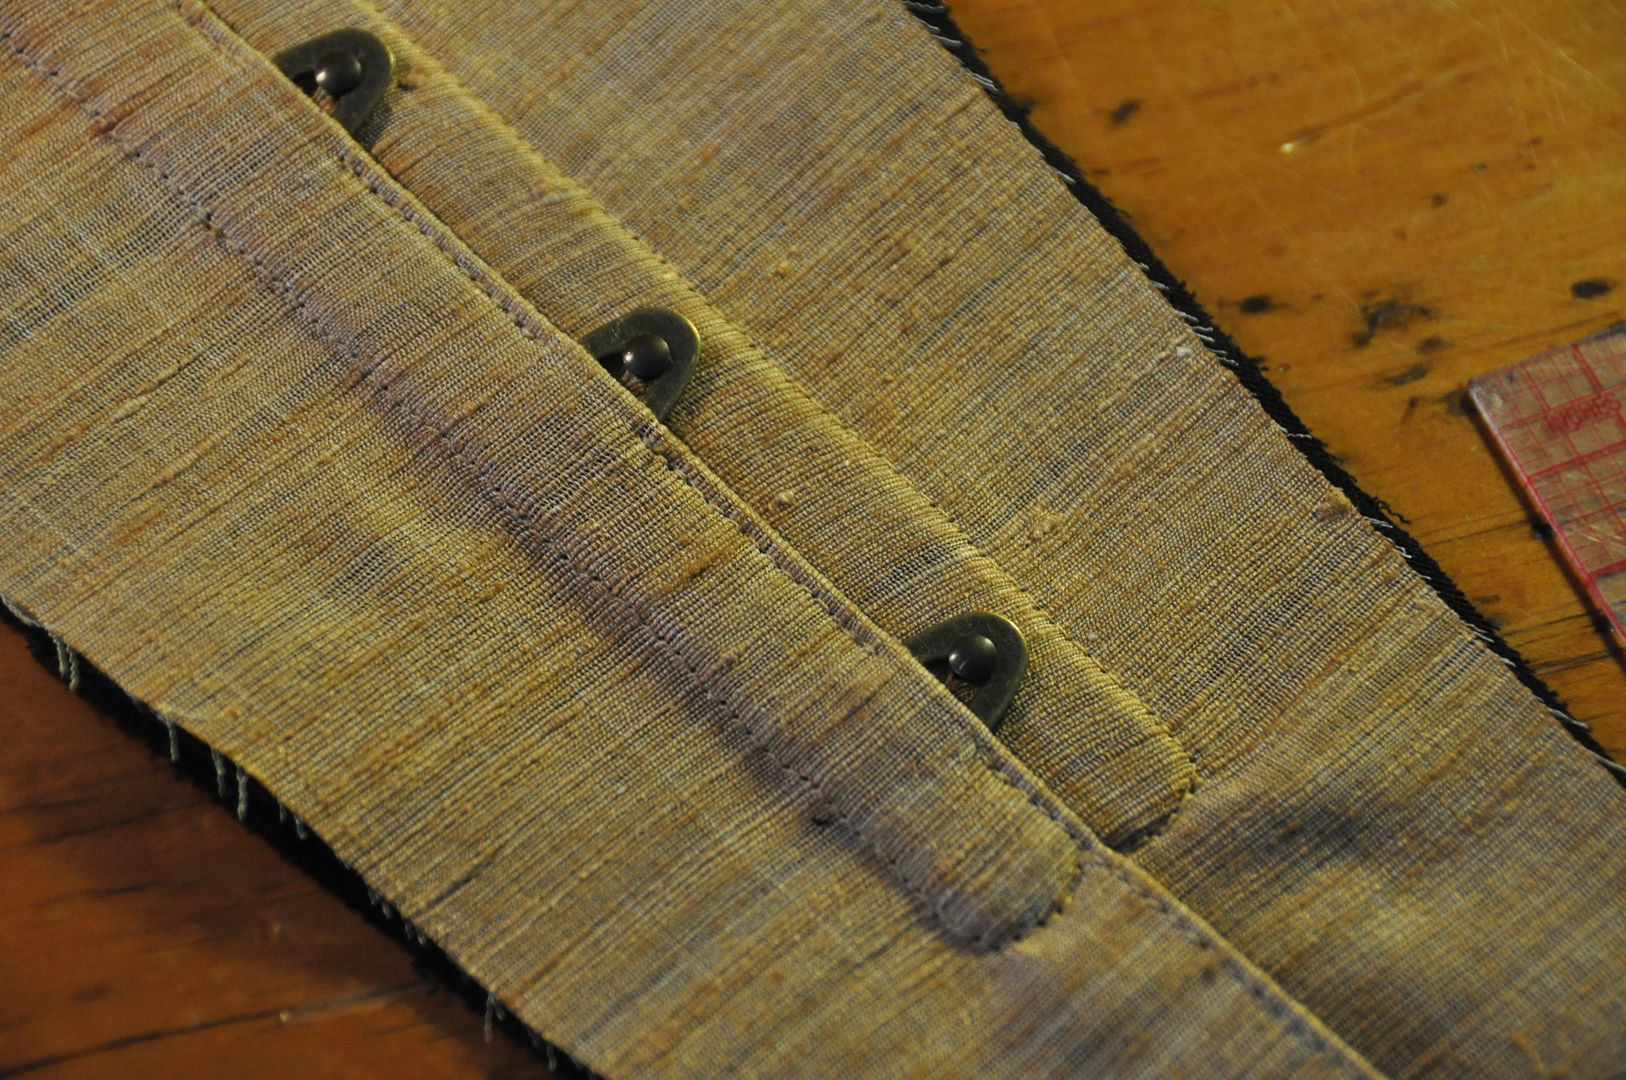
Then slip the hook piece of the busk through the hole as far as possible. Using a zipper foot on the sewing machine stitch around the busk to hold it firmly in place, snugging the needle up beside the busk and continuing to push it as far through the holes as possible. Make sure to stitch around the top and bottom ends.

Next you prep the opposite panel for the post side of the busk. Sew the pieces right sides together on the center front seam. (Like with the first side if you have a fancy fabric it should be sandwiched in the middle of the two fabrics so it will be on the outside when you flip them.) Again flip it to the right side and press it. Then topstitch 1/8" in from the edge.
Line up the left side and the right side of the center front panels. Mark with pins where the top and bottom of the busk should go on the right panel so it will properly align with the left one (which should have the hooks in it already). Carefully mark where the holes will go for the posts. Keep in mind when you mark the holes you want to have the busk piece as snug to the stitch line as possible without the fabric pulling oddly around the posts.

Using an awl carefully poke each hole and the slip the post through. These holes should not be going through all the layers, only the through the fashion layer (if you have one) and the top layer. It may take a couple tries to get the post through as these holes tend to close quickly. Use the awl again to loosen it if need be.

Once you have all the posts through then use the zipper foot and stitch around the busk the same as the first side.

And then you have a lovely busk closure! Very sleek, very strong. ;D

Tuesday, March 18, 2014

Black Corset, Beetle Green Trim

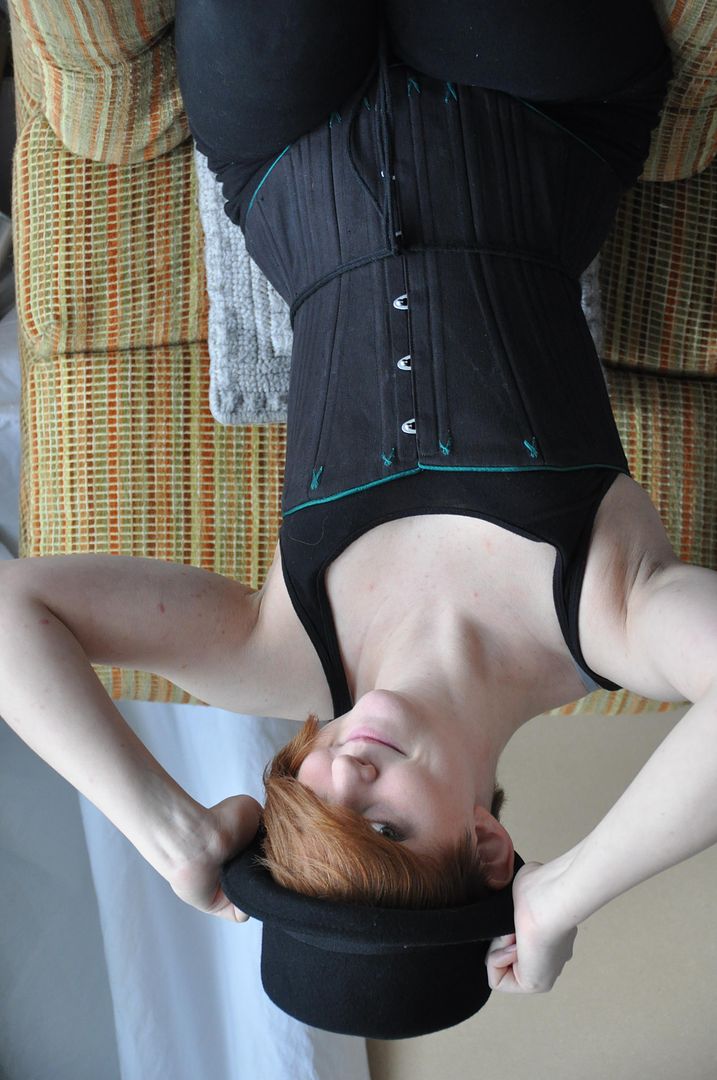
This is the first corset I've ever made! I really love the beetle green silk I chose to make the trim, I think it contrasts nicely. :) I say "beetle green" because it reminds me of the iridescent green colour of many beetles.

Since it was my first time, and I had no clue what I was doing, I am only posting finished pictures of this rather complicated piece. Expect more in-depth detail on my next corset! Haha But you can still take a look at how I made from scratch and attached the piping trim here!

Thanks to my sister for doing this impromptu photoshoot with me!
It was constructed from a pattern from Farthingales (aka the best place to get corsetry supplies). It had to be modified a bit to fit my size--as between my bust, and hips I fell under 2 different sizes, and my waist was somewhere in between... Not quite entirely happy with the fit at the front, but that is just the style.

The bones in this corset are plastic.

It's actually quite comfortable! (Corsets should be comfortable if they fit correctly!) Technically I could lace it tighter if I wanted (you can see I have plenty of room to at the back), but I prefer the look of it this way.


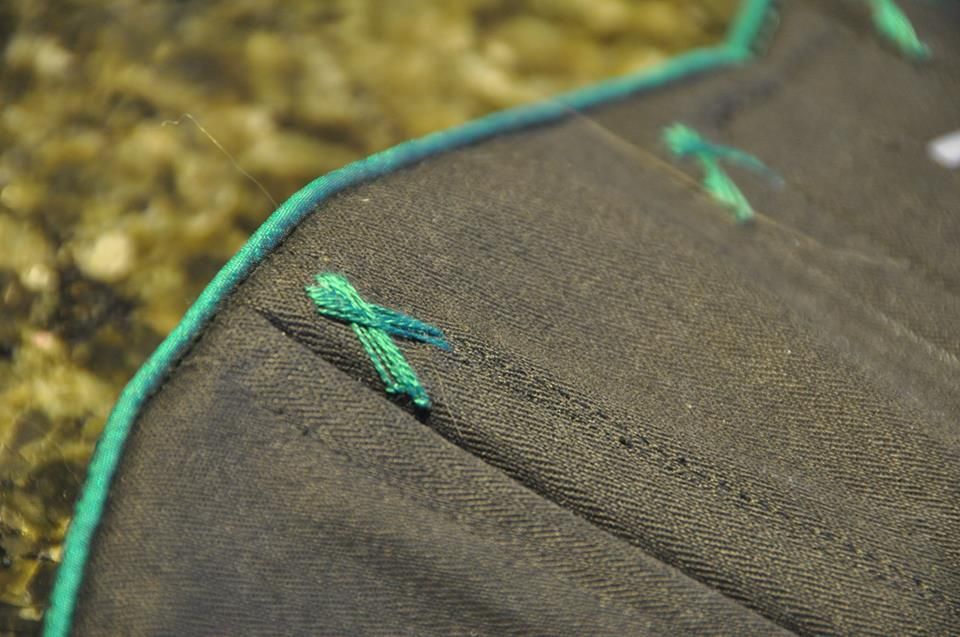
Pictured left you can see the embroidery detail at the top front up close. Those were pretty fun to do, wish I had had time to do more of them... I hand embroidered all the eyelets as was required for the project. Those were much less fun...

Already working on corset #2! Praying it will be finished in time for the deadline!

Tuesday, March 11, 2014

March Update

Hey all! I am quickly running out of new material as the end of term and the beginning of con season now approaches. Pictures of my first corset will be up later this month (as it was just returned from my prof today), so look forward to that! :) No tutorial on that project, as I have very few progress pictures and the process was so complex that I don't really feel I could easily write how I did it considering it was my first time making one. Hoping to fix up Presea's axe in time for a spring photoshoot, so I can finish posting that costume.

In the meantime I am madly working on some very labour intensive projects for school that you will get to see around the beginning of April. Currently working on my second corset, a tailored wool coat and a night table. Unfortunately my original design elf costume has stuttered to a halt, but I am hoping to resume that shortly... time will tell whether or not it will be done for CostumeCon...

This past weekend I was involved in a collaboration that I will talk more about in April. I won't give too much away, but I will say it involves 3D printing and some really cool technology!

That's all for now! ;D


Tuesday, March 4, 2014

Piping Trim Tutorial

Here's a short tutorial on how to make from scratch and apply your own piping trim. This kind of trim makes a really nice, clean finish on a garment. This is a particularly good way to finish the edge of a corset.

This is the trim I made for my first corset, for my corsetry class this semester. It's now finished, but I will be posting some finished pictures once I get it back from my prof. ;D

I really love the beetle green colour of this silk fabric I chose. :) As far as fabric choice goes, I highly recommend using a thin, but strong fabric. Make sure it is not sheer or really stretchy as this will be way harder.
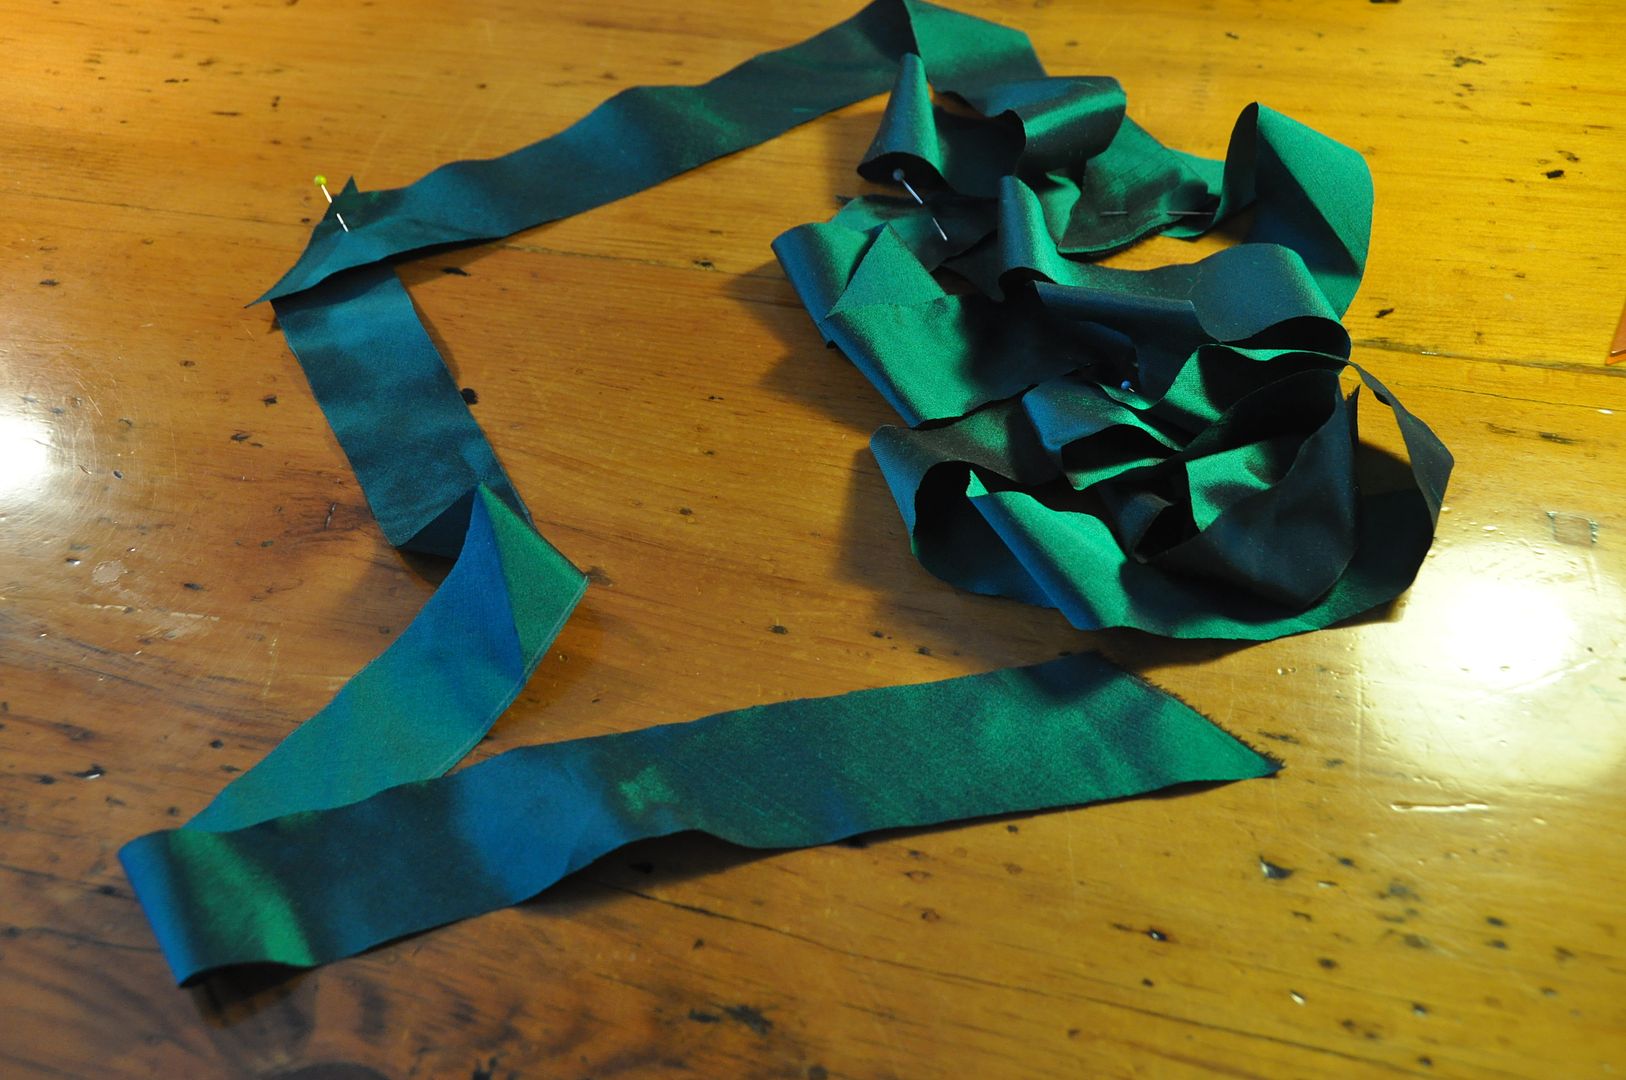
First you cut bias strips 1 1/2" wide. These should be cut on a 45 degrees angle from the selvedge. This will allow the tape to easily stretch along any curves you need to apply it to.

It's easiest to mass produce piping in one long strip and then cut as needed instead of making pieces to fit. Make sure you have enough cord to go along all the edges you are applying it to, and that you cut enough length to cover the cord. (Keep in mind if you are attaching pieces that seam allowance between pieces will make it shorter.)

To attach strips, sew them together as pictured on the left, forming a 90 degree corner, then press flat. The strip will have a 45 degree seam running across it, which makes much less bulk than joining the pieces straight across.
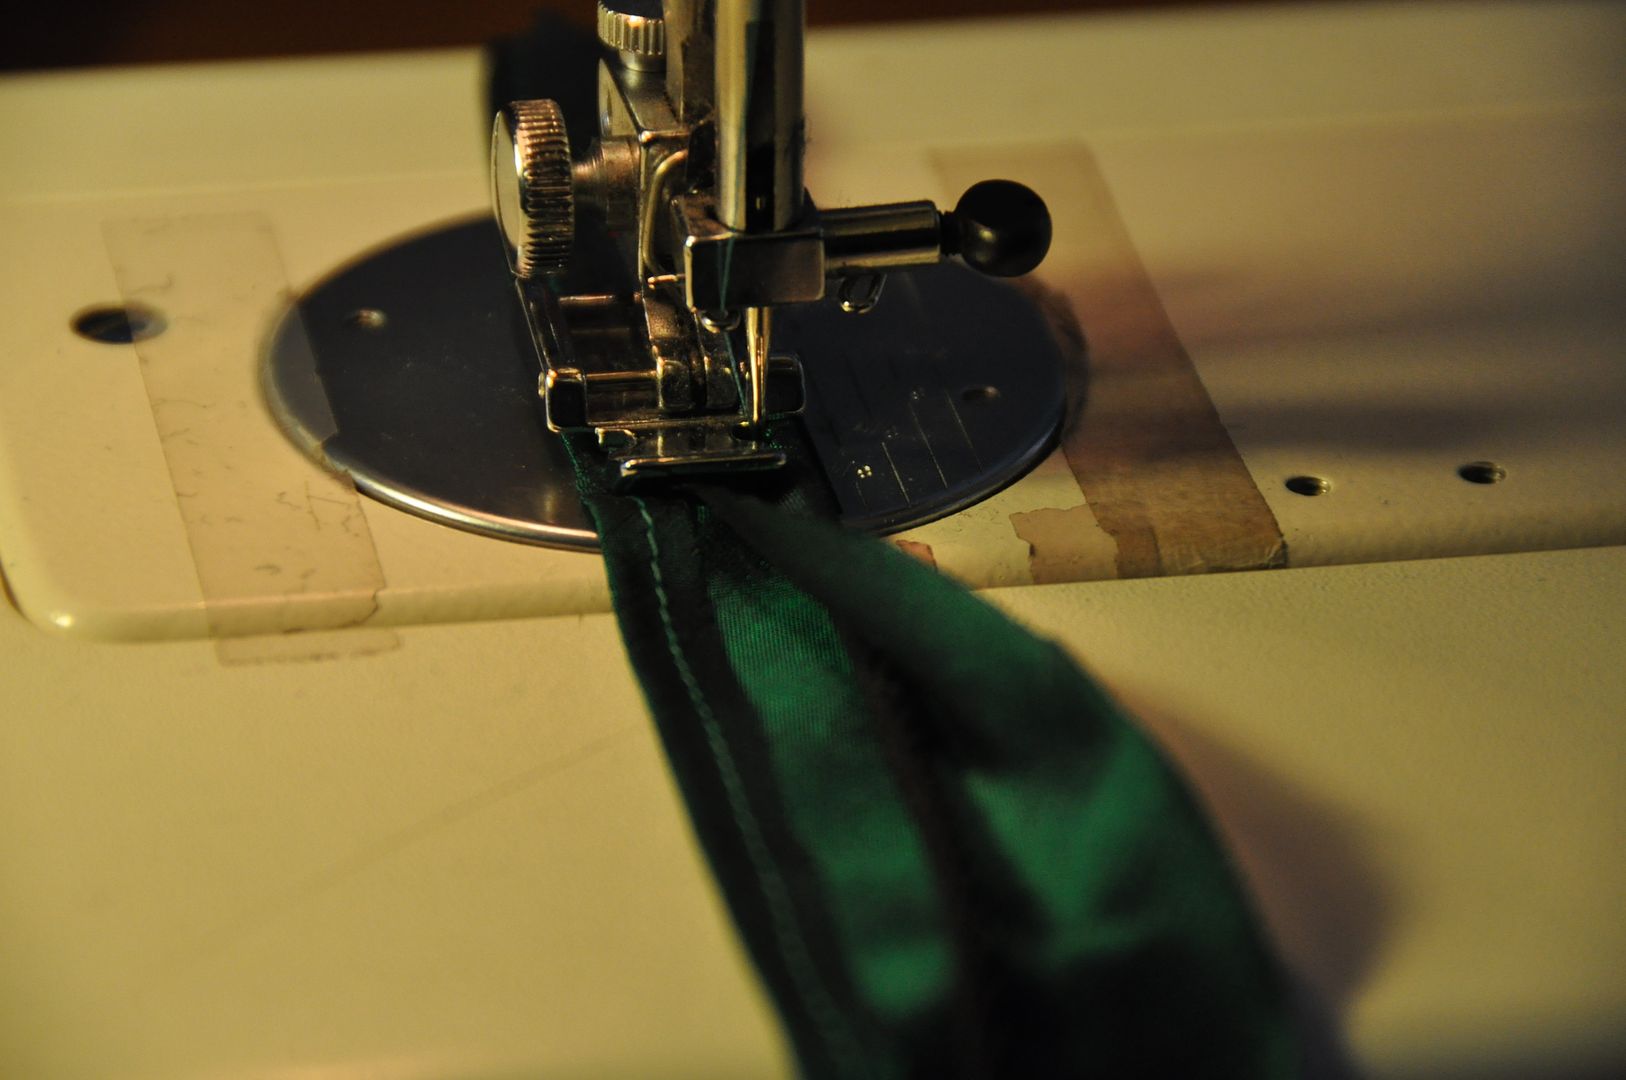
Fold over one edge 1/4" in and stitch 1/8" in from the edge. Make extra sure not to pull on the strip as you fold and stitch, because it will stretch and get thinner, which is not what you want. This creates a nice finished edge for the inside of the garment.

Fold the unfinished edge over the cording and line it up with the stitching on the inside of the tape. Use a zipper foot on the machine to snug your stitch line up against the cording. Again, don't stretch it when sewing. I find it easiest to not pin it and fold it over as you go.
^ The finished product should look like this,  the 2 raw edges meeting on one side, and the other showing a nice finished edge.

To apply it is pretty easy. On the outside of the garment line up the stitch line of the piping with where you want your finished edge. The trim should be nice/finished side up, the folded edge on top of the garment's seam allowance. Pin in place. You should leave about 3/4" hanging off the ends so you can fold it in and finish it nicely afterwards.

You can use this opportunity to further snug the cord inside it's casing by stitching a little closer to the cord than on your previous stitch line.
Fold the finished edge to the inside and carefully hand stitch it down so the stitching is not visible from the outside. If you are having trouble, put in a basting stitch to hold it in place first, you can take that out after. If you have excess seam allowance trim it off first.

The loose ends should be folded up under and neatly hand stitched in place.

Do not iron your trim, otherwise it will flatten it out which kind of defeats the purpose. :P