Thursday, August 8, 2013

Asuna Kagurazaka (Knight) - Armour (Heat Molded) - Negima

Hey all! Welcome to part 5 of my Asuna posts. This time we are going to look at the armour, specifically the heat molded pieces!

I had a ton of help on this armour, as a lot of the heat molding was just not possible with only 2 hands. So my friend Alli deserves a huge thank you on making this happen!

Go here for the Sword, Wig, Bodice, and Skirt. Go here for my fabulous photoshoot with EleventhPhotograph!


This part of the costume was referred to as the sexy battle armour, the leg pieces specifically were called my sexy battle shorts. Haha

All of the pieces are made out of styrene plastic which I bought at Plastic World in North York. A great place to find plastic sheet materials (like plexi/acryllic).
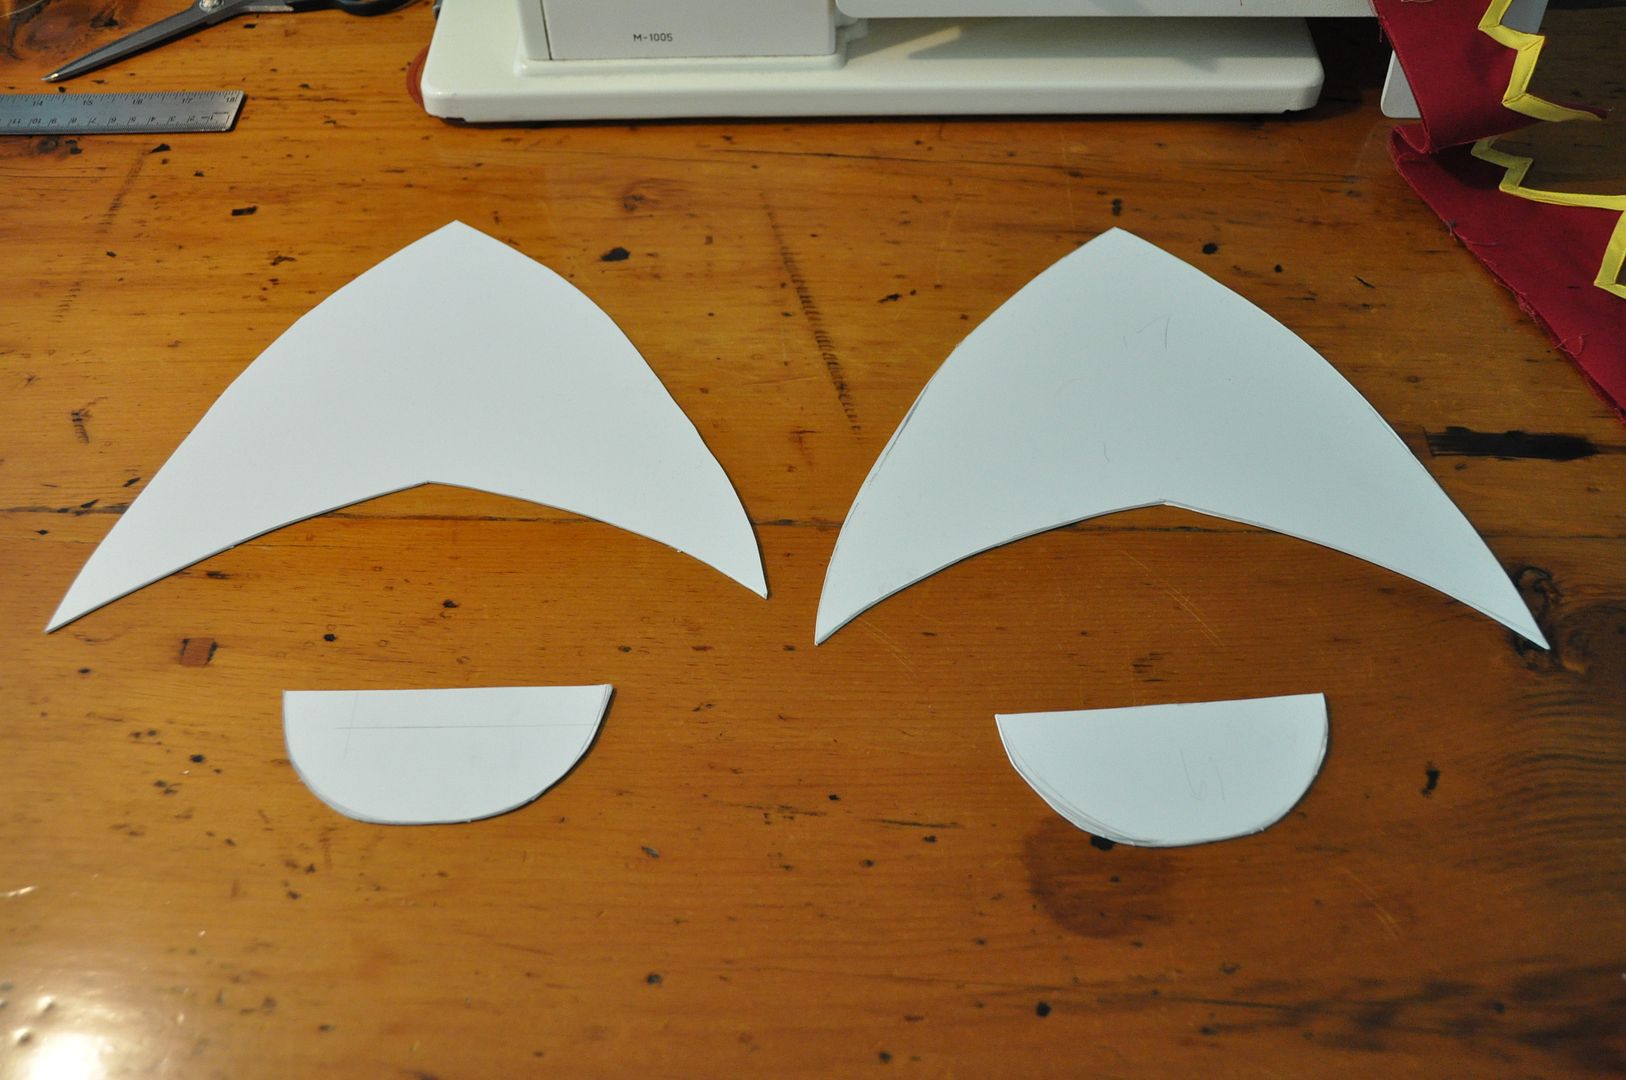
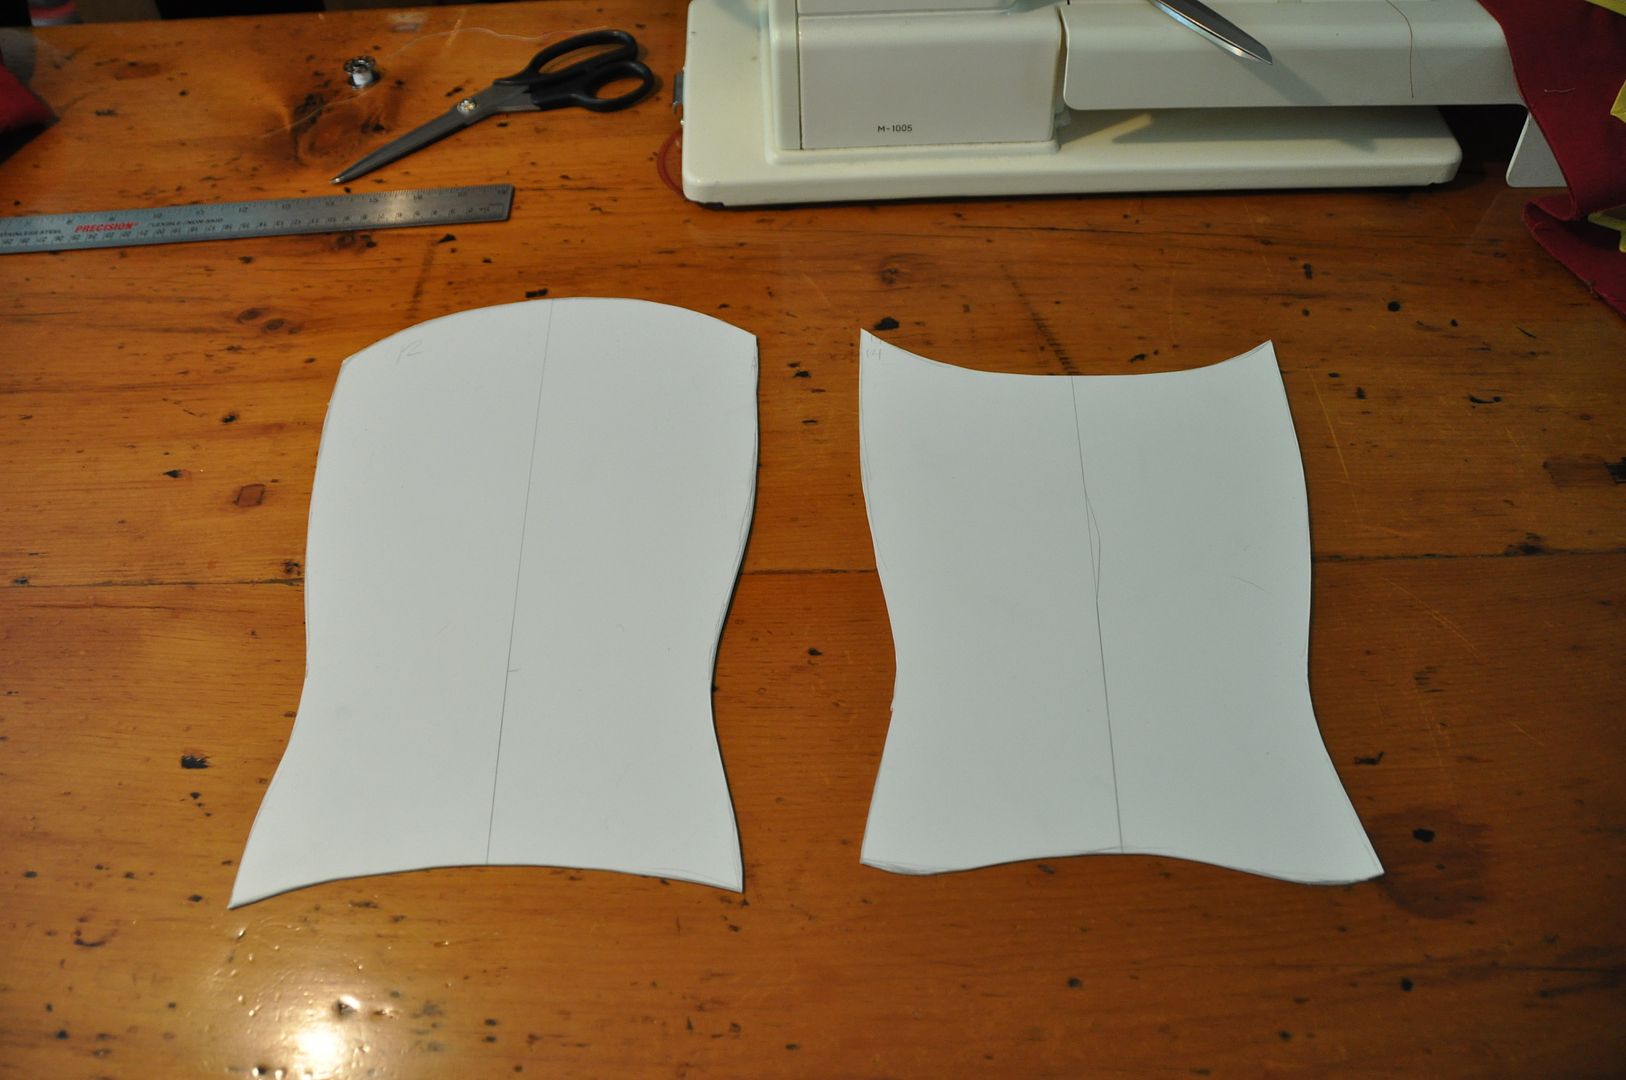
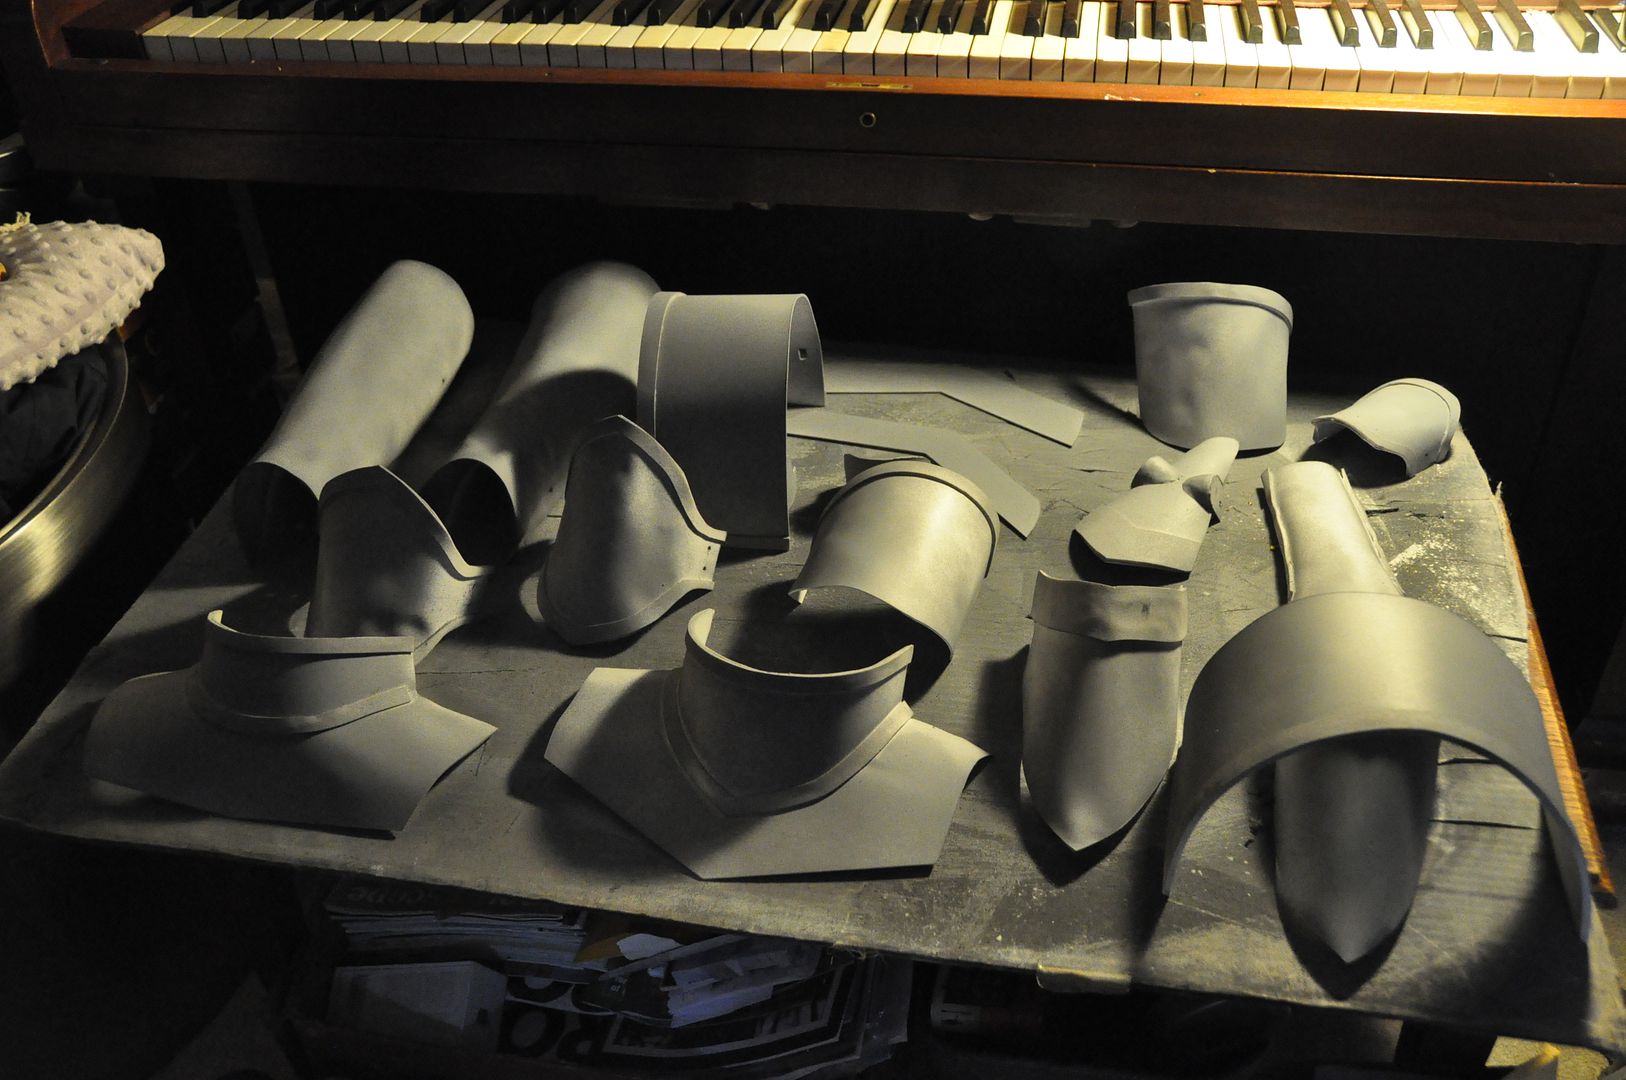
I started by cutting out various shapes from my material. These were all measured beforehand so they would be the right size. (Above is the toe & heel pieces, left is the calf.) I cut pieces for the back of my calves, but didn't end up using them, because the material was not working exactly how I wanted.


The raised details would be added on later. (Above is the knee & thigh pieces, left is the arm pieces)
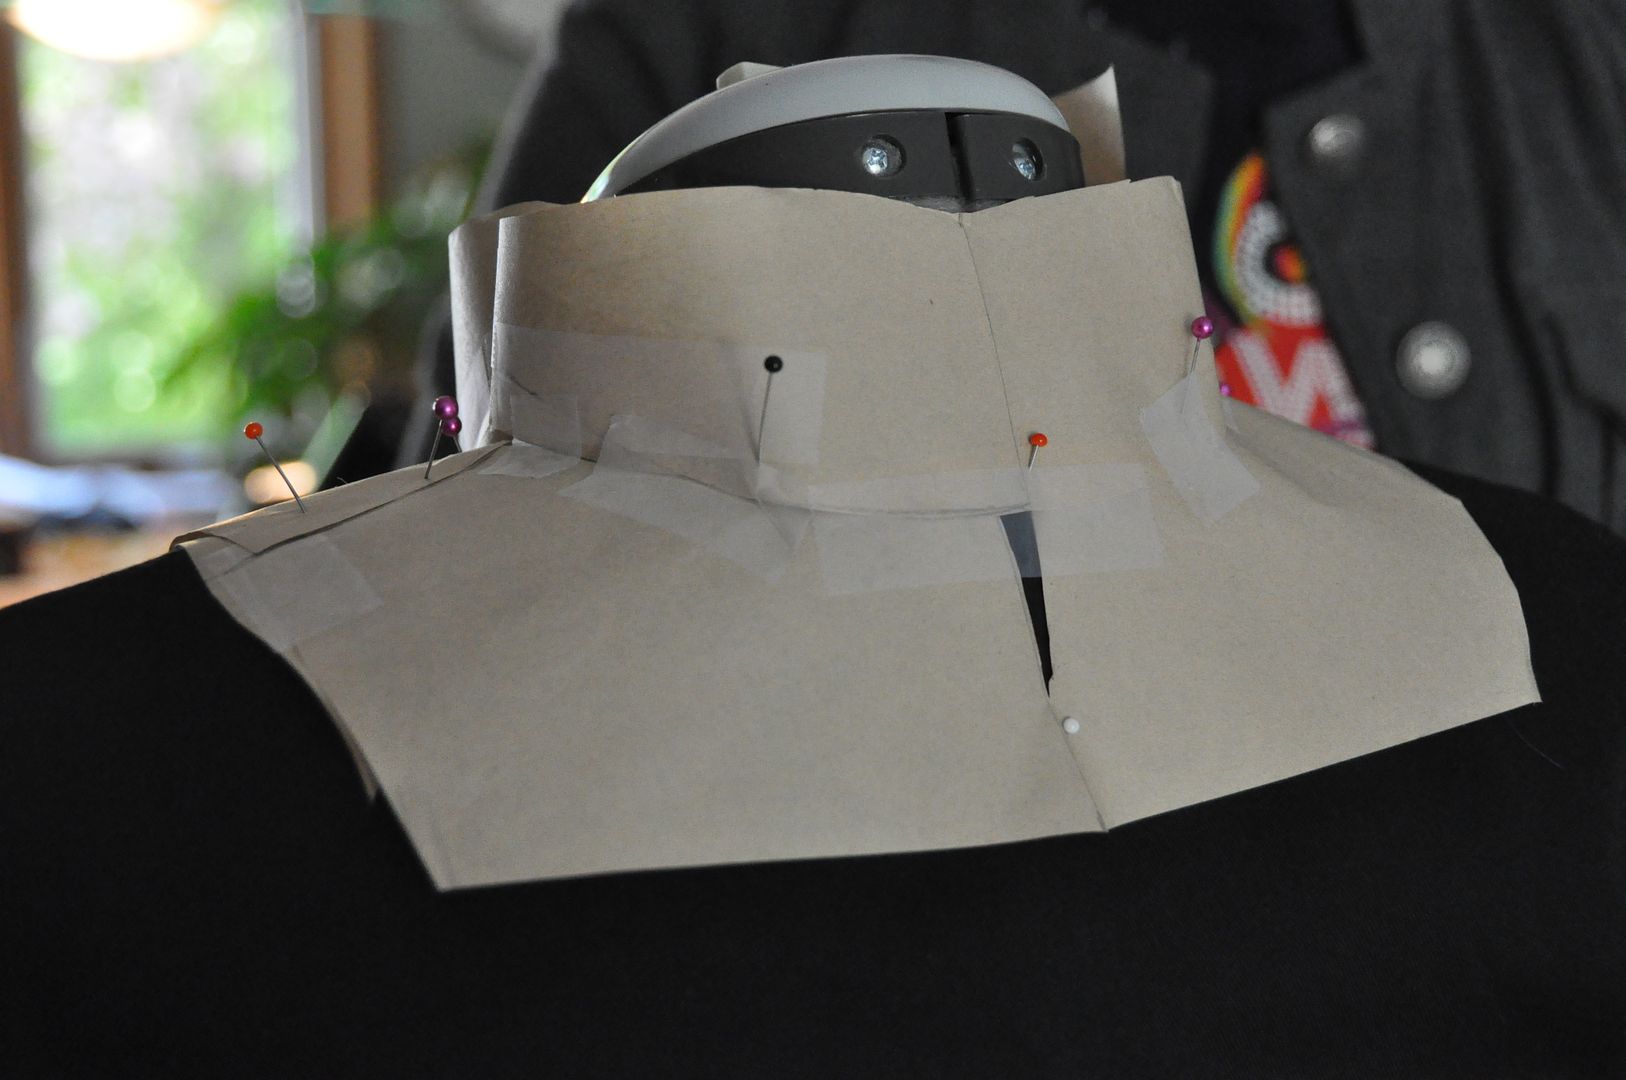
For the neck piece I carefully mocked it up using paper, before going to the good copy. It took a lot of tweaks to get it right.

I found paper made a good representation of the plastic, because although the plastic would bend and curve, it didn't stretch or pull very well... Meaning there were some shapes that it wouldn't do for me. As it was my first time using the material I was unsure of its limitations.

The actual molding process itself was quite easy, but it was time consuming and required a second set of hands for some pieces. I bought a heat gun for about 27$ at Sculpture Supply Canada, which is pretty reasonable, particularly if you plan on making armour using this method a lot.
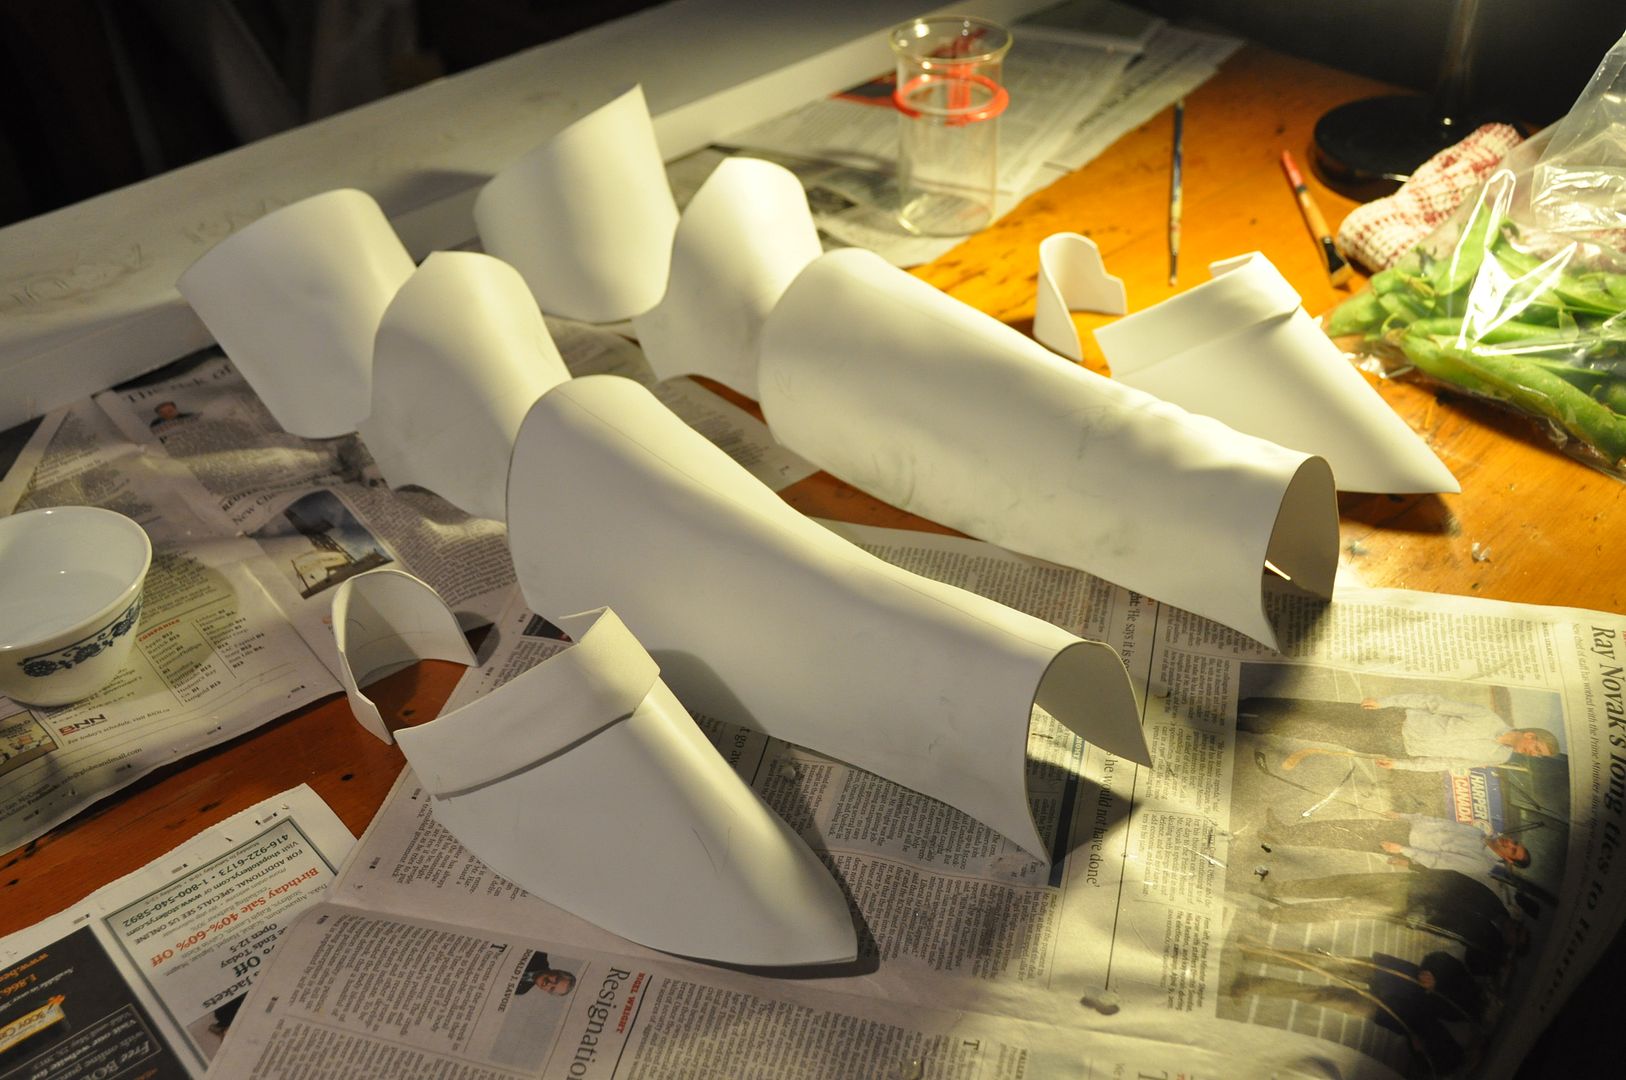
Using bbq tongs I would bend the pieces against a concrete floor while heating them up, then allow them to cool in that position. For the more complex curves and fine tuning I would heat up the piece and then shape it using my hands, wearing some decent heat resistant gloves. I found this method much easier, but I highly recommend wearing a pair of gloves regardless while doing this.

To check the pieces I would wait for the plastic to cool, then try them on.

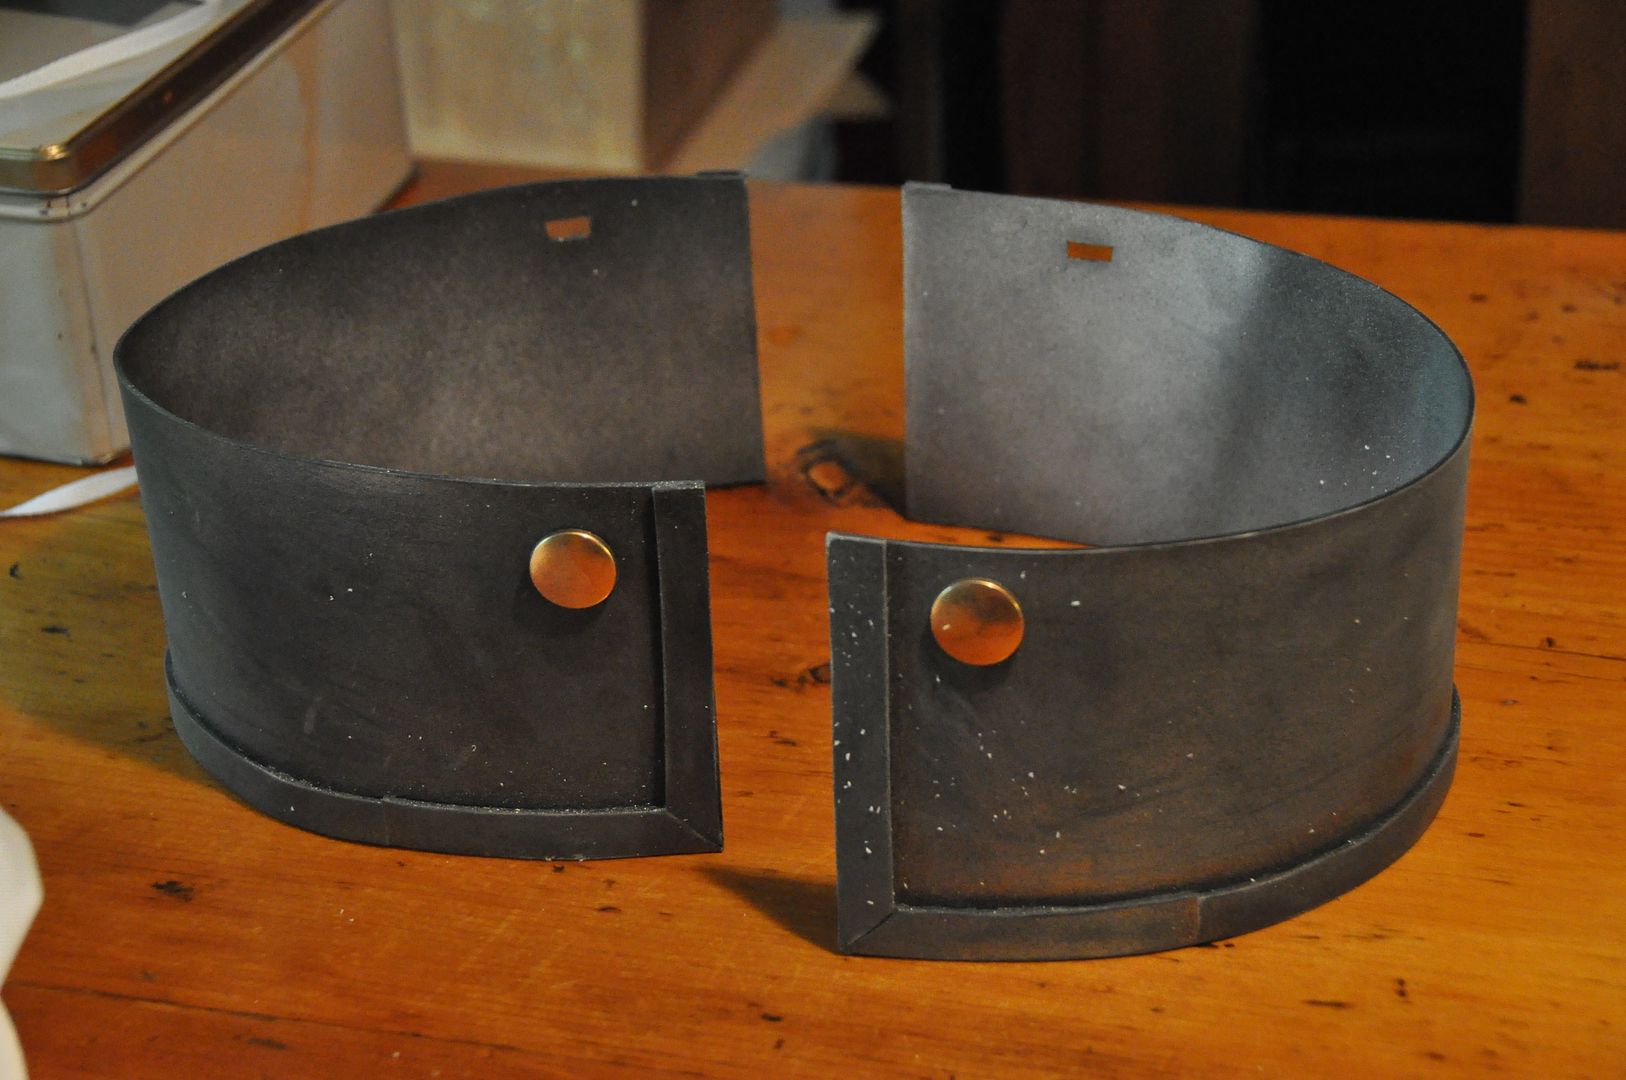
The neck piece was made from 4 pieces. The front and back were designed to nest and separate for easy removal.
The raised detailing was added with strips of craft foam, which I hot glued on. Be warned: once glued you cannot undo! These materials bond ridiculously well, which is great, unless you make an error...

After doing several gesso layers to protect the craft foam from the spray paint I was ready to start painting! (I did a test with the styrene plastic and it did not melt from the spray paint, meaning I did not have to coat those surfaces.)

The paint was applied in several stages and many layers over a few days. First I did a primer grey, then a few coats of black as my under tone, then a few coats of a metallic silver.
All the armour ( both cast and heat molded pieces) was given the same paint treatment so it would all look the same. 

The next step was weathering. In case you haven't noticed, a flat coat of metallic spray paint can look kind of cheap, by weathering the armour, it looks more realistic.

First I started by carefully sandpapering the surfaces. My goal here was to slightly expose hints of the black layer underneath. This was done mostly on the bare surfaces, not in the corners. Then using black acryllic paint I dry brushed the crevices to make it look dirty and older. (I simply used a very small amount of paint and pushed it into the corners, using papertowel to wipe at it.)
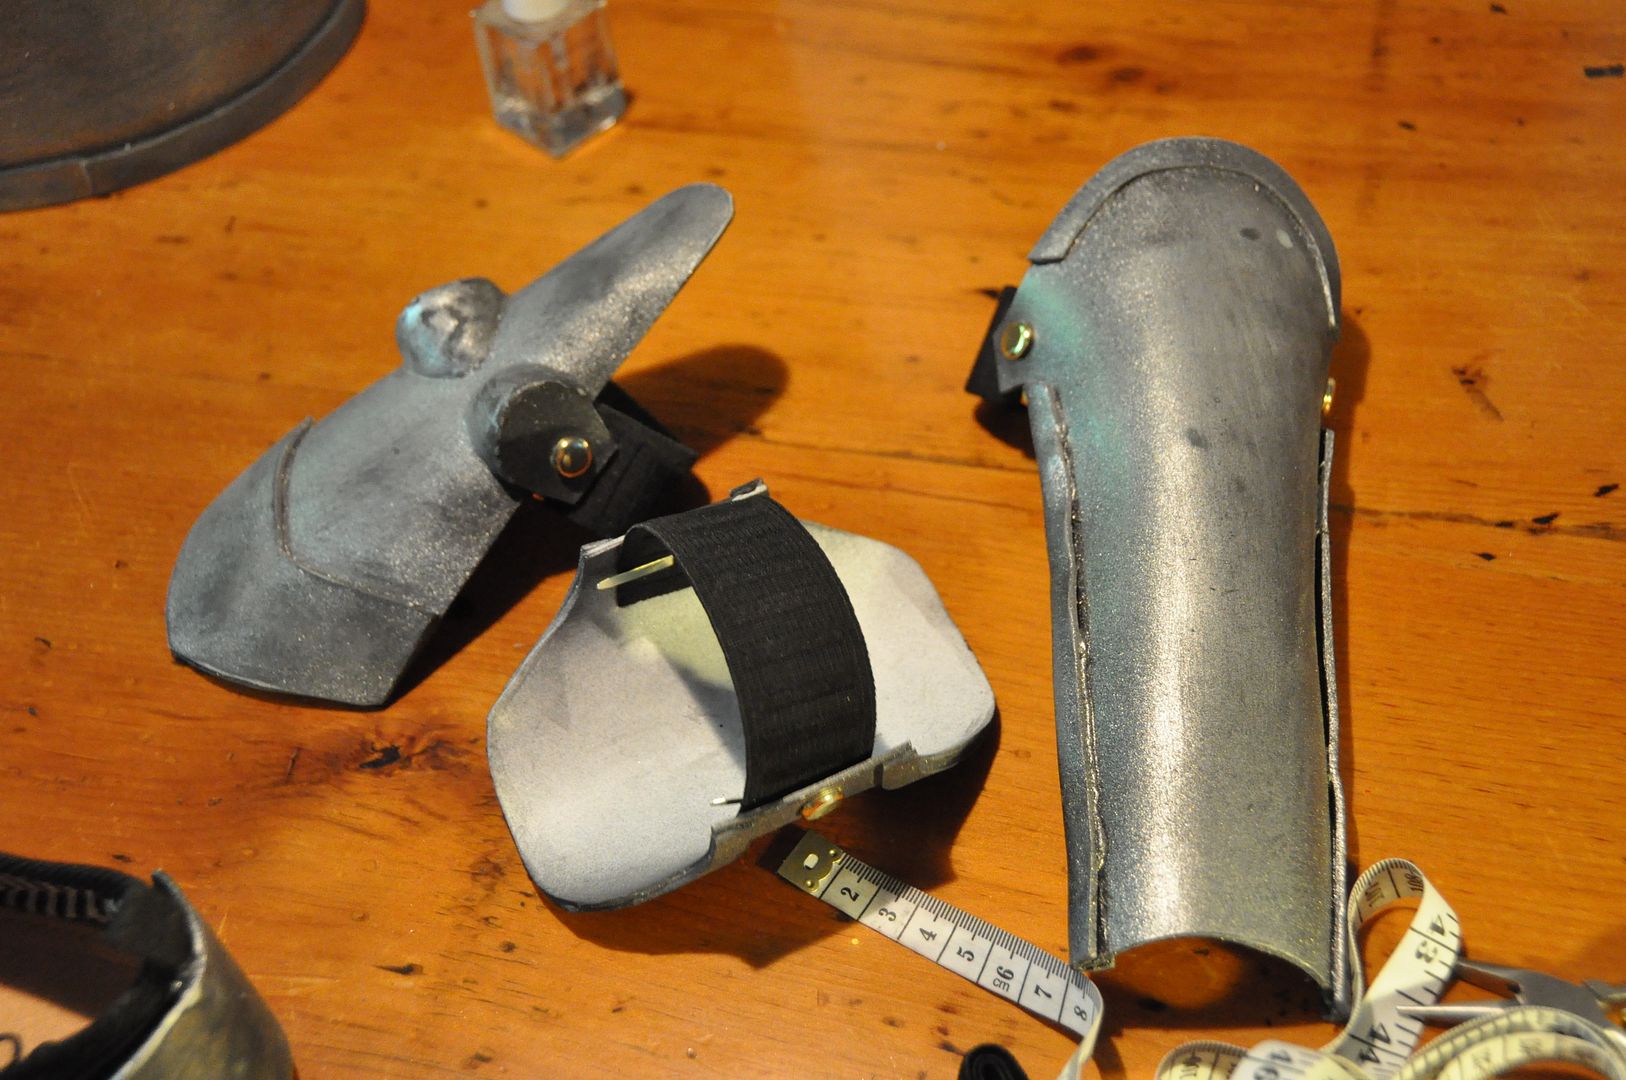
Then I had to rig the pieces. For this I was struck by a brainwave. I used those small gold paper fasteners that I used to use in crafts as a kid. (Gold dome top with the two metal prongs sticking out the bottom that you bend to fasten in place.) I bought a pack of 100 at Staples. Using my dremel with the drill bit I drilled the correct size holes in the armour pieces. The prongs were used to secure the elastics in place so that they would easily slip on and off. Unfortunately, the metal on these things is kind of cheap, and so they would need replacing a lot.

For the hip pieces I used two gold buttons, some cord and a few hooks to hold them in place to the shirt.

After many hours of work, my armour was ready to wear!


Tuesday, July 23, 2013

Asuna Kagurazaka (Knight) - Bodice - Negima

Time to talk about the shirt for this costume! Part 4 of my Asuna (Knight) tutorials. To see how I made the skirt, wig and sword check out their respective pages. To see the rest of my photoshoot with Eleventh Photograph go here!

So the bodice was started after the skirt was well on its way, because I had to ensure the length looked good proportionately with the skirt.
I started by drafting a basic block, as of late this has been a really useful tool in the majority of my pattern drafting for the upper body.

I drafted in an approximation of what I wanted the hem to look like, and left the front darts going straight up, rather than making a princess seam (which curves into the armhole).

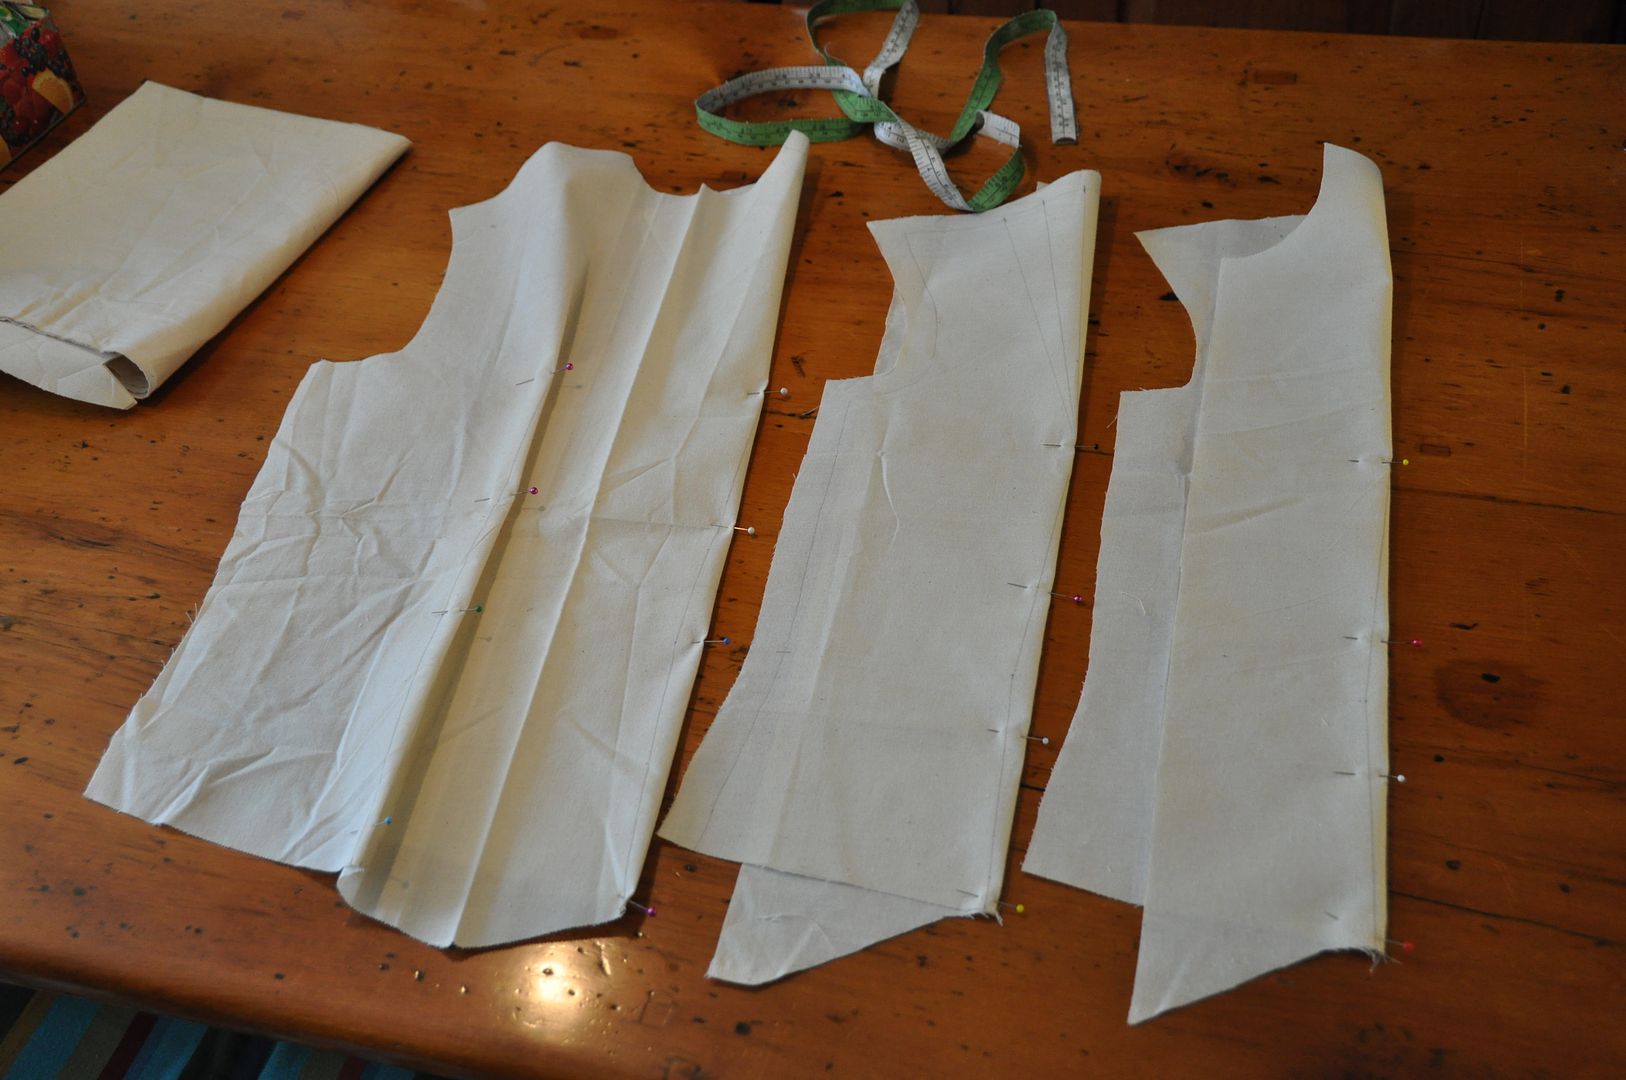
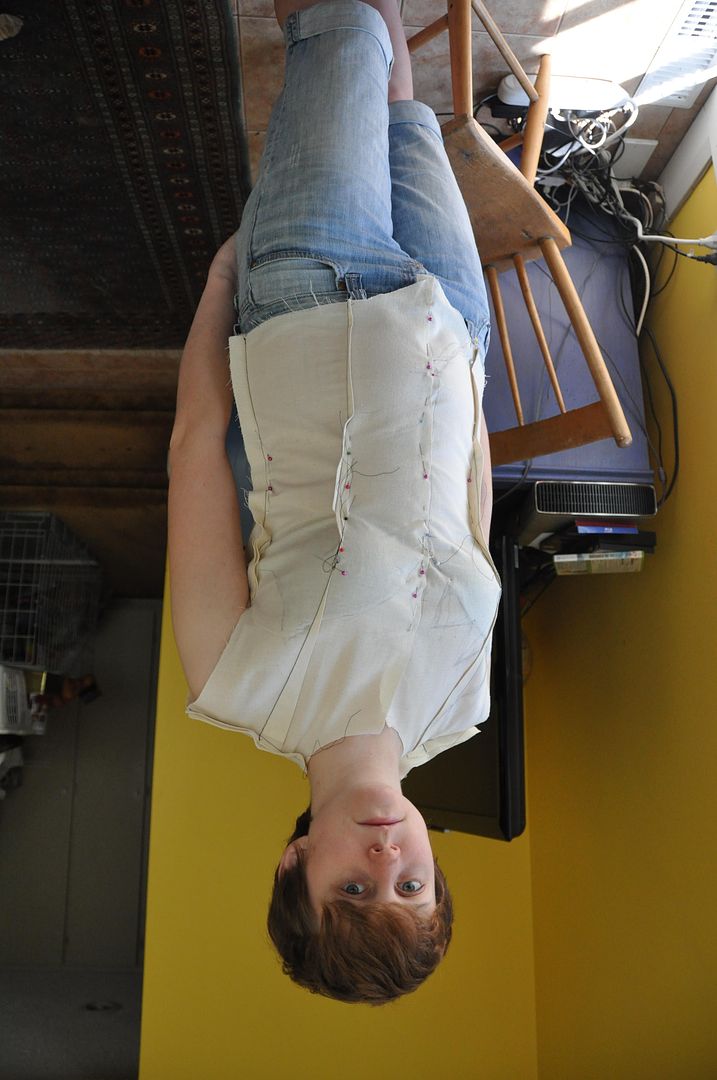
I made a mock up out of muslin that I could draw alterations onto, ensuring I sewed up all the darts.
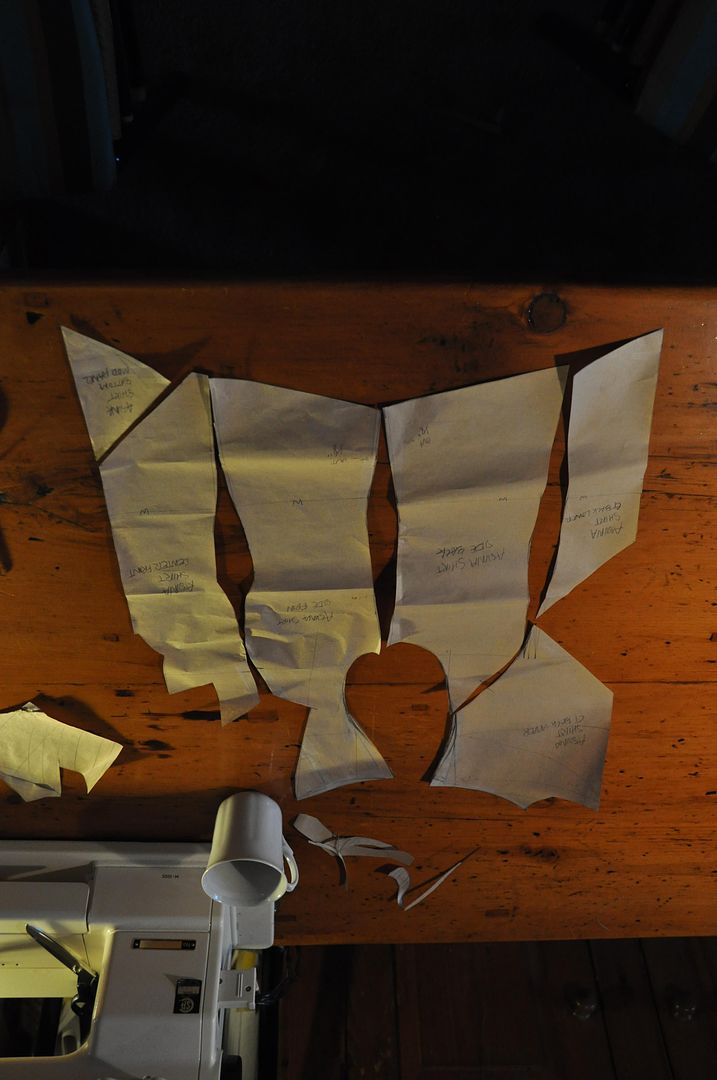
I made alterations to the fit, which I marked on the pattern. I then drew on my neckline and back diamond, keeping in mind what bra I would be wearing and where the straps were. This was transferred to the pattern, and then the pieces were cut out. The bodice pattern was now made up of 6 pieces instead of the original 2.

 Once I determined that I liked the fit of the bodice, I patterned the sleeve...
...Which took several tries, as I am still not very experienced in patterning sleeves from scratch, particularly on such a fitted garment. And I also was accommodating shoulder pads, which was a first for me!

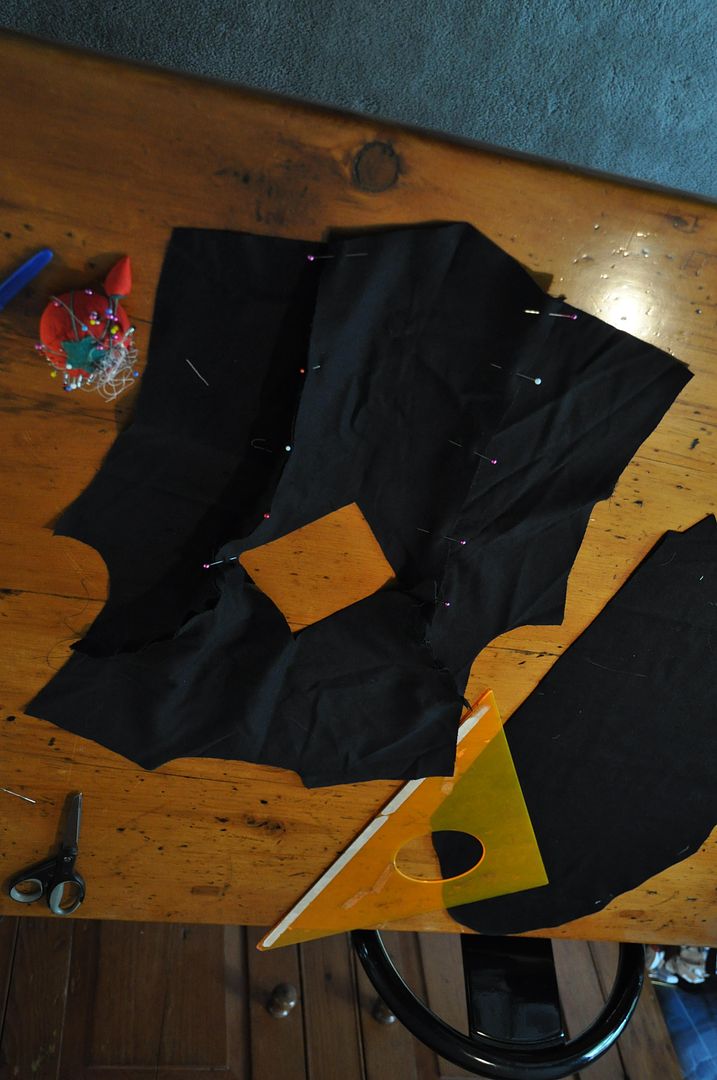
I eventually decided that the shirt was in need of a gusset, otherwise I would not be able to lift my arm. (Even with the gusset, my range was a tad limited.) I had to look up instructions on the internet, but basically it involved adding a diamond of fabric in the armpit (made of a stretch knit fabric) that would fold in on itself when my arm was down and stretch outwards when I lifted it. 
Once I was satisfied the sleeve would work (this took 5 attempts to get right), I cut the good fabric. The whole piece was given 1/2" seam allowance, excluding the jagged points where I would be adding the bias tape.

I assembled the back panels and the front panels.

For the sleeves I first attached the gusset to the sleeve on one side, then sewed up the under seam of the sleeve, continuing through to sew up the other side of the gusset. Then the full sleeve was attached to the garment.
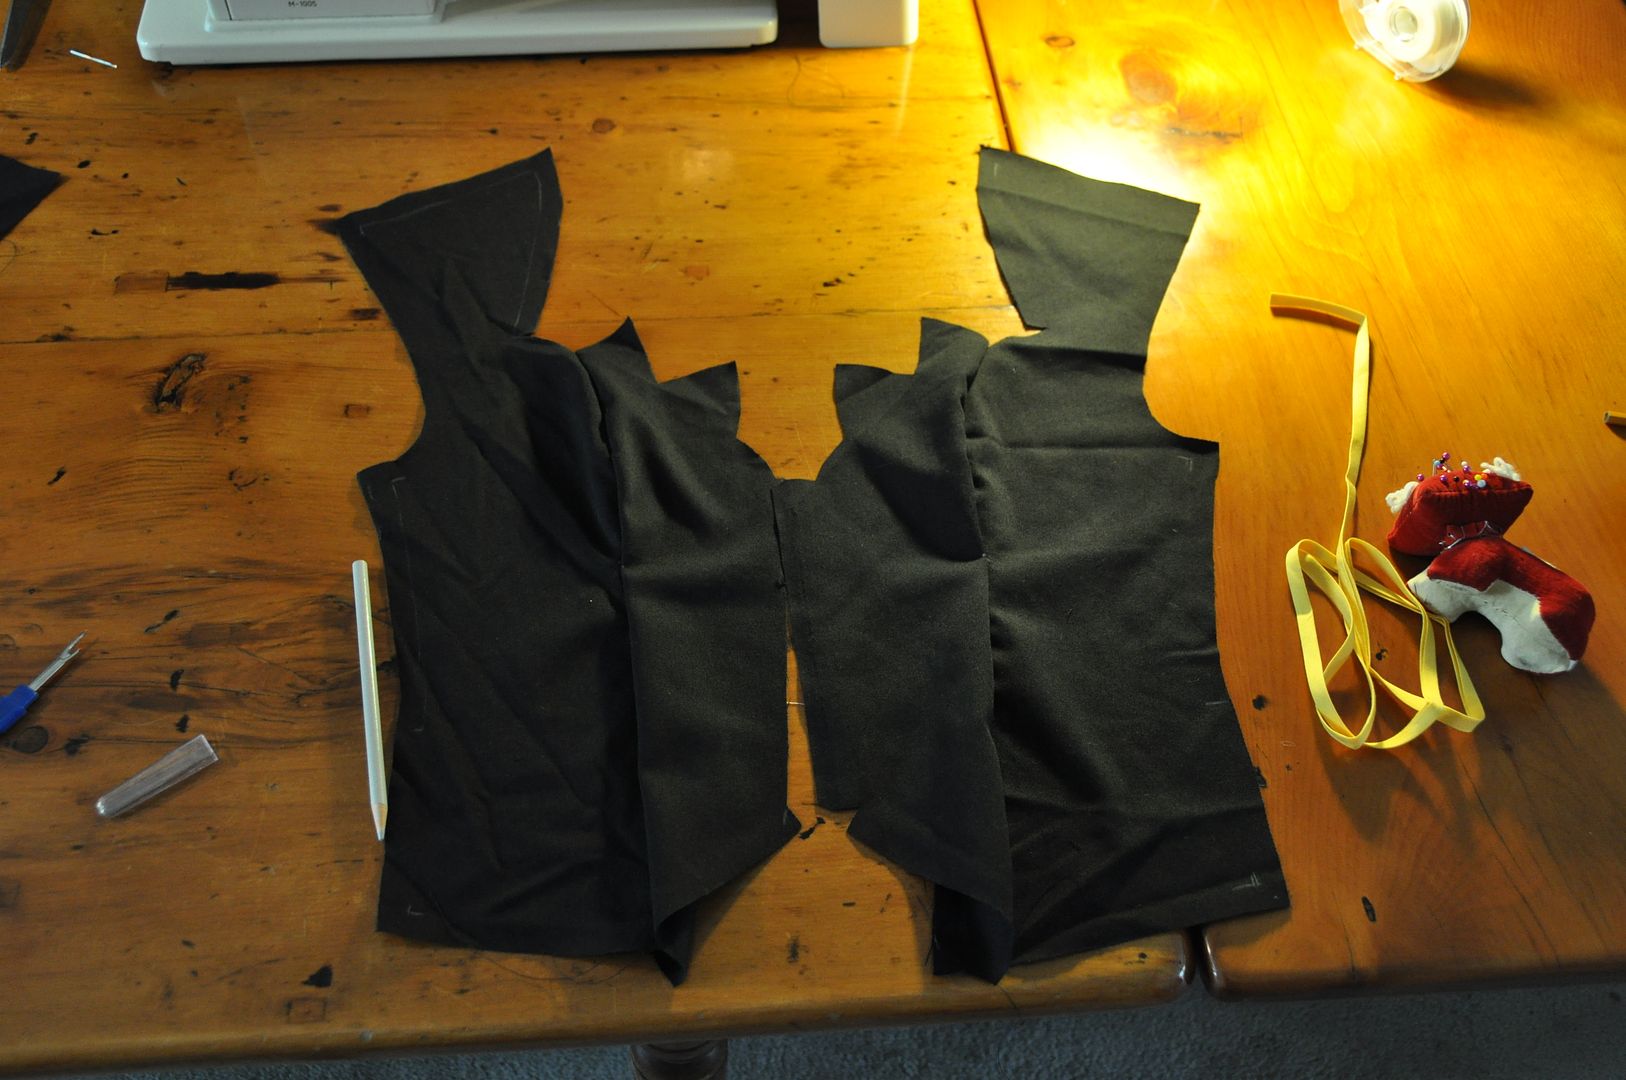
Below is what the garment looked like before adjustments.
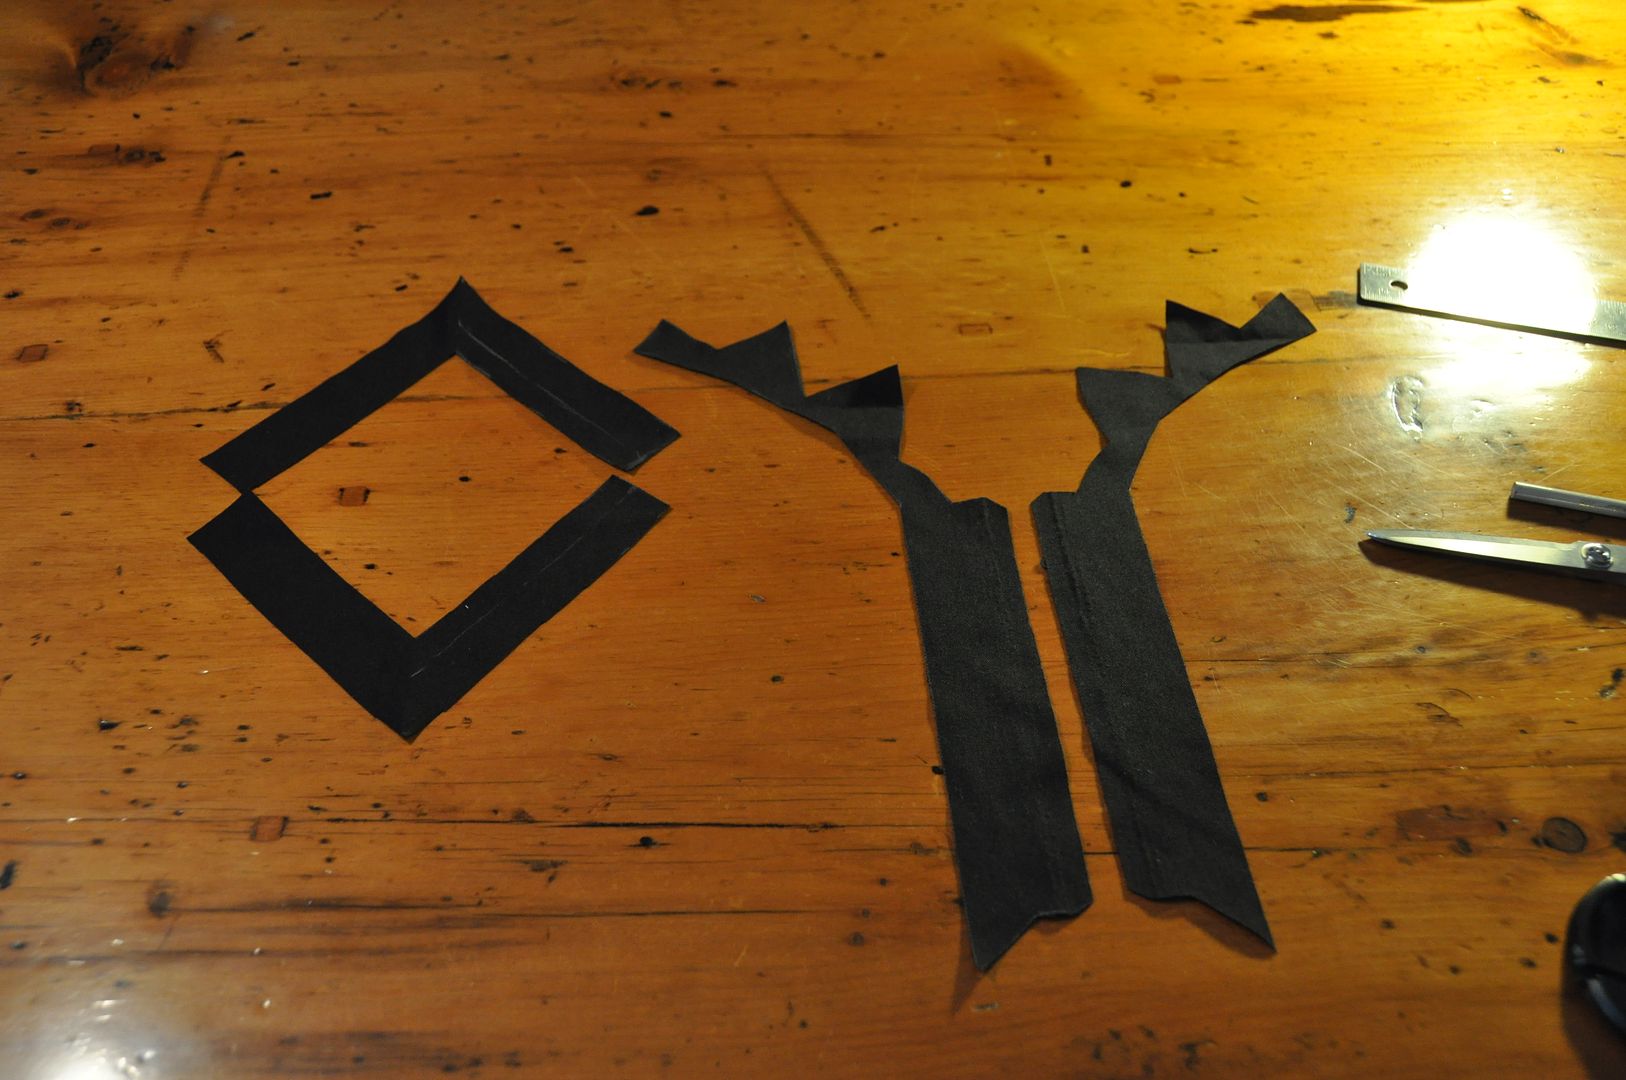
I then made facing pieces for the diamond cutout and the neckline/closure to reinforce those areas and keep them from being floppy.
Then I added the hook and eye tape. This is a really great closure method. Even though the garment is technically supposed to be "laced" in the reference picture, lacing with buttons is kind of not really very secure, and I didn't really want to have this garment sliding open. Instead I made it close with hook and eye tape and made the laces a detail. Overall, with my current skill level I think it was a wise choice.

I finished the back diamond and bottom hem. Then I added my yellow bias tape to the neckline. To took forever, but it looks totally awesome! I also applied the bias tape to the cuffs, which was even more horrible than applying it to the neckline.
I made the bottom diamond, which was stitched to one side only, and closed on the other side with dome fasteners.

My friend Alli sewed on all the hooks holding my bra in place both in the back and in the front, as well as all of the gold buttons on this costume. Some of the buttons held armour pieces in place, others were simply decorative.

The last finishing touch was the red panel that peeks out of the back diamond. This I actually added to the design, because I wanted to wear a bra under this costume, but still keep the diamond cutout in the back. By adding this panel it allowed me to visually keep the black cutout the same shape, while exposing less skin. The bra strap was tucked up and hooked to the shirt to prevent it from slipping down.


Tuesday, July 16, 2013

Simple Gathered Skirt (Elastic Waistband)

Hey all! I thought we would take a small break from the cosplay influx this week and look at a project I did way back in December as a Christmas present for my sister. I made 4 simple floral skirts for her, all from the same pattern. This is an original design of mine, using an existing skirt to base my pattern from. It is a circle skirt, with pockets and an elastic waistband. (Most of the pictures are of the yellow skirt, because it photographed the nicest!)

I started by creating 4 equal panels. The process is all very rough and full of guesstimation, but basically I figured out the waistband measurement I wanted (pre-elstic), then added extra to make the gathers. I made that measurement equal to 2/3 the circumference of a circle, then solved for radius. Once I had my radius, I was able to draft a pattern piece using a string and pencil to make the arcs. I figured out the length I wanted added that to my radius and drew a second arc below.  The measurement of the small arc was equal to 1/4 of my waistband measurement (pre-elastic).
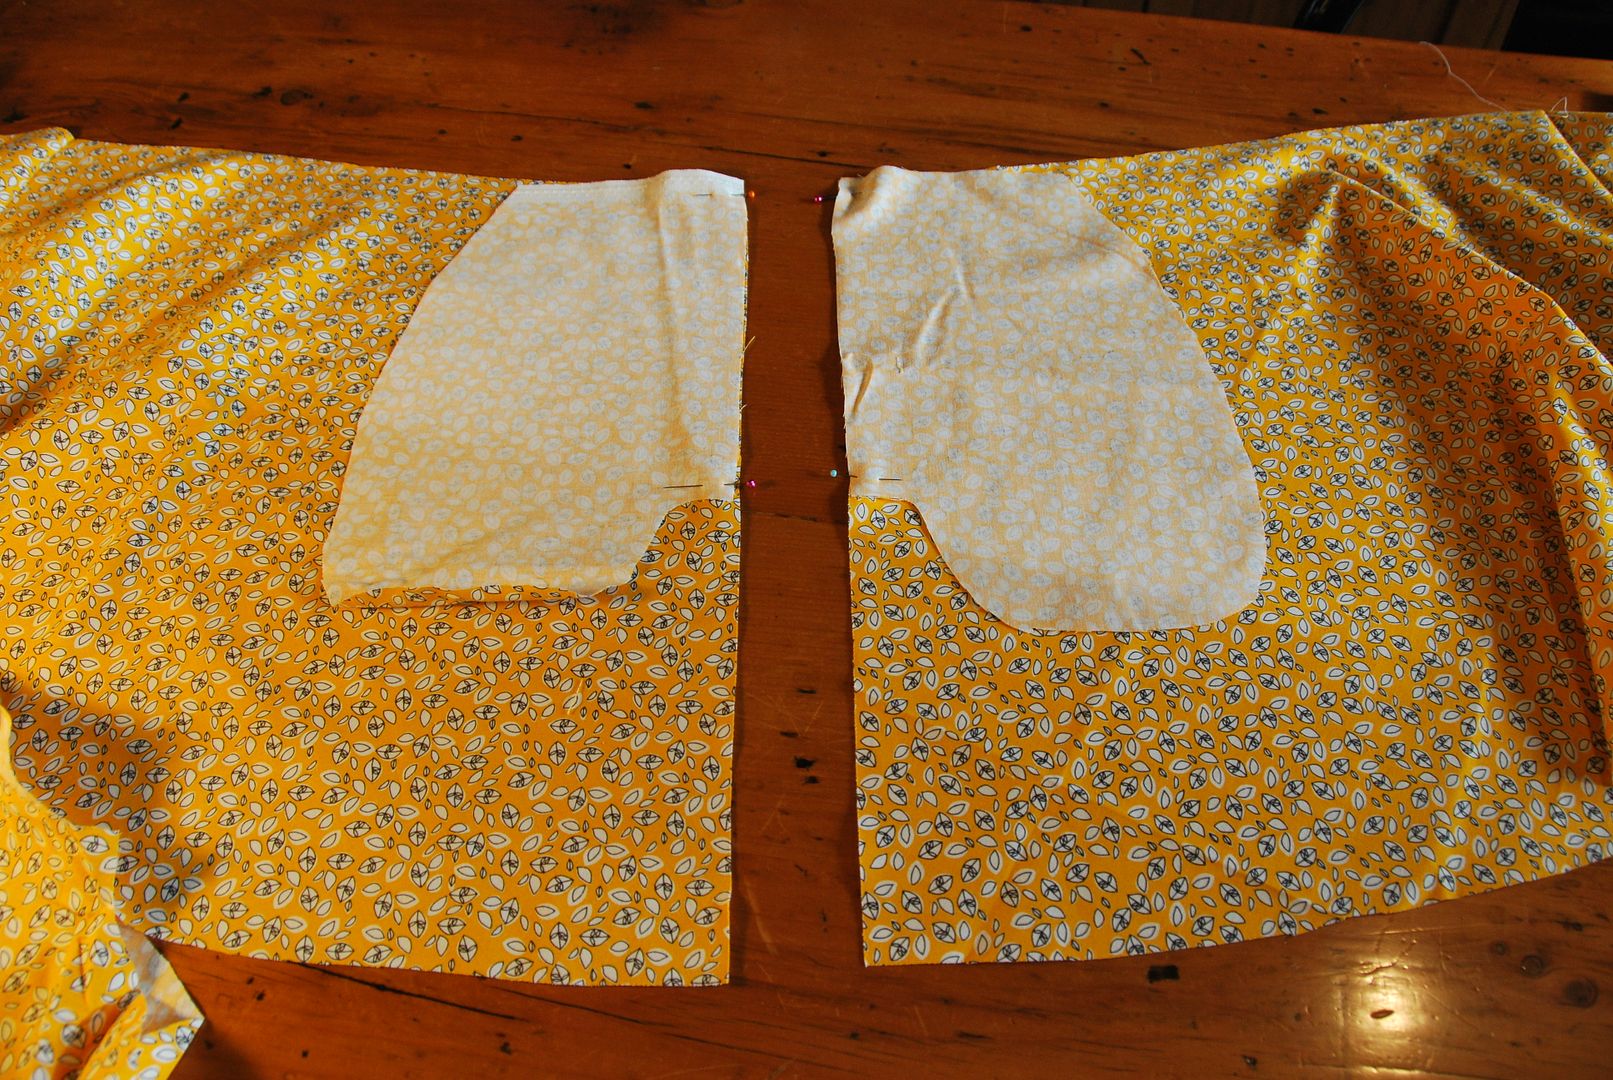
I drafted pockets for this skirt, ensuring that they would be secured to the waistband at the top, and not extend below the hem of the skirt.In order to make a pocket on each side I cut 4 pieces.

I then stitched the front and back seams together, leaving the sides open to insert the pockets.
On the two side seams, the pocket pieces were laid right sides together, with the flat seam edges lined up. These were then stitched down the side seam edge. (The above picture shows 1 side pocket before sewing.)

Then the seam was pressed flat, with the pocket hanging off the side like below.
Left you can see the front panel with the pockets stitched on.

I then finished the seam edges where the pocket was attached.
I then placed the front and back piece right sides together sewing up the side seam until the start of the pocket opening and then looping around to sew the pocket front/back together.

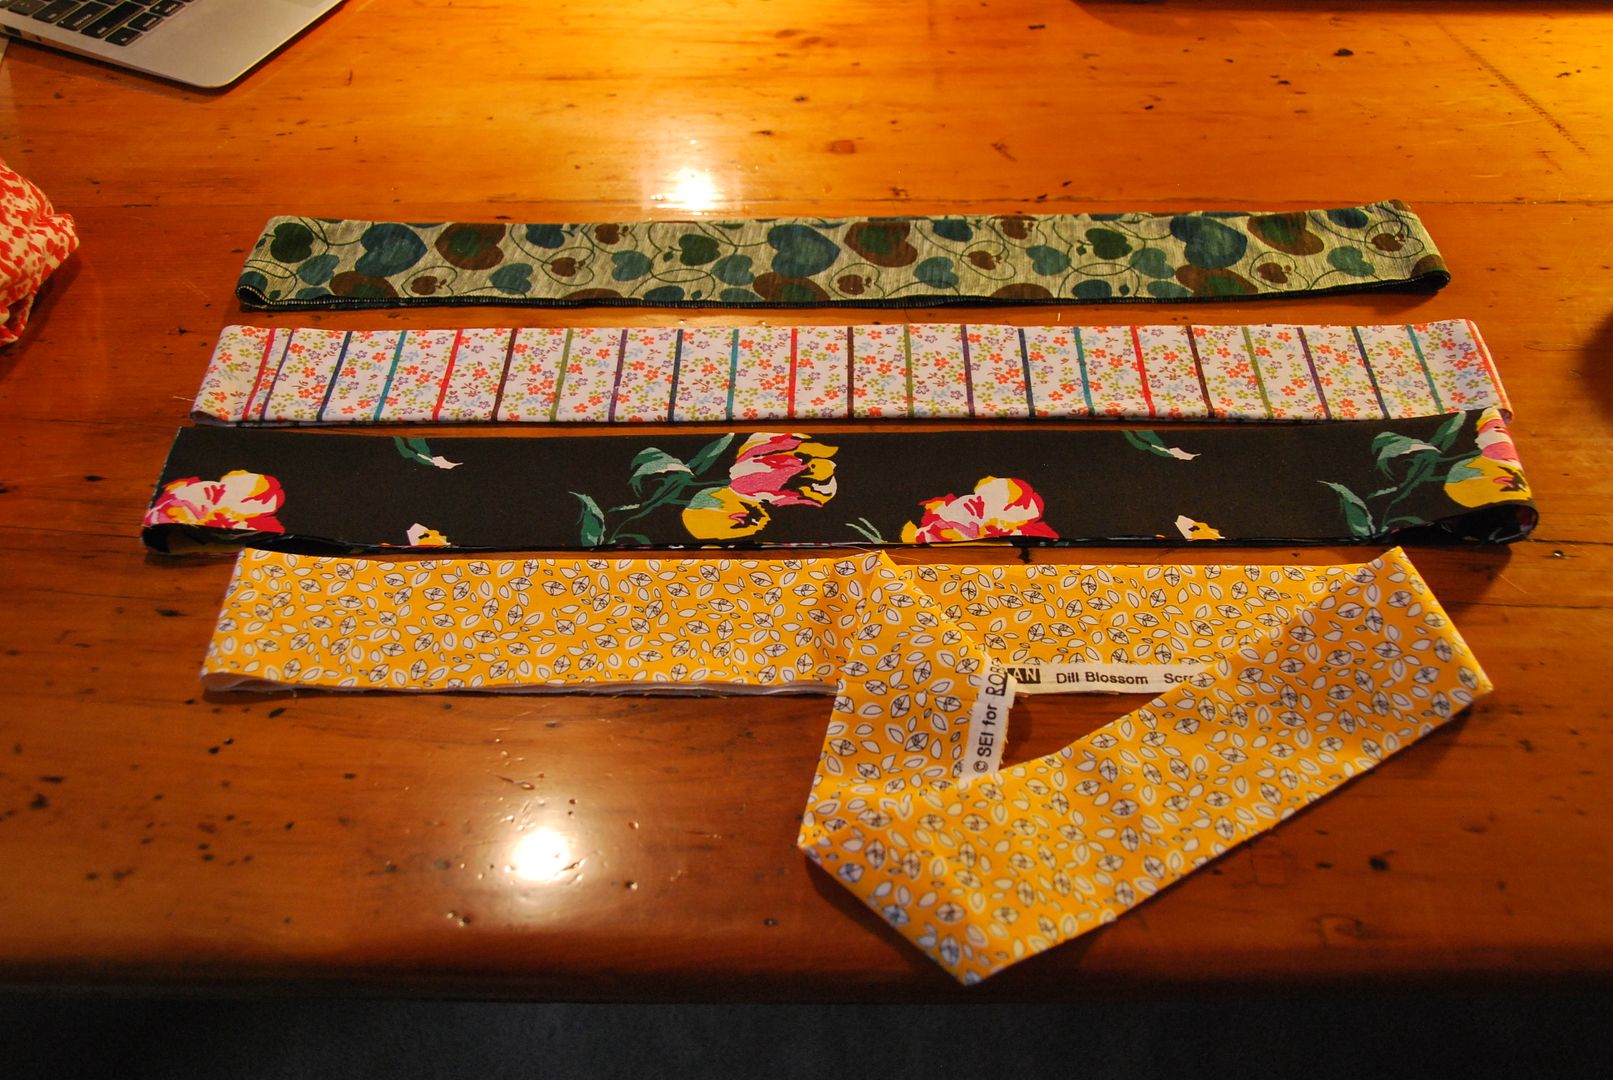
I then made the waistbands, closing them into loops, and ironing them in half lengthwise.
Even though both sides were technically the same, at this point I had to designate a "front" of the skirt, meaning that the pockets (which until this point were hanging free on the inside) were both tacked to the same side.

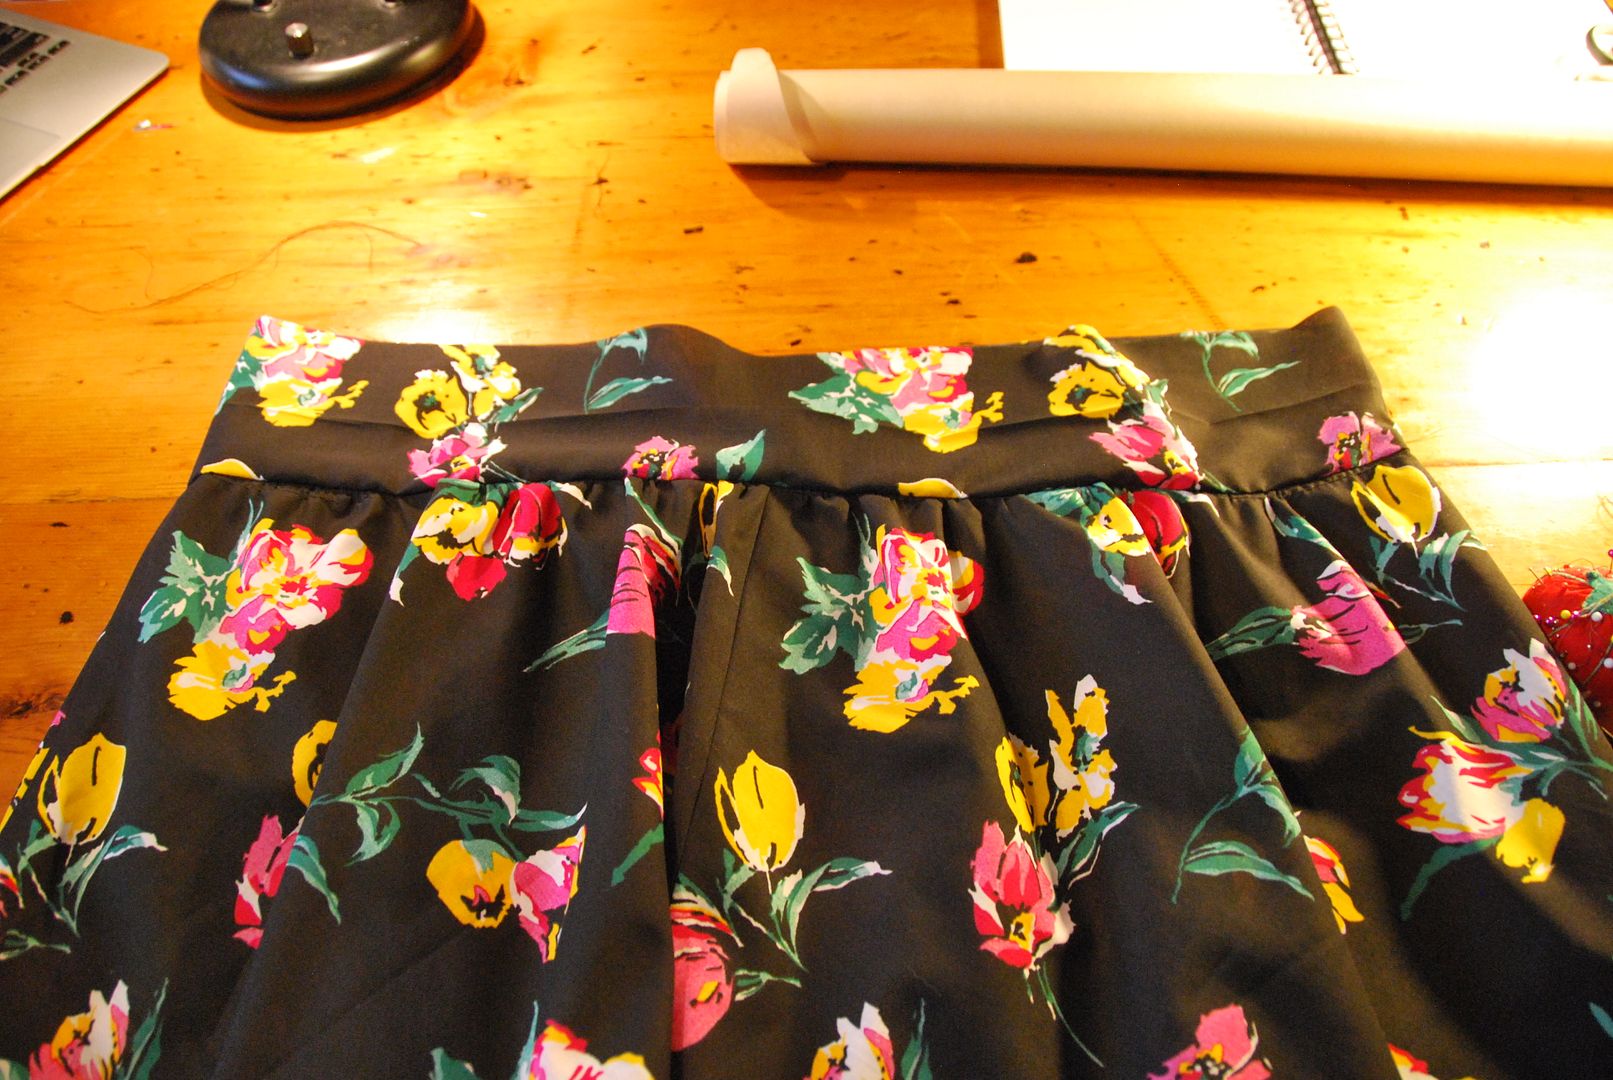
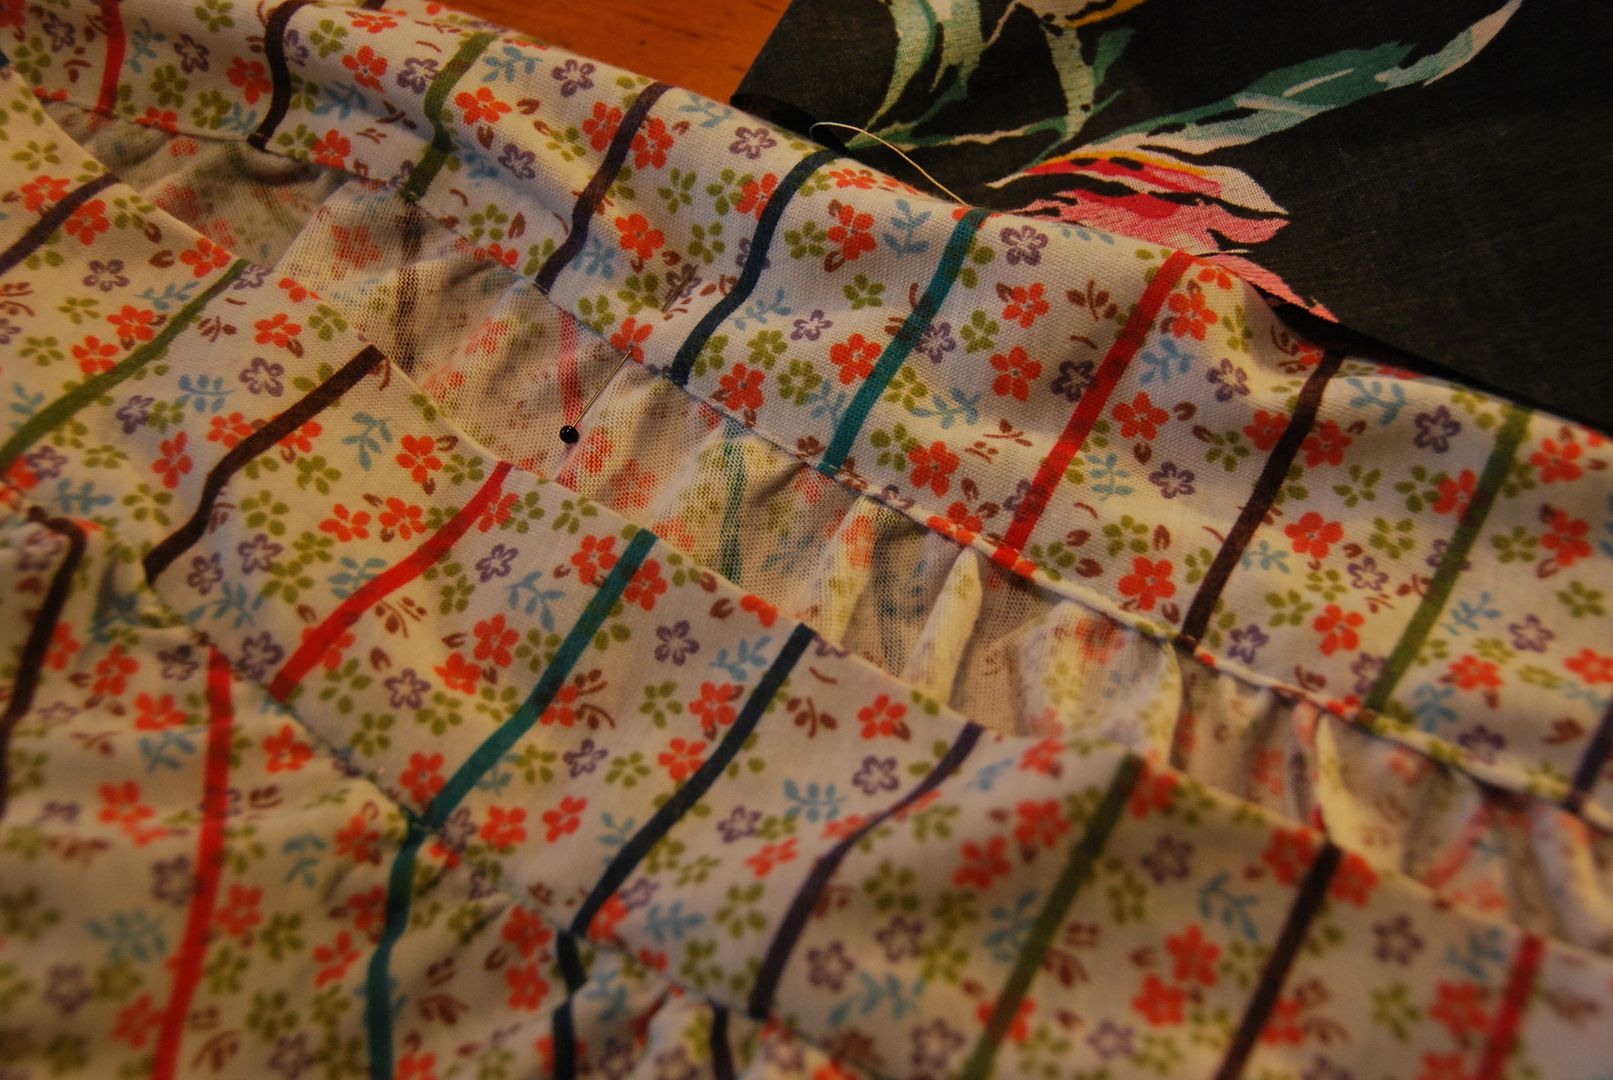
Using a long stitch length I basted around the top edge of the skirt without backtacking (two rows like pictured above), leaving the long extra thread hanging. (This ensured that I could grab onto them and easily cinch the gathers in by hand, distributing them evenly.) I gathered it until it was the same circumference as my waistband loop.

I unfolded my waistband and attached it right sides together with the top edge of the skirt.
Then I folded the waistband over to the inside and neatly ditch stitched it in place, leaving a 2 inch opening to insert the elastic.

I inserted an elastic, and threaded it through the waistband. This elastic was made smaller than the actual finished waist measurement so that it would stay up nicely when worn. It was then stitched into a finished loop. I closed the hole. Then I secured the elastic in the waistband with 2 lines of stitching. This ensured that it gathered evenly. I stretched the elastic until the fabric was not bunched as I ran it through the machine.
The last step was hemming, and then presto! 4 lovely skirts, all different while still using the same pattern. :)

(Switching my post day back to Tuesday, because Friday is just not working! hahaha)