Friday, May 31, 2013

Black Jacket, White Trim

Hello! Thought I would post this one up here before diving into the cosplay content.

This is a Christmas present I made for my mum this past year. This jacket is an original design. Very geometric and architectural in design, with a stark contrast between black and white.
I started by patterning a basic block based on my mum's measurements.  This I modified to resemble my design,  the white overlapping front panels would be straight lines, the curves would be in the black side panels.

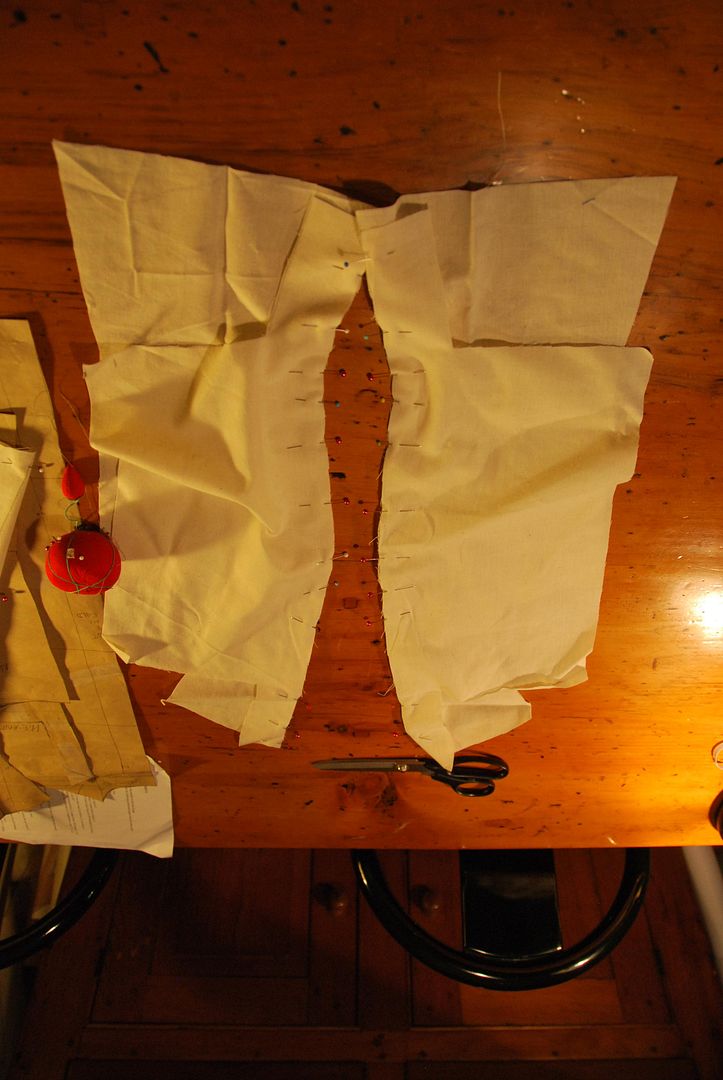
I first made a mock-up in muslin, which I had to try on my mum blind-folded so that I could ensure it would fit correctly. (While keeping exactly what I was making a secret.) Keeping in mind that this is an over-garment, I had to let in ease for movement so it could be worn over other clothes. (Basic blocks are designed to be form-fitting, and have to be modified accordingly)

After the first fitting and a few modifications I was ready to cut from my good fabric.
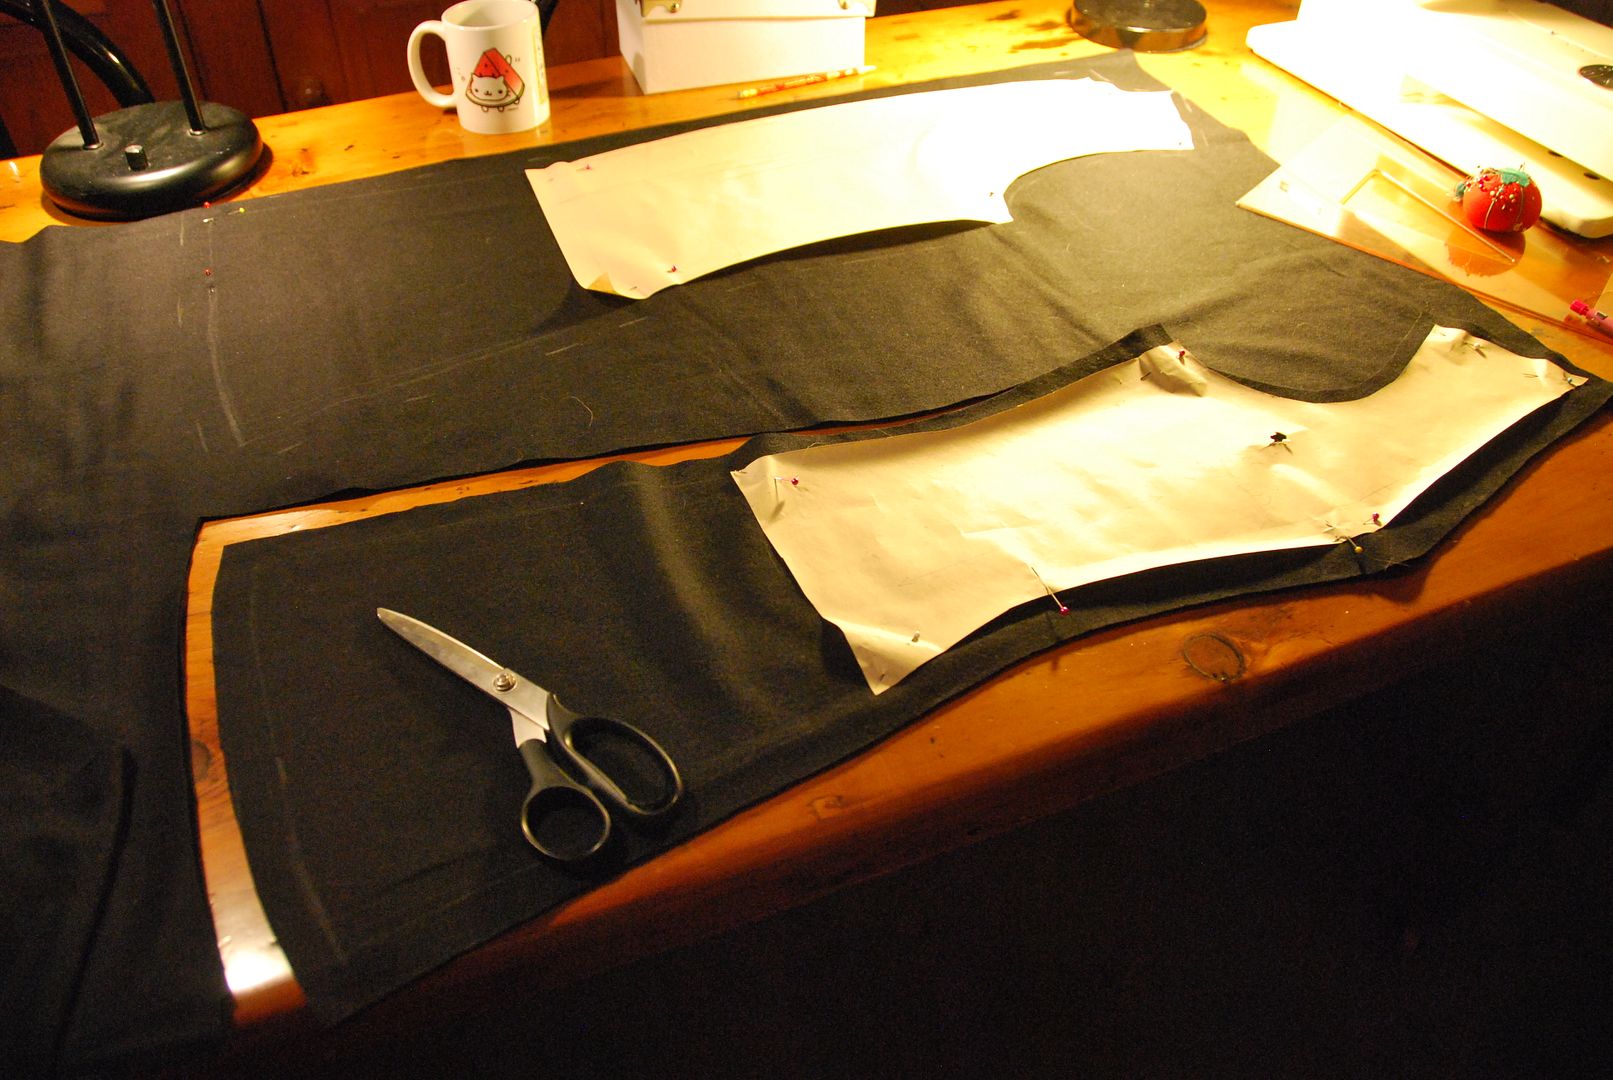
The black fabric is a wool fabric, and turns out I am allergic to it! As soon as I began to cut it, it released a lot of fibers into the air which made my nose stuffy and my skin itchy. Whoops. From the black fabric I cut the two front side panels and the two back side panels.

From the white (technically an off-white) fabric I cut the two pieces for the center back stripe, and 4 copies of the overlapping front panel.
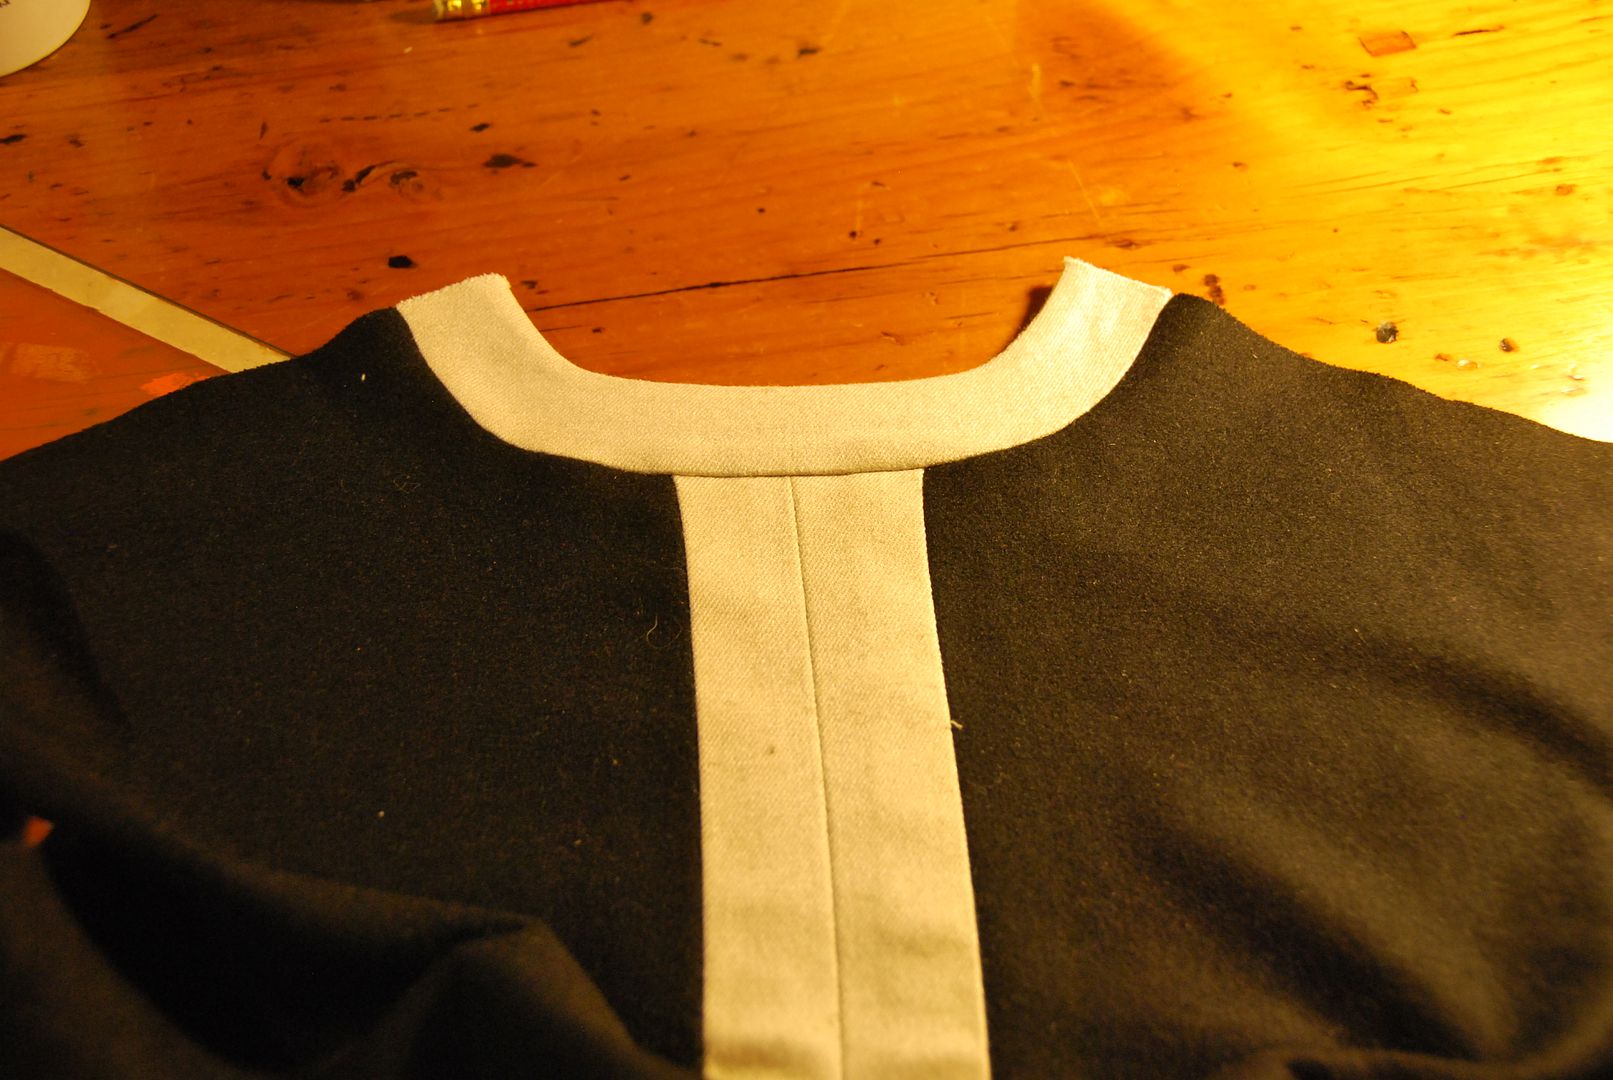
The two rectangles for the back stripe were sewn together directly down the center to the point where I wanted the slit to start. This piece would then be ironed open flat.

Each pair for the front panels were sewn right sides together along one edge, then clipped and turned right way out.

I cut the back piece for the collar. This was made of two pieces, sewn along the top edge, right sides together. This was then clipped and flipped right way out as well.
The darts were marked and sewn into the back black panels, then the side seams were sewn together.

Then I sewed the white front panels to the black sides.
The center back white stripe was stitched to the black sides, completing the body of the garment.

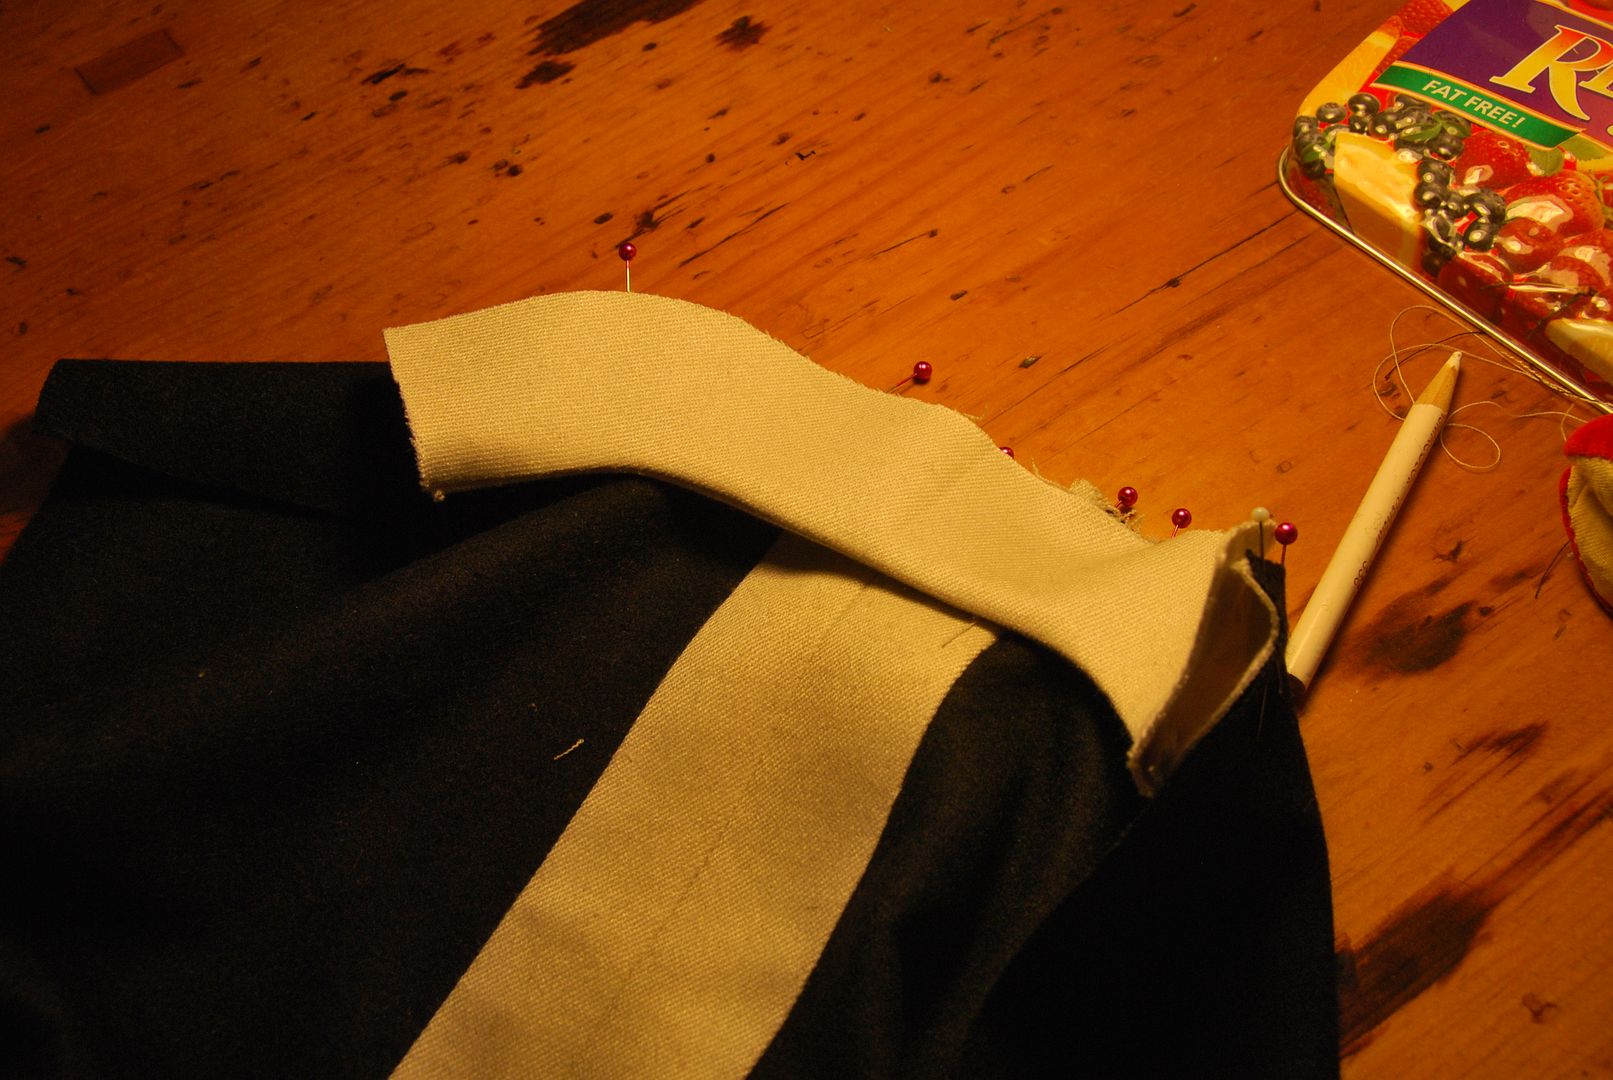
The collar was sewn into the back panel on one edge. After ironing the seam flat the second side was ditch stitched in place.

Then I was able to sew the shoulder seams.

At this point I used a school serger to finish inner seams before continuing.
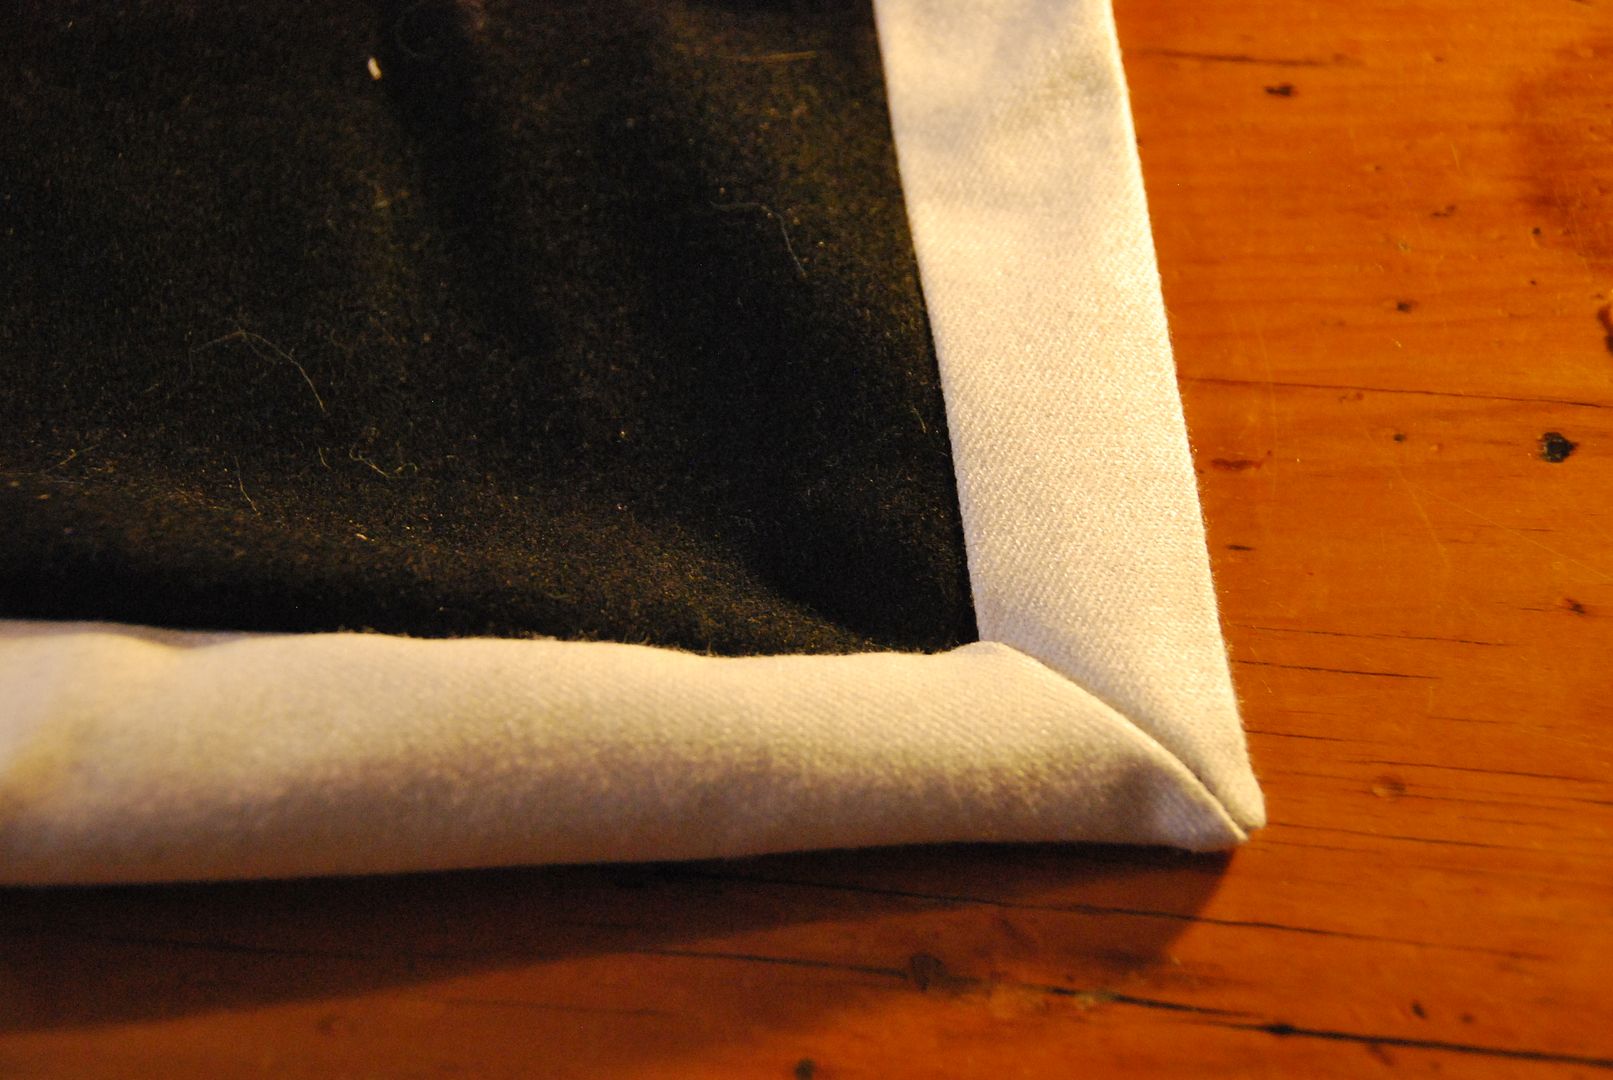
With great difficulty (for I hadn't exactly thought ahead on this one) I had to finish the bottom edge with a white stripe. I ran into some difficulty at the corners, requiring me to sew and clip in some 45 degree angles to make the connection work.

This trim was then ironed over and cross-stitched in place. (Yes, by hand.)
The last part to do was the sleeves. I drafted the sleeve pattern, but interjected a whit stripe down the center, remembering to add in my seam allowances.

These were eased into the armholes, then the edges were finished and hemmed.

And presto! A really nice jacket! >:D
My new update day will most likely be friday. More great content coming this summer so look forward to it! ;D

Sunday, May 26, 2013

May Update

Hey all, it has been a while! I have been madly working for the past month to create more new content for you!

I just attended my first convention of the season this past weekend and I had a blast! This was my 9th year at Anime North, which is one of my favourite conventions of the year. Even though I am not as heavily into anime as I once was, it is an event that I always find enjoyable.

My new costume, Asuna Kagurazaka (from Mahou Sensei Negima) debuted at this con. Asuna was chosen by popular demand, thanks to all my facebook fans for taking the time to vote. It was a huge success! I won an award for "Best Props and Accessories" in the Masquerade at Master Level with my skit "The Impossible Knight". Special thanks to my crew (Alli and Ian), for without you this costume would have never made it to the stage! I only have a faint weird sunburn to show for all my time spent outside... More to follow on that including an in depth look at how I made it. But for now feel free to check out the video!


Congrats to my fellow competitors as well, it truly was a wonderful show! So many great costumes!

I have officially registered to attend Costume Con 32 which will be held in Toronto next April! Very excited, and already thinking of what costumes I want to make for that...

That's all for now!

Thursday, April 25, 2013

Greyscale Checked Jumper

So it's my mum's birthday today! This post is in honour of the incredible woman who took the time to teach me how to sew, puts up with my crazy cosplay antics, supporting me in my hobbies and through life in general! An incredible lady! And also very stylish! :D

People say we look the same, I am inclined to agree?

This post is of a jumper I made 2 years ago. 2 years late, but better late than never! ;D

(And back to regular posting hopefully!)
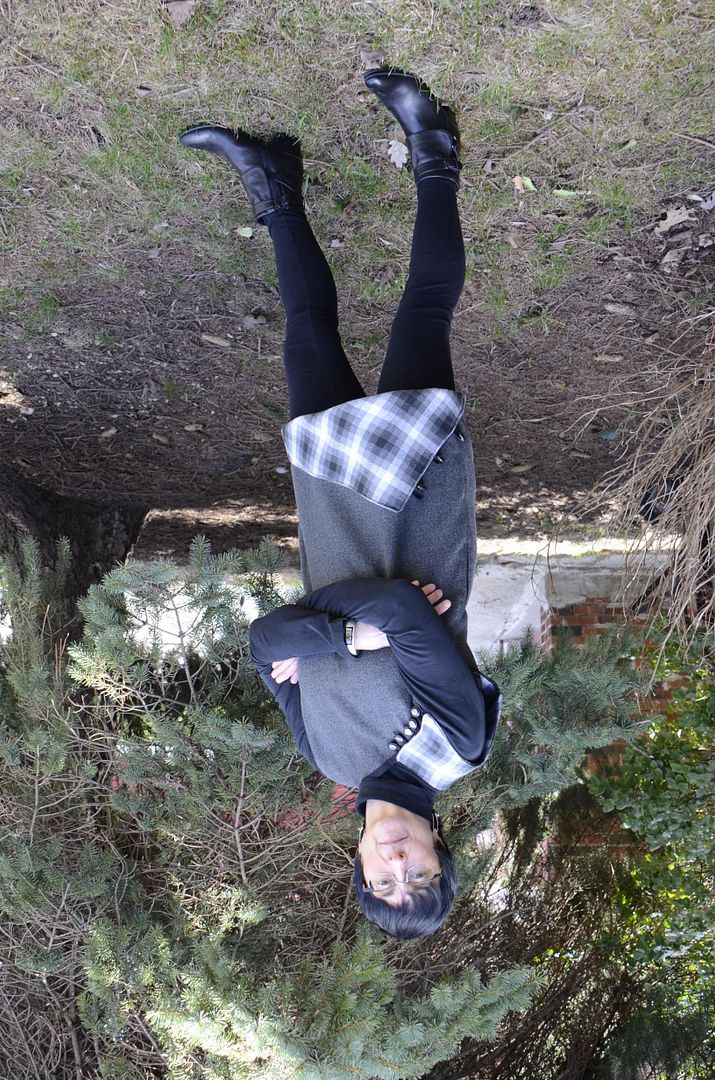
This is a Christmas present I made for my mum. An original design of a jumper. I patterned it myself from scratch. :D

Using a fabric that had a pattern on one side and a solid on the other, I decided which parts I wanted to be checked, and which ones I wanted to be grey.


I cut out my fabrics, accounting for seam allowance.

The checked shoulder piece I cut 2 of, so I could sew it inside out and then reverse it to get clean edges. This made sewing it onto the garment much easier.

That's the before and after of when I reversed it. You can see below how it looks on the garment where it drapes over the shoulder.

I sewed up the side seams, knowing I would have to take the left one out later to put in the zipper. That seam I basted.


After ironing my shoulder piece, I pinned it in place to see how it would look.
I tried to zig-zag the edges of the fabric, which was really thick and would not cooperate for a double rollover seam, but that didn't work very well, and neither did the single rollover seam...

So I scrapped that idea and applied a black bias tape to the edge.

Then I pinned and sewed my shoulder piece into place.


I also folded over a piece of bias tape and sewed that together to create my button loops.

I measured where my buttons would go and marked those spots with a pin.

And now the neckline is finished! :D


The next bit was the bottom piece that would incorporate a pocket into the design. I cut the large triangle twice so I could turn it inside out to finish the edge in the same way as the shoulder piece.

I made it large enough so it would wrap around to the back of the garment.

Sewing it on was terrible. With this many layers, the sewing machine just barely made it through!

I added the topstitching on the pocket opening so it would match where I stitched the other side to the garment. Then I added buttons and loops.

Lastly was the zipper, which I affixed in my usual fashion.

Wednesday, March 6, 2013

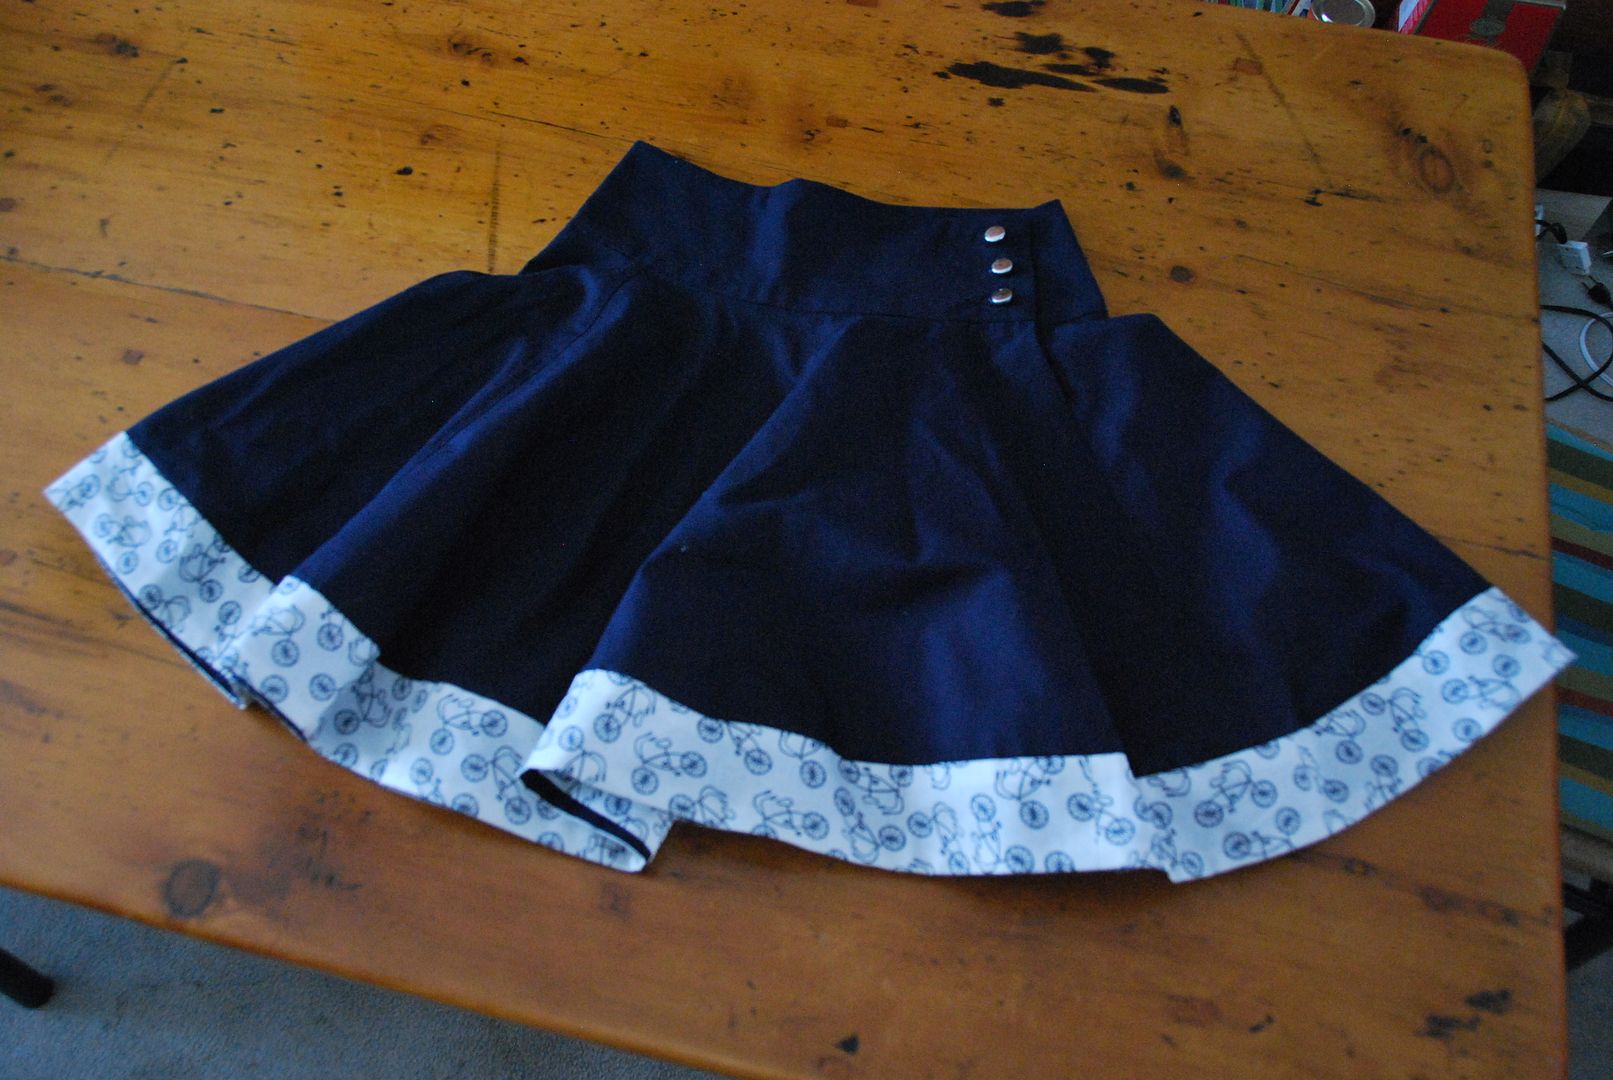
Navy "Bicycle Trim" Circle Skirt

I think I have finally gotten over my aversion to navy blue. Having to wear the same colour to school everyday for 4 years gets a bit tiring. 2 years later I am just finally getting back into wearing navy again. Hahaha The print fabric featured on this skirt I got in a cute little shop on Granville Island when I was in Vancouver last summer. :D

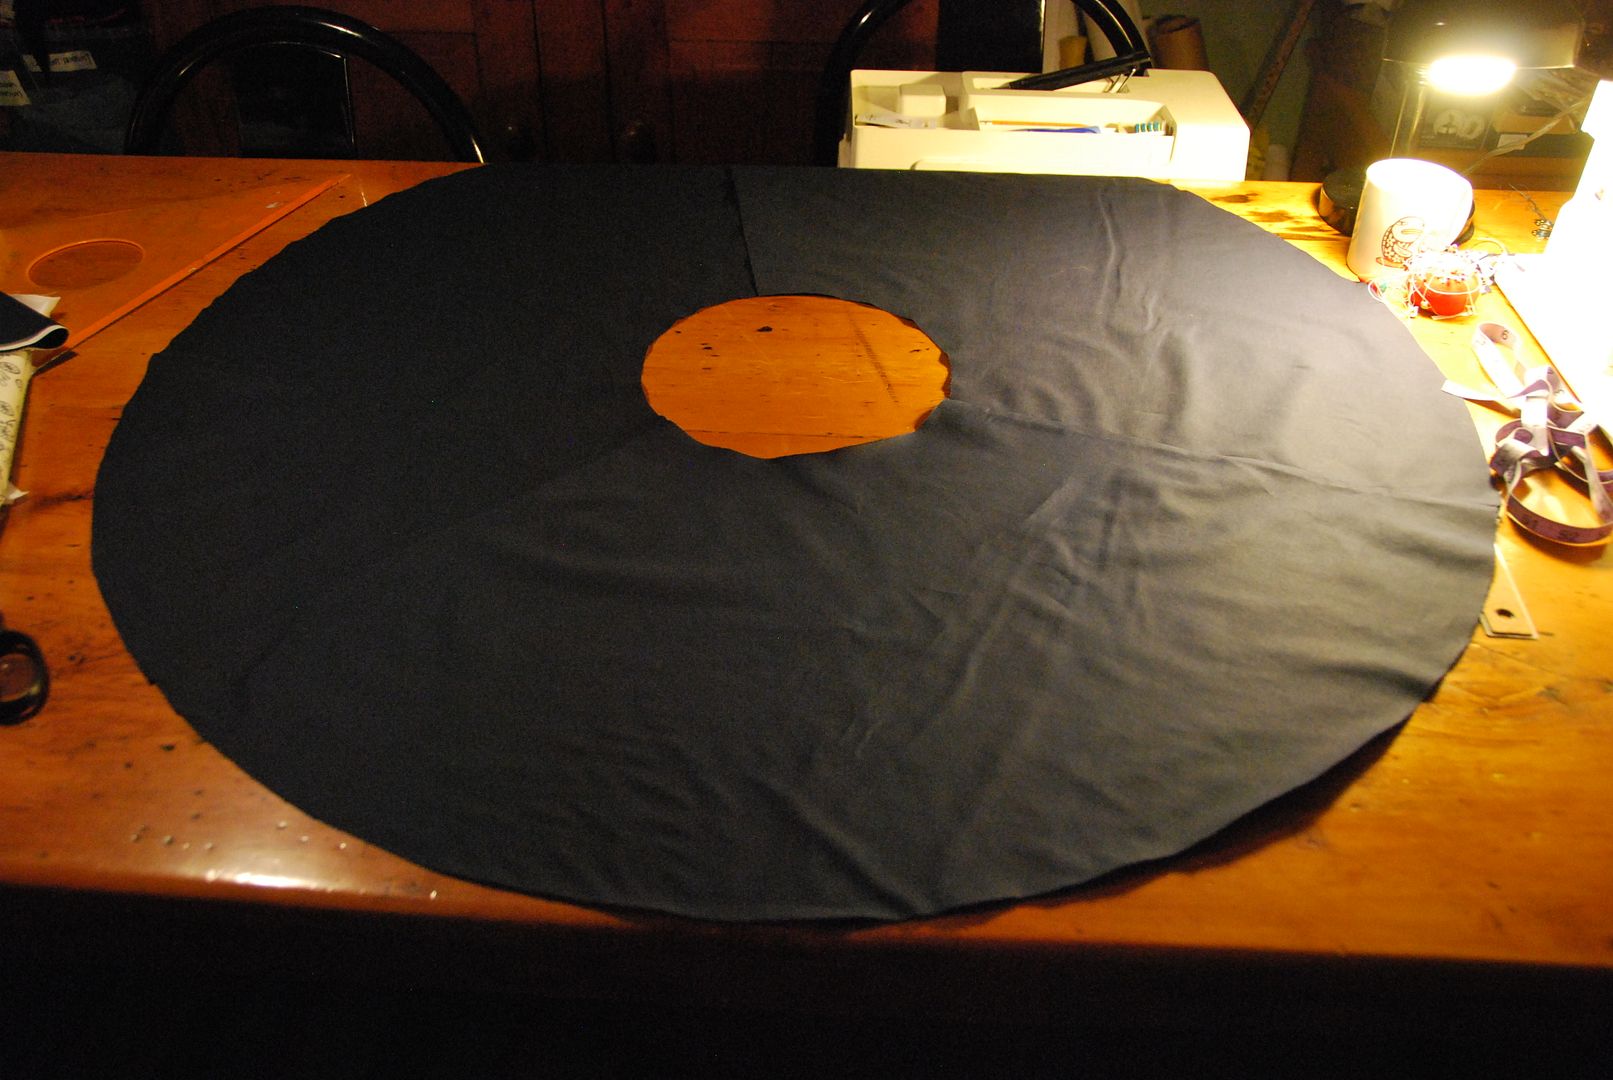
This time I decided to make a circle skirt without a gather at the waistband. I drafted and cut 3 panels that would form a full circle to get a skirt with a lot of volume. 

In order to draft it I figured out the radius measurement for a circle that was my waist measurement. First I marked a center point. Then taped a string to that spot. Using the radius measurement I found, I tied the string to a pencil at the distance and drew an arc. Then I decided how long I wanted it to be, retied the pencil at that point on the string and the drew the arc for the bottom edge of the skirt panel.

I divided the waist measurement by 3 then added seam allowance and overlap for the closure. I marked this measurement on my top arc. Using the string pulled tight from the center point I marked and drew a straight line that passed through my marker point to the bottom arc.

Of the cut panels I sewed up 2 of the seams leaving the closure seam open. I finished these seams before continuing on.

Then I drafted a waistband with a slight curve, adding in the same amount of overlap as for the skirt panel.

I wanted a wide waistband on this skirt with a button closure on one side. 

I cut this piece 3 times (2 navy blue and 1 white). The white would just be an added layer of stability to help keep the waistband a little stiffer.

Like a collar it was sewn right sides together, leaving the bottom edge open. Then it was flipped right way out (clipped and pressed). One side was stitched to the skirt panels, then the raw edges were tucked up inside the waistband and ditch stitched to finish the seam. 
I ironed the waistband/skirt connection flat.

Then, with right sides together, I marked the overlap and pinned where the panels would be sewed together. I stitched up the marked line, leaving an opening partway up until the top of the waistband. This would be left open, closed with buttons later.

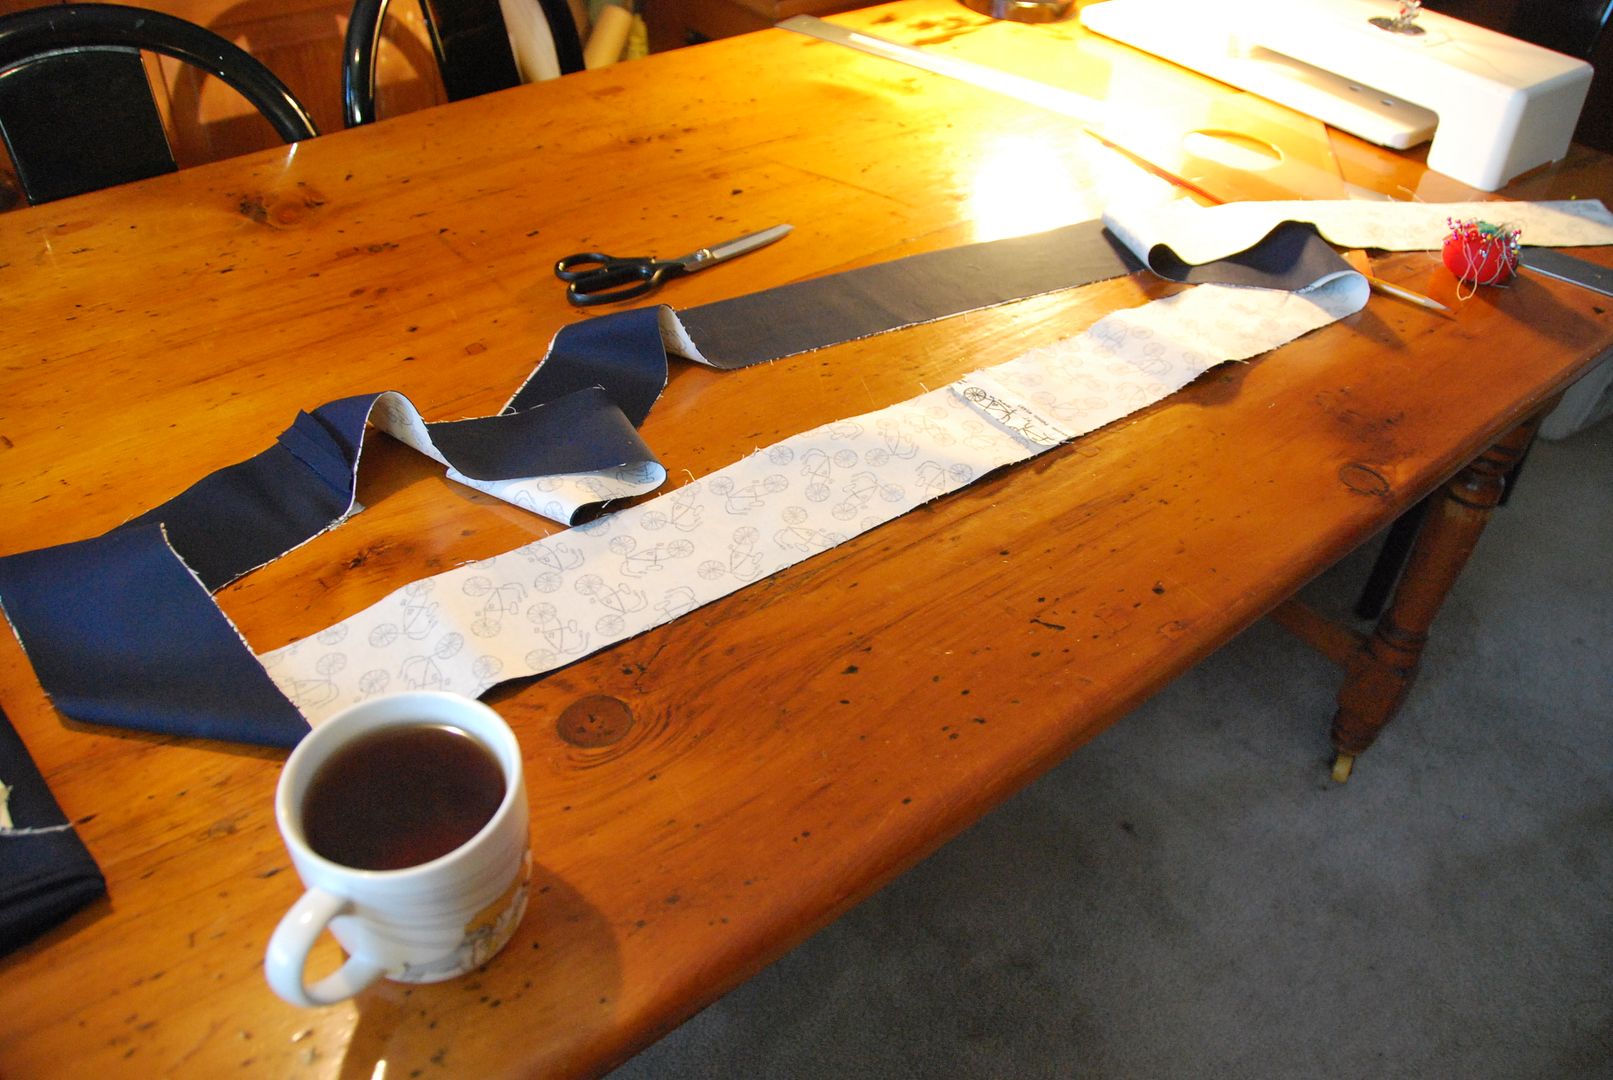
Then I measured the final edge of the skirt. I measured and cut a piece of my detail fabric a little bit longer than the finished edge, and 4.5" wide. This included seam allowances. I cut a matching piece in my navy fabric that would act as a lining for this piece.

These two long strip were placed right sides together and sewn along one edge. Then I flipped it right way out and pressed it flat.
Similarly to how I attached the waistband, I placed the right side of the bicycle fabric to the outside of the skirt, pinned the edges together and then stitched it in place all the way around. After ironing this flat I closed off the strip, turning it into a closed loop.

After clipping the excess fabric away, I folded up the navy half of my strip to the inside of the skirt, folding the raw edges inside the bottom hem detail, ditch-stitching it closed. (Ditch-stitching was done from the outside to ensure that the stitch line was hidden in the ditch caused by the seam between the skirt panels and the bicycle detail strip.)
 
Then I marked and added the buttons and button holes. Presto!