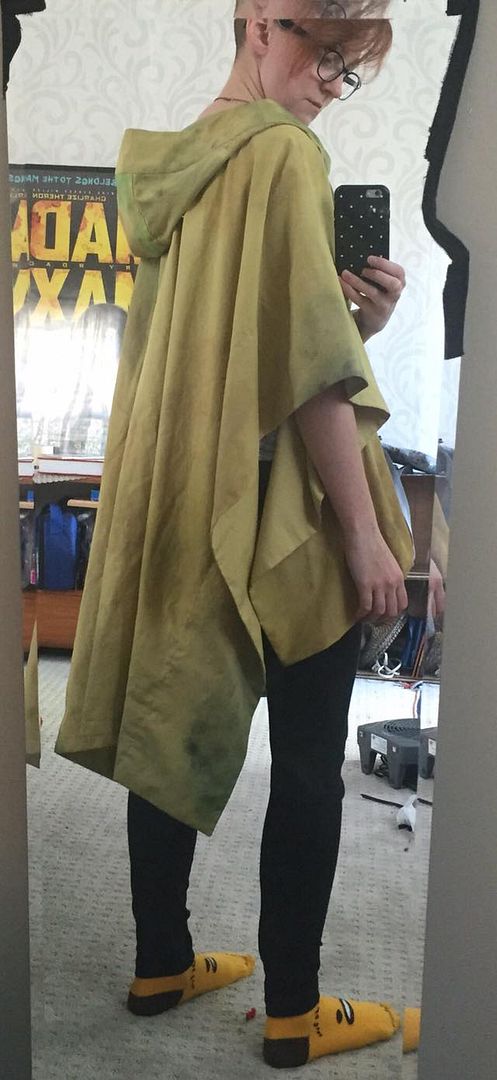
I hope to do a photoshoot of this later this spring out in the woods somewhere. For now you will have to settle for crappy mirror pics, as I don't even have convention photos of this costume yet...
To see how I styled the wig, go here!

After patterning and mocking it up, I then cut out the pieces in the real fabric and laid them out. I used watered down fabric paints and splattered and sponged on some different tones in mixed greens and browns. I actually really like how the camo pattern turned out.
You can see below the difference between when it was wet and when it dried.
My one difficulty here was that my brown paint had expired and I was stuck in the middle of nowhere. The paint kept separating and actually added some extra unintentional texture.
Right you can see the hood pieces laid flat. The hood is made of 4 "C" shapes that make up the outer rim, 2 rectangles (not pictured) that form the centre top of the hood and that one super weird piece the forms the sides of the hood and wraps around the front of the collar. The goal was to not have a seam up the front of the hood because there isn't one in any of my reference pictures. I think I managed to recreate it pretty accurately.
After everything dried, I ironed it to set the fabric paint and then sewed it together.
The actual construction was super straight-forward--and unfortunately I didn't document it.
I faced the side edges of the poncho and hemmed the front and back. The hood was first pieced together and then attached to the poncho neck hole.
Some pictures of the finished poncho.
The last step was to add the holes for the belt. Which secures the poncho in the front only. I faced and reinforced the hole. The process was similar to starting a welt pocket.


