Hello! Thought I would post this one up here before diving into the cosplay content.
This is a Christmas present I made for my mum this past year. This jacket is an original design. Very geometric and architectural in design, with a stark contrast between black and white.

I started by patterning a basic block based on my mum's measurements. This I modified to resemble my design, the white overlapping front panels would be straight lines, the curves would be in the black side panels.
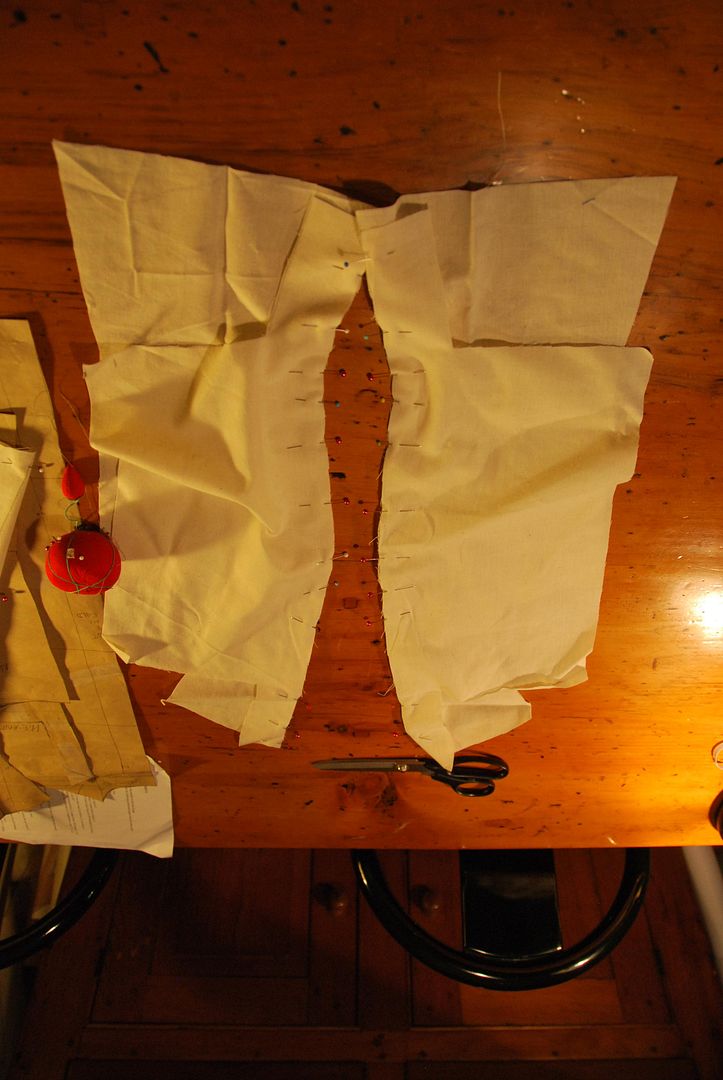
I first made a mock-up in muslin, which I had to try on my mum blind-folded so that I could ensure it would fit correctly. (While keeping exactly what I was making a secret.) Keeping in mind that this is an over-garment, I had to let in ease for movement so it could be worn over other clothes. (Basic blocks are designed to be form-fitting, and have to be modified accordingly)
After the first fitting and a few modifications I was ready to cut from my good fabric.
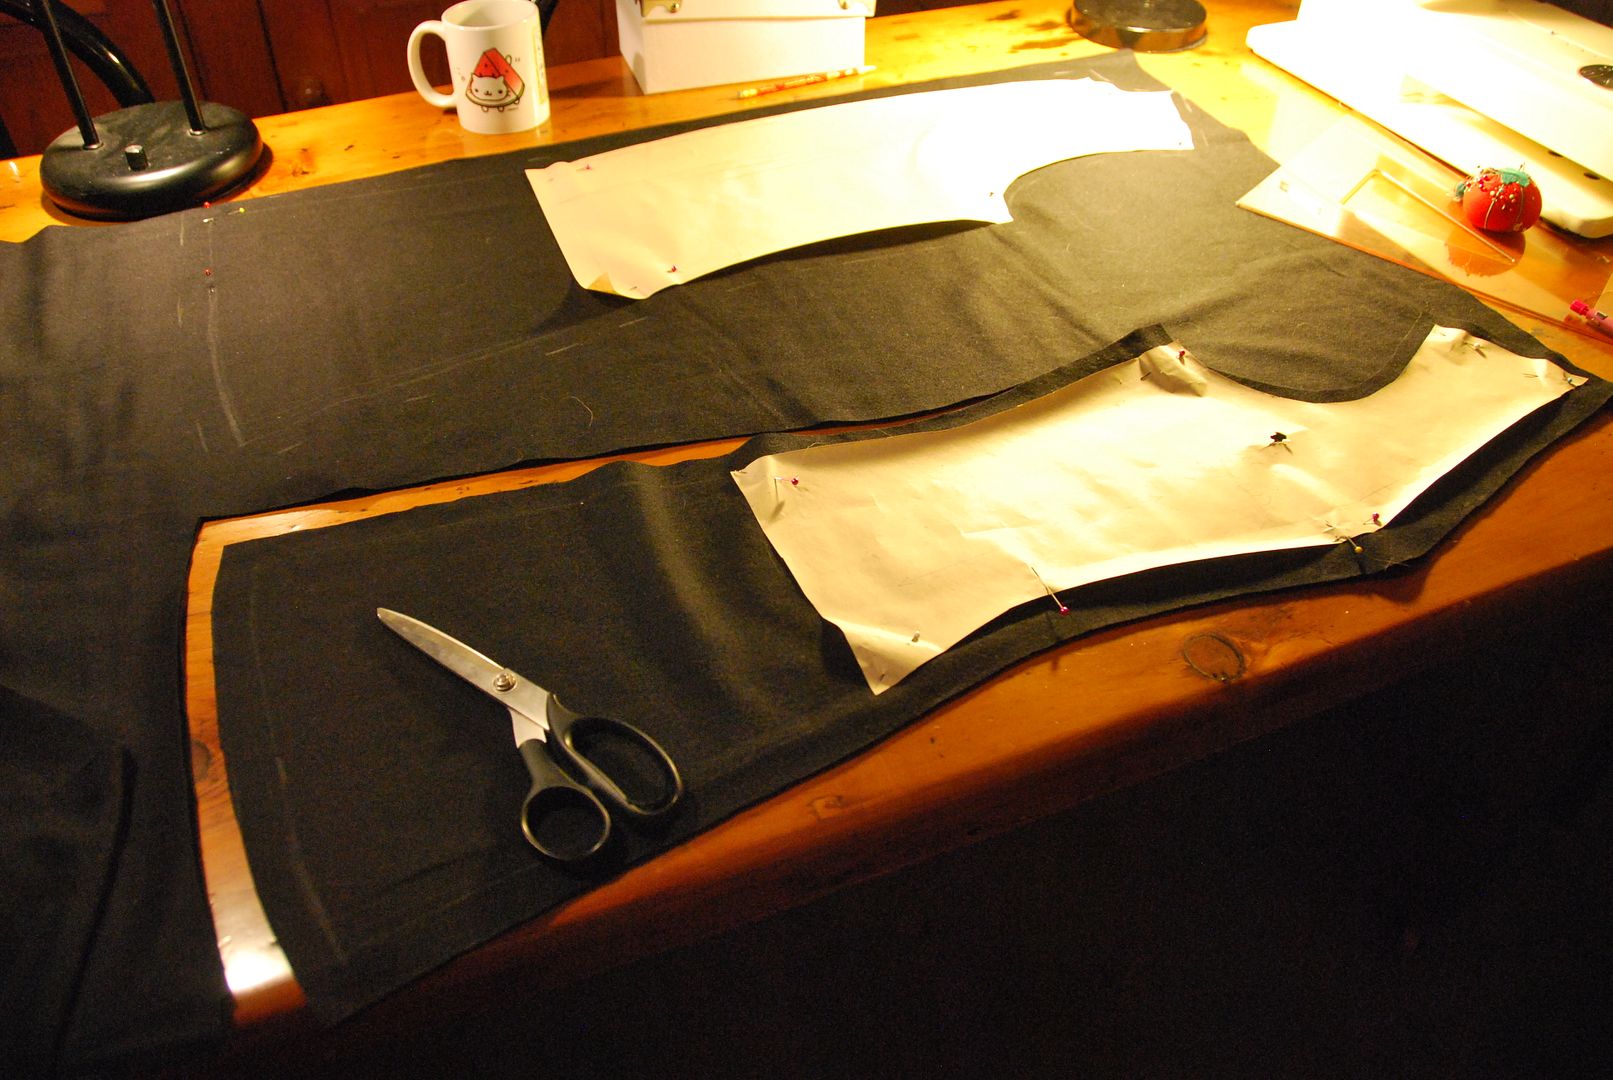
The black fabric is a wool fabric, and turns out I am allergic to it! As soon as I began to cut it, it released a lot of fibers into the air which made my nose stuffy and my skin itchy. Whoops. From the black fabric I cut the two front side panels and the two back side panels.
From the white (technically an off-white) fabric I cut the two pieces for the center back stripe, and 4 copies of the overlapping front panel.
The two rectangles for the back stripe were sewn together directly down the center to the point where I wanted the slit to start. This piece would then be ironed open flat.
Each pair for the front panels were sewn right sides together along one edge, then clipped and turned right way out.
I cut the back piece for the collar. This was made of two pieces, sewn along the top edge, right sides together. This was then clipped and flipped right way out as well.
The darts were marked and sewn into the back black panels, then the side seams were sewn together.
Then I sewed the white front panels to the black sides.
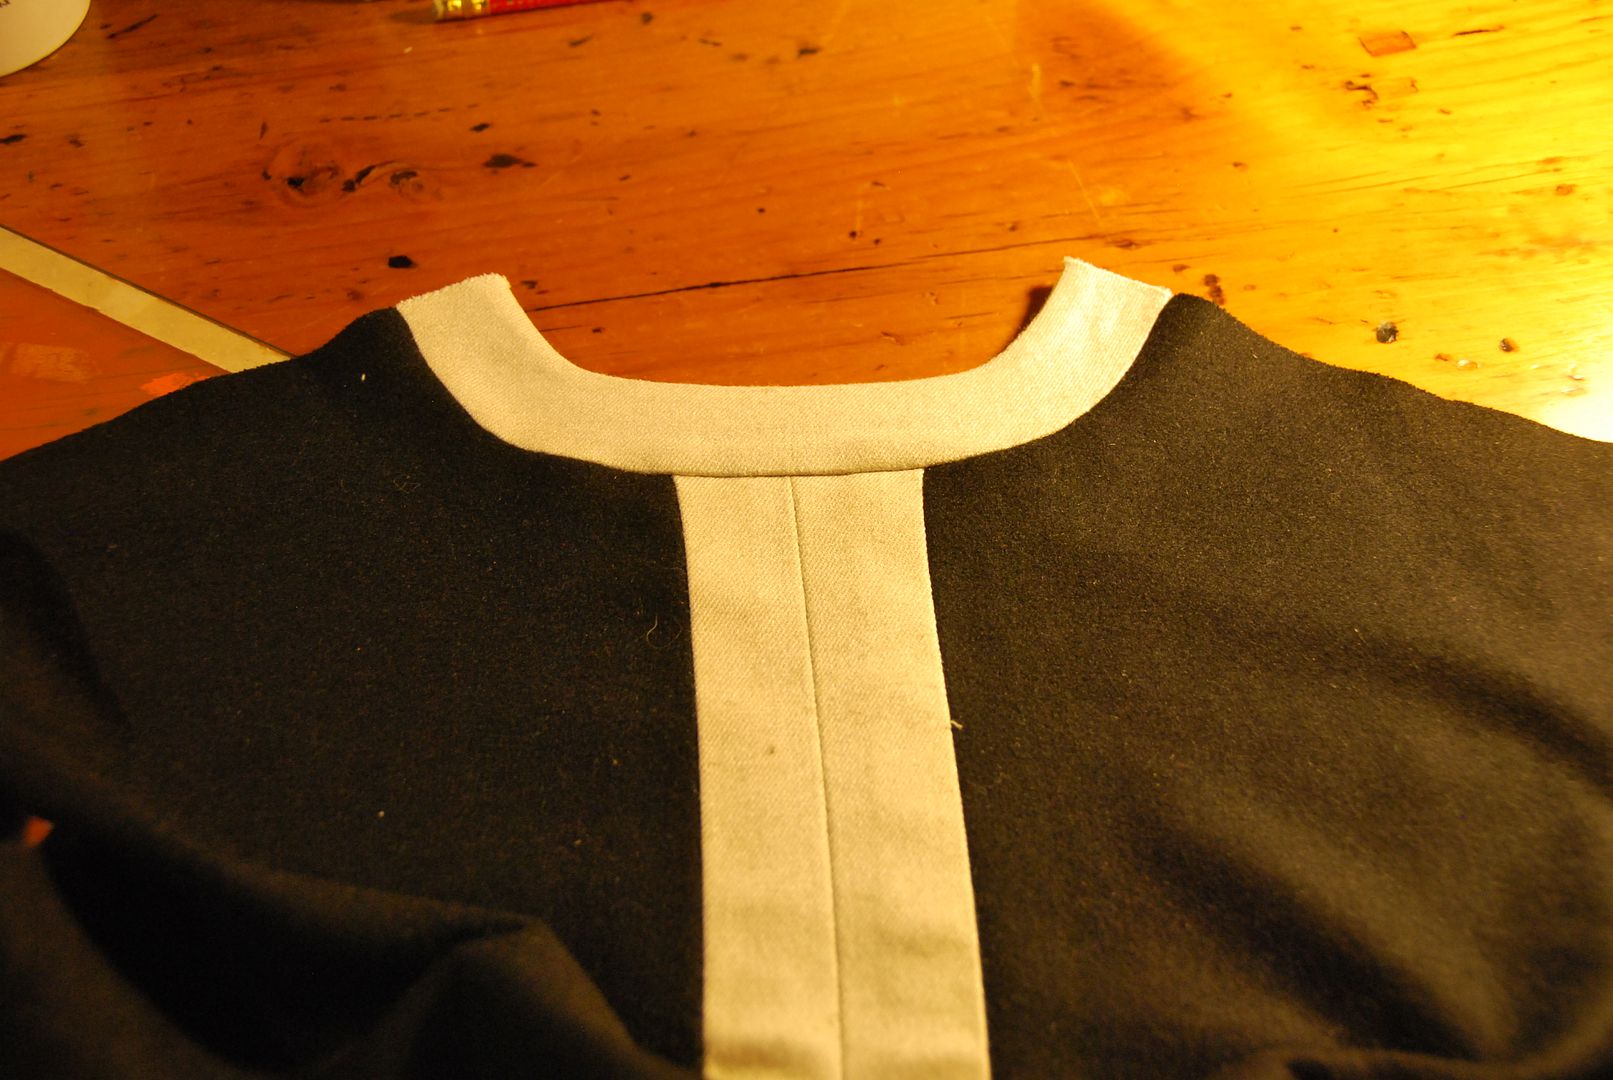
The center back white stripe was stitched to the black sides, completing the body of the garment.
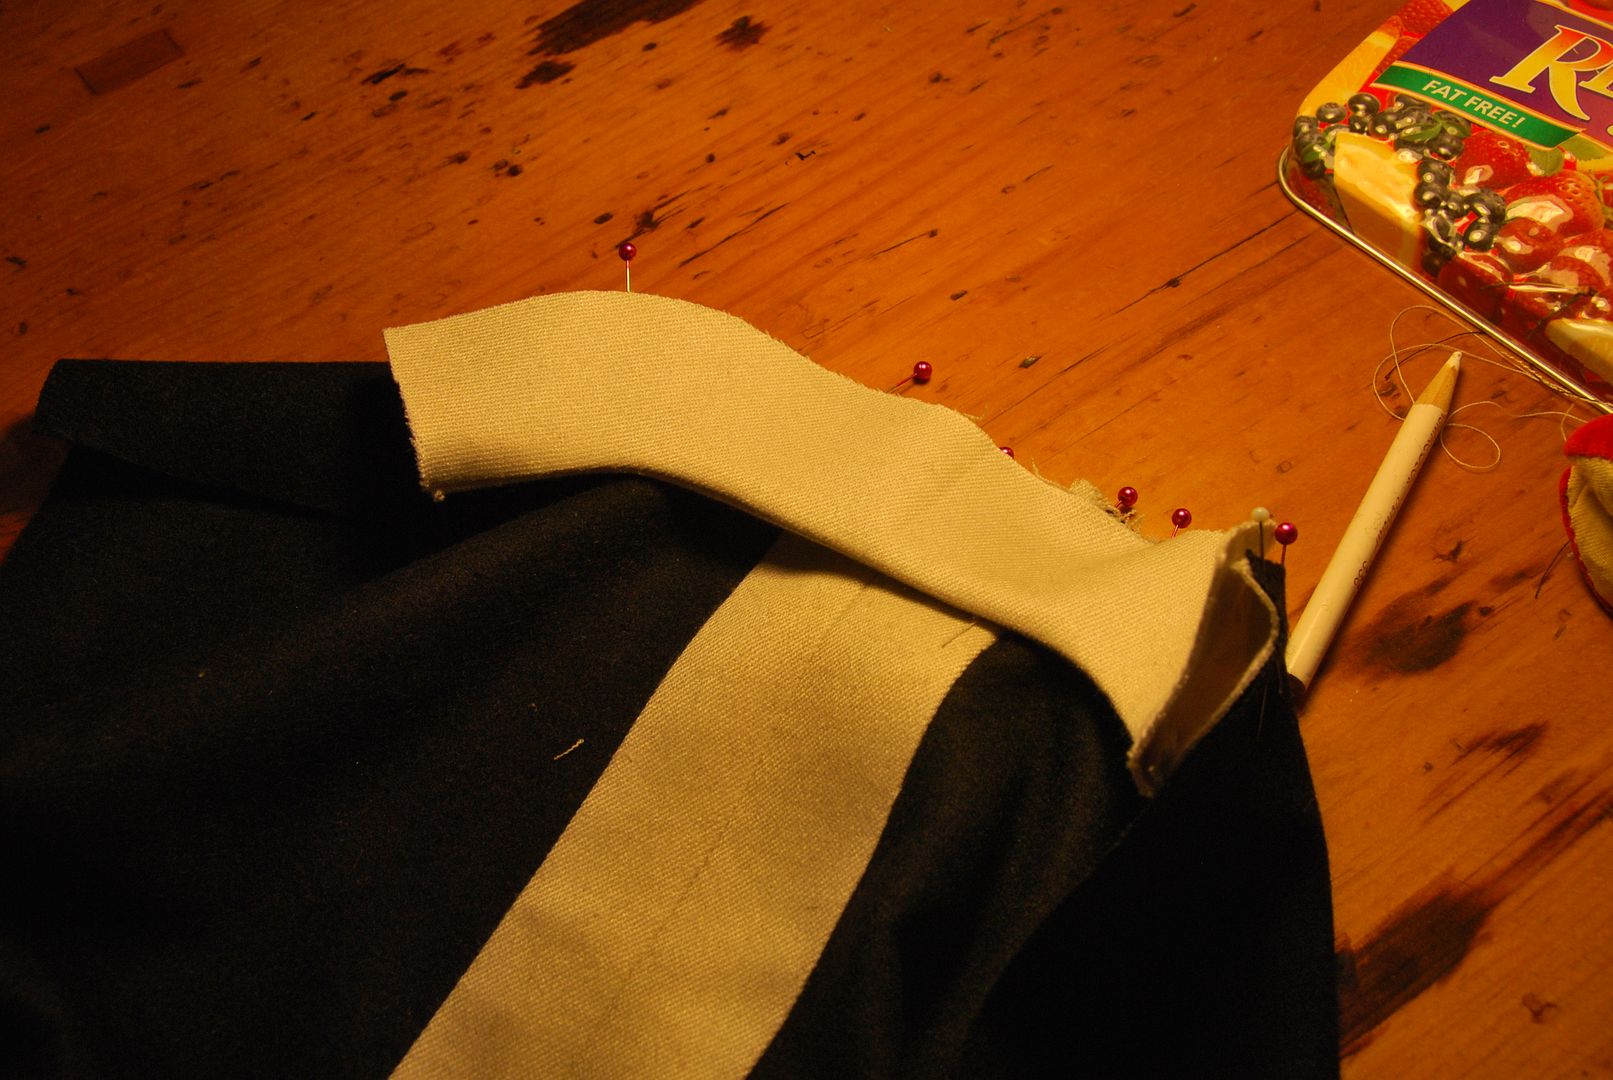
The collar was sewn into the back panel on one edge. After ironing the seam flat the second side was ditch stitched in place.
Then I was able to sew the shoulder seams.
At this point I used a school serger to finish inner seams before continuing.
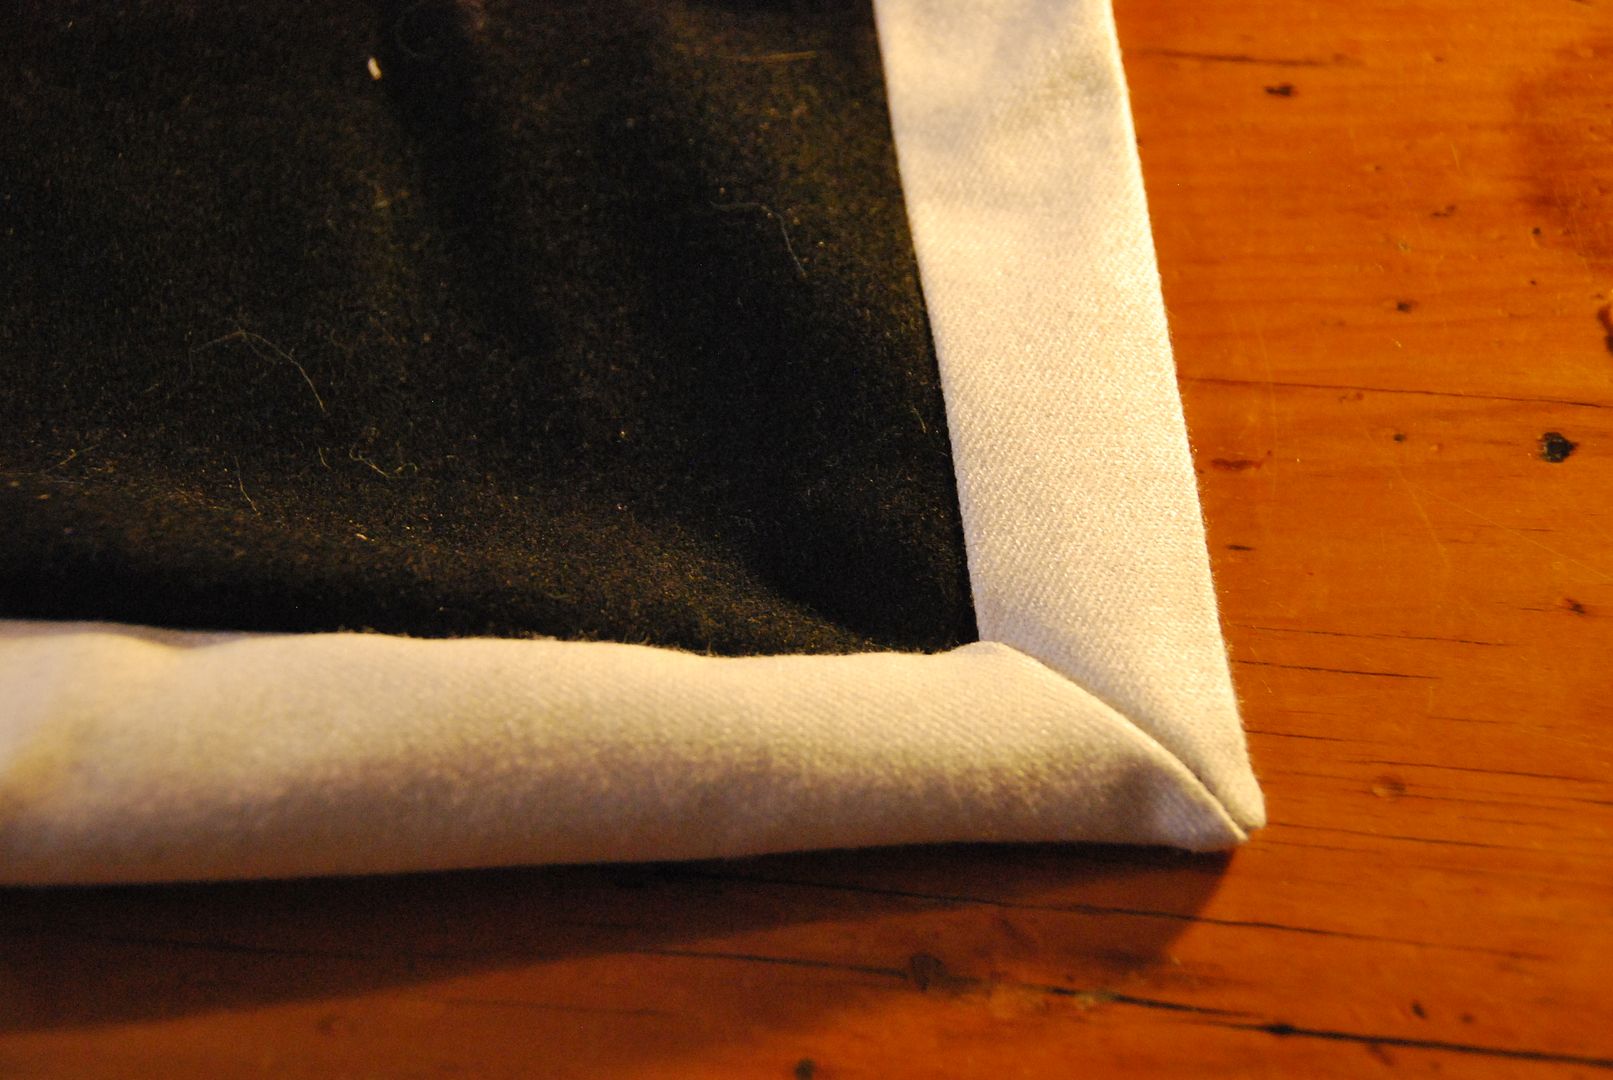
With great difficulty (for I hadn't exactly thought ahead on this one) I had to finish the bottom edge with a white stripe. I ran into some difficulty at the corners, requiring me to sew and clip in some 45 degree angles to make the connection work.
This trim was then ironed over and cross-stitched in place. (Yes, by hand.)
The last part to do was the sleeves. I drafted the sleeve pattern, but interjected a whit stripe down the center, remembering to add in my seam allowances.
These were eased into the armholes, then the edges were finished and hemmed.
And presto! A really nice jacket! >:D
My new update day will most likely be friday. More great content coming this summer so look forward to it! ;D

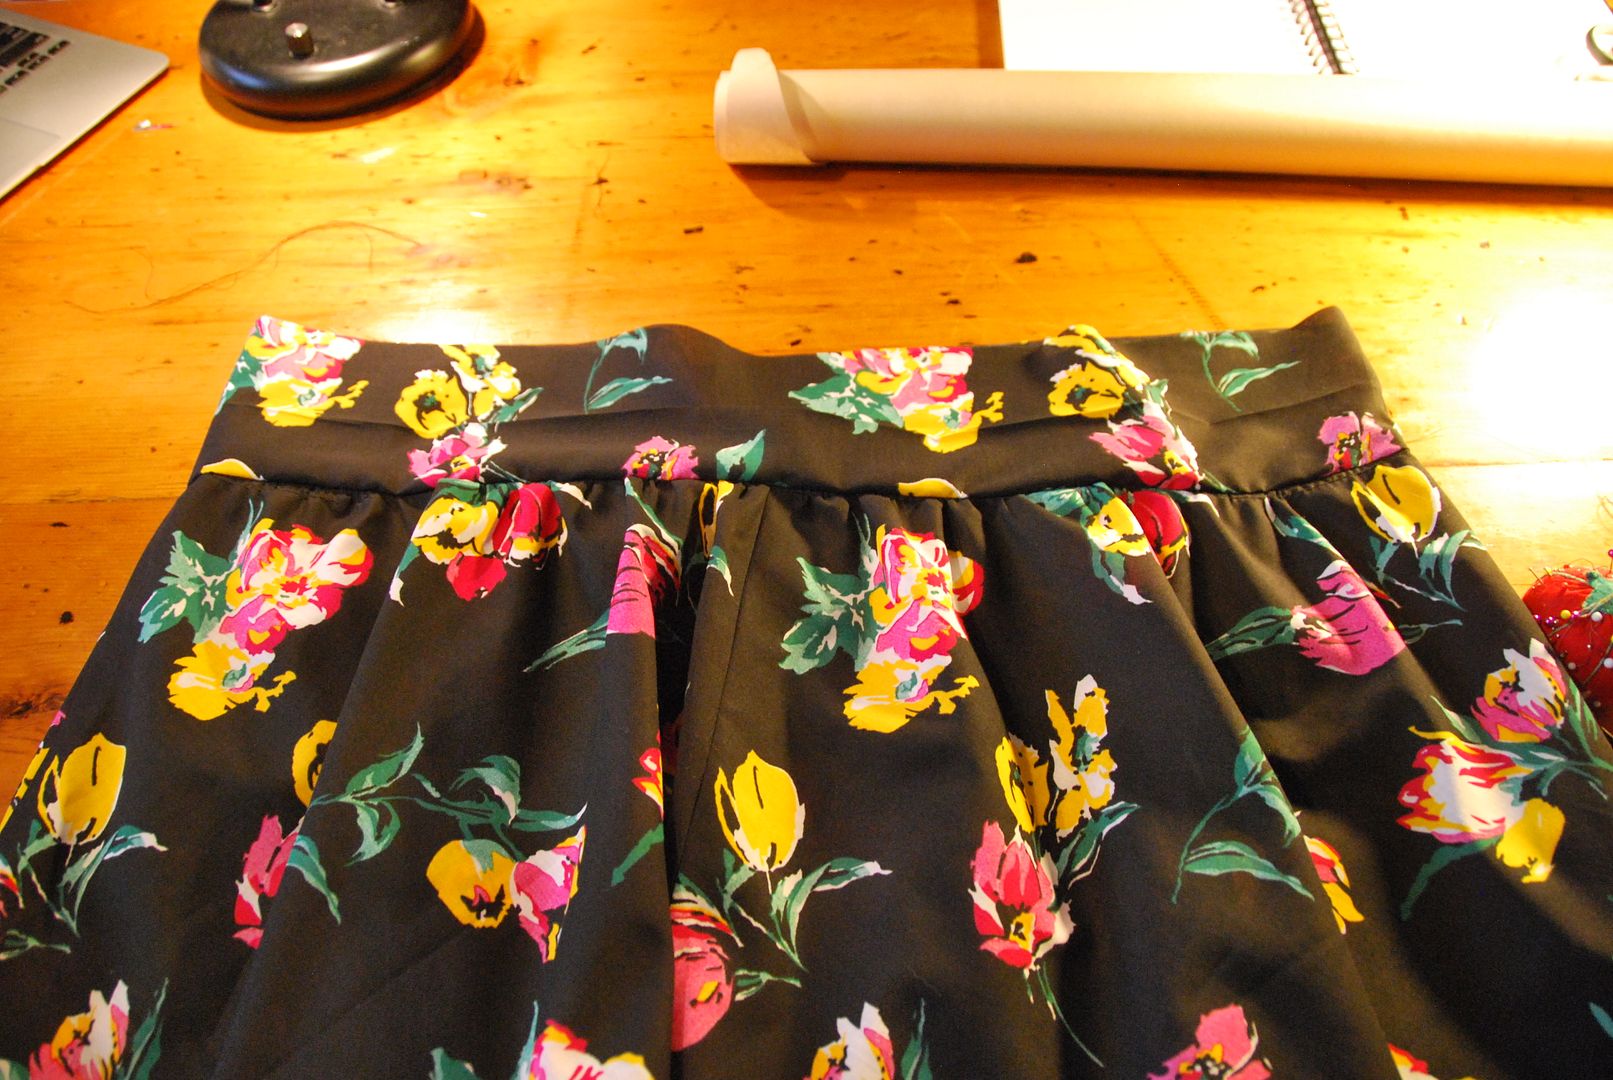
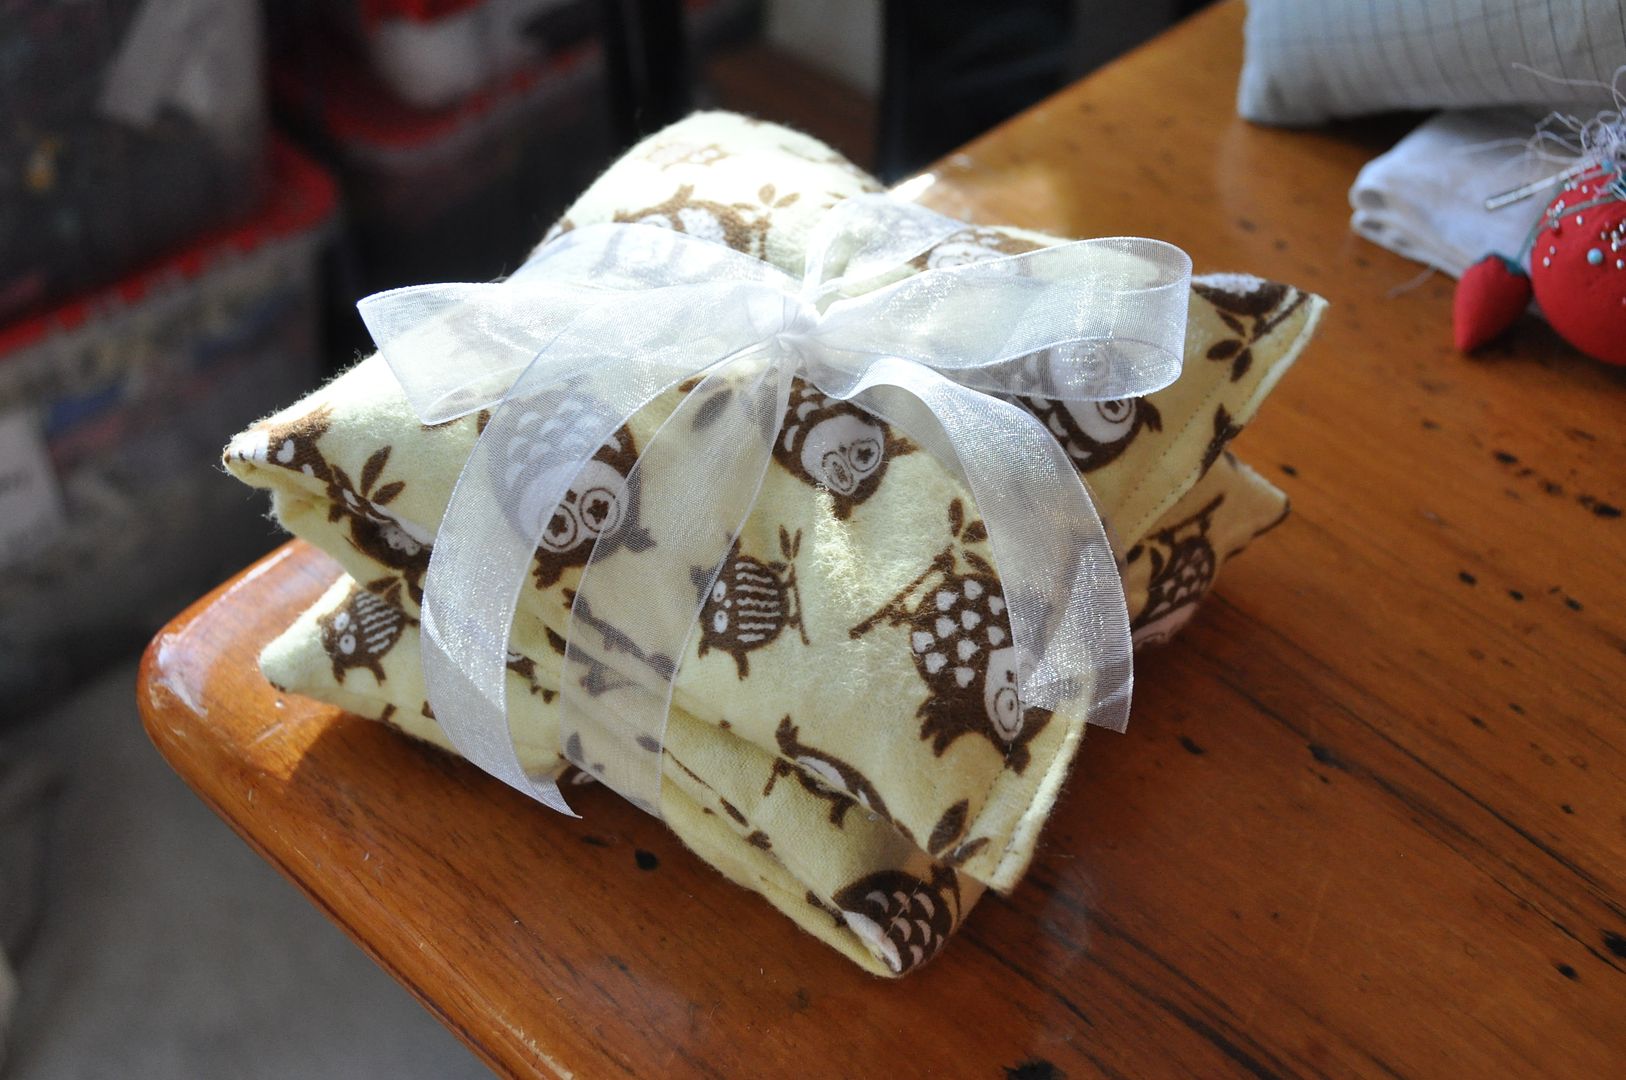 Need an idea for a quick, easy, and practical homemade gift? This was my gift for a Secret Santa exchange this year. A microwaveable bean bag warmer. It is great for muscle pain and cold toes. ;D All you need is cotton fabric and some rice!
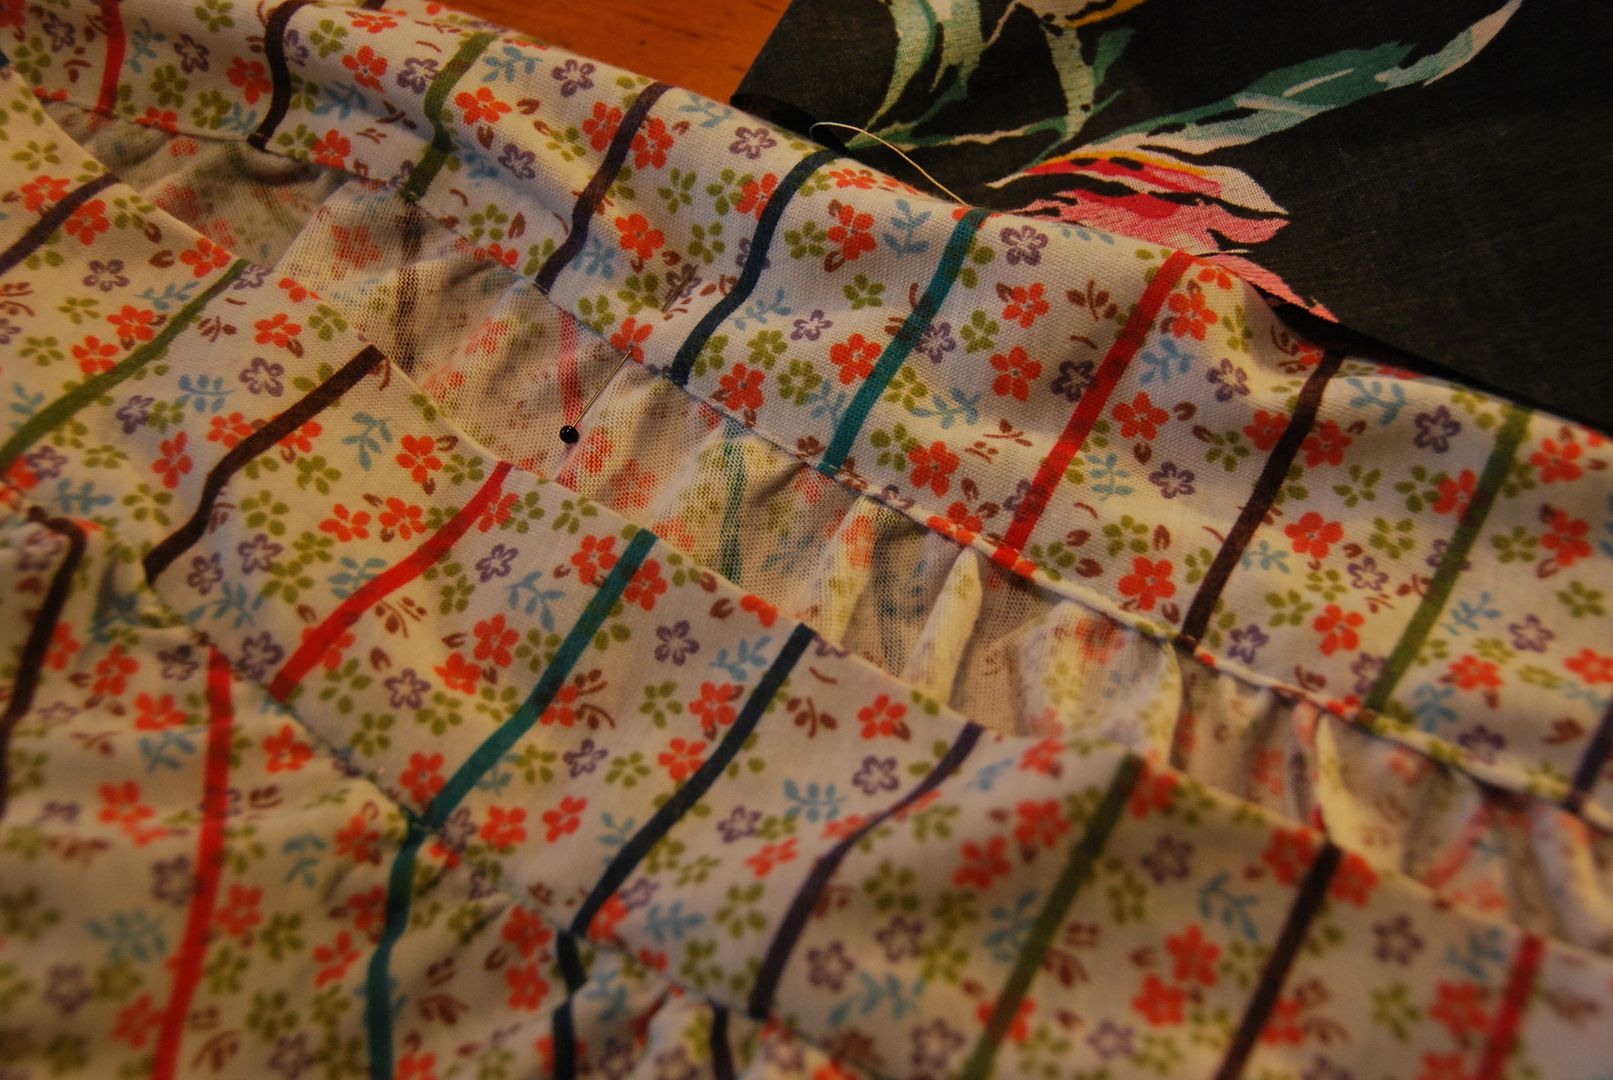
 First I cut a rectangle of flannel that was 13"x22". I folded it in half lengthwise (patterned side together) and lined up the edges, pinning them in place. Then I stitched around 2 sides leaving one end open.
  Then I clipped the excess fabric in the corners and turned it right way out. I poured in a little less than 2 cups of rice, then did a line of stitching about 1/3 of the way down the rectangle. This ensures that the rice doesn't just all slide to one end of the bag. I repeated the process with the middle section. I poured my last 2 cups of rice in the final section and then folded the unfinished edge inside, top-stitching it closed neatly.