Part 5 of the Vaporeon saga! Let's talk about wraps, bracers and gloves! This was probably the most time consuming and difficult part of the entire costume to construct. Lots of hand painting and hand stitching was involved. The end result ended up looking even better than I had envisioned! >:D
Links to
Part 1: Bolero,
Part 2: Under Layers,
Part 3: Wrap Skirt Tail, and
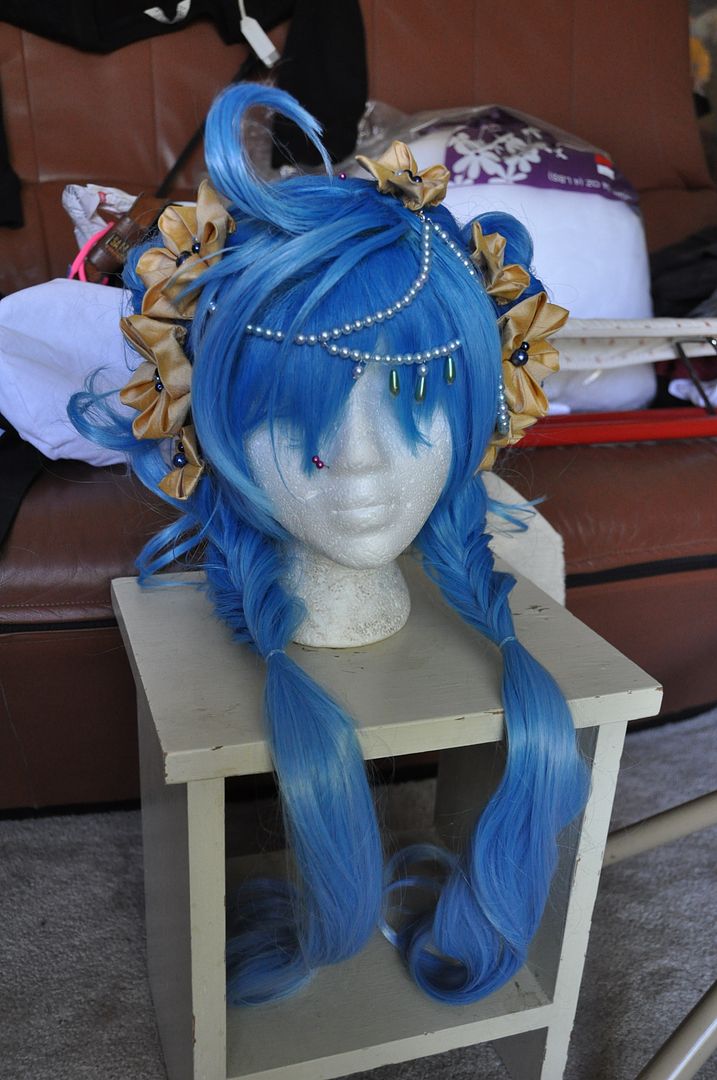
Part 4: Wig and Hairpieces!
Thanks to
Elemental Photography for the wonderful photoshoot! Credit for the original costume design goes to
Cowslip!
The way I started drafting the pattern for these was super scientific! Not really. I literally traced my leg onto paper. This is so I could figure out the relational distance between my ankle, knee and thigh. This was purely to use to get the proportional
heights of the bracers and wraps correct.
From there I was able to mark how tall I wanted the bracers and wraps to be. Then I drafted the pattern for the wraps and bracers separately. I also drafted the arm wraps and bracers at this time.

I'll start with the bracers first, since I finished the construction on those first.
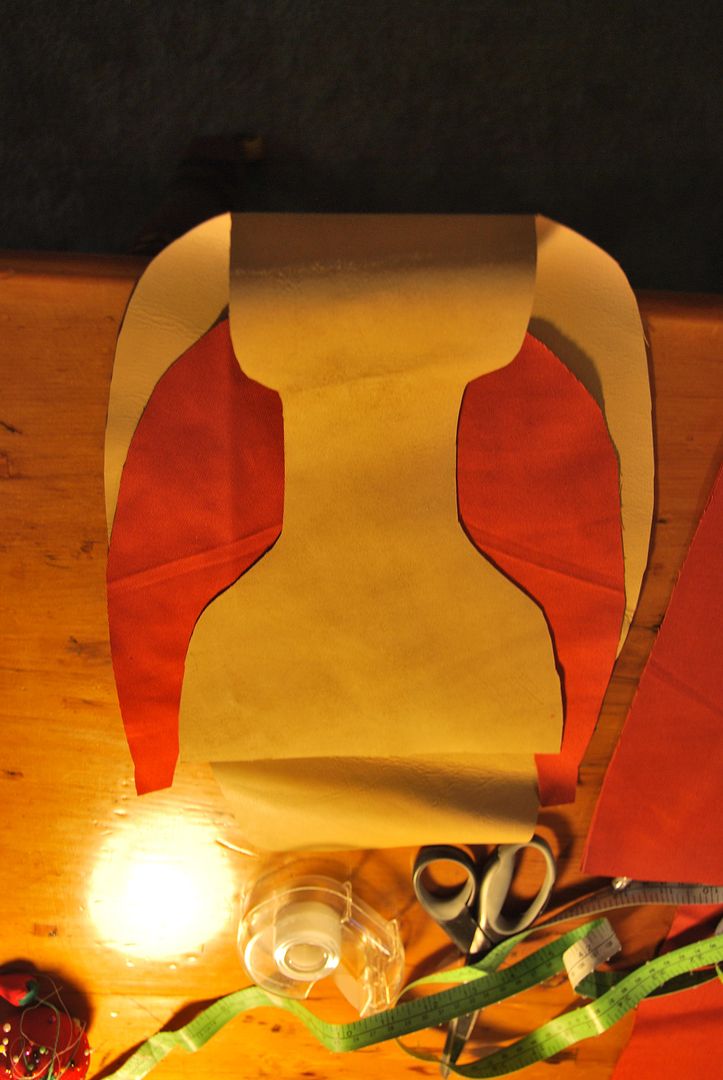
I cut out my pieces in the various fabrics. I had an under layer in a shiny synthetic navy blue fabric and an over layer in a light aqua cotton (which was leftover from the
Suppi costume).
I nearly cut out the wrong amount of pieces when I was laying out my pattern. Every piece has a backing because I needed that to properly finish the scalloped edges on the top and bottom. This meant every piece was doubled. The navy under layer was backed with the same navy cotton as the bolero lining because I ran out of my other navy fabric.
I assembled each of the fronts and backings separately, sewing them along the side seams. I ironed the seams open flat.

At this point I took the front over layer pieces of the bracers and painted on my scale pattern. I lightly drew this out in pencil and then traced over my lines with navy blue fabric paint. It sounds simple, but it took a really long time. I ironed them to set the paint before moving on.

Next I pinned each piece to its backing right sides together. I sewed them together along the top and bottom edges, leaving both sides open to turn them right way out. Before turning them out, I trimmed the excess seam allowance on the inside. I top stitched along the edges to neatly finish them.
I also added in my top stitching detail on the tops of the under layer at this time.
I aligned my side edges, zig zagged stitched over the raw edge of the fabric and then turned that to the inside and top stitched it down.
Then I used a punch to punch out the holes to put the grommets in for the laces. At this point I still had access to the grommet press at school, which I made good use of.
This was the point where I laid the project to rest for a year, because one of the main hurdles was the leg wraps, which I was positively stumped on. I didn't know how to rig them, I didn't know how to do the detailing and I didn't want to rush them and do a crappy job of it.

When I returned to the project, along with replacing the wig to fix the colour matching issue I also found another thing that was bothering me. The bracers were too teal for the rest of the costume, especially now that I had replaced the wig.
After re-evaluating, I decided to upgrade the paint job on the bracers, and in the process change the colour of them to be bluer. I added in depth to the scales, but also dry brushed over the whole thing to tint it. You can really see the difference it made in this progress shot.
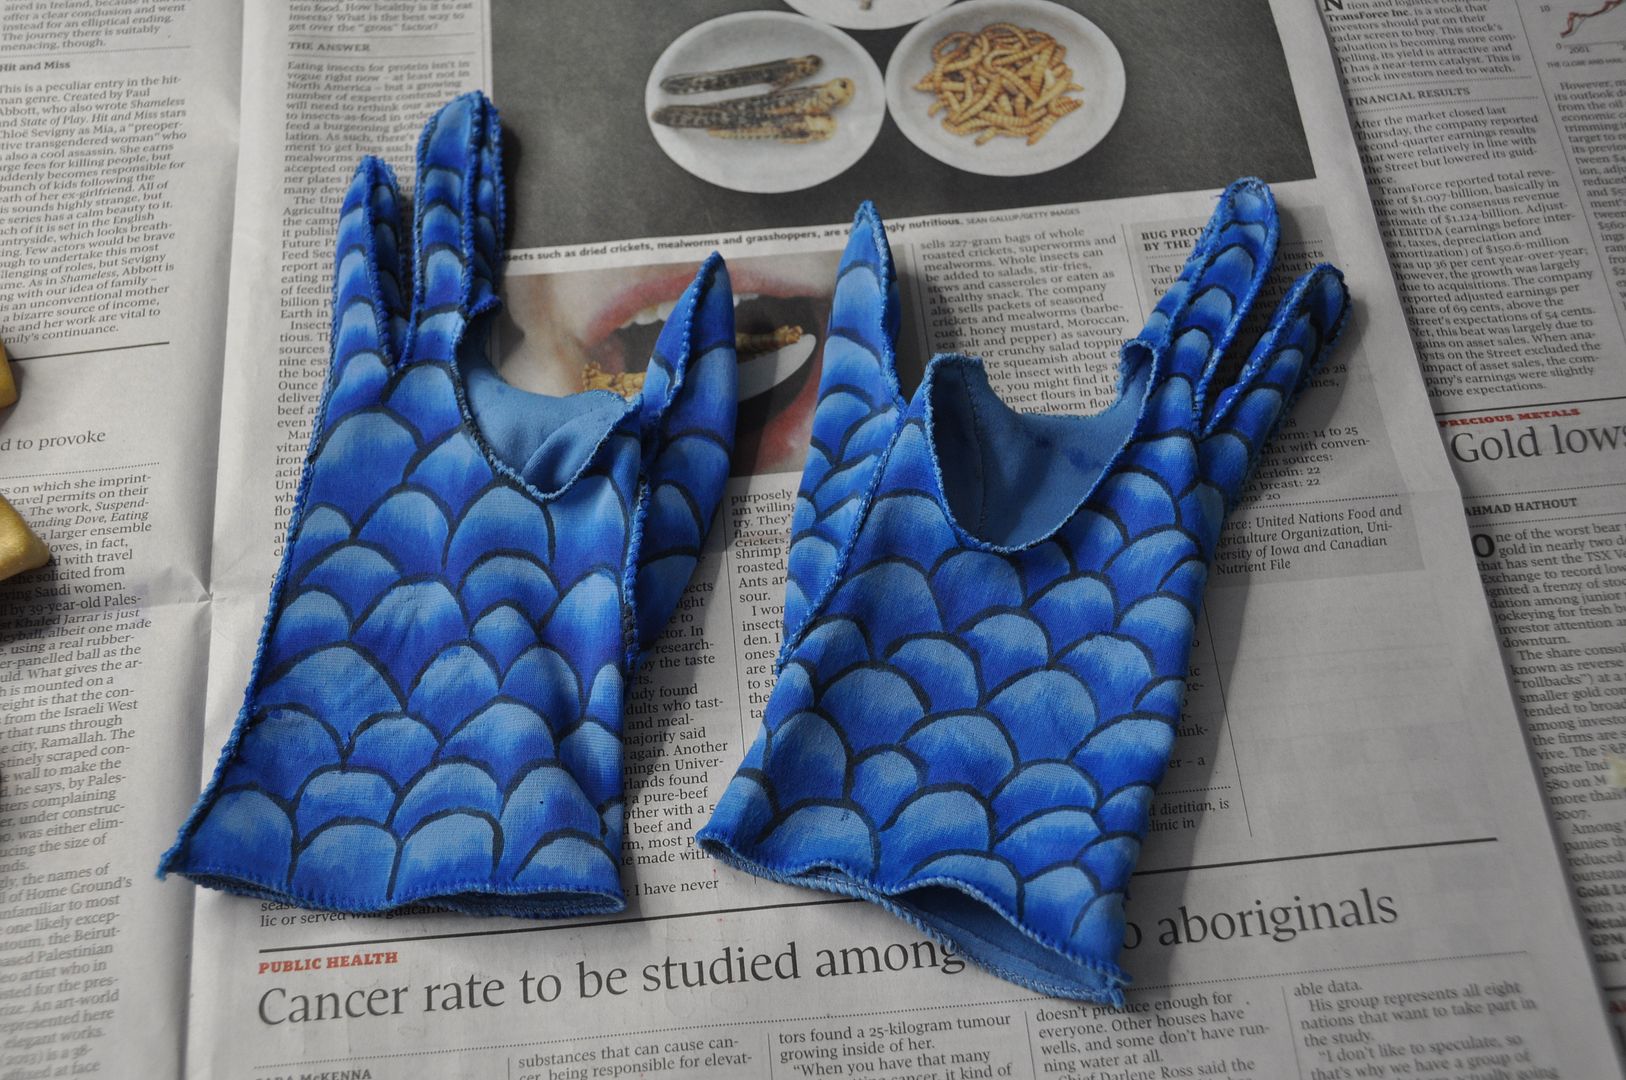
The gloves I bought in Kensington market. I made gloves for an earlier project and decided it was by far the most horribly tedious thing to do ever. So I decided to buy and alter a pair. I cut out the hole that encompassed the index and middle finger on each glove, then zig zagged stitched the edges to finish them so they wouldn't fray all over the place.
The gloves were painted in the same style, except instead of laying them flat, I had to wear them each on my left hand in turn to paint them.
By doing the scale pattern and adding the depth to both the gloves and bracers it helped to meld them together visually and also give the false impression that they are even remotely the same shade of blue. Because they really weren't.
Now let's travel back to the beginning of the project when I traced my leg and started patterning. For the wraps I was venturing into an area I didn't have much experience with at the time--stretch fabric. In this project I can freely admit that I had no idea what I was doing and problems I encountered in the construction of these wraps are one of the main reasons I stopped working on the project for a while.
I will start with my first mistake: I bought fabric that was one-way stretch. Somehow it was more unpredictable than stretch fabric. I don't know, I just didn't like working with it.
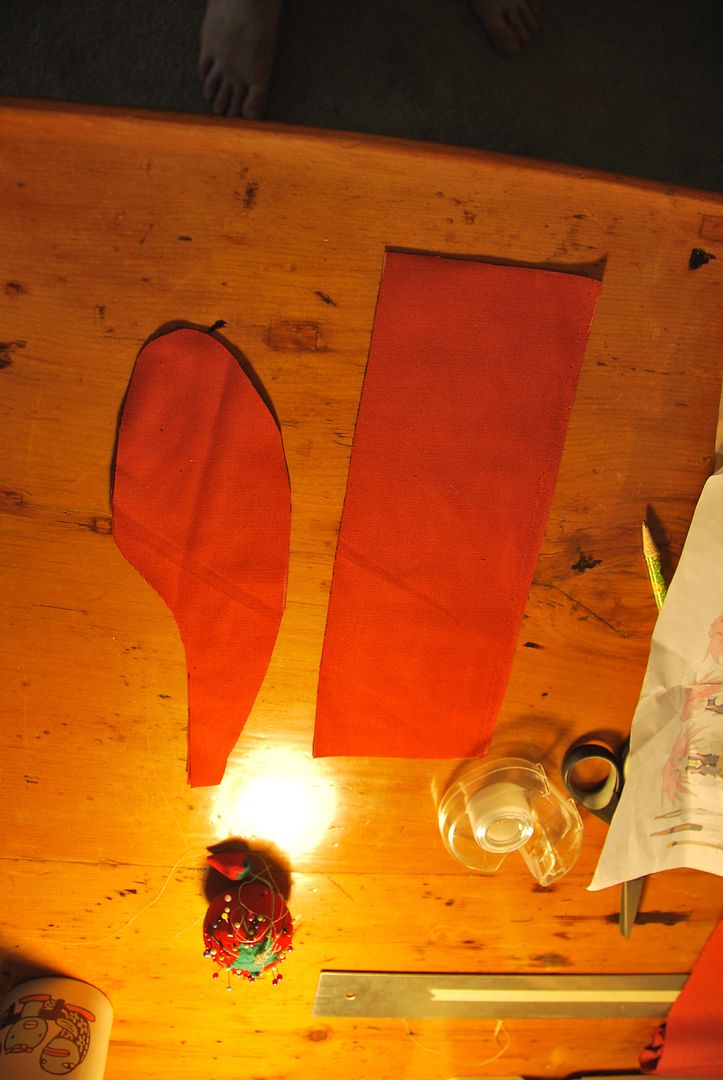
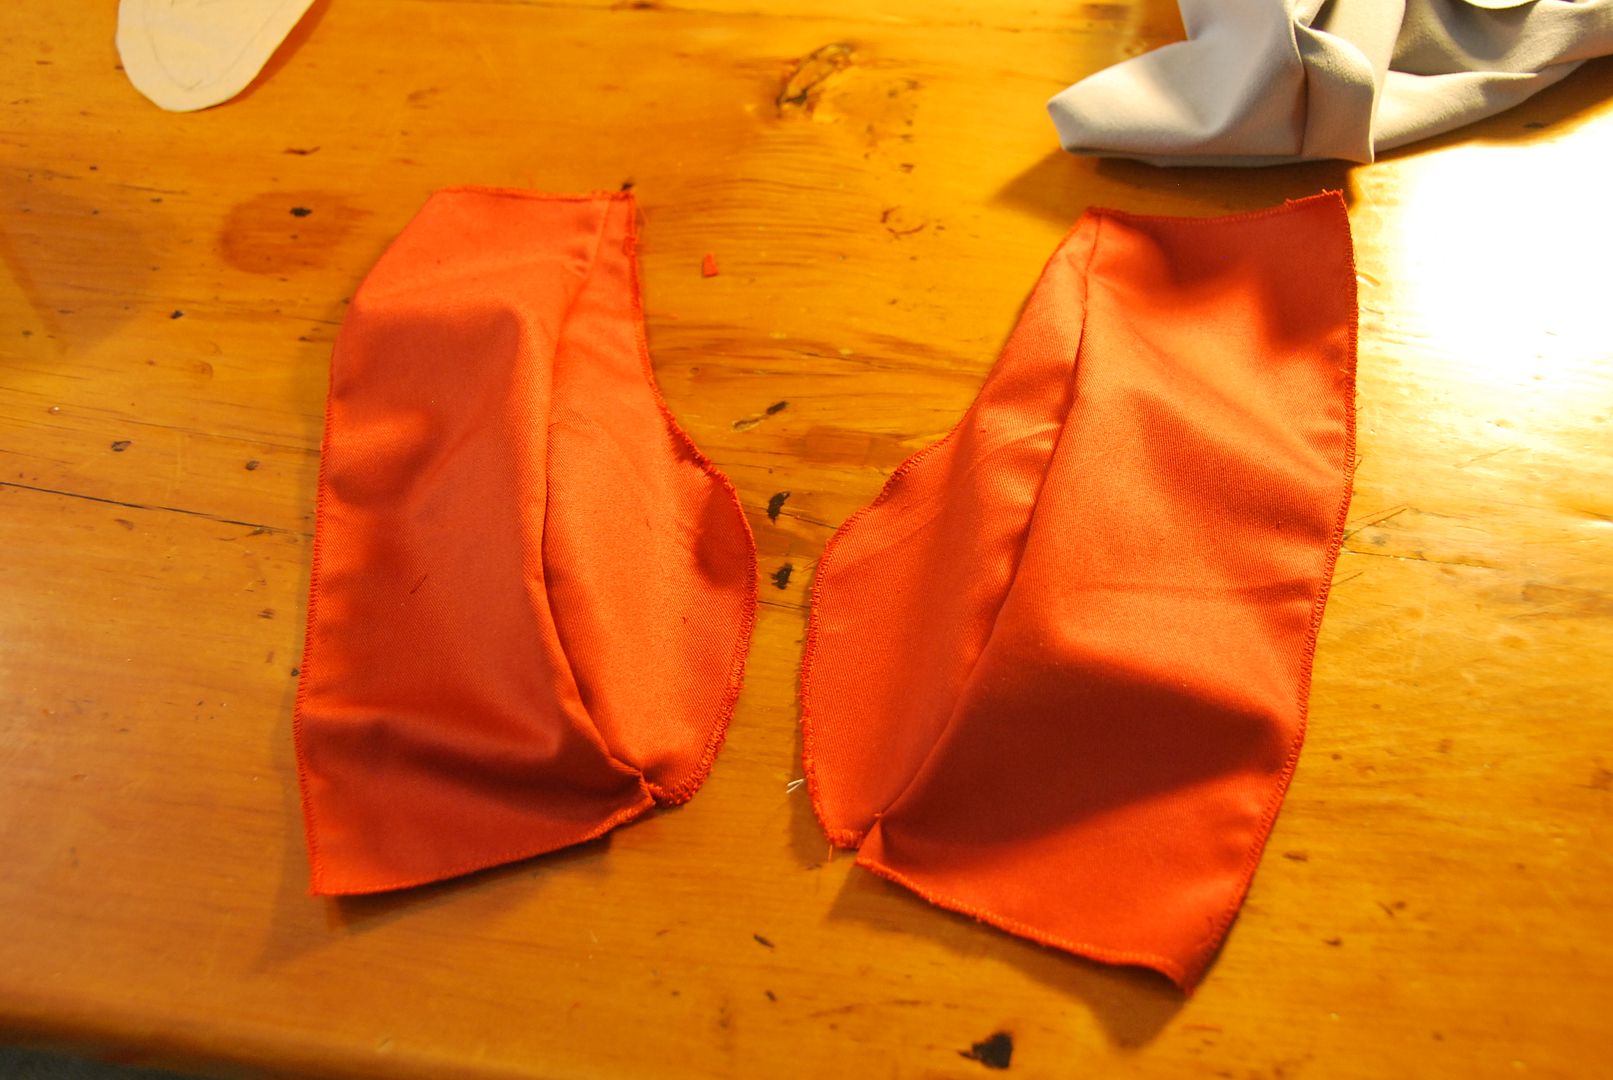
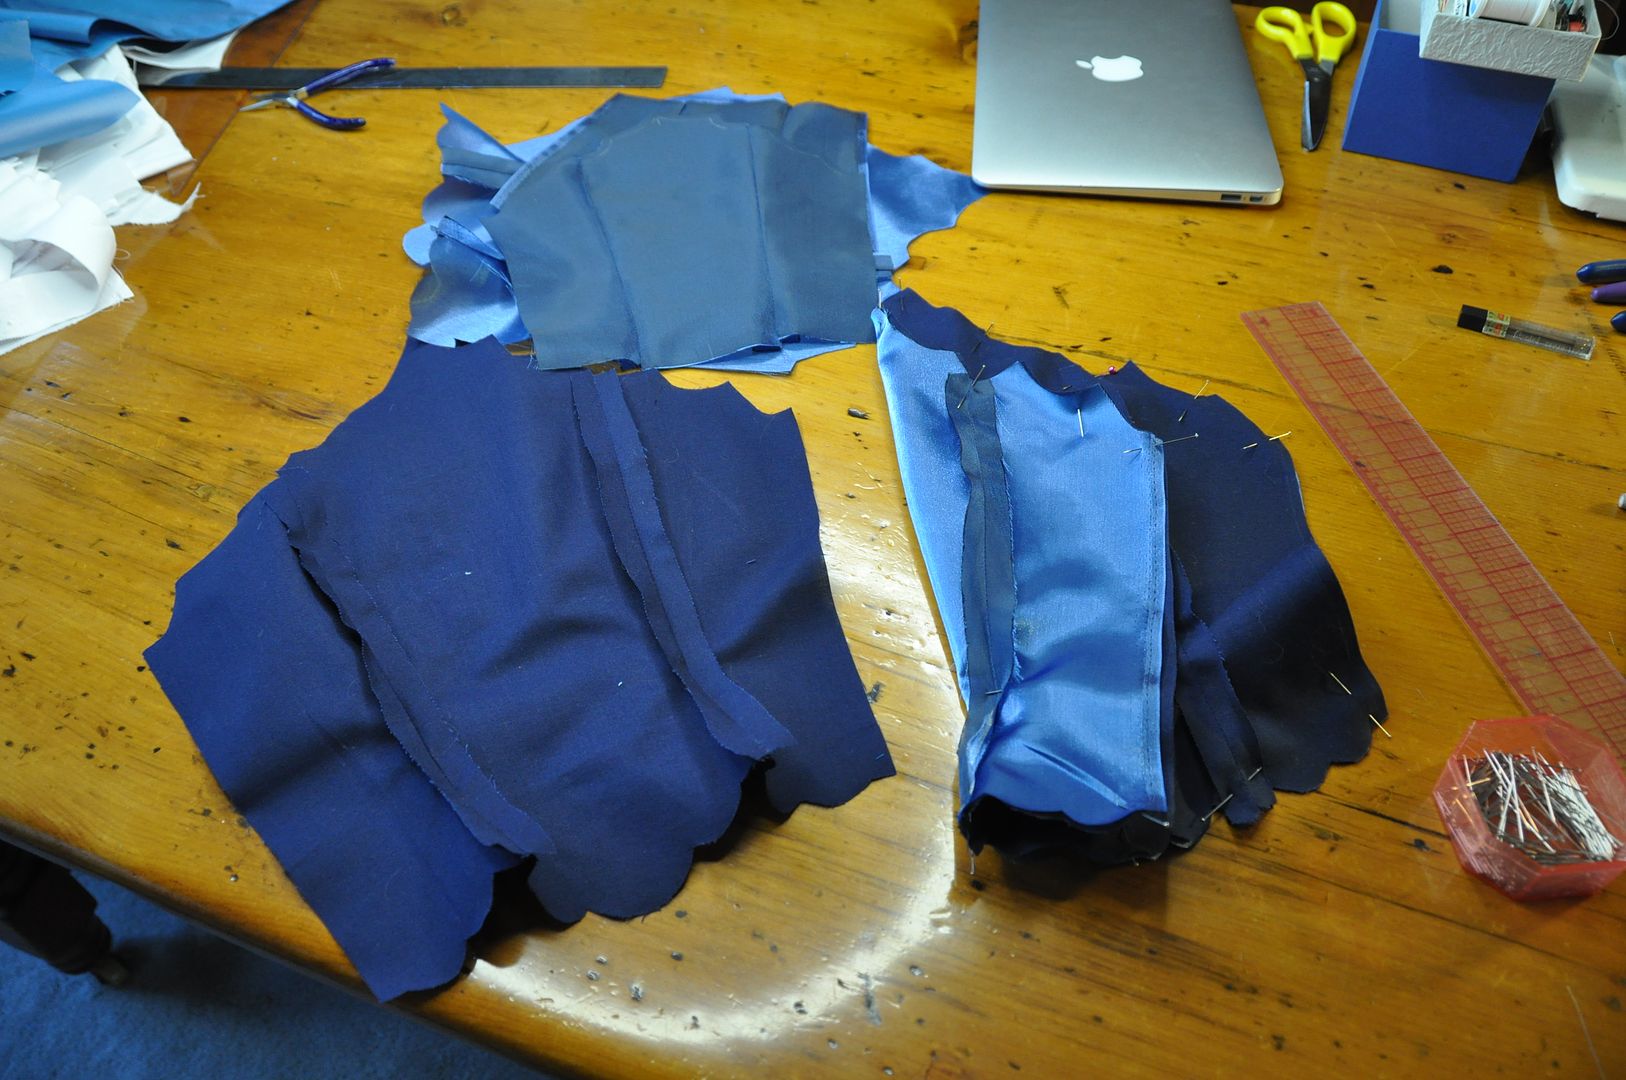
I patterned out my pieces, figuring out the overlap at the top. In this picture you can see the two pieces for a leg wrap on the left and the two pieces for an arm wrap on the right.

I took them to school to assemble them with the serger, because this fabric frayed like crazy. I ended up making them slightly uncomfortably snug, but since I had serged off the seam allowance I couldn't let them out, and I used up all my fabric so I couldn't remake them.
I used the silver silk bias tape I had made for the bolero to finish the top edges.
At this point, I had no idea how to rig them. They were super snug, but not enough to stay up without slipping. This is when I threw in the towel on the project.
Zoom forward to one year. I am one year wiser. And I have ideas about how to finish this project.
First I decided to actually add the floral pattern to the fabric, which I had originally decided to not bother with (because of time constraints).
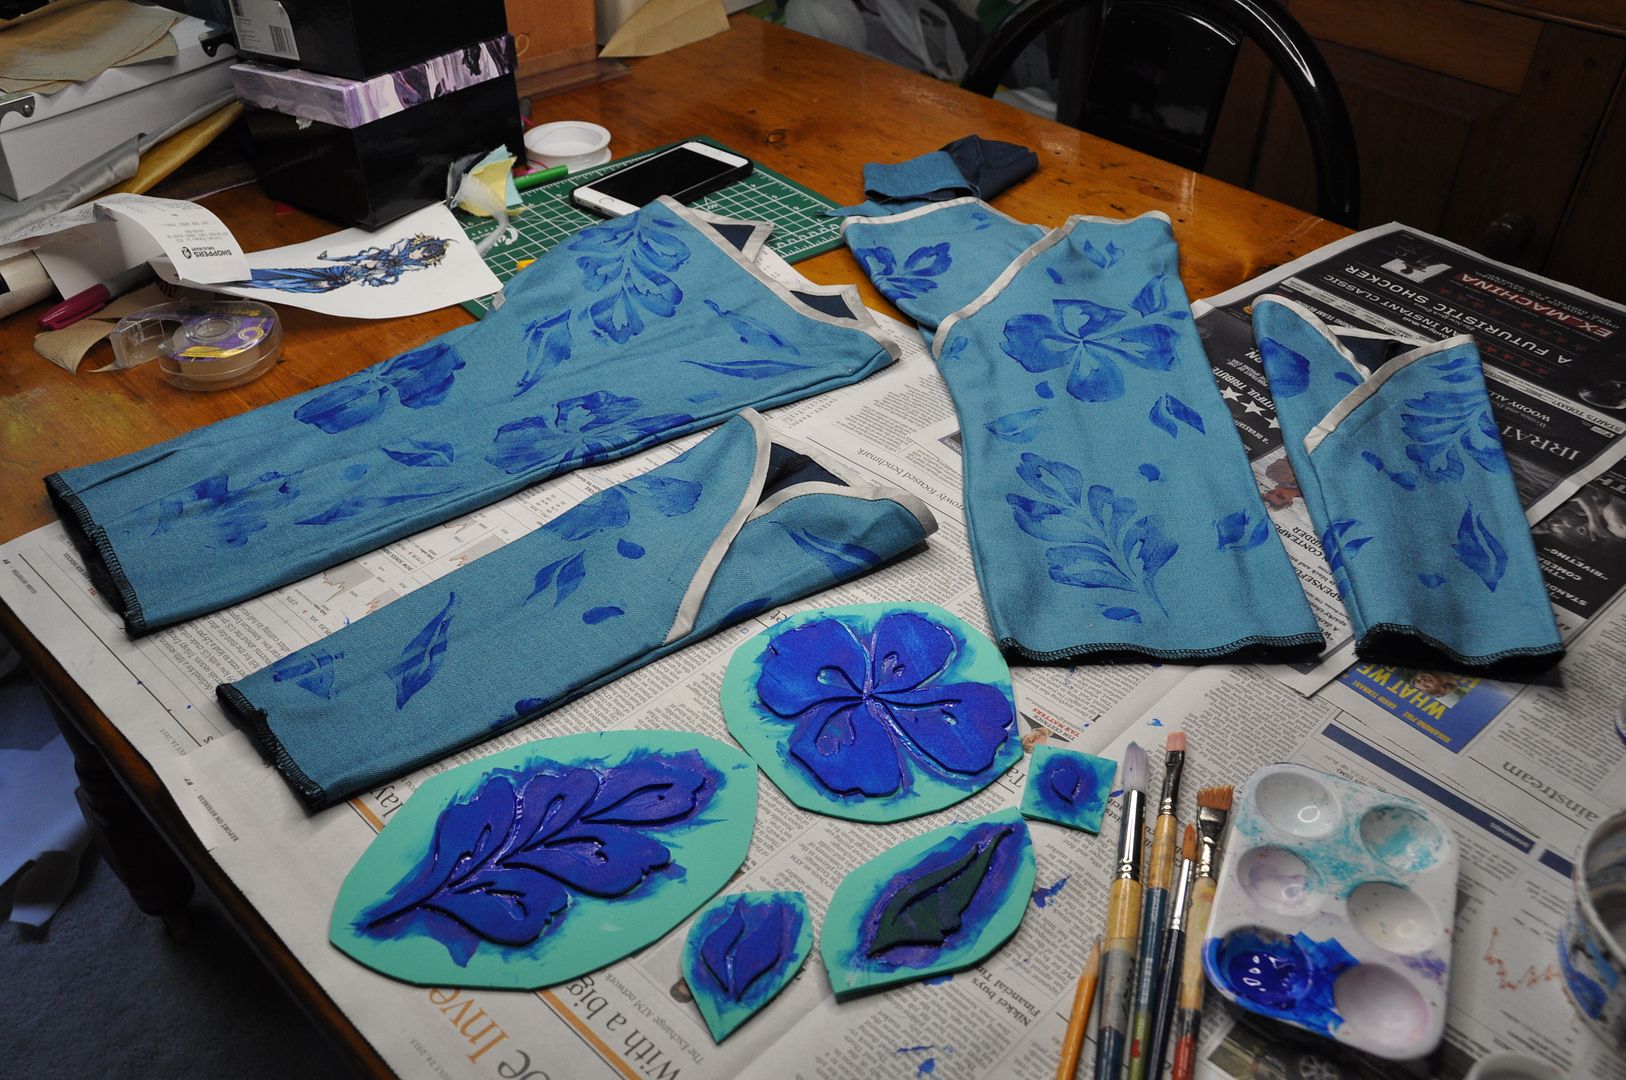
I decided to make stamps to create my design, rather than hand painting on the floral design. This is much quicker and easier if you are making repeating patterns/patterns with repeating elements. Based on the barely visible details in the reference image I sketched out some suitable flower and leaf designs, then traced those onto craft foam and cut them out. I glued the pieces onto a foam backing creating my stamps.
I laid out my wraps and began stamping. Using a blue fabric paint, I used a brush to apply the paint to the stamps and then pressed the stamp into a spot of my choosing on the wraps. I made the paint application purposely patchy. I didn't want the flowers to be solid.
I wanted the flowers to be random and sporadic. There is no science to the design. I just made sure not to have too many of the same stamp to close to each other.
I had to wait for them to dry before flipping them over and doing the sides and back. When everything was painted and dry I heat set the paint with an iron.
Next I decided to finish the overlaps differently. My original plan was to make the overlaps a functional closure. But it wasn't working--it pulled the fabric on a weird diagonal, and looked super bad. So I decided to sew it shut and just fake it. I sewed the frogs on top as decoration.
Next I used bias tape and hand stitched on all the fancy loops and detailing on each of the wraps. This took forever.
Lastly I had to rig them so they would stay up. As I mentioned in my wrap skirt section, the rigging for the wraps was attached to the inside of the skirt's waistband. At the back there is an elastic strap that attaches to each wrap using garter hooks. They are stretched to be pretty tight, but not so much that I can't bend or sit. Then I have a second backup strap made of webbing that doesn't put as much tension on it. This is for the sake of redundancy--if the first strap fails, the second will keep it up. You can see a bit of the rigging system in the picture below. I tried to keep it as invisible as possible.
The arm wraps are attached to the bolero with simple buttons and loops. Unfortunately they tend to pull the bolero sleeves down oddly. I plan to remedy this in the near future by stuffing the bolero sleeves.


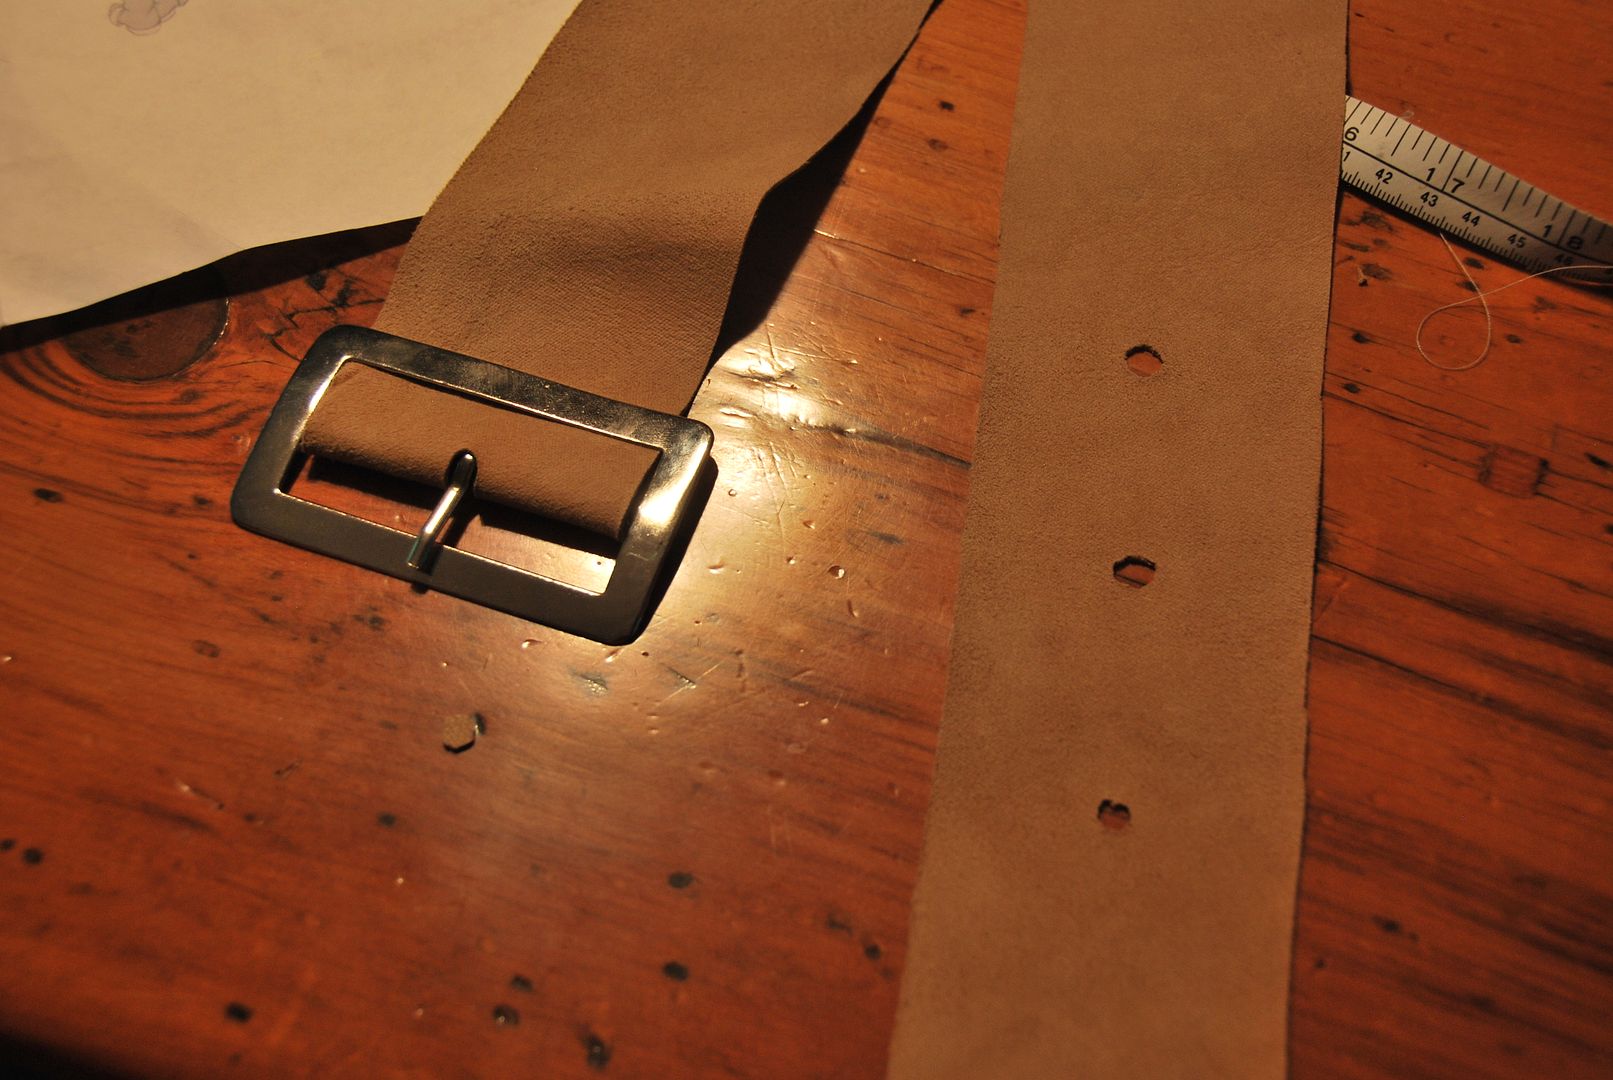
 The first piece I cut was the long strip for the belt. Later I went back and reinforced this strip by sewing a second layer to it. I used scissors and carefully cut out the holes. The buckle was found in an store on Queen street after much searching.
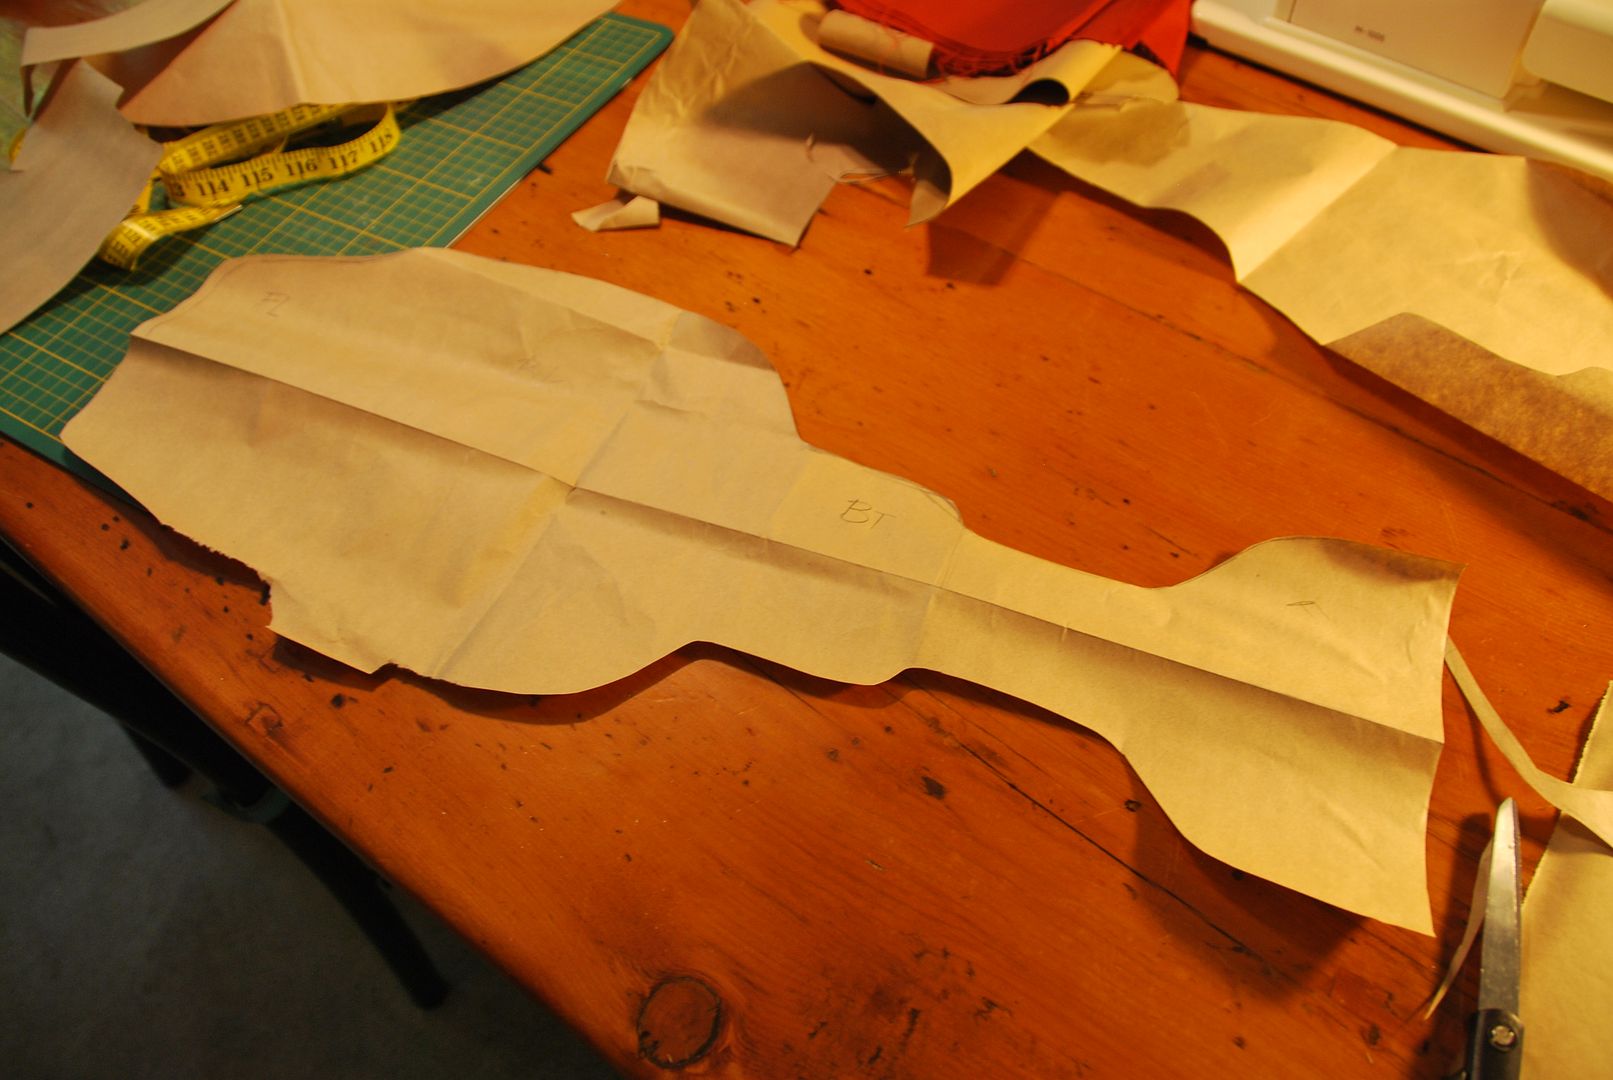

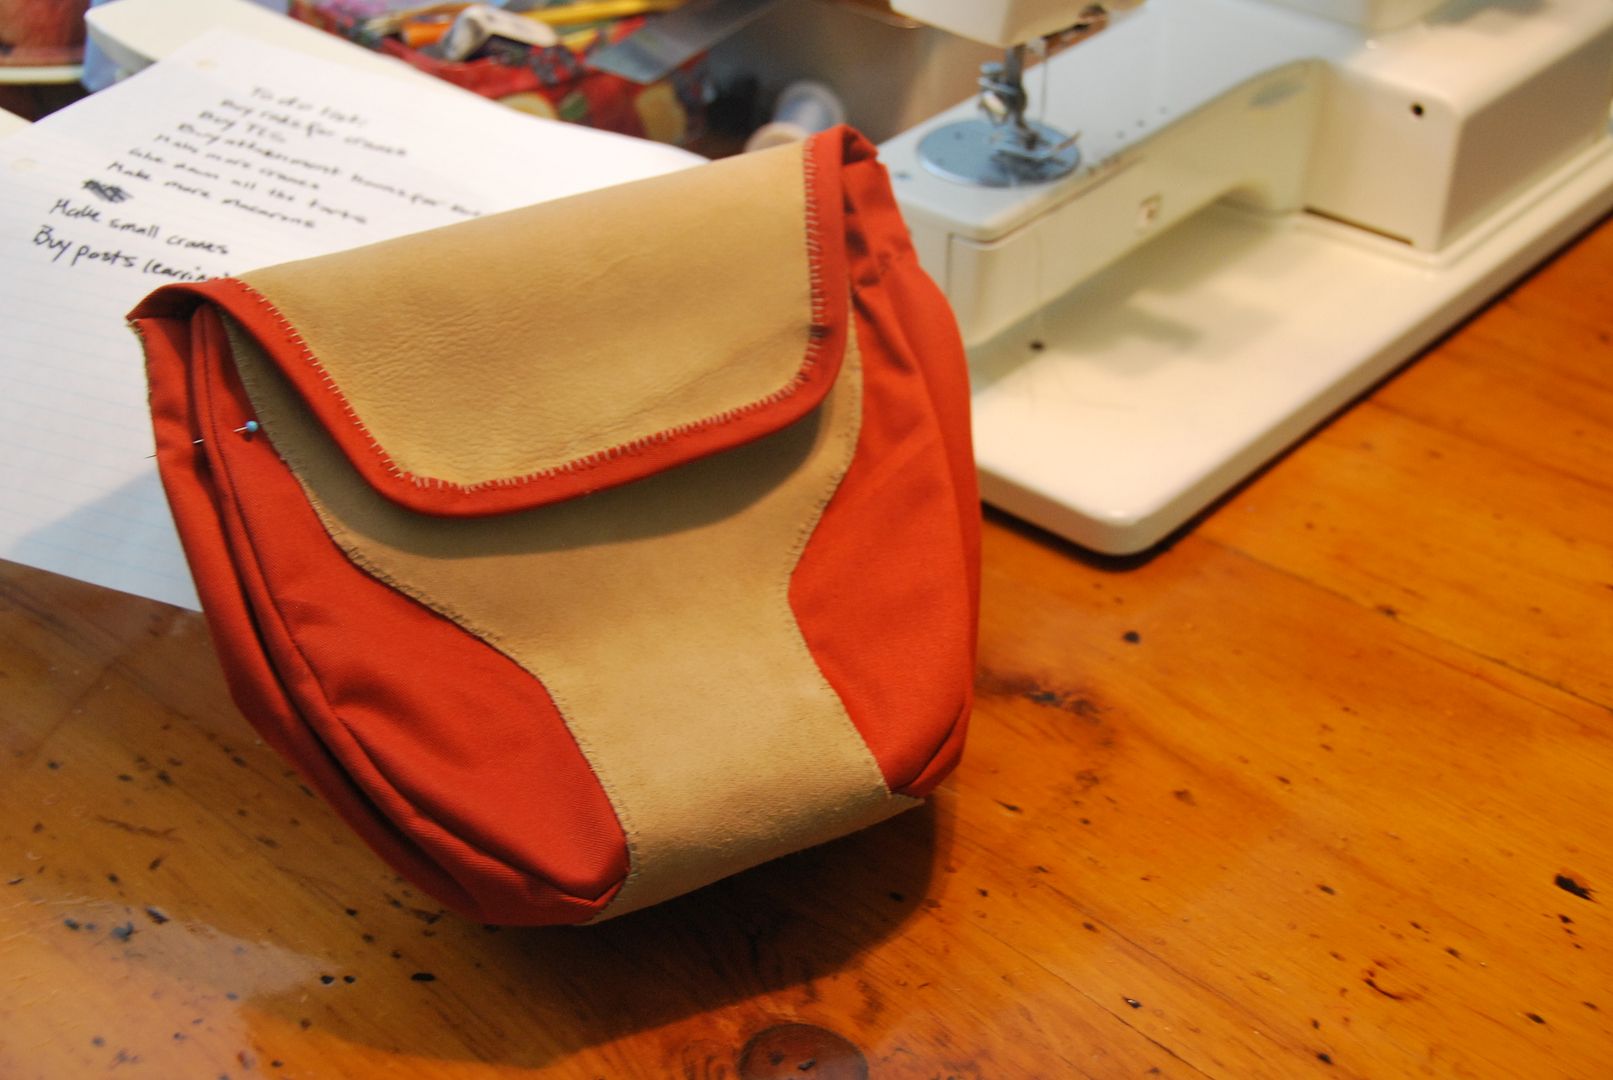 I made a matching bias tape and stitched that on as well. The last step was to cut 2 slits in the back so the belt could be fed through the pouch.
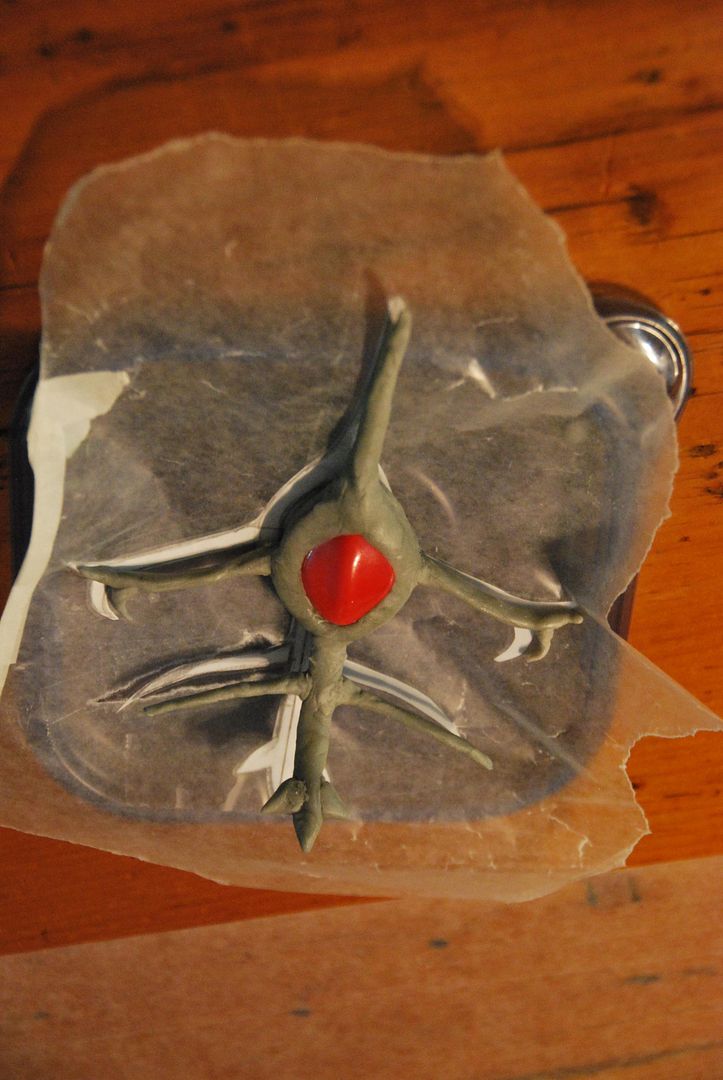
 Next up is the dagger! The dagger is also attached to the belt, but the character never uses it, it seems purely part of the design.
 I created a sheath and loop to attach to the belt. The loop was on an angle so the dagger would be angled like it is on the character.


