Showing posts with label floral. Show all posts

Friday, July 10, 2015

Floral Cream Underbust Corset

Hey all! I made another corset this past winter. This is not an obsession I swear... This one is an underbust corset that is going to act as a waist cincher/posture modifier, to be worn under my Phoenix costume (which is currently on hiatus). I also made it with another future steampunk outfit in mind... 

Showcasing here the new pistol prop I bought in Austria last month. Also worn with my Long Pleated Skirt.


I like how the shape of this one turned out much better than my black corset. Instead of using a fashion fabric on the outside, I just used the coutil. Except this time my coutil has a cool floral pattern on it! I picked up this fabric from the Farthingales booth at CostumeCon32 last year. It's super strong and super pretty.


 First I used twill tape to mark out my seam lines on my judy. Then I draped muslin over those sections to get my pattern piece shapes. I used a pen to draw the shapes on the fabric, unpinned the pieces and then cut along the lines I drew.

The pattern I ended up with looked like this. I numbered my pieces from 1-7 (center front to center back).

After making a mockup and tweaking the pattern to reflect the changes I made, I reduced the pattern so that it would have a 2" gap at the back. This means that I divided 2" into 7 parts and shaved off that amount from every seam. I shaved off just slightly more at the waist so that part could cinch even tighter. 
Then I cut my pieces out of my coutil. Remember you need 4 of every piece, a pair for each side.
For the center back panels I first sewed the pairs right sides together along the CB edge, then turned them right way out and pressed them. I flat basted all my pairs together (excluding the center front panels) and top stitched all the boning channels. The 14 panels looked like this.


I added in the busk to the center front, then flat basted it and added the last boning channels. If you want a tutorial on how to insert a busk, go here!

Then I began to sew the panels together. This is done very carefully, lining up the flat basted lines and the waist line. Accuracy is your friend.
Then I cut my spiral bones to length and inserted them.


I made my own piping trim from leftover fabric from my Steampunk Corset. If you want a tutorial on how I make piping trim, go here!

I attached the piping, then hand stitched down all the seams on the inside. Then I put the eyelets/grommets in the center back and added some cord to lace it.

Presto! Another corset! ;D


Tuesday, August 20, 2013

Adjustable Marimekko Floral Skirt


Taking a break from cosplay projects to post some of my original work from this summer! This is a fun summer skirt I designed, using the beautiful Marimekko my sister got me for Christmas. I really love the large floral print and it was a challenge to design something suitable to show it off. But I think I nailed it. ;D My favourite part of the skirt is the two large pockets on the side.


First thing I did was make a broadcloth mockup of my garment, to make sure that the pleats had enough volume, and that the pockets would hang the way I wanted. Since this is expensive designer fabric I didn't want to waste any by making easily preventable mistakes. After some minor adjustments to my pattern I was ready to move ahead.

The pattern is made mostly of rectangles. When cutting I had to be very conscious of the floral print ensuring that there weren't too many noticeable gaps in the pattern, and that the print wasn't upside-down on any of the panels.

The two back pieces were stitched together first, then the zipper was inserted.
Then I added in the pleats on the front and back panels. These were only stitched a few inches down at the top.

Calculating for pleats is not too hard, but requires some math. I purposefully did not make all my pleats even (but they were still symmetrical).
The side panel pocket detail was constructed before being attached to the rest of the skirt. For this I chose a nice contrasting orange/brown fabric.

I first sewed the two curved top edges together and flipped the pocket to the inside. This left me with a nice finished edge which I ironed and top-stitched.
To create the loose hanging pocket edge the wide angled inner pocket piece is attached to a narrower rectangular piece that would be attached to the waistband later.  (This piece is the visible piece on the hip of the skirt.)

I finished up my inner seams then attached the side panels (now with pockets) to my front and back panels. Then I added a waist band, which closes with a hook above the zipper. Then the skirt was hemmed to the desired length.
The last step was making the skirt adjustable so it could be worn in 3 different styles. I added in 2 button holes and a button that allows you to pin up the side of the skirt to form the second style (see left). Also there are two strips on the inside that can gather up the sides for the third style which reveals more leg. ;D

I wore this skirt to my cousin's engagement party. :)

Tuesday, July 16, 2013

Simple Gathered Skirt (Elastic Waistband)

Hey all! I thought we would take a small break from the cosplay influx this week and look at a project I did way back in December as a Christmas present for my sister. I made 4 simple floral skirts for her, all from the same pattern. This is an original design of mine, using an existing skirt to base my pattern from. It is a circle skirt, with pockets and an elastic waistband. (Most of the pictures are of the yellow skirt, because it photographed the nicest!)

I started by creating 4 equal panels. The process is all very rough and full of guesstimation, but basically I figured out the waistband measurement I wanted (pre-elstic), then added extra to make the gathers. I made that measurement equal to 2/3 the circumference of a circle, then solved for radius. Once I had my radius, I was able to draft a pattern piece using a string and pencil to make the arcs. I figured out the length I wanted added that to my radius and drew a second arc below.  The measurement of the small arc was equal to 1/4 of my waistband measurement (pre-elastic).
I drafted pockets for this skirt, ensuring that they would be secured to the waistband at the top, and not extend below the hem of the skirt.In order to make a pocket on each side I cut 4 pieces.

I then stitched the front and back seams together, leaving the sides open to insert the pockets.
On the two side seams, the pocket pieces were laid right sides together, with the flat seam edges lined up. These were then stitched down the side seam edge. (The above picture shows 1 side pocket before sewing.)

Then the seam was pressed flat, with the pocket hanging off the side like below.
Left you can see the front panel with the pockets stitched on.

I then finished the seam edges where the pocket was attached.
I then placed the front and back piece right sides together sewing up the side seam until the start of the pocket opening and then looping around to sew the pocket front/back together.

I then made the waistbands, closing them into loops, and ironing them in half lengthwise.
Even though both sides were technically the same, at this point I had to designate a "front" of the skirt, meaning that the pockets (which until this point were hanging free on the inside) were both tacked to the same side.

Using a long stitch length I basted around the top edge of the skirt without backtacking (two rows like pictured above), leaving the long extra thread hanging. (This ensured that I could grab onto them and easily cinch the gathers in by hand, distributing them evenly.) I gathered it until it was the same circumference as my waistband loop.

I unfolded my waistband and attached it right sides together with the top edge of the skirt.
Then I folded the waistband over to the inside and neatly ditch stitched it in place, leaving a 2 inch opening to insert the elastic.

I inserted an elastic, and threaded it through the waistband. This elastic was made smaller than the actual finished waist measurement so that it would stay up nicely when worn. It was then stitched into a finished loop. I closed the hole. Then I secured the elastic in the waistband with 2 lines of stitching. This ensured that it gathered evenly. I stretched the elastic until the fabric was not bunched as I ran it through the machine.
The last step was hemming, and then presto! 4 lovely skirts, all different while still using the same pattern. :)

(Switching my post day back to Tuesday, because Friday is just not working! hahaha)

Monday, August 27, 2012

Echino Dress


Here's a look at how I made my Echino Dress. 'Echino' is the name of one of the lines of fabrics on Super Buzzy, which is where this fabulous print comes from. Super Buzzy is a Japanese fabric and crafts site. They have some really nice prints. Although they can be on the expensive side... This particular fabric was given to me by my sister Alex for my birthday, and I finally got around to using it!

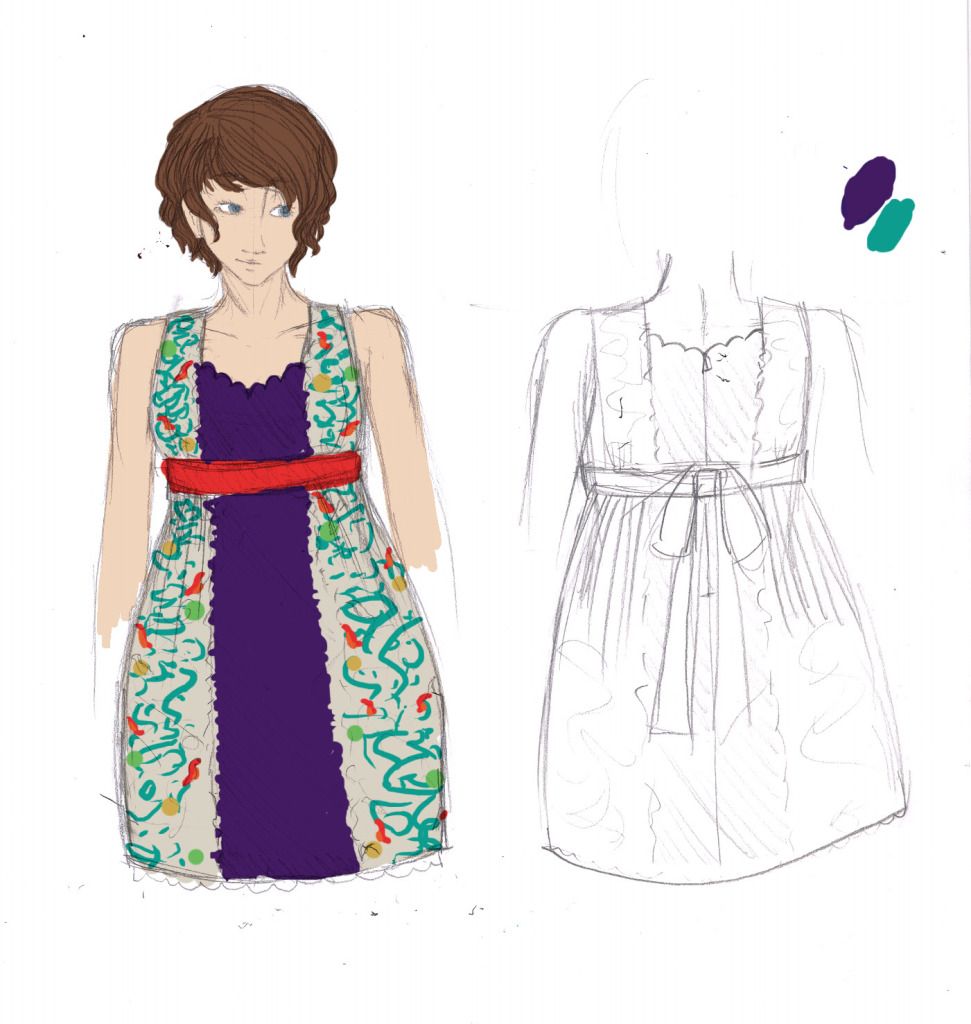
This is an original design that I made just for this fabric. Here is my design sketch, with the colour mock-up.

This dress was designed and made to wear to my cousin's wedding. Pictures of that should be up on Photo Escapes soon...

I started by taking my measurements, and then I constructed pattern pieces based on that and my design. (+ seam allowance)

I made a broadcloth mock-up of the top before I went to the good fabric.

I cut 2 pieces of the front and 4 of the back piece. Each pair was sewn to itself at the neck and armholes, then turned inside out. This finished the neck and armholes nicely.

I finished the mock-up, made note of the adjustments on the pattern pieces and went to work making the good version.

This dress was designed with the pattern in specific places, so I had to be careful when I was cutting that the patterns were in the correct places. This makes fabric conservation a tad more difficult...

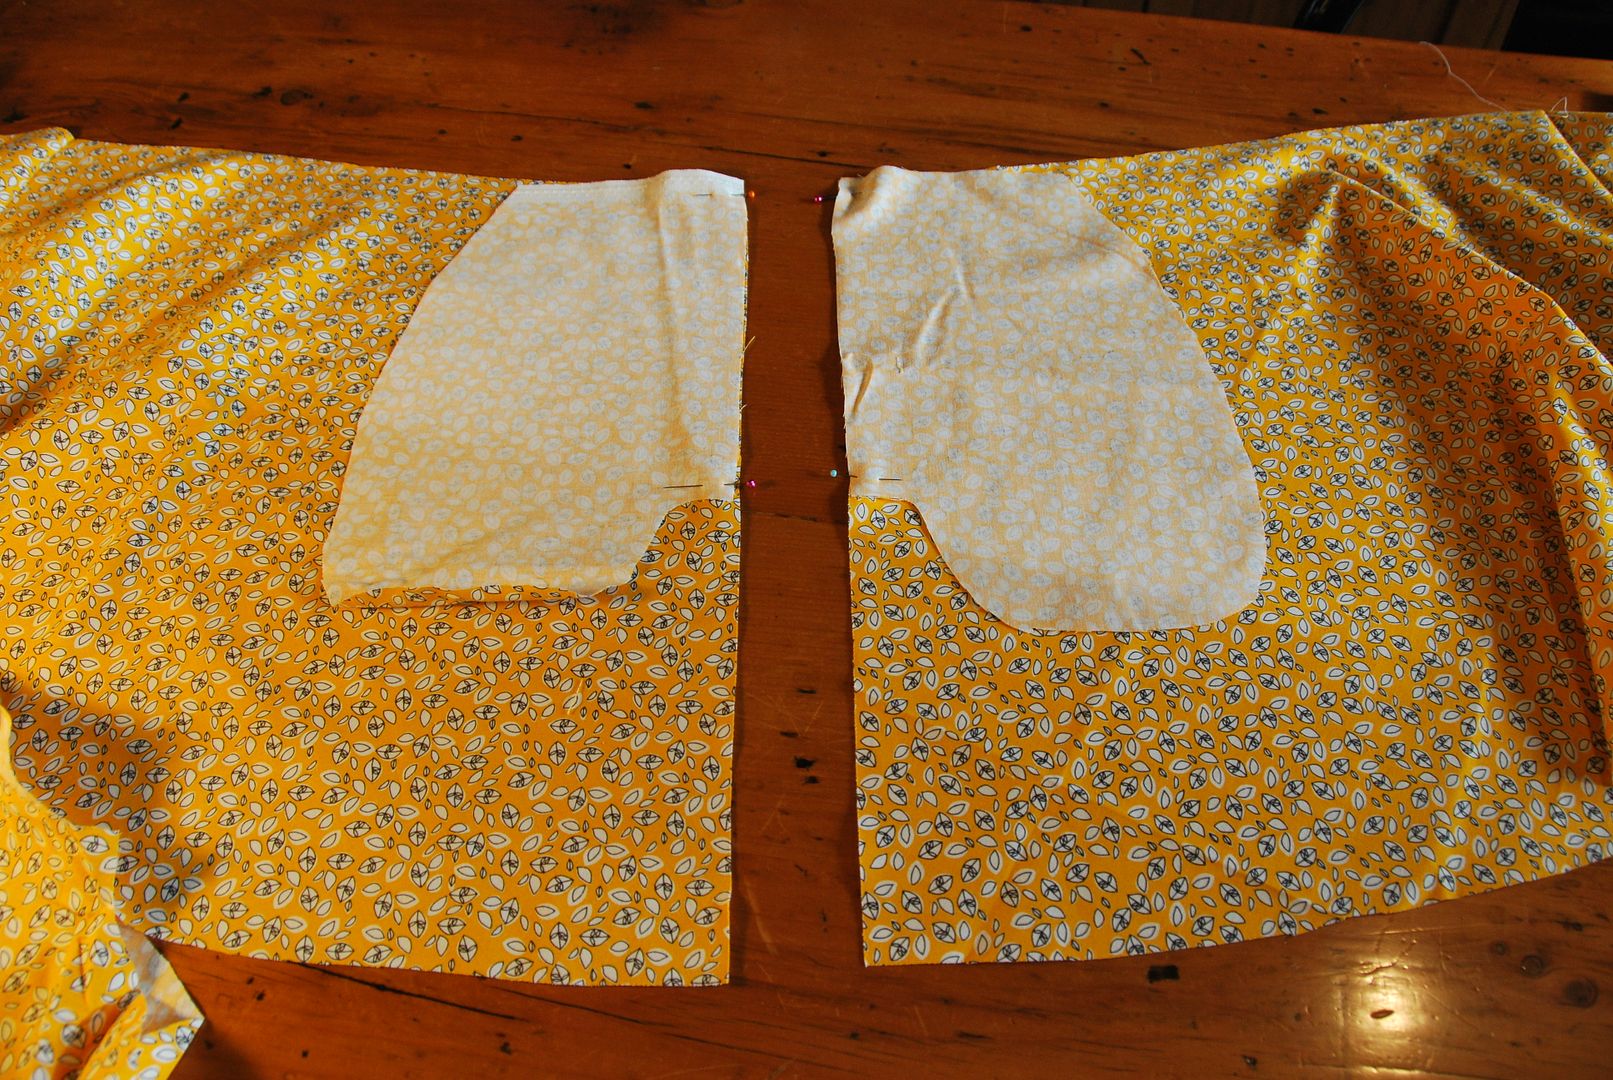
I cut 1 front piece and 2 back pieces in my nice fabric and the same quantities for my lining.

I sewed the pairs to themselves. (Right sides together.)

The tricky part was the scalloped detail on the neckline. This had to be drawn out on the fabric and then traced with the stitch.

Then I carefully clipped the excess and turned it right way out.

I stitched my seams together at the shoulders and the sides. Then I tried it on Molly.

There was a bit of a gape at the armhole, so I solved it by putting in darts. Darts were put in the front and back. They had to be done carefully so I didn't decapitate any birds... Hahaha


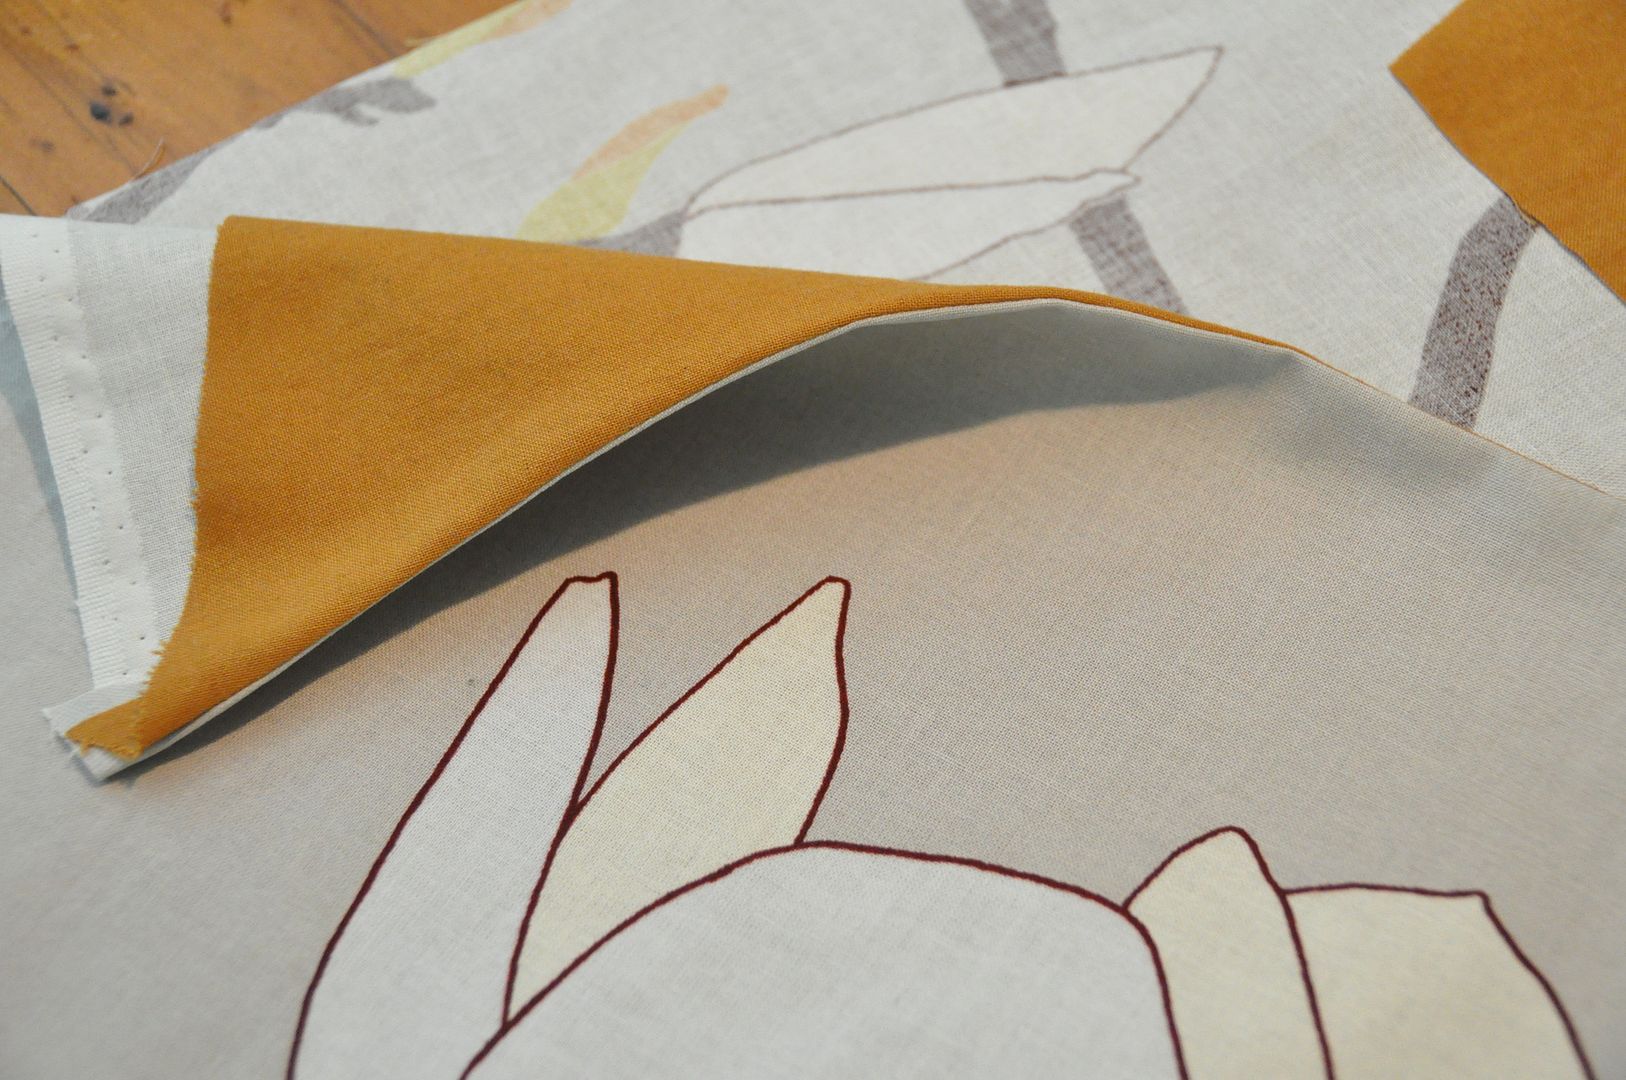
Having then measured under my bust, I gathered the fabric to that measurement and sewed on a band.


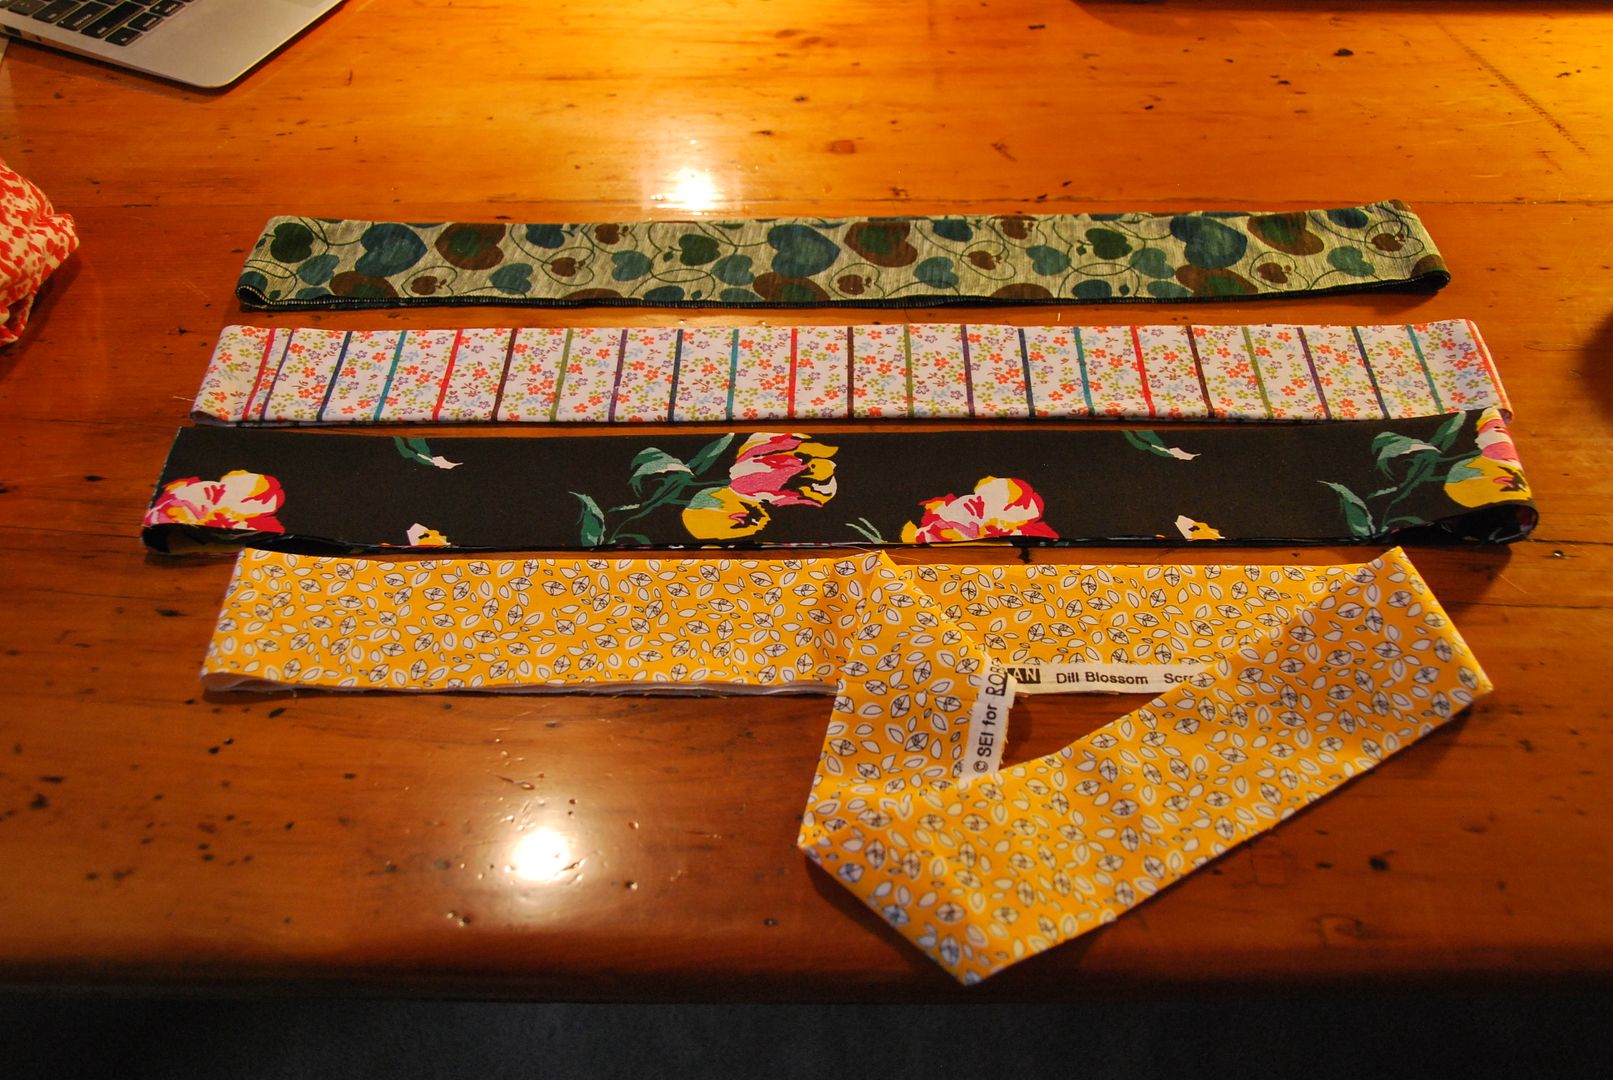
Then I made a tube of my accent fabric, that would be flattened and later be sewn onto the band as a tie at the back.

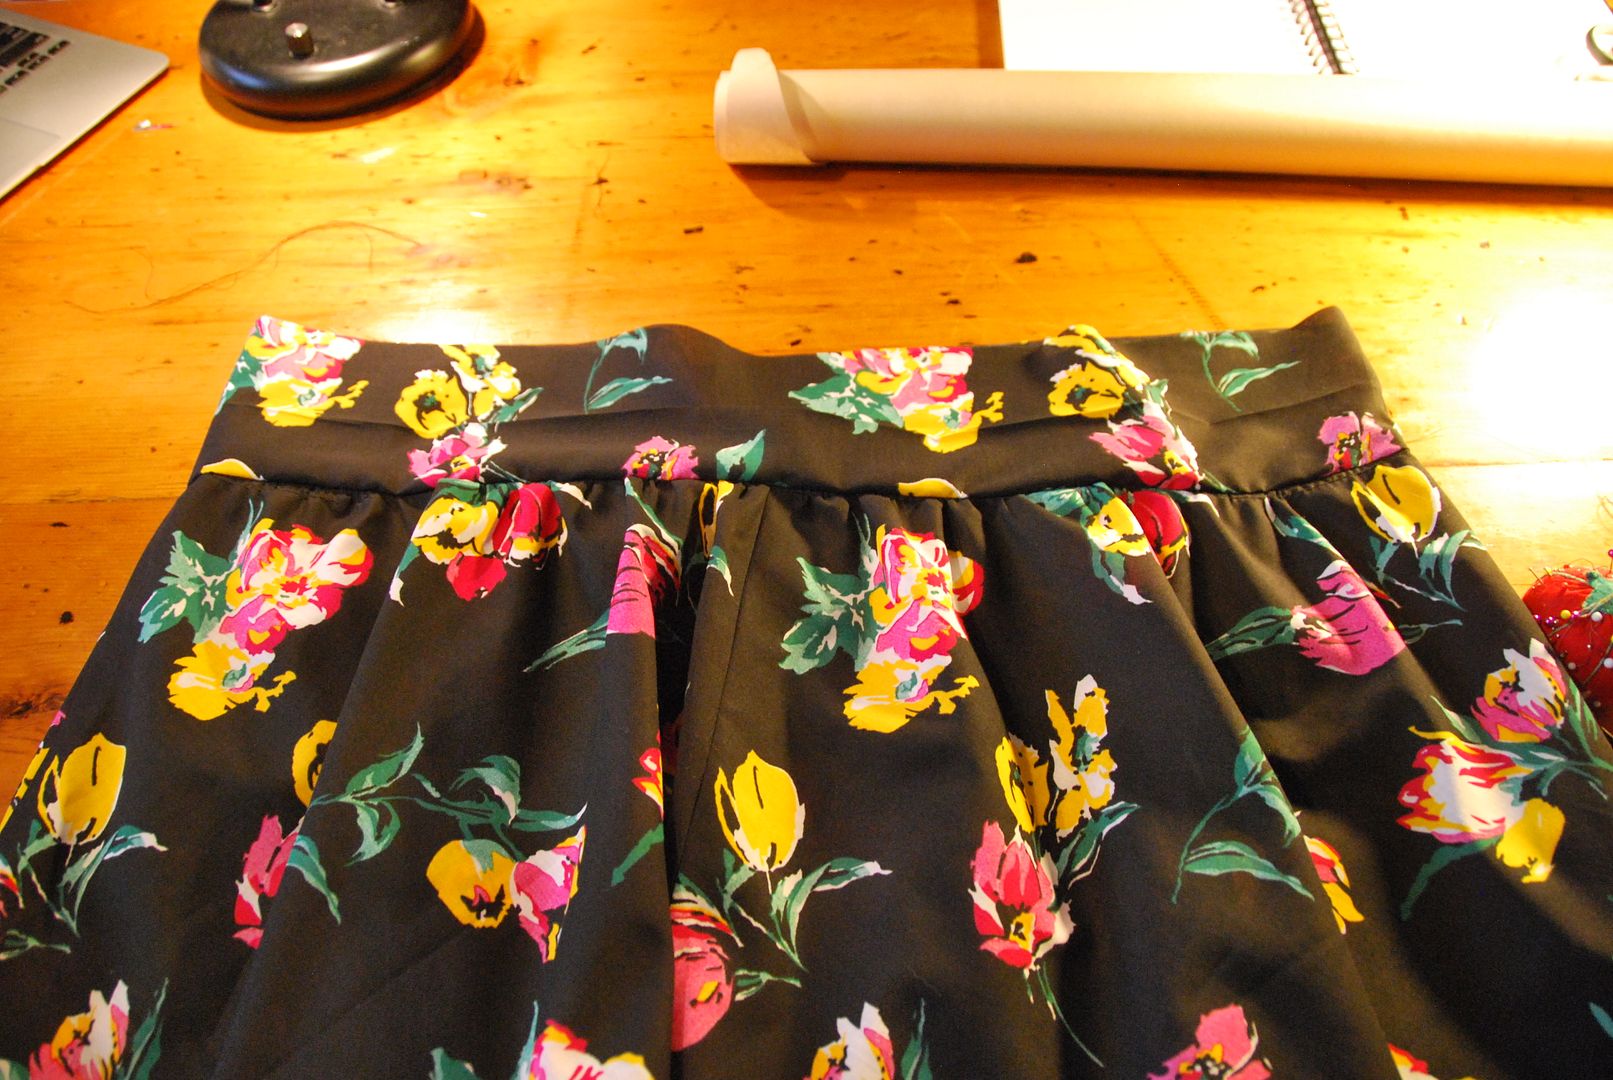
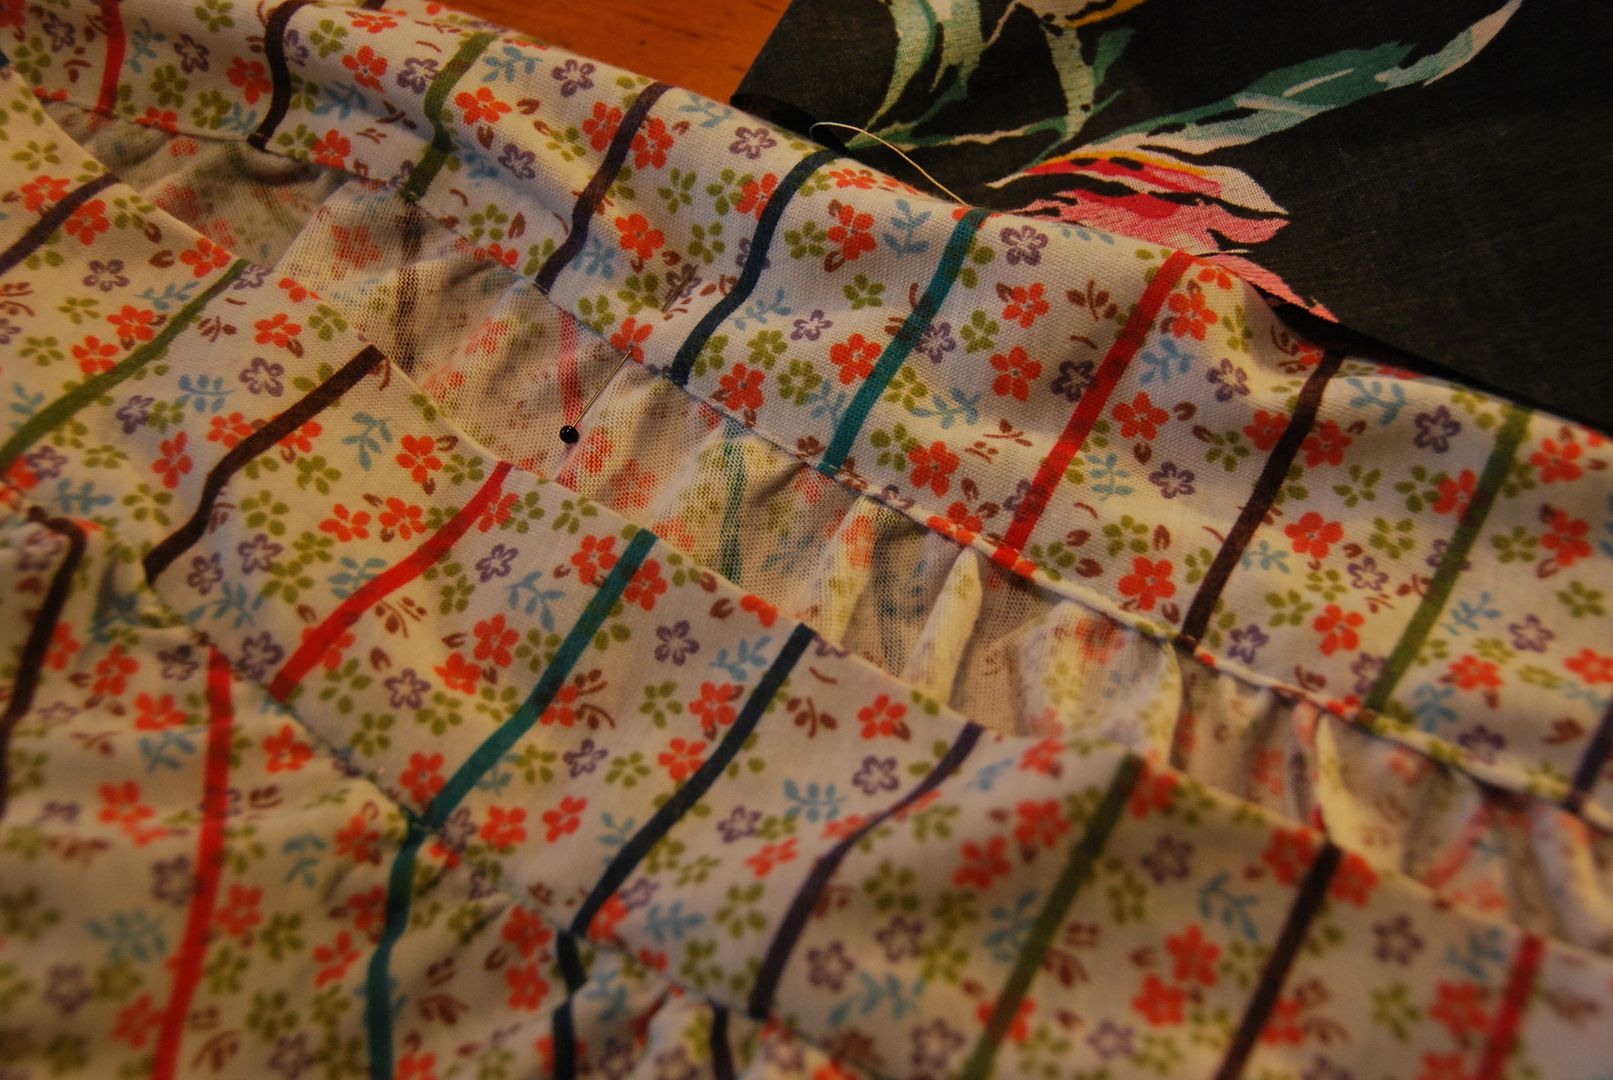
I cut my pieces for the skirt, and sinched them up with a basting stitch, making sure the patterns would line up.

This was then sewn to the band.

Then I finished the inner seams and closed up my back seam, so I could put in the zipper.

Zipper in!

The next step was to attach the tie to the band. It was made so it would be tied over the zipper.

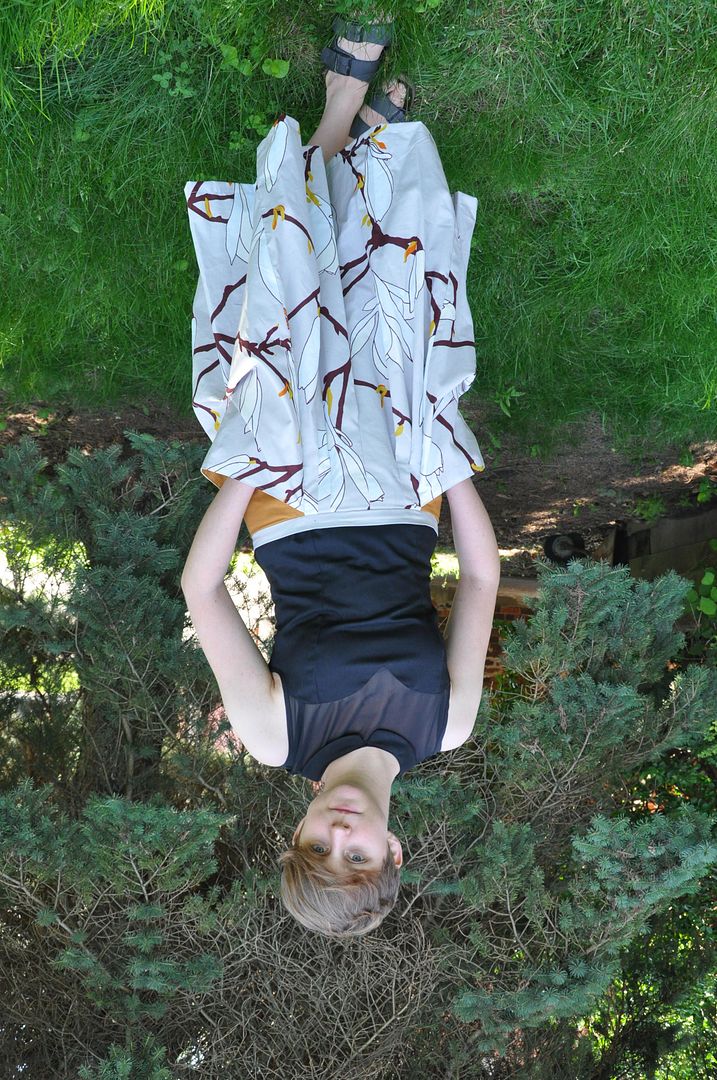
After hemming the dress was done!


The back is a little off, and I am not 100% satisfied with the fall of the skirt, but it was an excellent exercise in dress-making!

Here is the little photoshoot my mum and I did at the wedding. :D
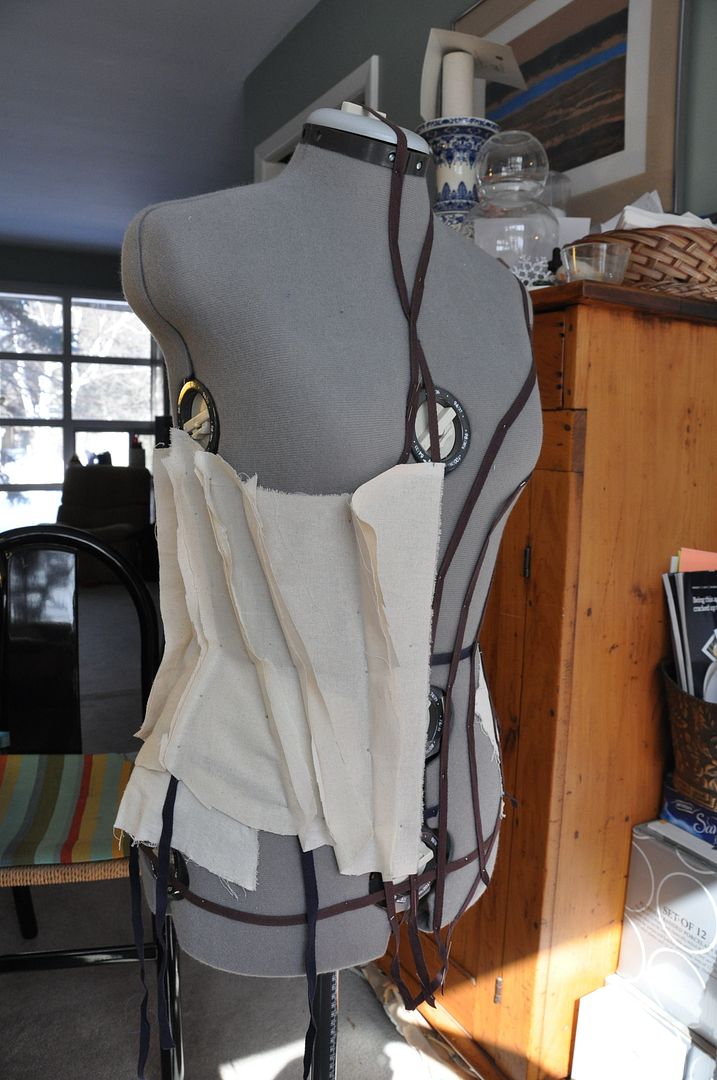