Today I will talk about how to put a busk into a corset. A busk is a really strong hook and post closure that is frequently used in corset making as it provides a secure closure and holds up really well under tension.
The example I am using is from my original Steampunk Corset, that will be posted sometime later in April. (For now you can follow my progress on
Facebook!)
Putting in a busk is not extremely difficult, so much as it just requires a lot of patience and accuracy. Half the battle is purchasing a good quality busk that aligns properly. I got mine from
Farthingales and it is really nice. They come in different colours too. The one I have has antique bronze coloured hooks and posts.
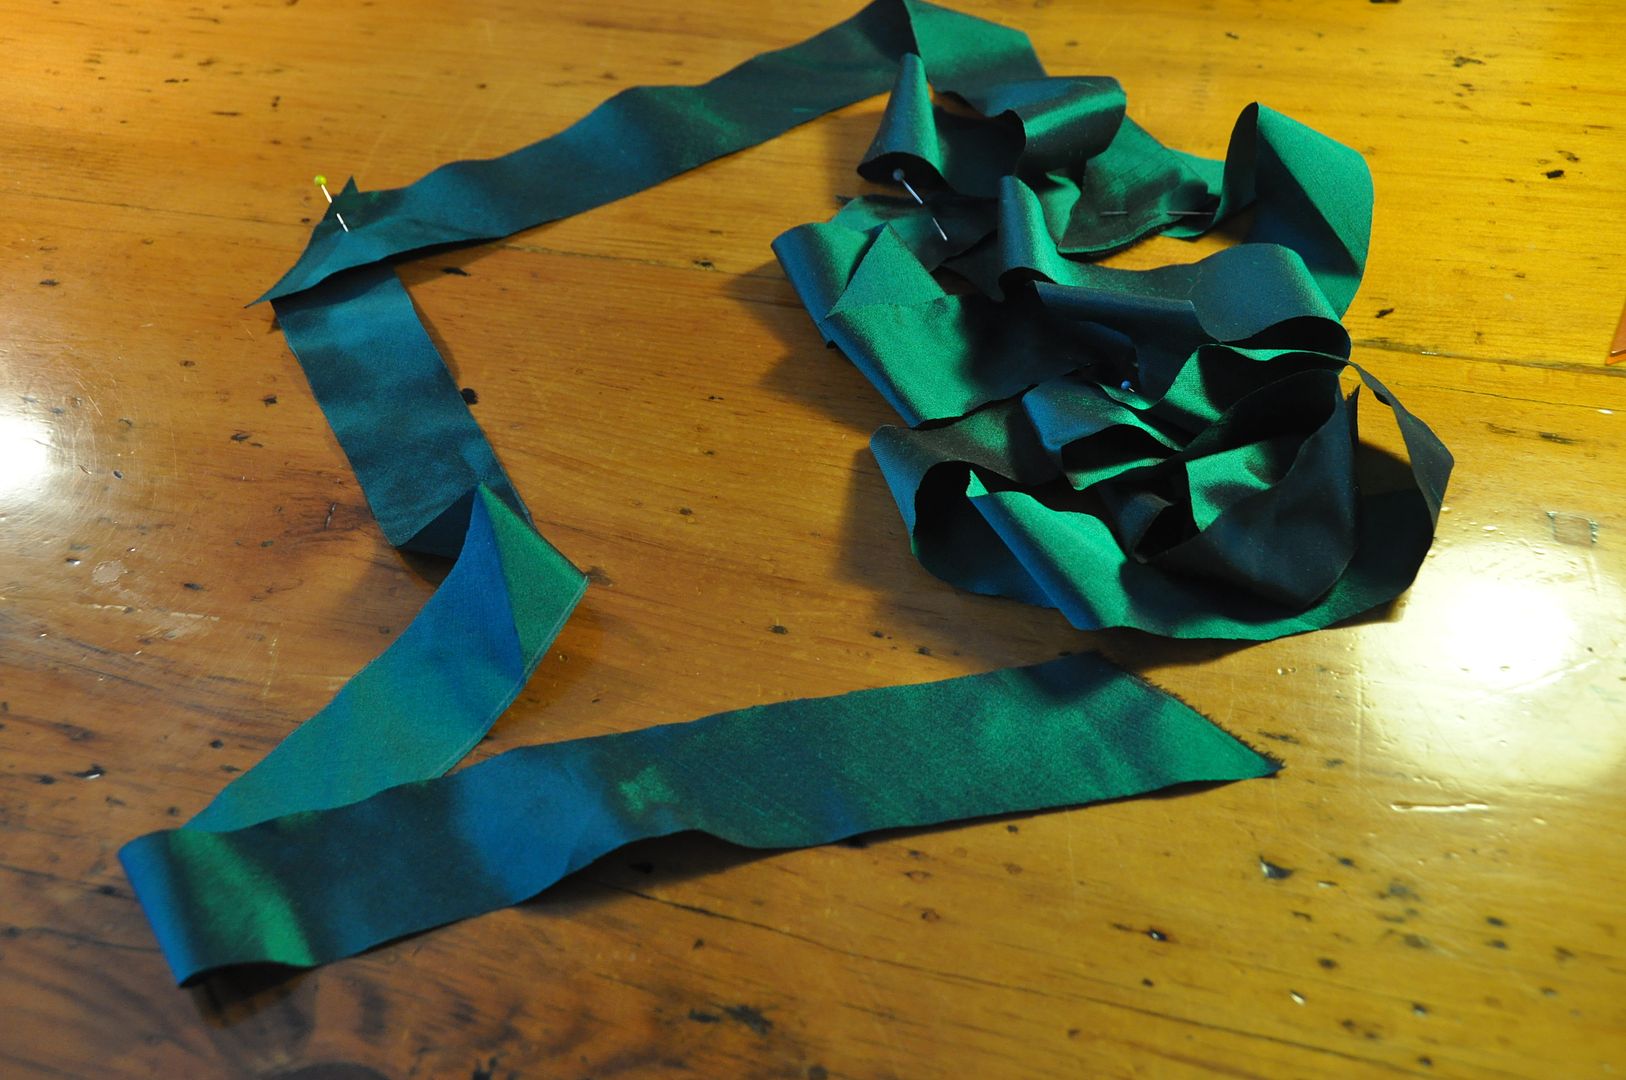
Each busk piece is inserted/sandwiched between 2 pieces of fabric; this keeps it nice and secure. So essentially you have 2 pieces of fabric for each side of the busk. If you have a fancy fabric for the outside there will be 3 layers of fabric on each side. It is important that if your fancy fabric is thin that you have a strong fabric underneath to protect it from the busk wearing through.
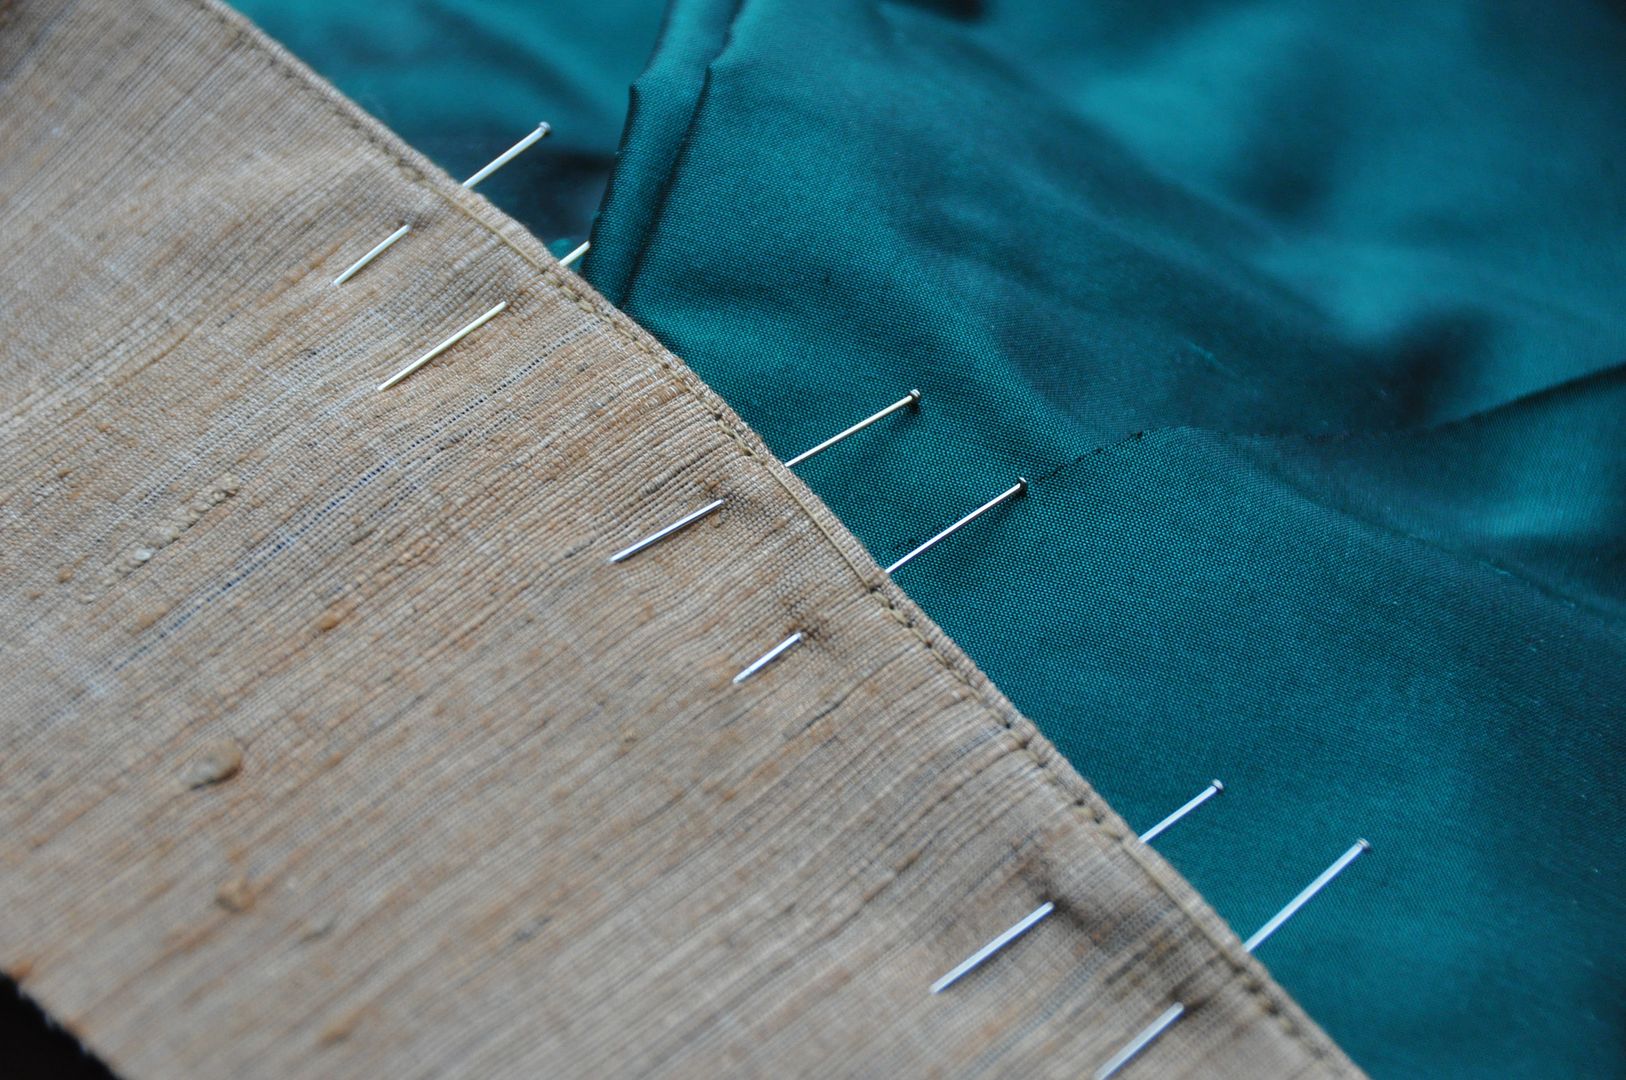
Firstly you line up the center front seam right sides together. (If you
have a fancy fabric layer--called a fashion layer--for the outside, that will be sandwiched in the
middle.) The hook piece should go in the left-hand side of the closure
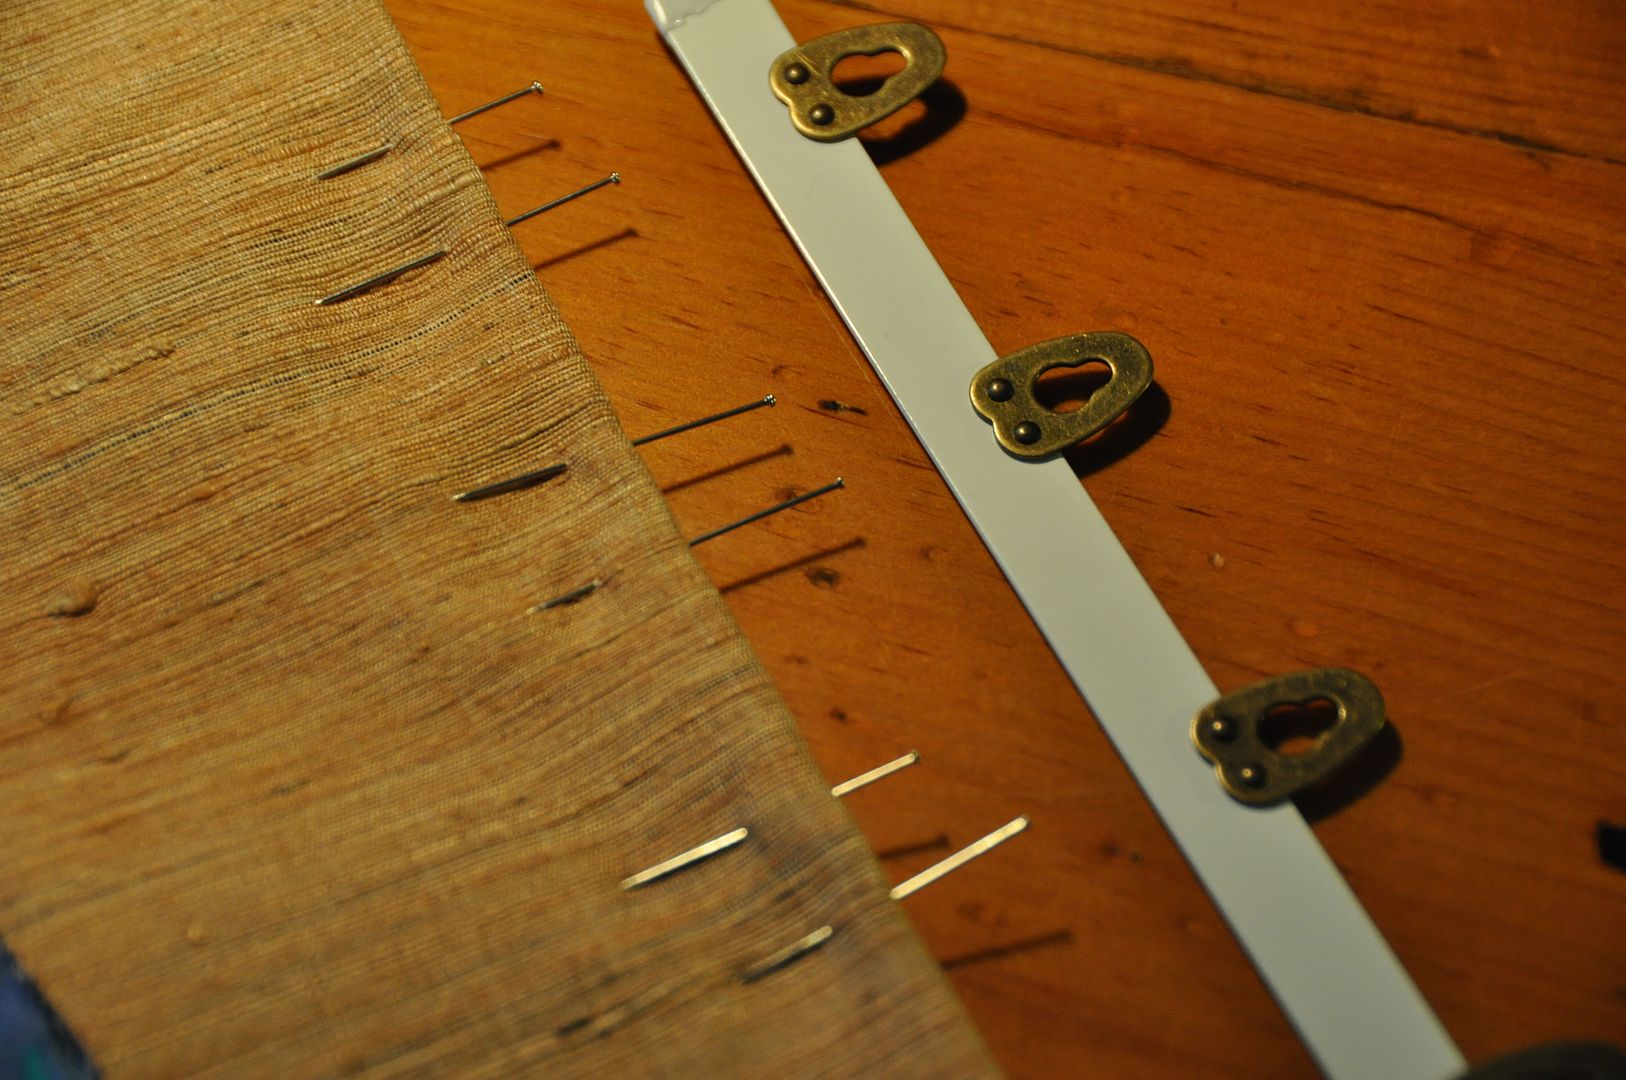
if you were to look at someone wearing a corset. Spacing the busk evenly
between the top and bottom seam lines, mark where the openings need to
go for the hooks. Make sure to be extremely accurate when marking for the openings!

Then you stitch along the center front seam, backstitch every time you get to a marked opening, then lift the machine foot and continue on the other side of each marked opening, ensuring to backstitch again when you start. Make sure not to stitch past your opening marking pins, otherwise the opening will be too small to fit the hooks. On the other hand, try not to stop short, or they will be too big and sloppy. There is no need to cut the threads each time you stop and start, you can do that at the end (but it isn't really necessary).
When you are done stitching, try fitting the hooks through the holes to double check that it fits.

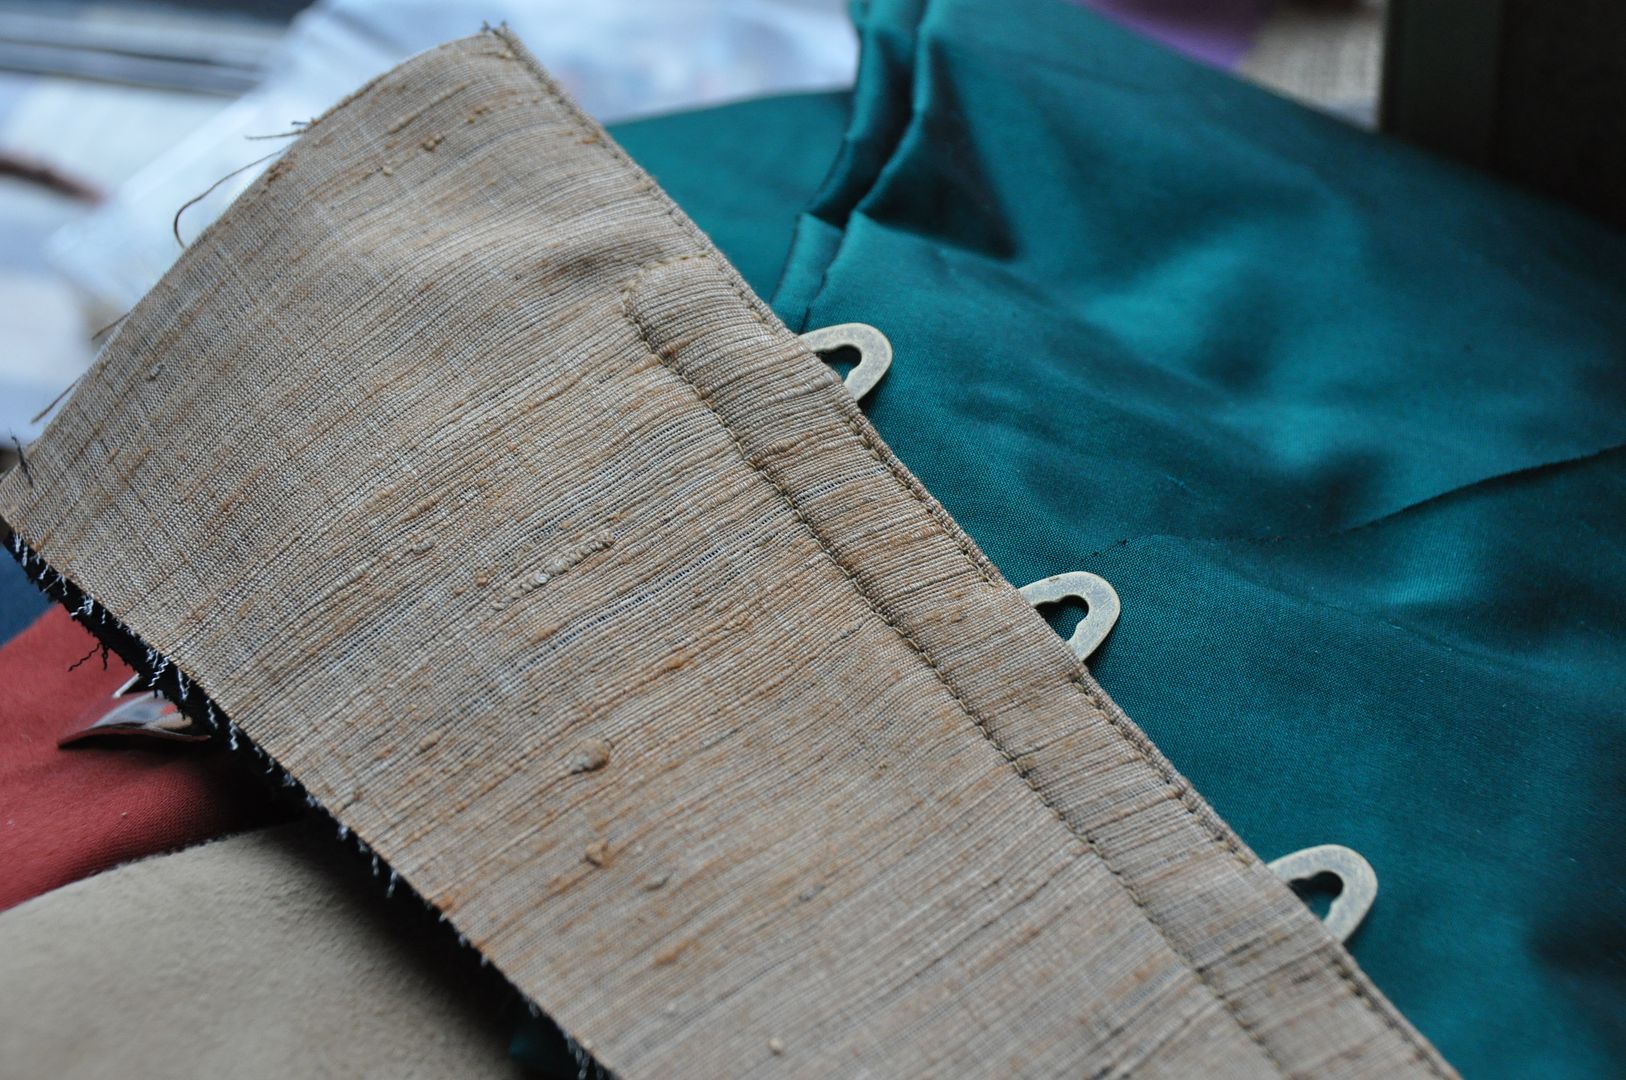
Flip the fabric right way out and iron the piece flat. (You can actually get it to turn right way out cleaner if you press the seam flat open first then fold it over.)
Again use pins to mark your openings and topstitch 1/8" in along the edge. Like before backstitch at each pin and be careful to not overshoot your pins.

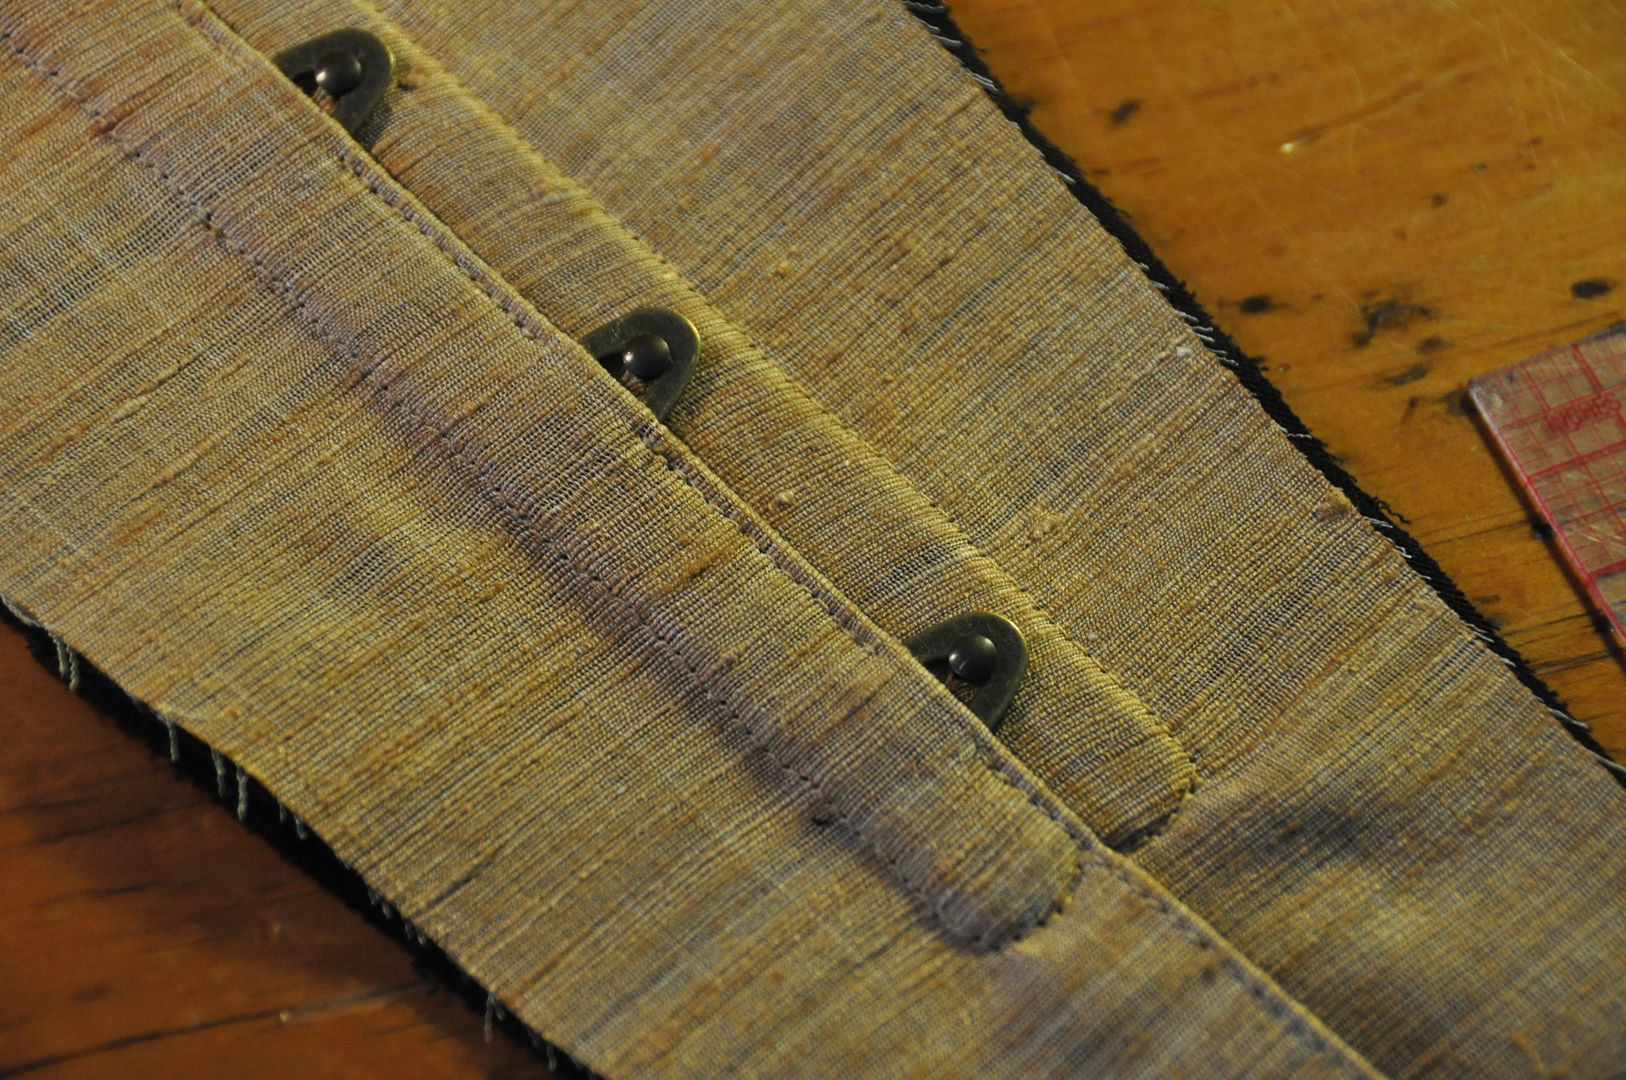
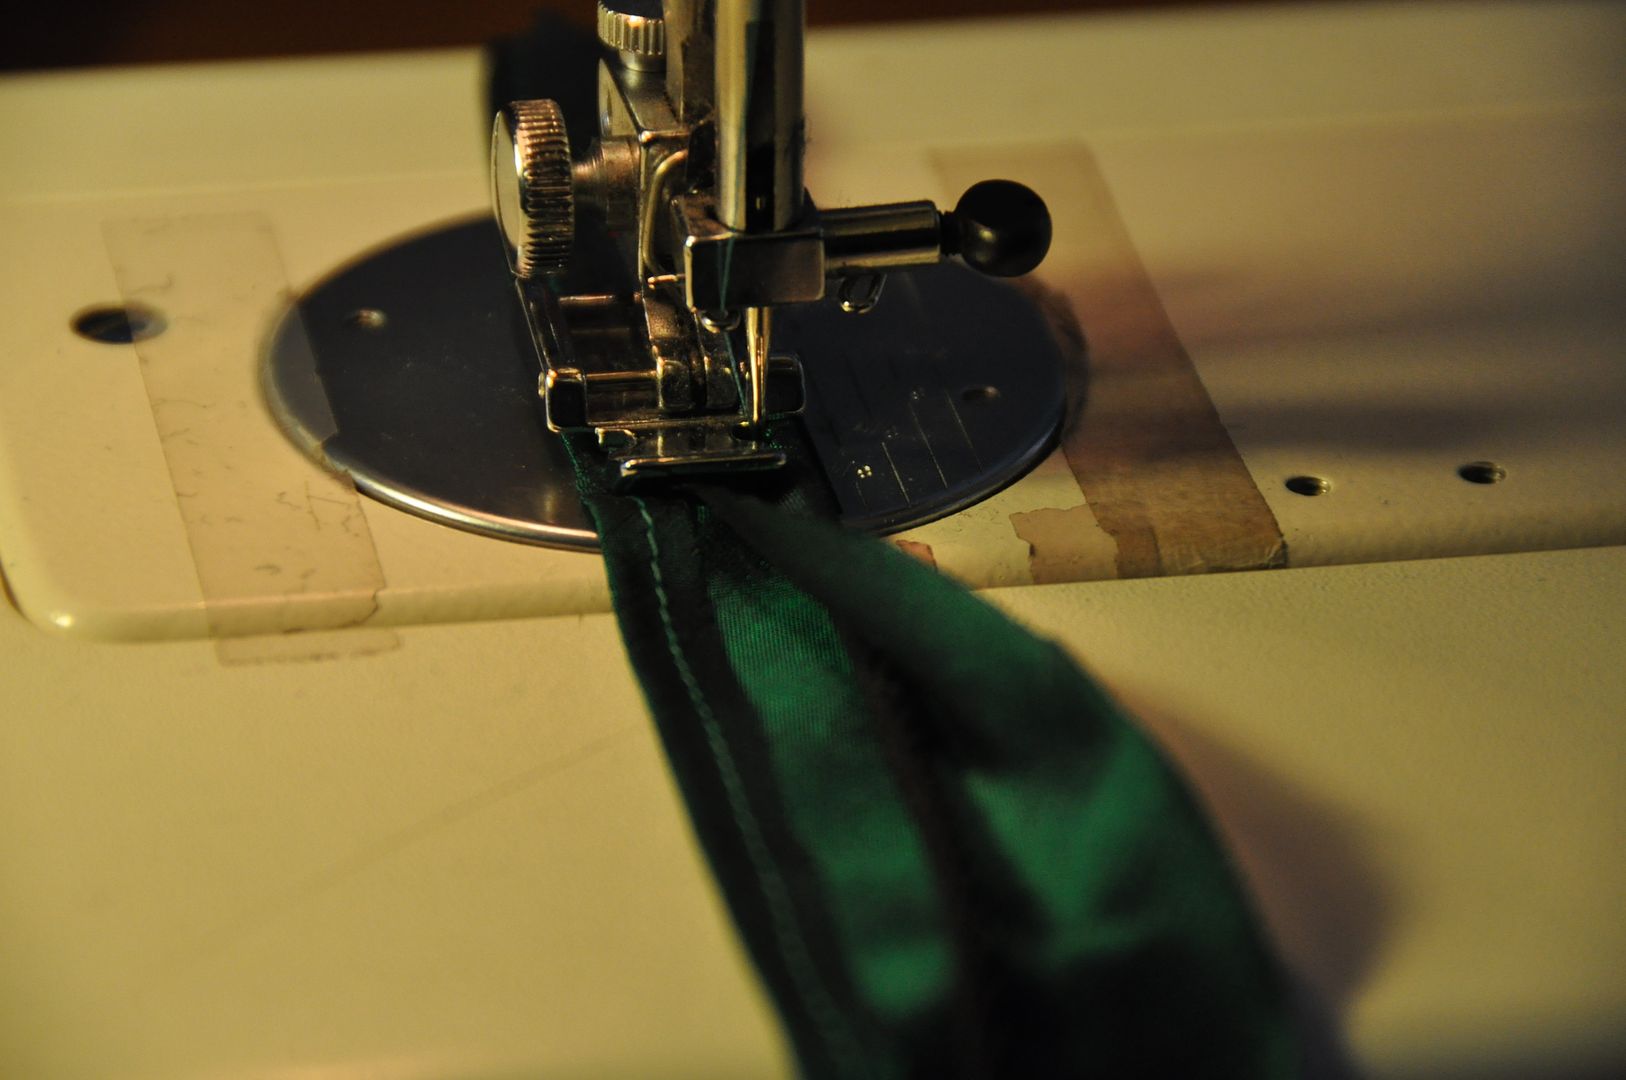
Then slip the hook piece of the busk through the hole as far as possible. Using a zipper foot on the sewing machine stitch around the busk to hold it firmly in place, snugging the needle up beside the busk and continuing to push it as far through the holes as possible. Make sure to stitch around the top and bottom ends.
Next you prep the opposite panel for the post side of the busk. Sew the pieces right sides together on the center front seam. (Like with the first side if you have a fancy fabric it should be sandwiched in the middle of the two fabrics so it will be on the outside when you flip them.) Again flip it to the right side and press it. Then topstitch 1/8" in from the edge.

Line up the left side and the right side of the center front panels. Mark with pins where the top and bottom of the busk should go on the right panel so it will properly align with the left one (which should have the hooks in it already). Carefully mark where the holes will go for the posts. Keep in mind when you mark the holes you want to have the busk piece as snug to the stitch line as possible without the fabric pulling oddly around the posts.
Using an awl carefully poke each hole and the slip the post through. These holes should not be going through all the layers, only the through the fashion layer (if you have one) and the top layer. It may take a couple tries to get the post through as these holes tend to close quickly. Use the awl again to loosen it if need be.
Once you have all the posts through then use the zipper foot and stitch around the busk the same as the first side.
And then you have a lovely busk closure! Very sleek, very strong. ;D

 Hey all! This month is turning out to be crazy! So many projects, so little time.
 Recently I have done 2 tutorial style posts, specifically looking at one aspect of a costume piece and how to put it together (namely my Piping Trim Tutorial and my Busk Closure Tutorial). Fact: I actually started this blog in part for my own benefit, writing down how I made things/how I did stuff so I could
look back and have everything documented. This way I could use it for
reference later when I wanted to do something similar, and even if I
forgot how to do something I would have no issue looking it up later. Wondering if you guys like these and if there were any specific simple tutorials that people would be interested in seeing in the future? (Like zippers, hook and eye tape, etc.)
Recently I have done 2 tutorial style posts, specifically looking at one aspect of a costume piece and how to put it together (namely my Piping Trim Tutorial and my Busk Closure Tutorial). Fact: I actually started this blog in part for my own benefit, writing down how I made things/how I did stuff so I could
look back and have everything documented. This way I could use it for
reference later when I wanted to do something similar, and even if I
forgot how to do something I would have no issue looking it up later. Wondering if you guys like these and if there were any specific simple tutorials that people would be interested in seeing in the future? (Like zippers, hook and eye tape, etc.)