Showing posts with label weldbond. Show all posts

Thursday, May 14, 2015

Hooped Embroidery Ornament

Just something I made for my sister as a birthday gift! She loves goats, so I made her a cute goat. I think he is considering the flower a tasty snack. Pretty cute right? I got to look up lots of reference pictures of adorable goats for this project.

This DIY project brought up fond memories of building the Forest Guardian costume, but with less pressure. I would like to do embroidery more often if I could.


I embroidered using embroidery floss on muslin reinforced with non-fusible interfacing. I trimmed off the excess fabric.

Making sure the screw was at the top, to hang it from later, I glued the fabric in place and tightened it. My glue of choice was Weldbond. I used a smaller bowl to hold the fabric in place while the glue dried.
Lastly I cut a circle of red felt to protect the back. This I glued onto the back. Then I just tied a string to hang it from! Easy!

Tuesday, December 9, 2014

Set Model - My Fair Lady


This is a project I finished and presented last week for my set design class. It is a scale model of my set design for the musical My Fair Lady by Alan Jay Lerner and Fredrick Loewe (based on the Pygmalion by George Bernard Shaw).

The model box is made of foam core and black matte board. The set itself is constructed primarily with illustration board, but also some wooden dowels, clear plastic (from folders I got at the dollar store) and muslin for the little burlap sacks.

The whole thing is painted with acrylic paints. And made me really glad I took that scenic painting class last year. Otherwise I would have no clue how to paint stone or wood properly...

 I've set the play in the original time period/location of around 1912, London, England. I did lots of research on the city and the architecture of the time period. I wanted to to something that reflected the design aesthetics of the late 1800's to early 1900's. Because even if you set a play in 1912, not all the buildings and furniture would be brand new--I mean we still have furniture from the 70's in my house!

The archway is the centerpiece of the design, onstage for the entirety of it. It sits on a turntable that allows it to rotate to create different locations/scenes both indoors and outdoors. I was inspired by both the architecture of London, as well as the woman's silhouette in the costume of 1912.

This set was Higgins' office and could be used for all the interior scenes in Professor Higgins house.  Higgins' office had the most complicated pieces to build. It took a long time to make all the tiny furniture. Everything is constructed at 1/2"=1'-0", meaning the seats of the chairs are only about 1" wide. The bookshelves are rolled in and set up behind the archway for these scenes.


 This configuration is for the street scenes such as the musical numbers "Why Can't the English?", "Wouldn't it be Loverly?", and "With a Little Bit of Luck".

This configuration would be used for the scenes outside of Higgins house like "On the Street Where you Live" and "Show Me".  It reuses elements of the street scene set pieces. 

There are a few other scenes I designed, such as the ball and the racetrack, but those were not built for the project as I ran out of time and energy. The ball would have had the arch centered at the back with drapes hung behind and at the side of the stage. The racetrack would have had the same placement except no drapes, instead using the fences at the back and cafe tables in front. The racetrack scene is by far my favourite scene in the whole play.

Overall I am really proud of the finished result. :)

Tuesday, October 9, 2012

Cosmo - Wig & Crown - Fairly Odd Parents


Let's take a look at how I constructed my Cosmo wig!

To see how I made the wings and blouse, go here!

For the photoshoot, go here!

Cosmo's wig is probably one of the most difficult I have attempted in quite a long time, but I think it is one of my best works. I am very satisfied with this wig.

In this process I learned how to make wefts, spikes, and how to wash a wig.  
The problem with Cosmo's hair is that it only ever shown at 3/4 view, and that whenever he turns his head his hair flops. In short, Cosmo is a 2-dimensional figure, so how does one translate that into 3D?

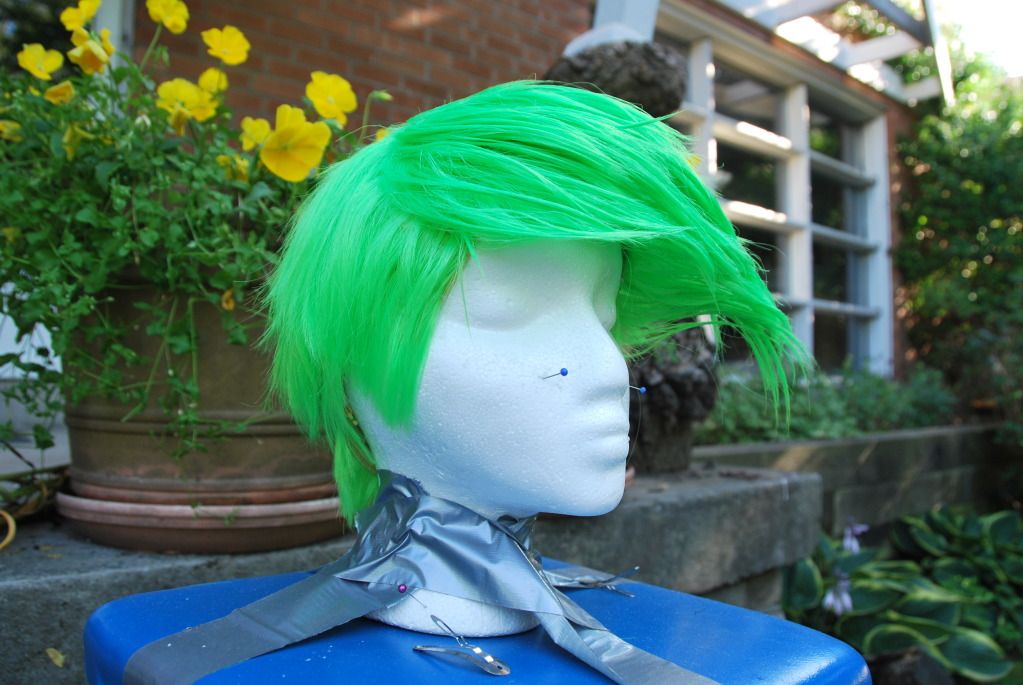
My logical decision was to make the hair flop to one side. I picked the right side arbitrarily. One problem with this is that it doesn't look good from every angle, but it is the only way to really achieve this look.


I got the wig off of e-bay. I figured that this would be a good length to style from, as I needed the length in the front for the hair-flop. I did not take into account the fact that the hair flop starts at the back of the top of the head...

On this wig--like most wigs of this style and quality--the hair fibers start from a central spot on the top of the wig, with rings of wefts surrounding that spot spreading out from the center.  If you pull the wefts up, you expose the the netting of the wig, which looks awful, but in order to achieve the look I wanted I needed to pull hair from the very back of the top into the hair-flop...

I realized that in order to do this I needed to create extra wefts to sew in and cover the gap that would be created. But on such a short wig, the problem was where to pull the hair from.


Under circumstances that aren't limited by money or time, perhaps I could have bought a second wig that I could have butchered for the extra wefts. However, I had neither luxury. This would also leave me with a lot of leftover hair in a colour I was not likely to re-use. Additionally, I had not realized this beforehand and was unsure if I would even be able to find my exact ebay seller to acquire another bright green wig... I had a difficult enough time finding this wig in the first place.

My solution was to save all the hair as I trimmed the back, so I could accumulate enough to make the wefts. This meant that I had to be careful when making my cuts at the back, because the clumps I took out needed to have enough length and substance to for wefts, while still trying to not destroy the back of the wig with a terrible haircut.
I take the section I wanted to incorporate to the hair-flop (which was being very uncooperative) and clipped it into place, spraying it a bit to help it stay.

I had to buy a new bottle of my Got 2B Glued, as we had run out of our last bottle which had lasted quite a few wig stylings.
While the top was drying, I evened out the back and started to work on trimming the sides. I wanted it to be close cut to the ears.
I began to work on making the sweep for the bangs. I worked on cutting the lefts side and worked my way over to the right. All the while spraying the hair into place.
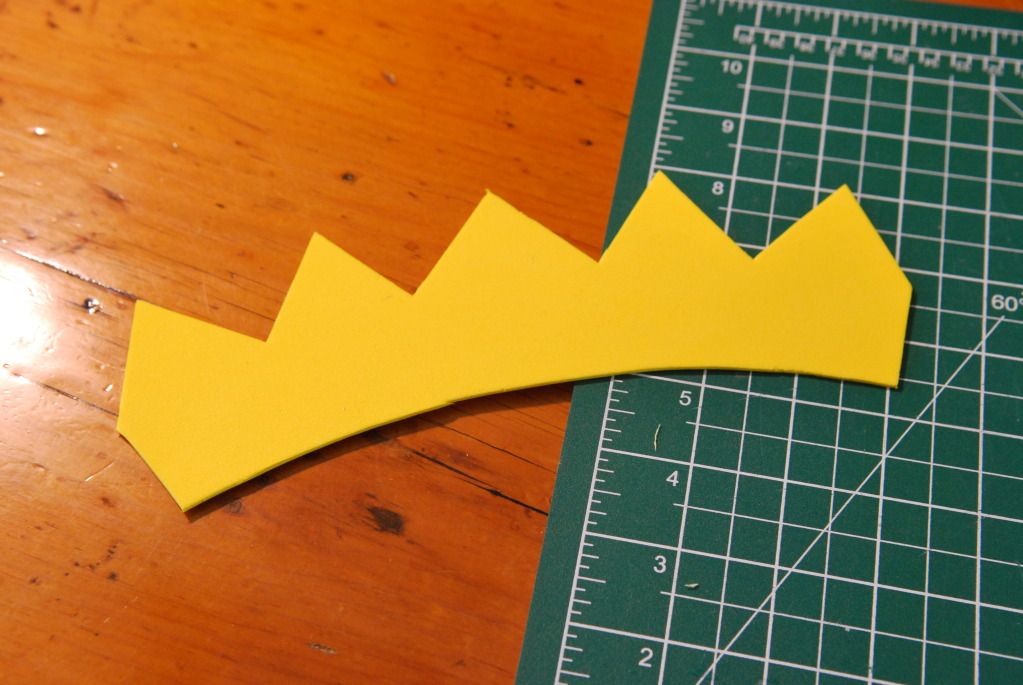
I made the crown out of craft foam! I used weldbond to glue it into a circle, using tape to hold it in shape while it dried.

That was the end result of my first attempt at cutting and styling this wig. I wasn't completely satisfied at this point, but I knew that it was going to get messed up when I sewed in the wefts anyway.
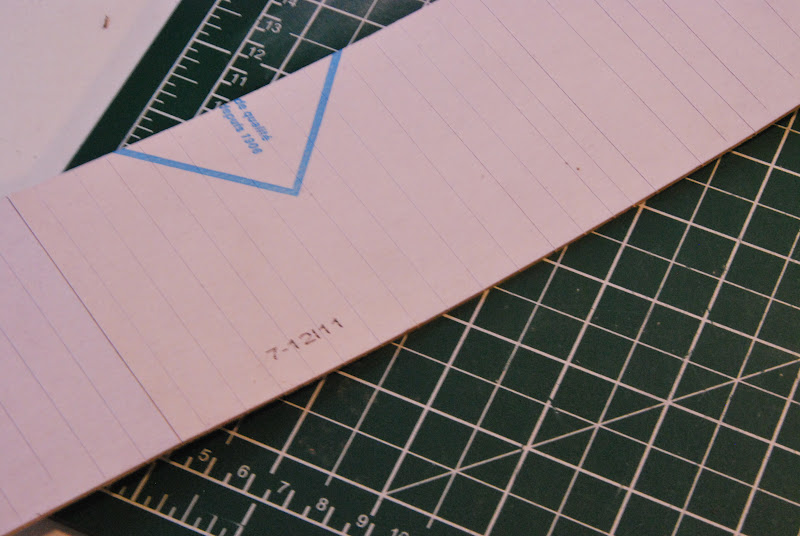
I looked up 
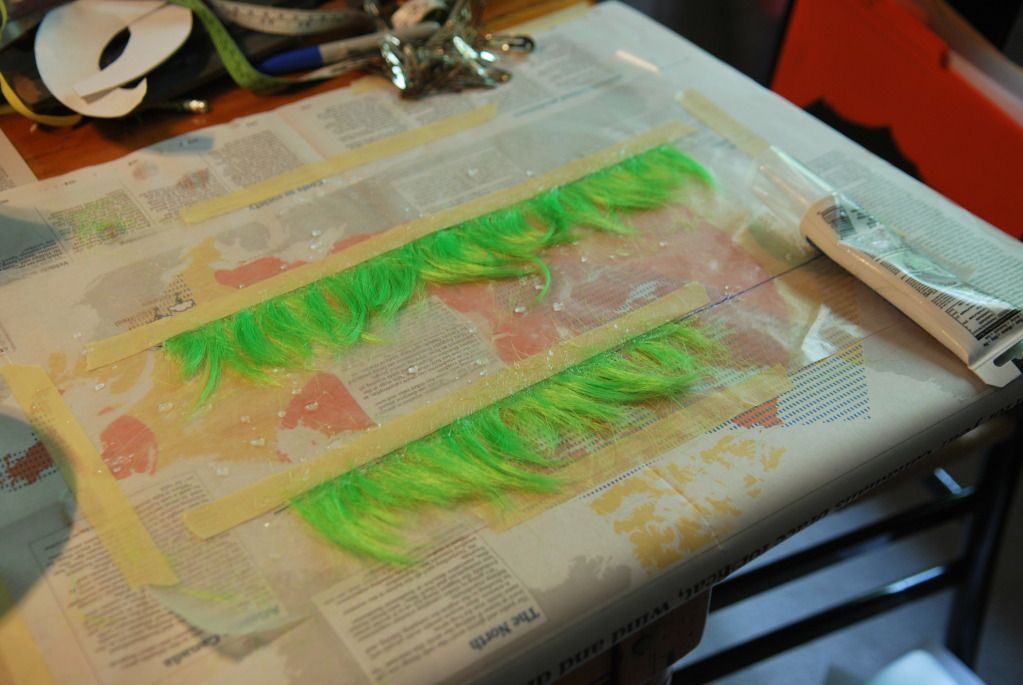
this tutorial online on how to make wefts. The easy way.

What you do is take a piece of wax paper and tape it down as your work surface. Then you draw a straight line and spread out your loose hair, lining up all the ends with the straight line you drew. Then tape them down with some masking tape. Then you take clear caulking  and spread it out along the taped edge. Mash it in with your finger. It will be sticky, so have some water handy to keep your fingers wet--it will help lessen the sticky. Leave that to dry. Once it is dry, flip it over and mash in some caulking on the other side. When that is dry you can remove the tape and presto! Wefts!
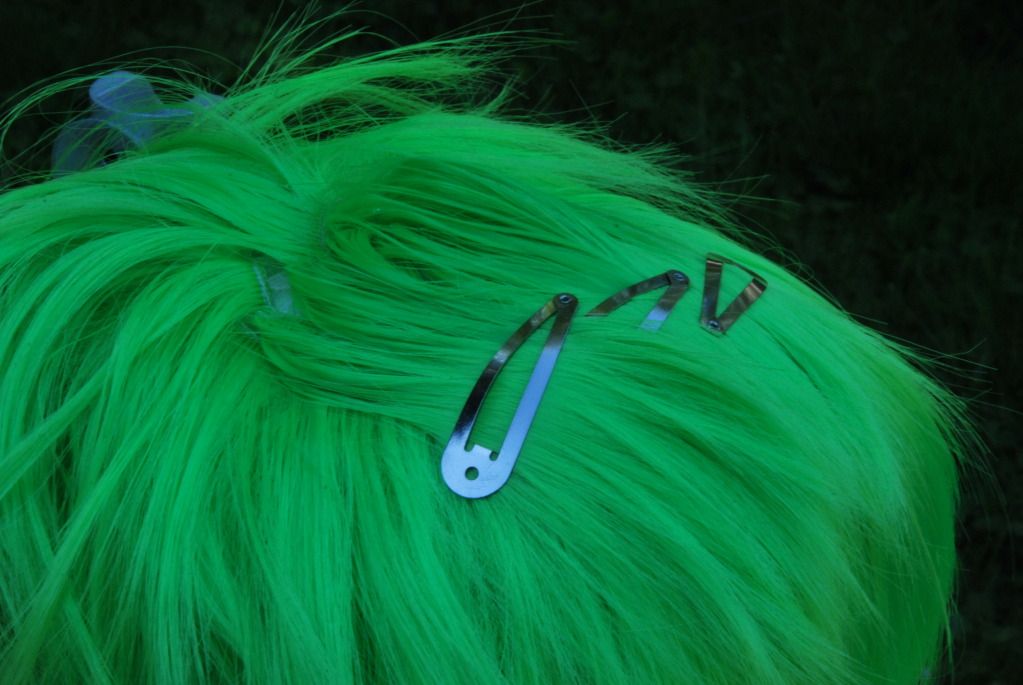
I cut open the netting where I wanted to insert the wefts and painstakingly hand-stitched them in. Then I clipped back the new hair and hand-stitched the hole closed.
At this point the styling had been messed up quite a bit by the man-handling while I did the hand-stitching, and it hadn't been the best spiking job in the first place, so I decided to wash out my original styling job and do it again.

I filled the sink with water and added a bit of shampoo. I put the wig in and left it to soak for about 20 min. Using my fingers I gently worked apart the spikes. I rinsed it out to remove all the hairspray.
I patted the wig dry with a towel and the hung it to dry.
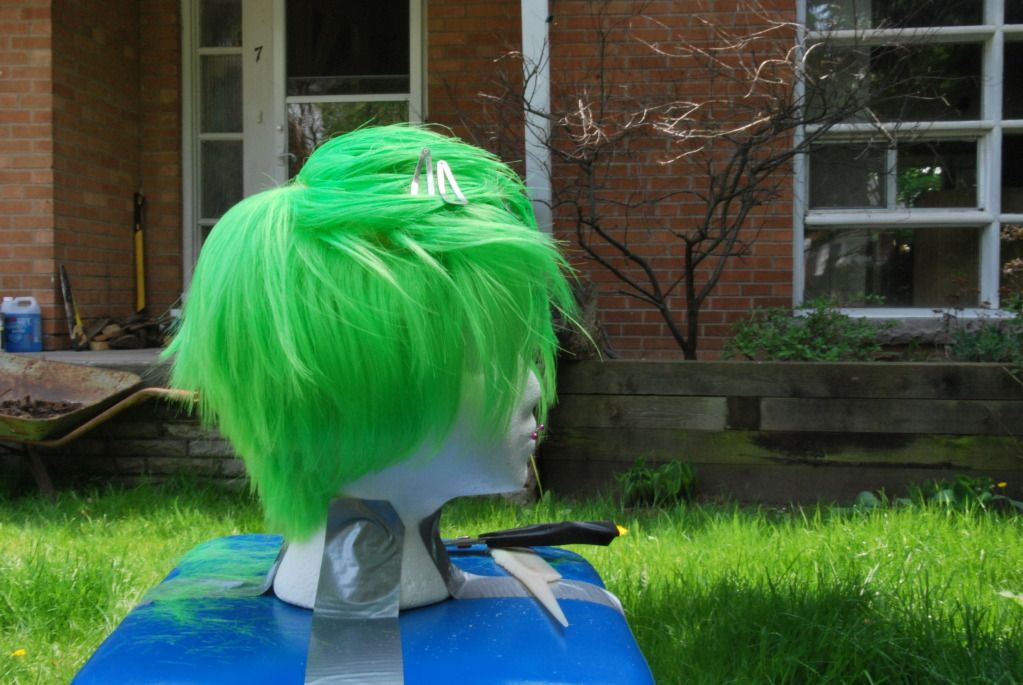
Once it was dry I pinned it back to the wig head and set up for styling again. One thing that I didn't have for the first attempt was a hairdryer, and I can tell you that it makes a huge difference!!!

I split the hair evenly where I inserted the wefts and sprayed the hair into position.

Then I began taking sections of hair and spraying them, making sure the hairspray really penetrates the base of the spike so it has a good foundation.

I kept adding more and more sections, using the hair dryer to set the spikes.
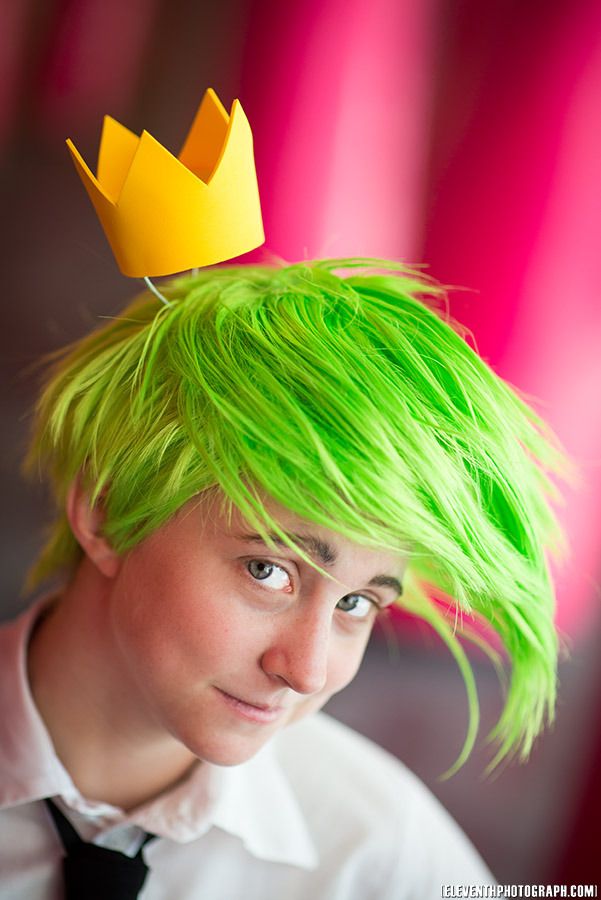
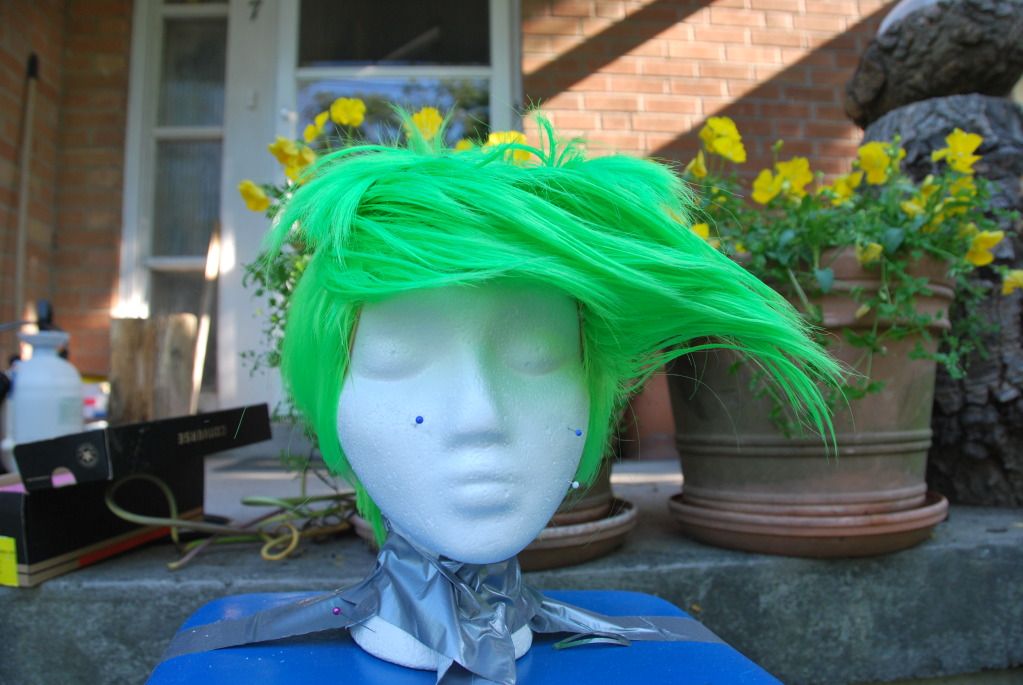
Then the styling was done!

So fabulous!
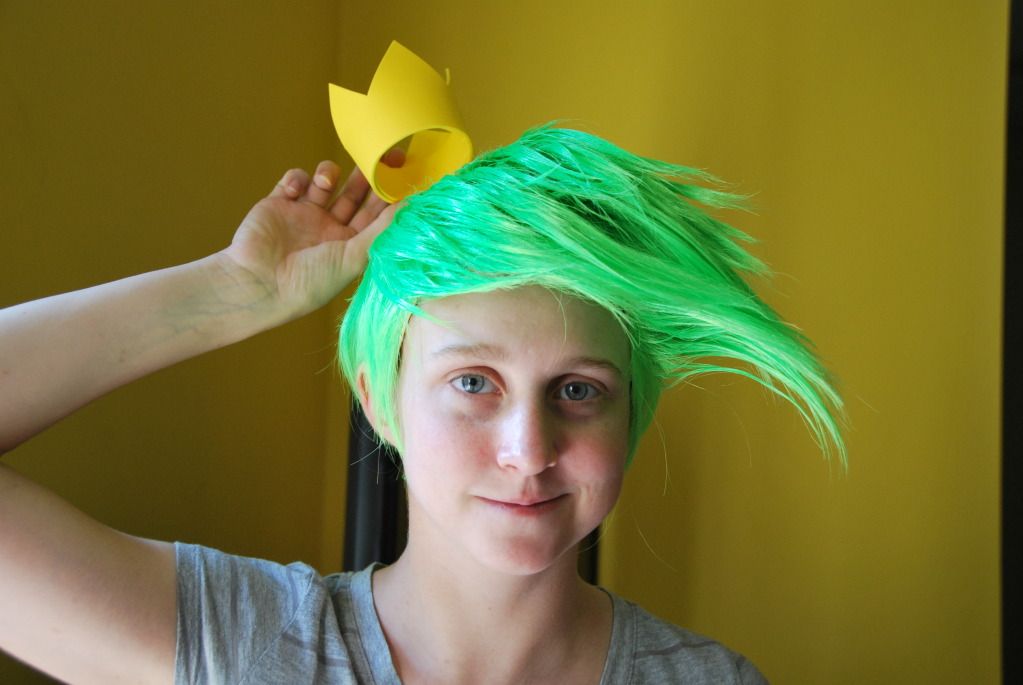
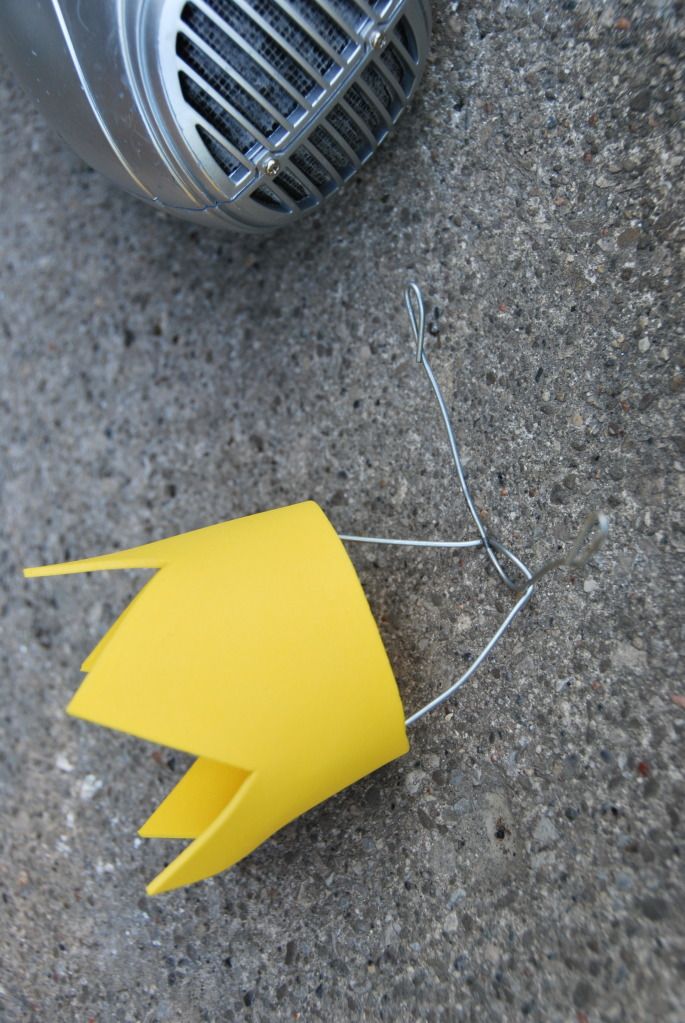
Then I attached my floating crown. The wire was shaped into an X, with the wires bent over at the middle. I bent over the ends so they wouldn't scratch my scalp. Two of the tines were bent upwards, then the X was inserted into the wig. The two tines were stuck out between the wefts, making sure a weft covered the middle of the X. The tines inside the wig were given a slight curve so that they would fit to my head snugly.

An inner ring of craft foam was attached to the crown to hide where the tines attach to the inside. The crown was simply friction fit on.

The way this is attached, the snugness of the wig is what holds it in place, and it is so comfortable I don't even notice it's there. ;D

With that, the crown is done, and so is the wig! :D

Saturday, June 9, 2012

Nickel - Claws - Katamari


The first in-depth look at my Nickel costume: how to make moveable robot claws!

I started by drawing out my design full size, keeping in mind material thicknesses so that my hand would fit inside. 

 I cut those pieces out and traced them onto foam core. For each hand I needed 2 'hub' pieces and 4 'finger' pieces.

 Then I measured the outer curve of the fingers and made strips of illustration board that length that were wide enough to fit my hand inside.  I lightly scored the hidden side with an exacto knife so it would bend easier. 

 I began the long and painful process of gluing the fingers together. It should be noted that the illustration board really needs the curve worked into it before you attempt gluing it, because it was fighting the glue like crazy!

 After the first attempt failed, I decided to put in supports that would double as a greater surface area to glue to and just generally make everything 10 times stronger.

The most important thing here is patience. They had to be held until they were completely dry, or they broke the glue. I decided to have some people help me out here, so I didn't die of boredom. :P


 Now that the base structure for the fingers was done, I began to work on the hubs... But I realized that I couldn't finish them until I had the fingers completely done.

 Even with our best efforts, the glue still slipped a bit, and so the edges didn't all line up completely. So --after testing it on some scrap foam to make sure it was safe to use--I spackled the claw fingers.

 Spackle is awesome because it dries white, is sandable and easy to apply. :D

Sanded them off, and just touched up some areas.

 Then I measured and drilled the holes for my pivot on the fingers and the hubs, making sure they were equal distance on each side. The idea is that the bolt on each side would make it both secure and easy to move.

I gesso-ed them in preparation for spray painting. (The LAST thing I needed was to have them melt!) Unfortunately, I used a paint on gesso on the hub pieces, which not being glued to anything warped really badly, as a result I had to remake the hubs.  >: /


 The fingers were then spray painted grey. I took my bolts and worked them through the holes I'd drilled. Assembly went as so: the bolt was twisted though the hub, then the finger until tight, then I attached the nut. This was done for both fingers. Then I twisted the bolt through the opposite hub and the other side of the finger.

My friend Sarené, who aided me with some of the assembly suggested I add a thumb-strap for easier movement.

Then I added the illustration board to the outside layer of the hub to finish off the piece. Once that was spackled and sanded it got the full spray treatment. :D

Unfortunately we had some paint chipping with the tape, but we were able to do some touch-ups.

Finished! And they look fabulous! >:D