So, as those of you who follow me on facebook know, this past summer at my job we engaged in competition of sorts.
The rules were: Using only things you find at the thrift store, the dollar store, your closet, and as a last resort, Walmart, you must create a costume to fit the weekly theme. Try to keep your budget under 20$. The sub-goal is to google the costume and find the crappiest costume someone else on the internet has come up with and see if you can beat that--thats how you set the bar for your standards! >;D
I think it's fitting that I saved this post for October, because contrary to my normal costume-making projects, the goal of the costume challenge was to create costumes as cheap and quick as possible--perfect for Halloween! Terrible = Great!
Hope maybe some of you find some Halloween inspiration here! >:D Without further ado I present the results of the Weekly Wardrobe Dress-up Challenge!
Week 1: Scooby Doo

Started off with a bang as the Mystery Gang! Pretty easy costumes to throw together for our first week, and a solid recognizable group. Winner for the cheapest costume goes to Sarah, who spent a total of 3$ on her Shaggy outfit! Talk about a ham sandwich! Points for outstanding accuracy go to Devon for her Velma! You beat all the "sexy Velmas" that came up in our google search. Seriously--why is that a thing? Points to Frances as Scooby for being the most popular with children!
Daphne
Purple dress: 7$ (heavily altered)
Purple skirt: 3$ (cut up to use as trim & headband)
Green scarf: 1$
Shoes: from closet
Total: 11$
Sewing time: 3hrs
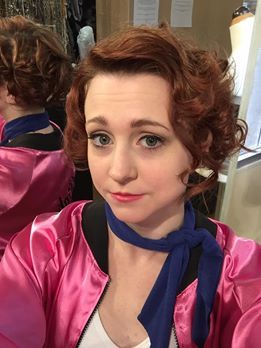
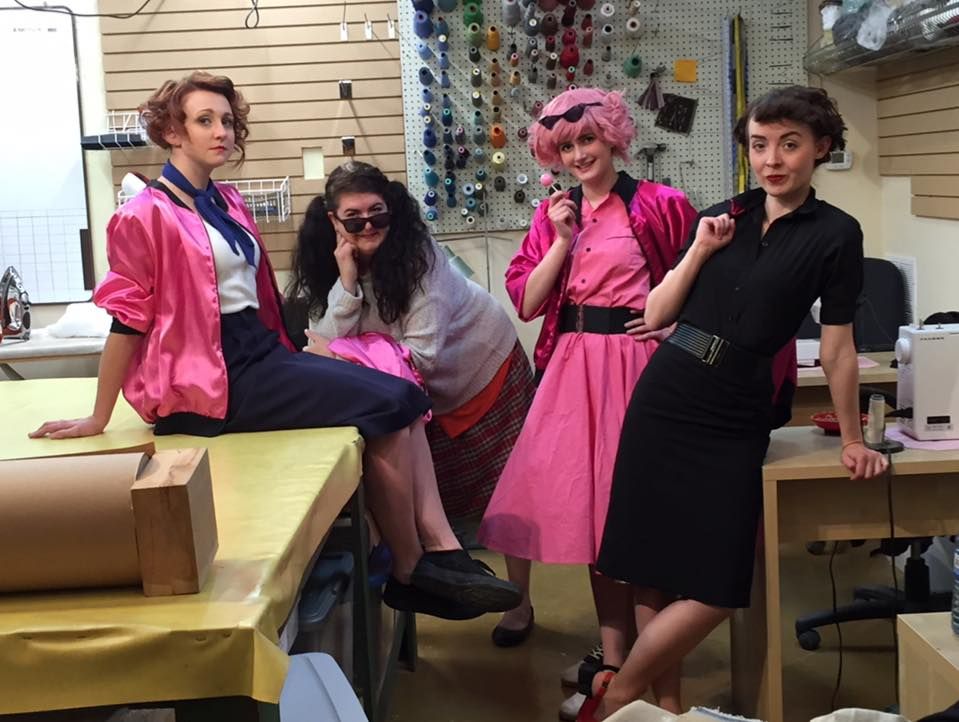
 Week 2: Grease
We cheated a little bit--one of our cast members owns a costume rental place and hooked us up with the Pink Ladies jackets for free. But the rest was all thanks to us and the trusty local thrift store. We made a night out of pin-curling our hair while watching the movie!
Cheapest costume award again goes to Sarah for her 2$ Frenchie costume. And the 2$ was spent on prop lollipops. Seriously, who owns a poodle skirt?? Creativity points to Melissa for turning a mens plaid shirt into a plaid skirt! Points to Devon for reusing her shoes from Velma.
Marty
Jacket: FREE
Navy skirt: 7$
White shirt: 2$ (altered to fit)
Blue shirt: 1.50$ (turned into neckerchief)
Shoes: from closet
Total: 10.50$
Sewing time: 30min
Hair prep: 1hr
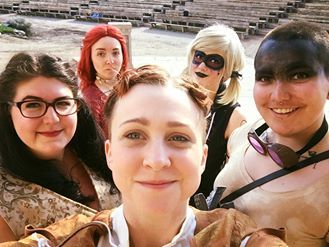 Week 3: Powerful Women / Game of Thrones
The theme was powerful women, but several of us wanted to do Game of Thrones characters. Hence the bizarre theme name. Nothing is as surreal as being driven to work by Furiosa.
I think I got a little too over-ambitious that week... We all did. Creativity points the Game of Thrones gals for using duvets, bedsheets, table cloths and chair covers to recreate the stunning GoT costumes on a budget.
I actually don't know whose costume was the cheapest that week, but I have a feeling it was either Devon or Sarah. Extra bonus points for Frances for wearing every belt in existence and for her robot arm that was so shiny and chrome (despite being made primarily of cardboard).
Arya
Beige fabric: 10$
Gold chair cover: 5$
Green circular tablecloth: 3$
Shoes: from closet
Total: 18$
Sewing time: 12hrs
Hair prep: 40min
 Week 4: Jurassic Park
Jurassic park week--because really, we were in Drumheller. It would be silly to waste a perfect opportunity to take pictures with dinos. Probably the easiest costume I made for this whole thing, since our thrift store was predominantly 80s-90s clothes.
Special shoutout to Sarah for putting up with our teasing all day and us forcing her to wear the padding. She was actually the highlight of the group as Dennis Nedry. Points to Devon for stealing tacky amulets from the wardrobe to wear with her Jeff Goldblum costume.
Extra bonus points to Sarah for finding actual Barbasol brand shaving cream to use as a prop. And then tweeting them pics of her costume. And they tweeted back! Why do they have a twitter? I don't know.
Lex
Elsa hat: 13$ (with attached blonde braid. Seriously wtf)
Purple shirt: 2$
90s jeans: 3$
Purple paint: 1$
Shoes: from closet
Total: 19$
Sewing & painting time: 1hr
DOUBLE BONUS POINTS TO DEVON & SARAH FOR MY FAVOURITE PHOTO EVER.
Week 5: Sound of Music
This was a stupid idea that I came up with. The original joke was that we needed to find terrible curtains at the thrift store and turn them into clothes for the Von Trapp kids like Maria does to the curtains in the movie. We ended up finding super cheap fabric on sale at Fabricland and got like 12m to split between the 6 of us. Everyone's a winner, we all spent the same amount! We managed to recruit 6/7 Von Trapps. Not bad! Not featured are the extra bandanas that were distributed to the other departments so everyone could match.
Friedrich
Fabric: 5$
Wig: courtesy of Sarah's closet
Shirt: from closet
Shoes: from closet
Total: 5$
Sewing time: 3.5hrs
Week 6: Cult Classics
One of those weeks where we picked a broader theme and kind of all did our own thing. Featuring Melissa as John from the 80s classic The Breakfast Club, Sarah as Ace Ventura: Pet Detective, Devon as Princess Aura from Flash Gordon, and myself as The Black Knight from Monty Python's The Holy Grail.
Creativity points to Sarah for using hockey tape to make striped pants!? My mind is still exploding over this. Effort points to Devon for that wicked jacket. Smart points go to Melissa for the most functional yet still recognizable costume in a workplace environment. I get points for being a paint wizard.
I had to buy a lot of stuff to make this that I wouldn't normally have if I lived at home where I have a stock of basic craft supplies--like paint.
The Black Knight:
Black dress: 8$
Black shirt: from closet
Black leggings: from closet
Shoes: from closet
Bucket: 2$
Bristol board: 1$ (for stencil)
Red paint: 1$
Black paint: 1$
Silver paint: 1$
Gold paint: free
Killer rabbit: 2$
Holy hand grenade: 2$
Gems: 1.50$
Red fabric scraps: free (for fake bleeding stump arm)
Total: 19.50$
Painting time: 2hrs
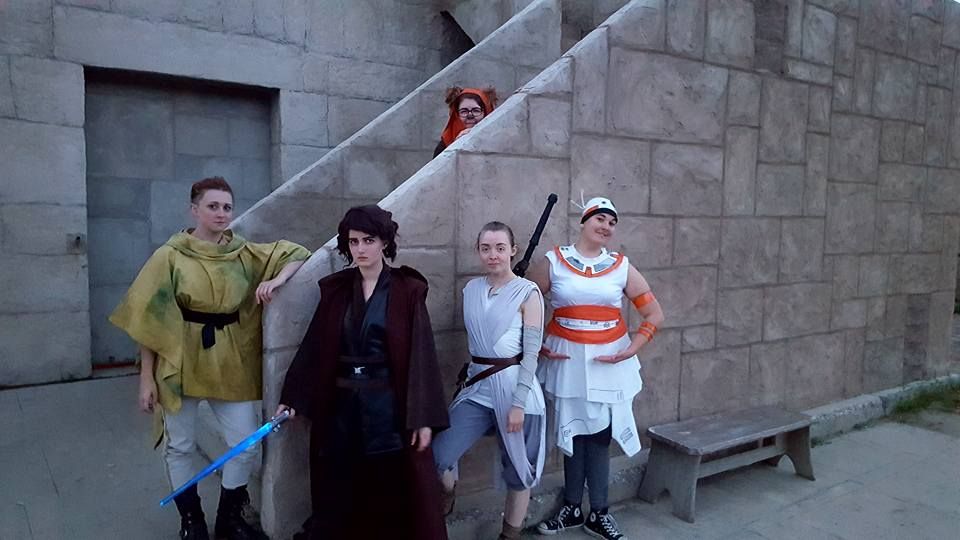
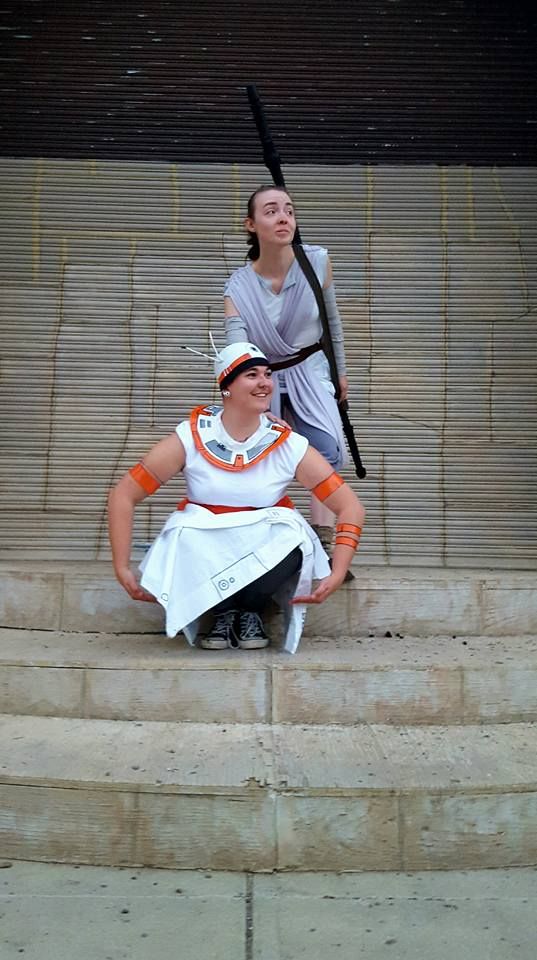 Week 7: Star Wars
Sarah and I blatantly cheated. I already had a Leia costume in the works and Sarah's obsession with Anakin fueled her to screw the budget and make the costume for real.
Double bonus points for creativity go to Frances. Her BB8 was on point! Take note of the neckpiece, which is the brim of a sunhat. And the orange electrical tape. Points to Devon for her amazing McGyvered staff. Made of a pole, a flashlight and solo cups... or are they HAN SOLO CUPS?
Also--bonus points to Devon who bought hair extensions from the dollar store and literally nobody noticed because they perfectly matched her hair. No one thought it was odd that she suddenly had 10 extra inches of hair.
Leia
I'M A CHEATER.
This was the first wear test for my Leia Rebel scout.
The pieces of which were lying around in my workshop.
For free.
Totally.
Total: $$$
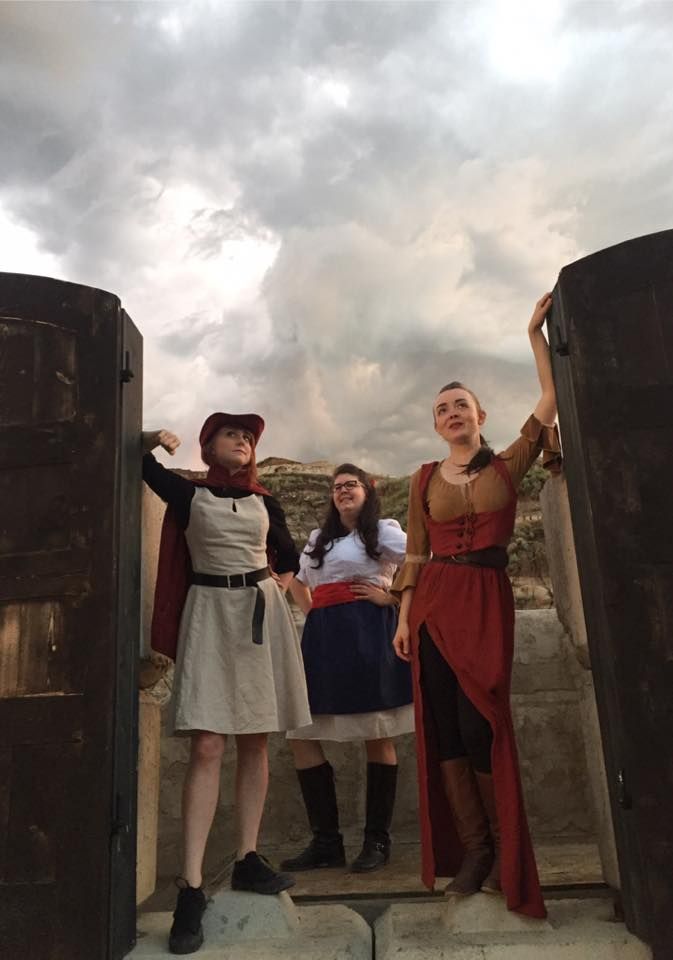
Week 8: Gender-Bent Disney Princes (Men)
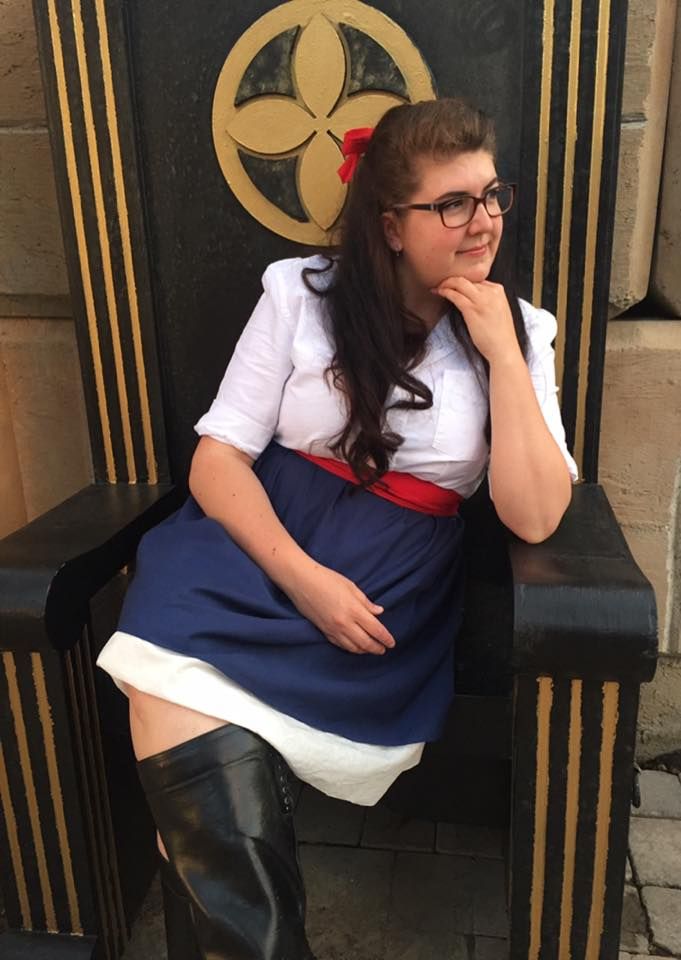
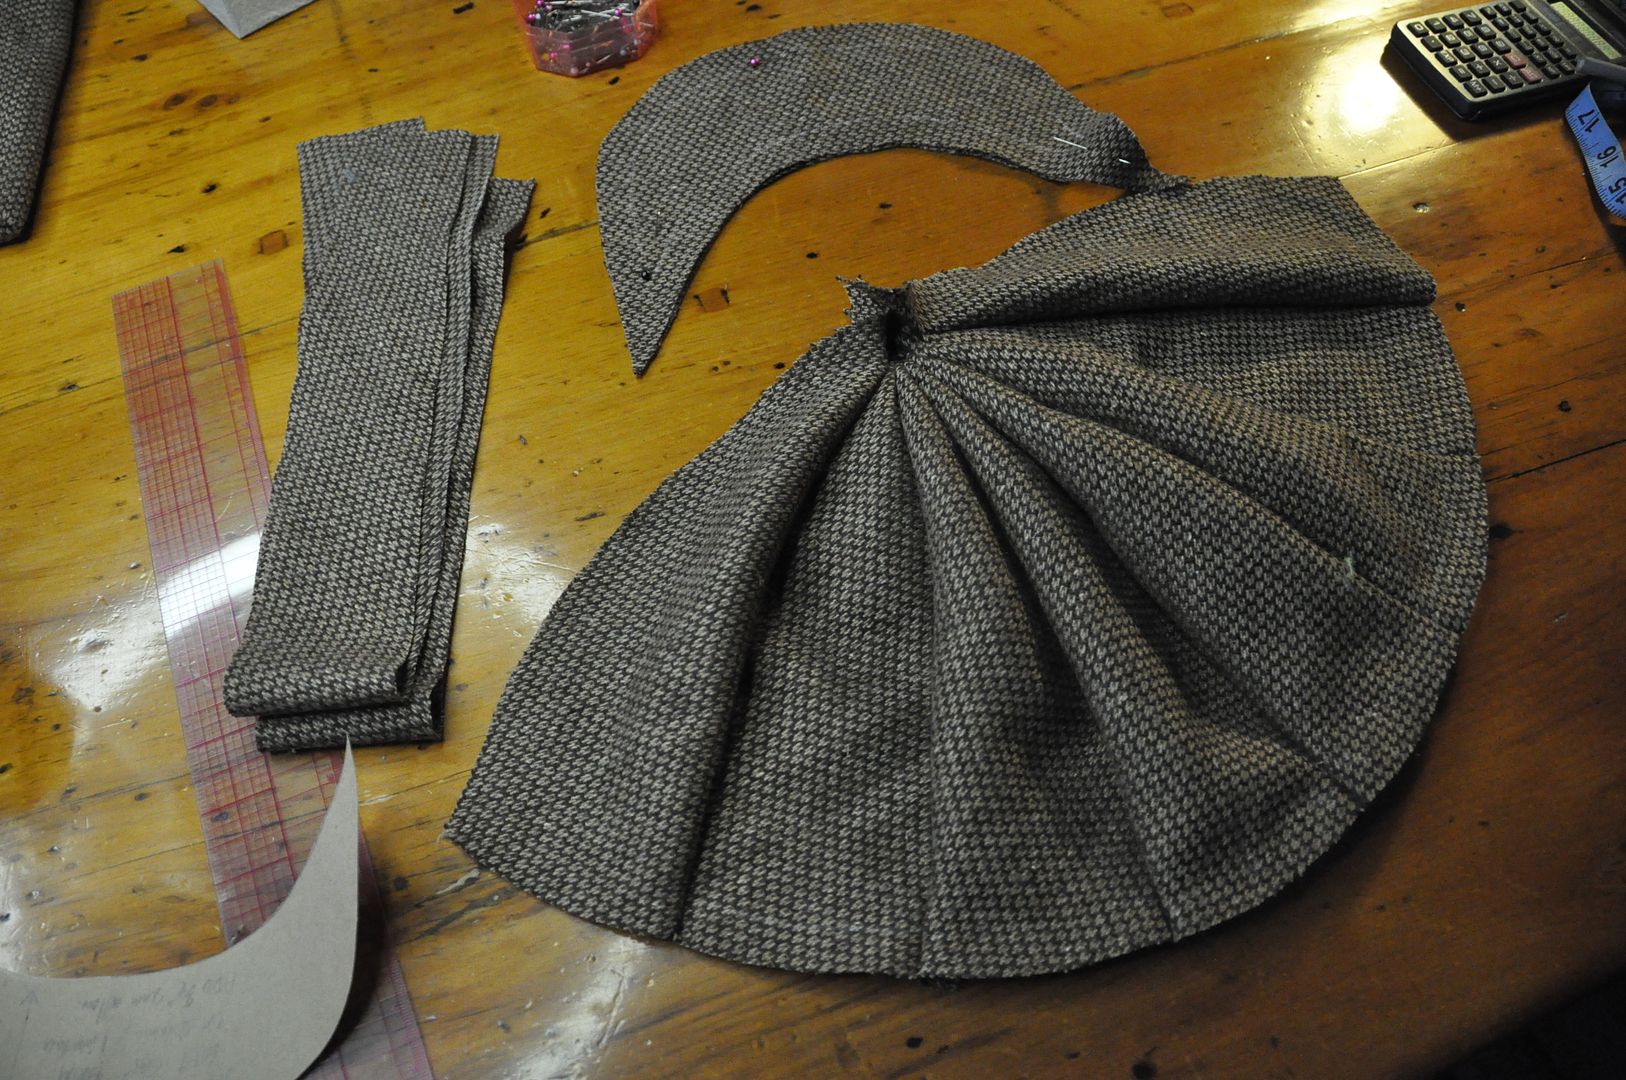
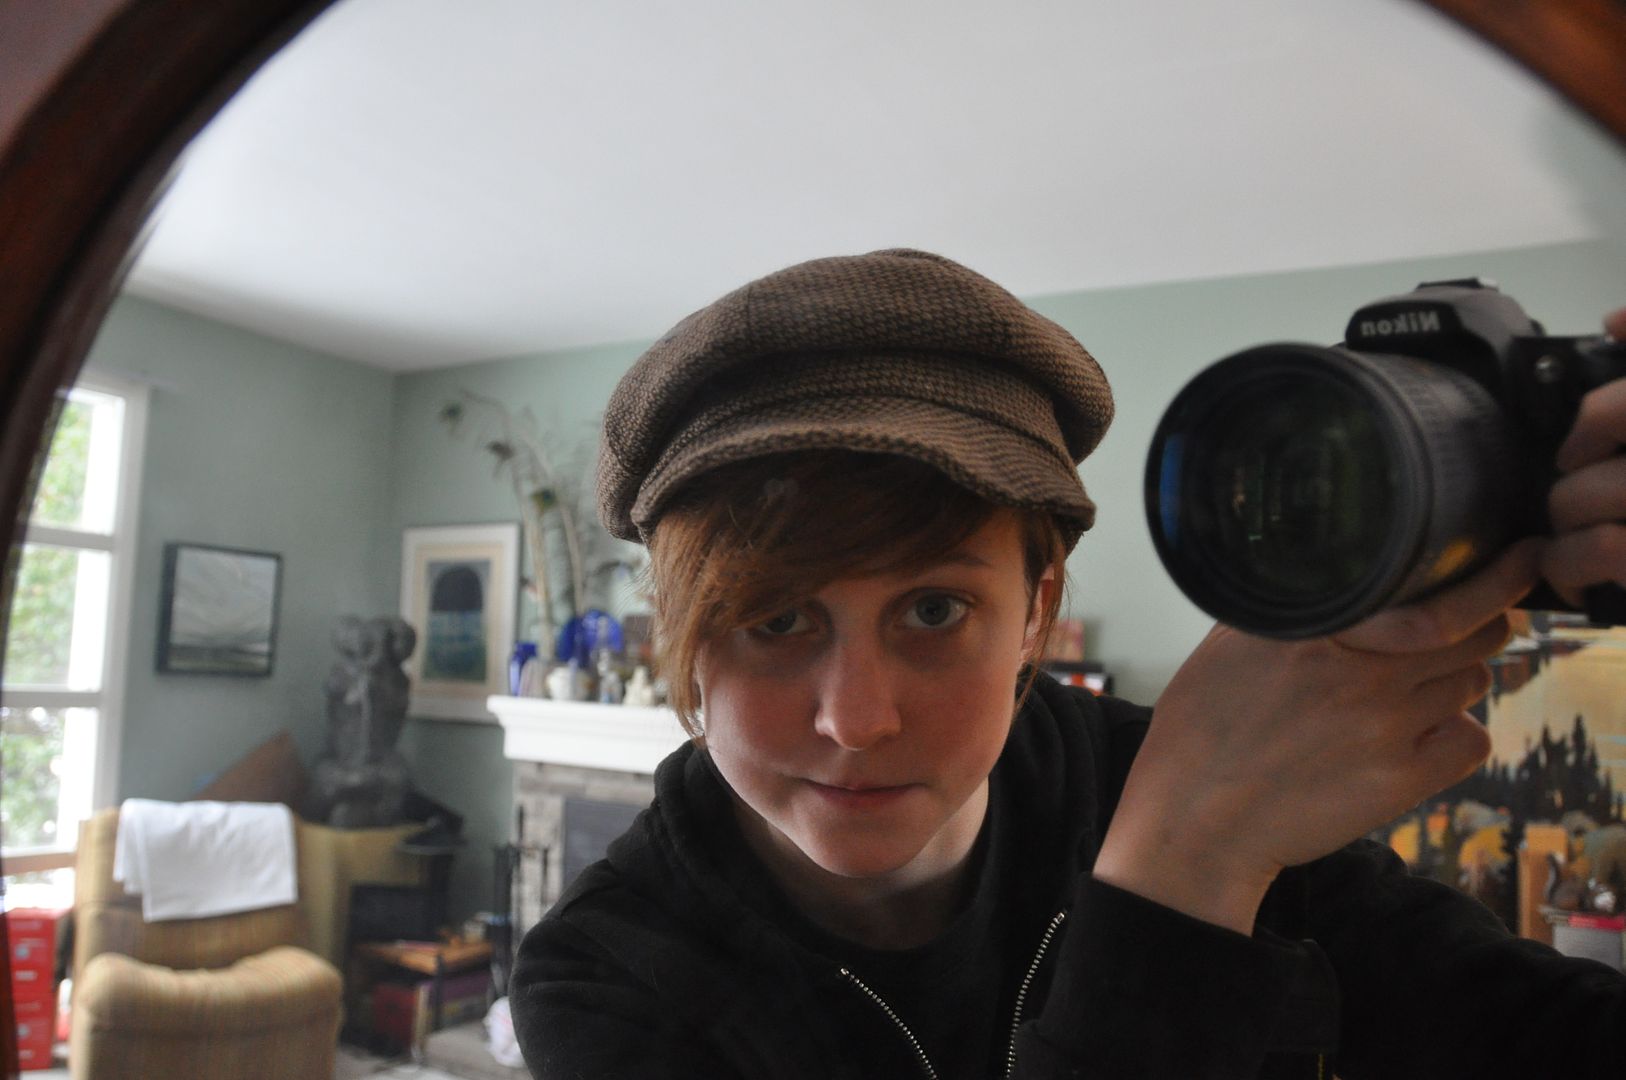
Philip! I had been looking forward to this since we were deciding themes at the very beginning. Originally we were going to do this one earlier, but it ended up being at the end. The joke was that all I really wanted was to make Philip's hat and then wear it with every costume. Originally it was just supposed to be Disney princes, but Devon wanted to be Gaston.
Congrats to Melissa for being the most easily recognizable as Prince Eric and tying the group together nicely! Bonus points to Devon for continuing to freak people out with her hair extensions.
Philip
Red felt: 10$ (made into hat, tons of leftover)
Red sheets: 5$ (shared with the Red Woman from GoT week, made into cape)
Off-white fabric: 5$ (made into dress)
Belt: courtesy of Furiosa
Black shirt: from closet
Shoes: from closet
Total: 20$
Sewing time: 8hrs
ARE YOU INSPIRED YET? There's still over a week until Halloween--you've got time! Make something super awesome with 20$ and whatever's lying around!

 Taking orders for Splatoon hats and tentacles!


