Showing posts with label zipper. Show all posts

Tuesday, June 28, 2016

Make Up Cases


Just a quick post showcasing some custom make-up cases I made for my sisters this past Christmas.

Both have elastic loops to keep brushes/pencils organized. The front flap on the teal one was a little tricky, as I am not used to sewing zippers in on such a sharp curve.

I thought it was a pretty fun way to use some of the print fabrics my sister got me in Japan. :)

Thursday, October 2, 2014

Mushroom Print Messenger Bag

This was a fun project creating a new messenger bag for myself. I wanted to incorporate this small piece of mushroom print fabric my sister picked up for me on her trip to Japan last winter.

The accent fabrics I used are all leftover from my Forest Guardian costume.

I measured out the dimensions I wanted and cut out the pattern pieces from the fabrics I wanted.


I used a non-fusible heavy interfacing fabric. I cut a long rectangle that would be the front, back and bottom sides of the bag. It had an extra rectangle sewn to it to just add extra thickness to the bottom side.
I wanted to ensure that the front pockets had a bit more room in them than a flat pocket. So I made them 1" wider than the finished pocket and sewed a dart into the bottom 2 corners at a 45 degree angle.


I designed and embroidered on the little figures by hand. The faces are all buttons.
These fun buttons my sister picked up for me quite a while back, but I hadn't found a project I wanted to incorporate them into. I decided to create some cute little people to put into the mushroom forest scene.

She bought them online, but the online seller no longer makes them.
These were all embroidered on in matching accent colours. This one is Charlie Chaplin! XD

I rolled over and stitched the upper and lower edges of the inner pocket, then stitched that to the inner bag lining. I also basted the interfacing piece to the out bag piece. It is a bit shorter than the outer and inner bag pieces so it didn't have the extra bulk in the roll over finish at the bag opening later.

I basted the inner pieces and interfacing to the bag side pieces as well.  I finished the top edge of the pockets with a rollover hem, then I zig-zagged the edges. Then I folded under the edges and top stitched the pockets onto the outside piece.

Then I basted the inner bag lining to the outer bag lining.

Once I had finished embroidering the flap, I sewed it right sides together with it's backing, then turned it right way out and pressed it flat.
I sewed the bag pieces together--the sides to the main piece. Then I finished the raw edges with a bias tape.
I ironed the side seams, and then I finished the top of the bag with a rollover hem.


I sewed the flap piece to the back.

Then I top-stitched the strap on and added a zipper closure to the opening.

Presto! One unique messenger bag!


Tuesday, January 14, 2014

Black & Hex Skirt with Pockets


I made this skirt as a Christmas gift to my mum. This is a variation on my Adjustable Marimekko Floral Skirt, so if you are interested in how I made it, just look there for a more in depth tutorial on the construction of this garment.

Mum chose the photoshoot outfit & accessories herself! Very stylish! :D
It is very similar in design/pattern/construction as my skirt, but the pleats are different and it is not adjustable on the sides. (Obviously I don't want the exact same skirt as my mum. Hahaha) It is designed to be simple, the monochrome palette making it a versatile piece. The pocket detail stands out nicely with the contrasting hex pattern fabric.

Tuesday, October 8, 2013

Asymmetrical Marimekko Jacket

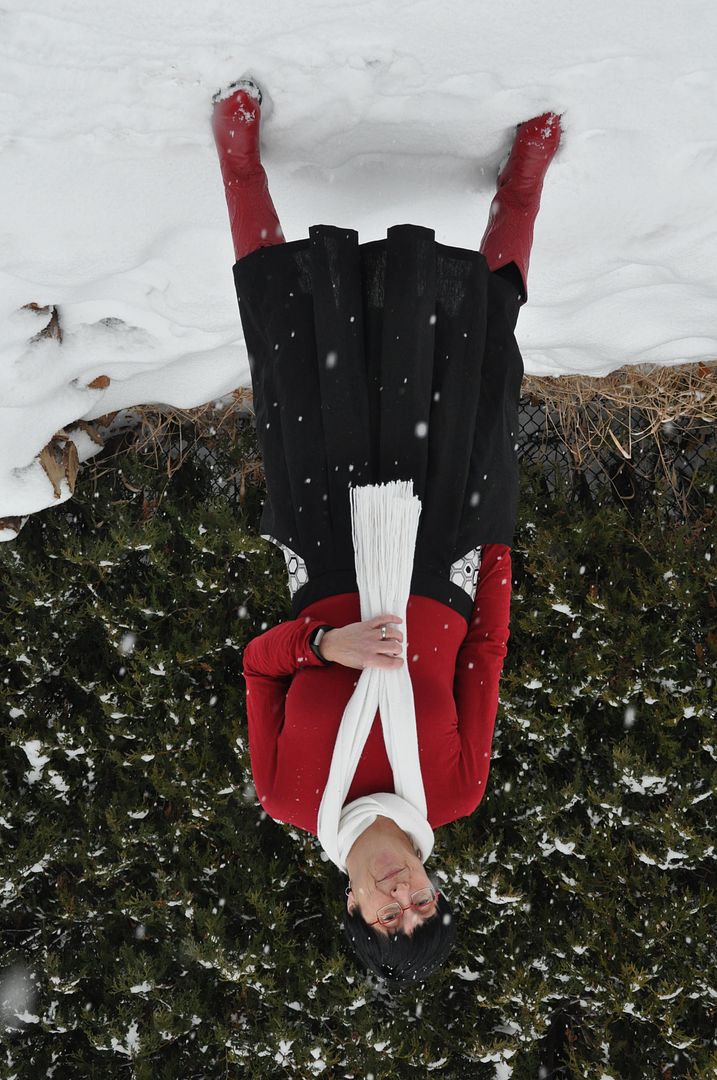
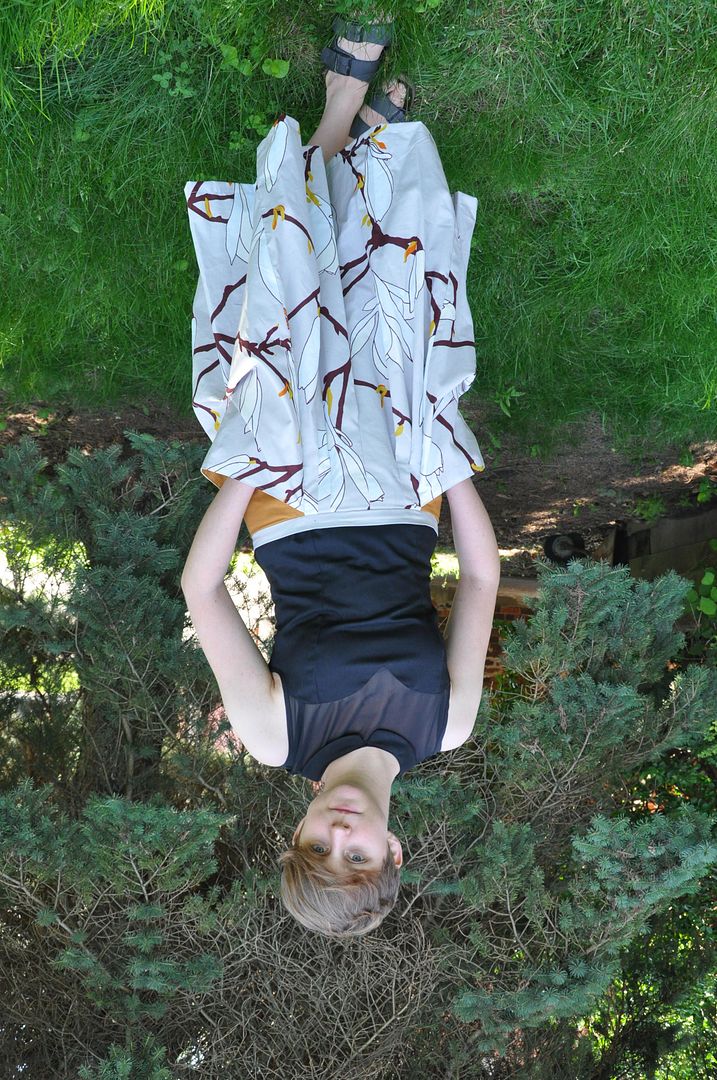
Taking a short break from costumes to show off an original design of mine using a Marimekko fabric I got from my sister as a gift. :) It was a really interesting experiment for me in making a fitted garment with a large print fabric. I really love the warm and cool grey tones in this fabric.

A summer project for me, though the only reason it took me all summer is that I kept stopping work on this in favour of more pressing cosplay projects! Hahaha

You will most likely notice that I used a black fabric  on the sides and under arms: this is completely intentional from the very beginning. (Meaning I did not run out of fabric.) I felt such a large print would be overpowering if it were used on the whole jacket, and I actually had designed it this way from the beginning. The black panels on the side make the jacket far more slimming. ;D
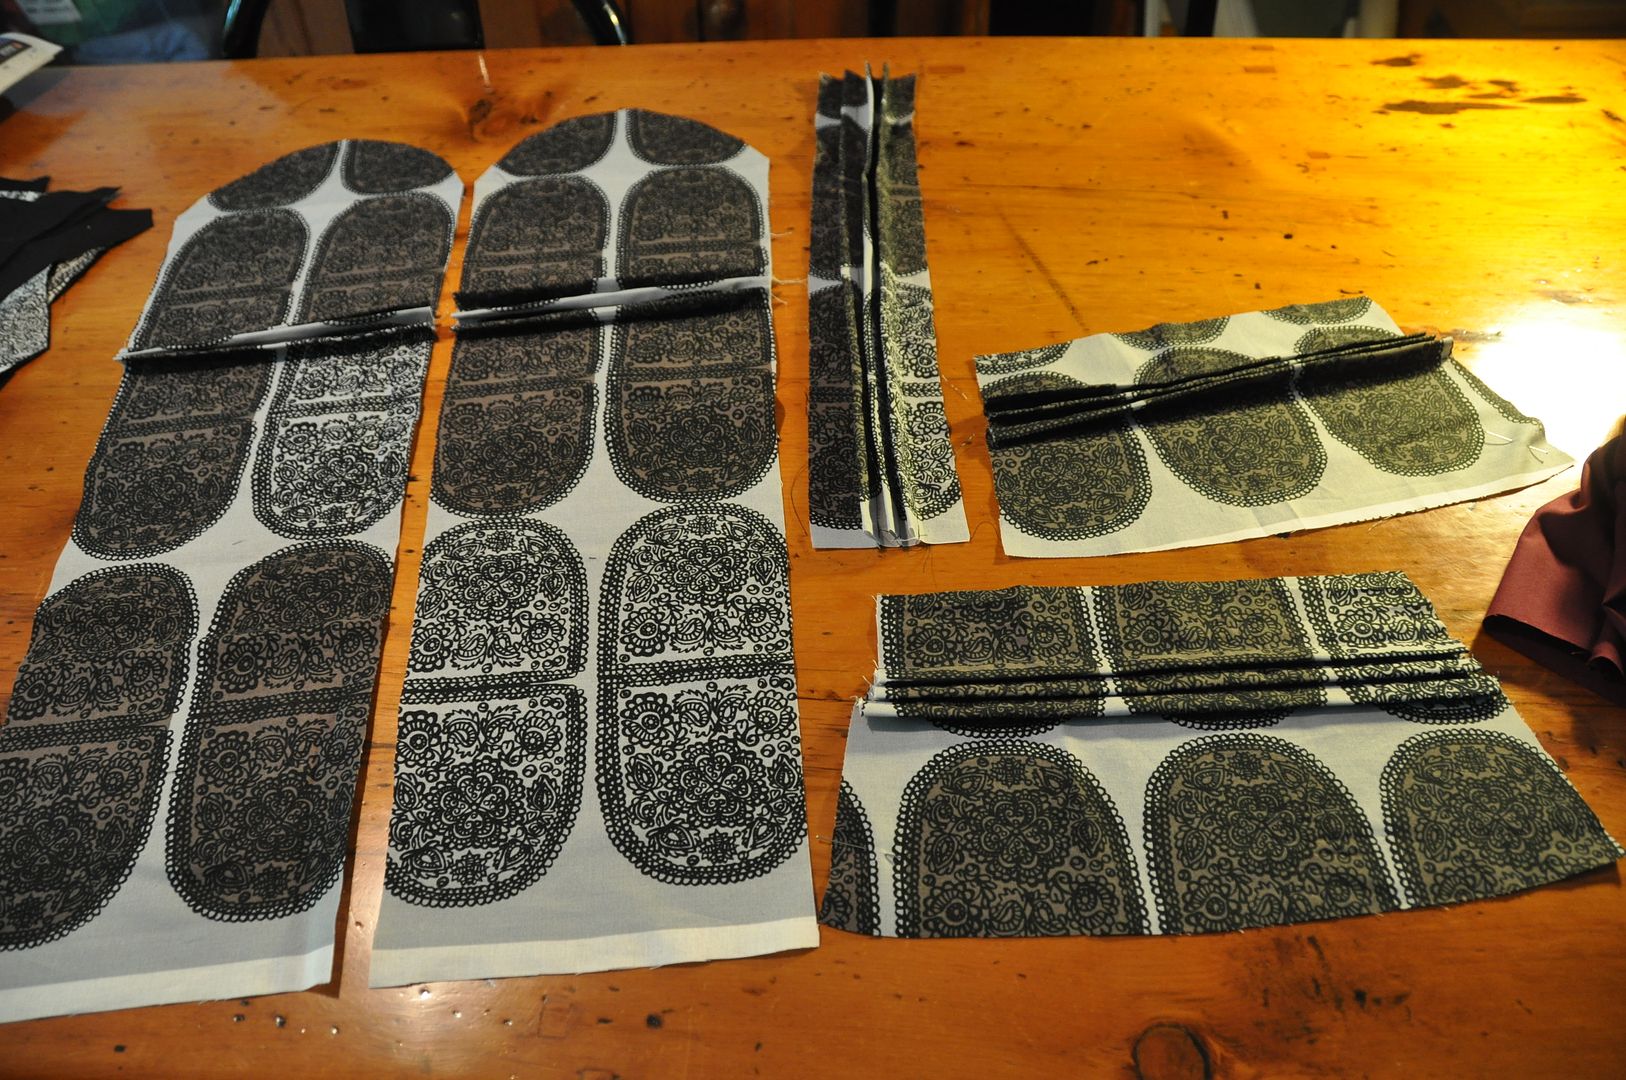
For patterning this I started with a modified basic block. I added in a seam down the back and the asymmetrical front overlap. I made a muslin mockup first before cutting my good fabric. Because this was a jacket, I had to make it a bit larger to ensure it would fit over other clothes (as a jacket should).

I also cut two pieces (inner and outer) for the collar. You will notice that the patterned outer piece is much wider; this is because of the folded fabric detail. Same with the sleeve.
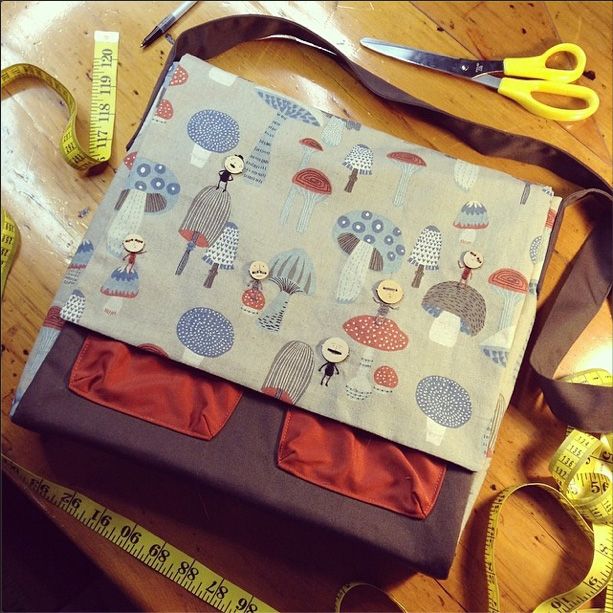
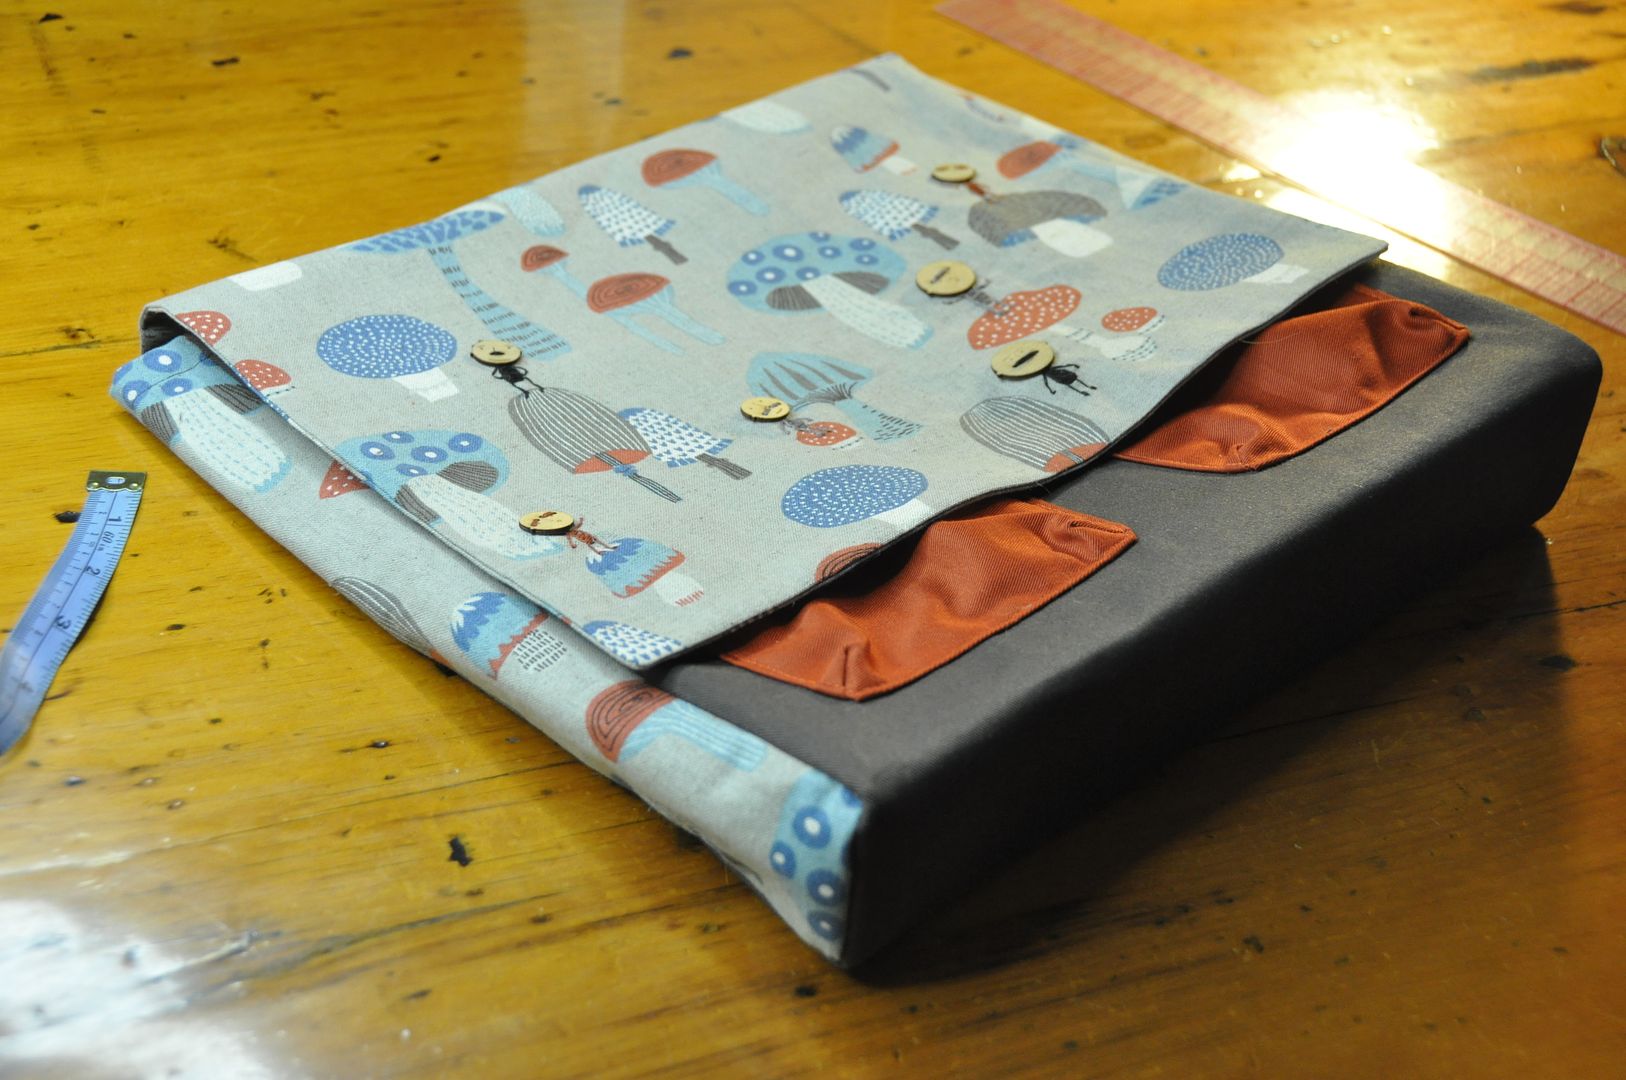
My folded ruffle detail was pretty easy to make I simply pinched 1" sections of fabric together and sewed them, these were each 1/2" apart. They were then all ironed to the same side.

I also cut the 2 pocket pieces, and added the same detail there.
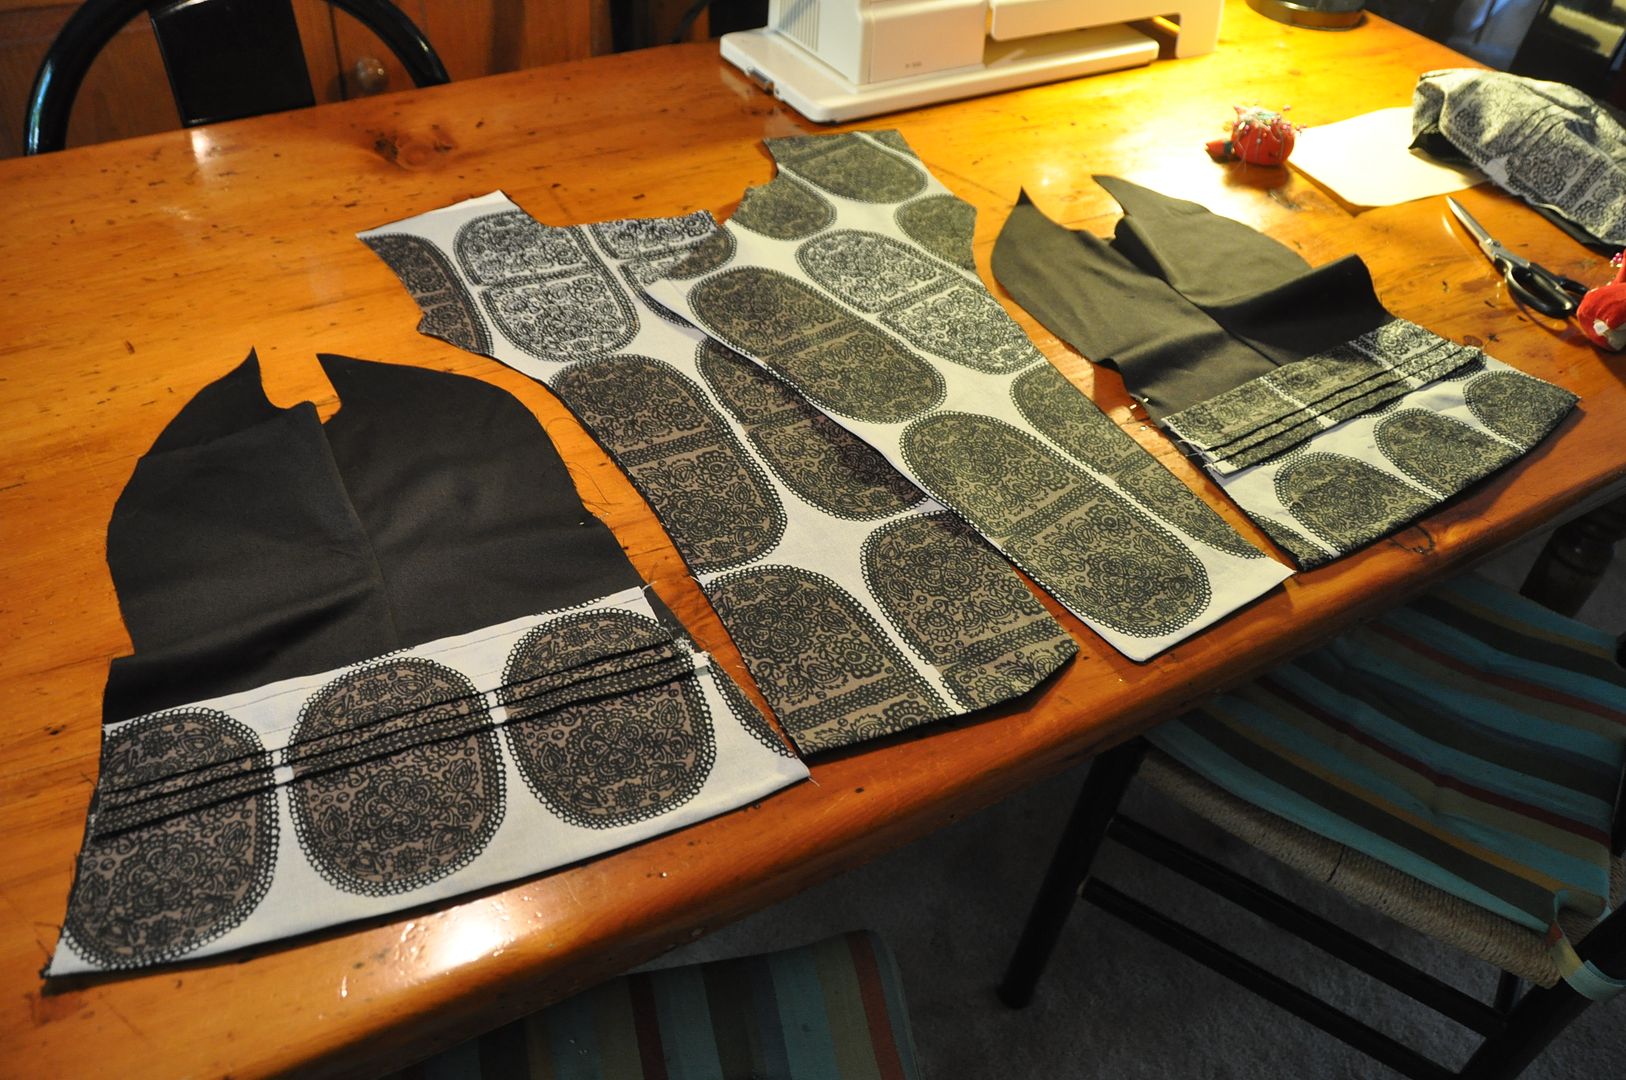
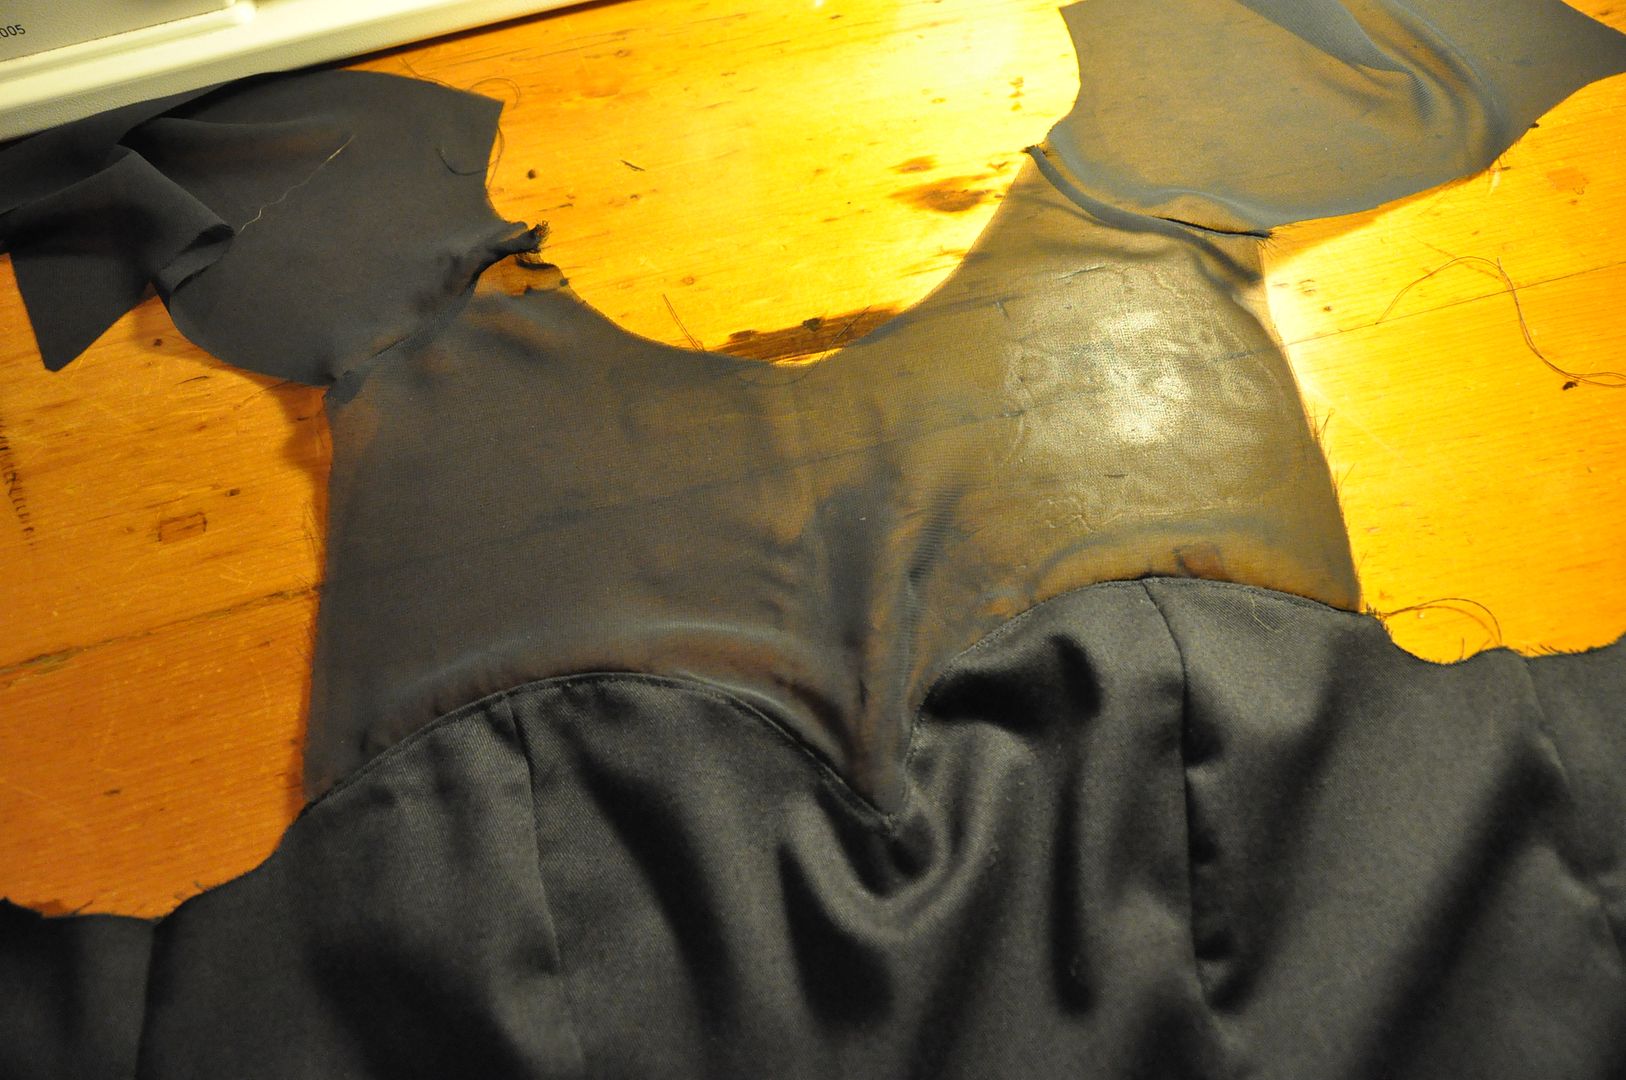
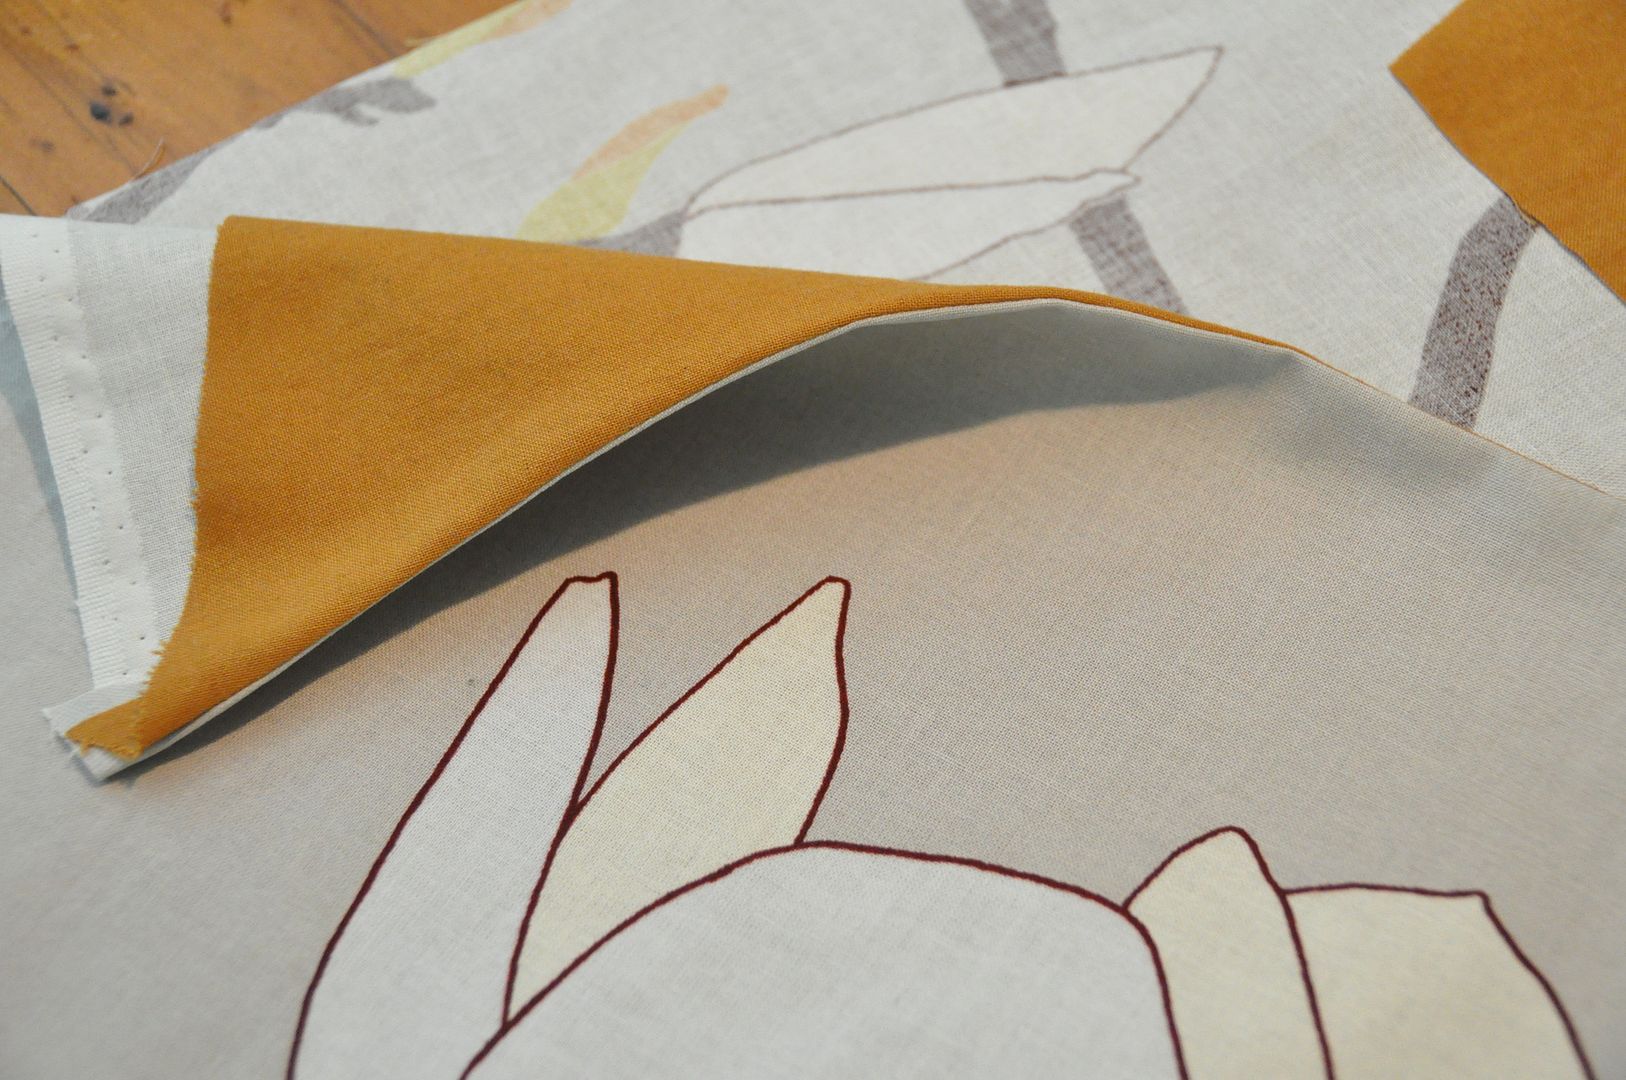
I added a black facing piece to each of my front overlapping panels. I sewed these right sides together (only along the finished edge, not on the seam edge where they attached to other pieces), clipped the excess, turned them right way out and ironed them.
Then I sewed the black side pieces to my sleeve.
The outer collar was stitched to the inner collar along the top and side edges, right sides together, then clipped, flipped and ironed.
I sewed my side seams together, then attached my pocket pieces to the sides along the bottom hem.

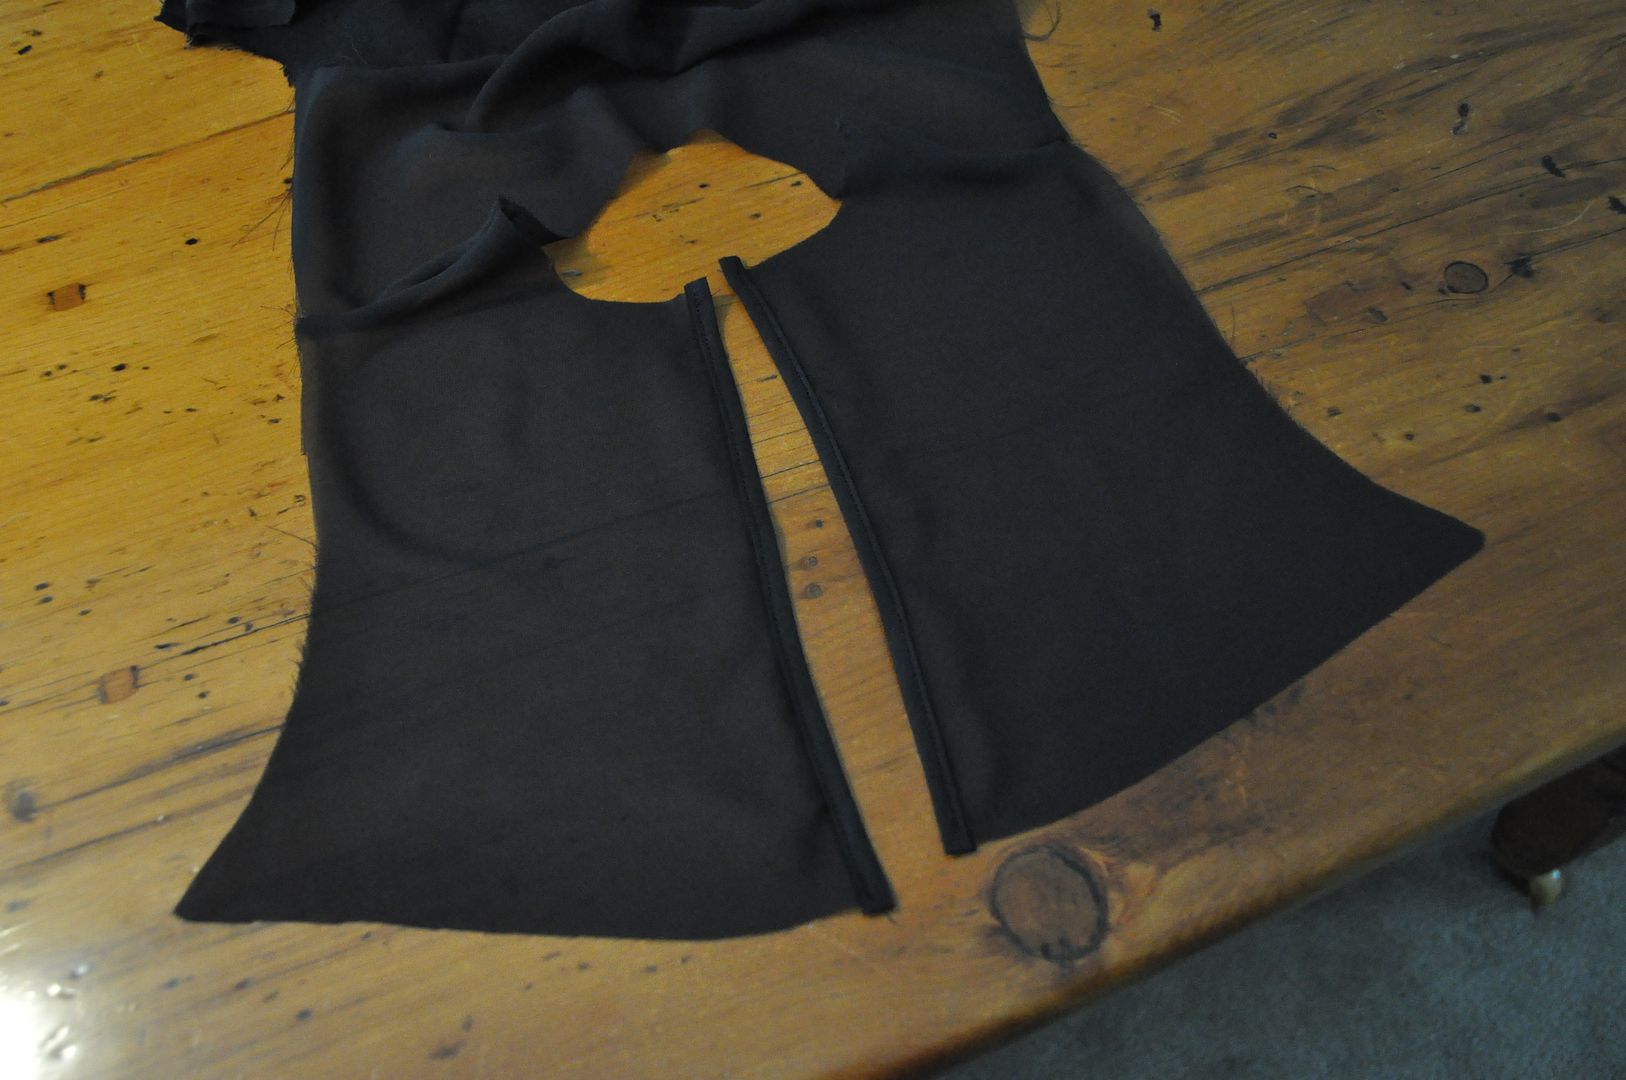
I also faced the bottom portions of the two back panels where the slit was in the back so they would have a nice finished edge on the hem.
I sewed the two back panels together up until the slit. When cutting these pieces I took great care to ensure that the pattern lined up along the back seam. It was difficult, but it turned out beautifully!

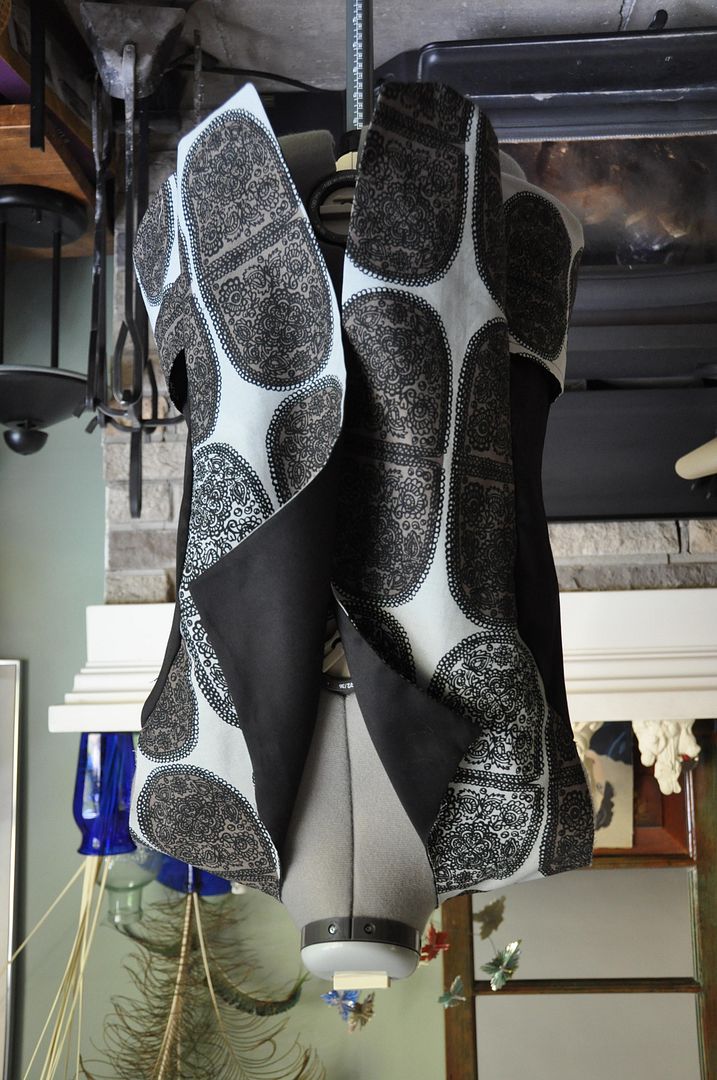
At this point I began to put it all together. I sewed the front, side and back panels together, and then the shoulders. I then ironed and finished all the seams. I also top stitched down the seams from the outside with black thread.

Then I added on the collar and the sleeves. After trying it on I then marked and hemmed the sleeves.

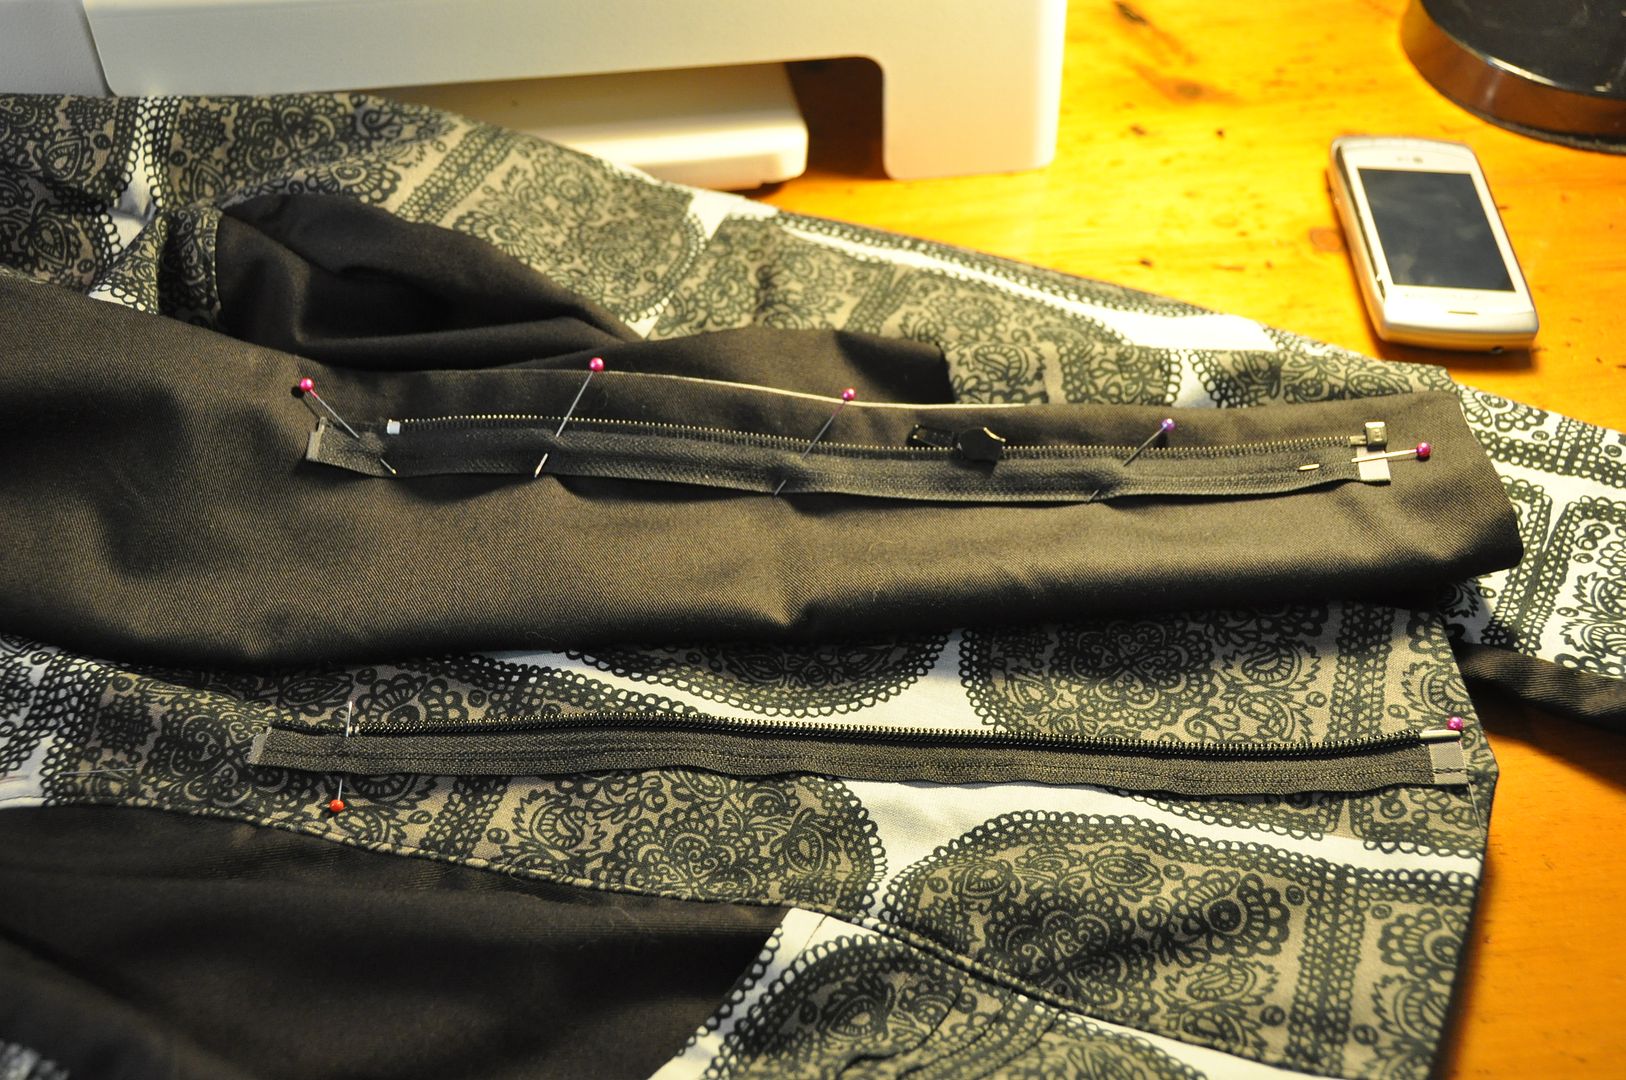
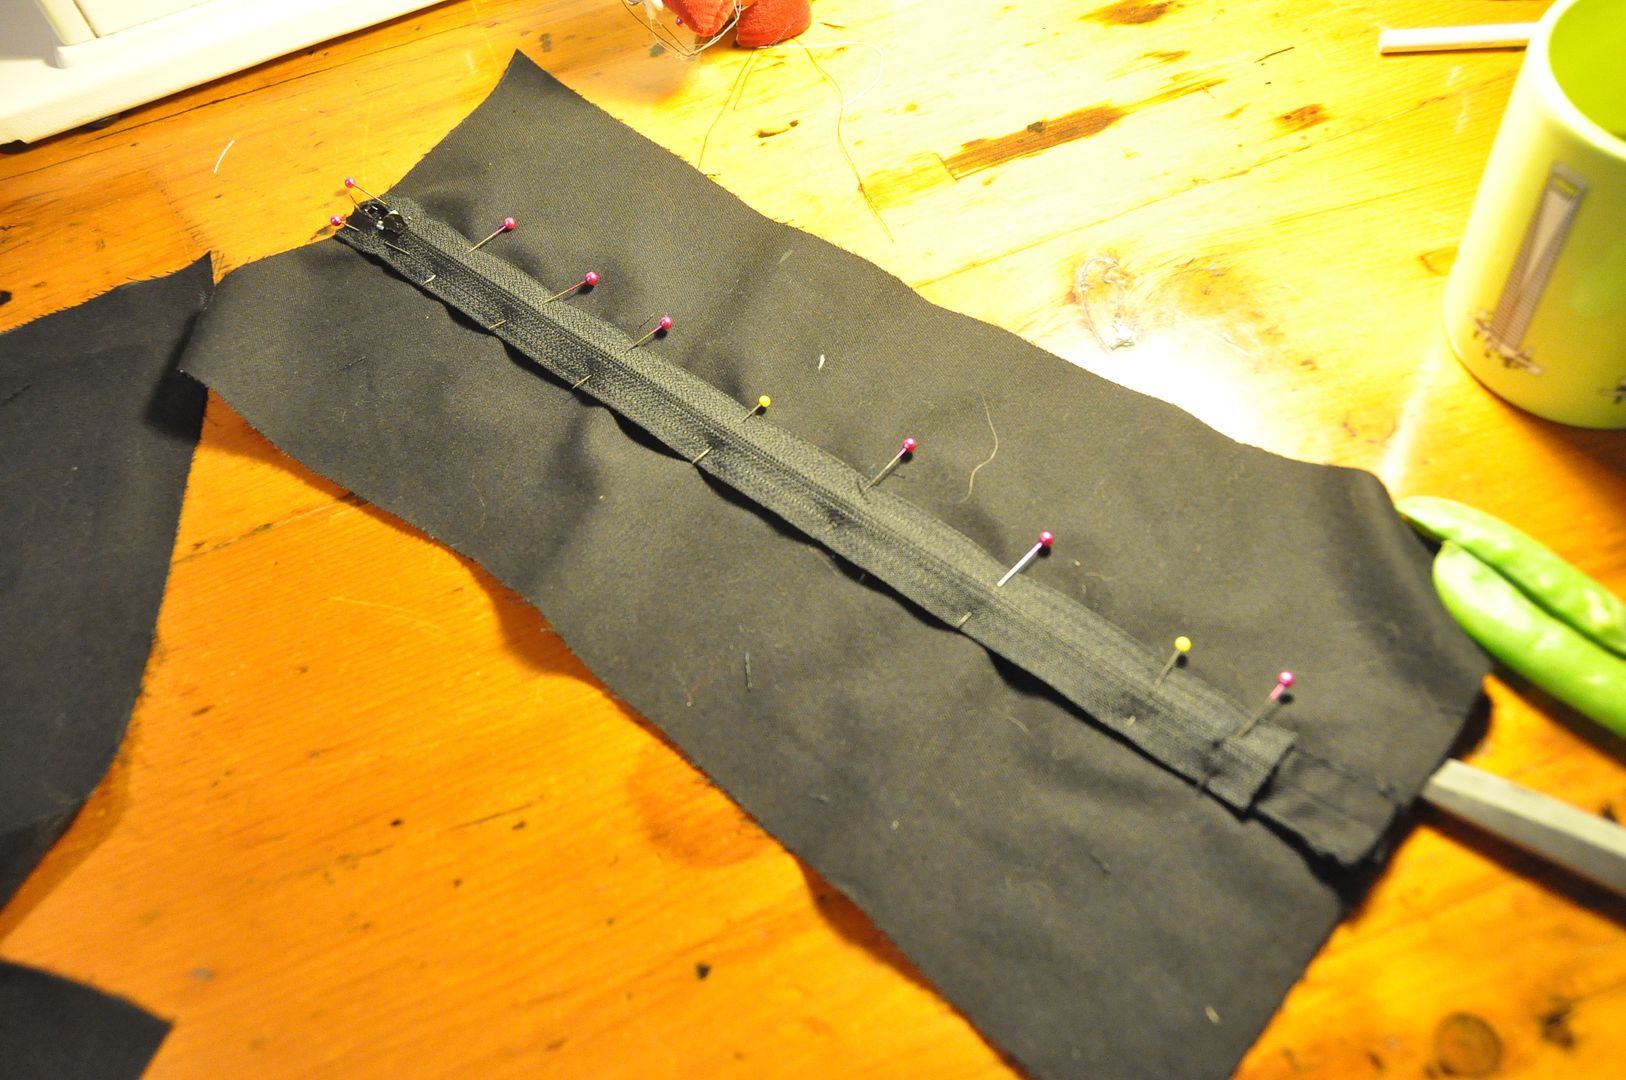
I marked (first on myself) where the jacket should sit when closed, then marked where the zipper should go. Funny story: normally I buy zippers for bags, skirts and dresses, not jackets. So the first time I bought a zipper for this jacket I bought one that didn't separate at the bottom! D: I had to go back and buy one that actually worked for jackets.

The zipper I separated into its two pieces, pinning them to the jacket separately. These were sewed down securely.

The last thing I did was add the black fasteners at the top with the velcro and metal d-rings/buckles.
I really need to buy a pair of black shoes so I can wear this in public...

Tuesday, August 27, 2013

Sweetheart Sheer Top

Alright, lets talk about this cute shirt! I tend to bring a little sketchbook with me on the subway and draw cool things I see people wearing. This design was based on a combination of things I had seen in various outfits. I wanted to try something that involved having a sheer layer and a sweetheart neckline. Also a collar. This is the result. You can also see how I made the skirt.

I started with a basic block, and drew my desired neckline and armholes onto this mockup. From there I transferred my changes to my pattern.
The pattern ended up looking like this. The front and back were both made of 3 pattern pieces each. The center front pieces were all cut on the fold so that I had no seam running up the center front.

I sewed the bodice pieces together (excluding the center back pair).
To the center back pair I added my zipper before attaching to the rest. I made my adjustments and then finished all the inner seams.

I first sewed my sheers together at the shoulder seam and then carefully attached it at the front to the sweetheart neckline. I finished this seam and top-stitched it down.
Before attaching the sheer to the back of the garment I finished the open edges with a thin black bias tape. Then I stitched these pieces down the same way as the front.

I finished the armholes using more black bias tape.
The last step was to make a collar. This was done with two collar sections. Each section was made of two pieces that were sewn right sides together (leaving the neckhole edge open) and then flipped right way out. The collar pieces were then stitched to the inside of the neckhole, raw edges finished with a zigzag stitch before being flipped to the outside. The collar was then top-stitched to keep it in place and hide the finished edge.

The last step was to add a button and loop at the top of the collar to close the shirt at the back. The rest of the gap was left open. :)

I wore this lovely skirt and shirt combo to my cousin's engagement party! :D

Tuesday, August 20, 2013

Adjustable Marimekko Floral Skirt


Taking a break from cosplay projects to post some of my original work from this summer! This is a fun summer skirt I designed, using the beautiful Marimekko my sister got me for Christmas. I really love the large floral print and it was a challenge to design something suitable to show it off. But I think I nailed it. ;D My favourite part of the skirt is the two large pockets on the side.


First thing I did was make a broadcloth mockup of my garment, to make sure that the pleats had enough volume, and that the pockets would hang the way I wanted. Since this is expensive designer fabric I didn't want to waste any by making easily preventable mistakes. After some minor adjustments to my pattern I was ready to move ahead.

The pattern is made mostly of rectangles. When cutting I had to be very conscious of the floral print ensuring that there weren't too many noticeable gaps in the pattern, and that the print wasn't upside-down on any of the panels.

The two back pieces were stitched together first, then the zipper was inserted.
Then I added in the pleats on the front and back panels. These were only stitched a few inches down at the top.

Calculating for pleats is not too hard, but requires some math. I purposefully did not make all my pleats even (but they were still symmetrical).
The side panel pocket detail was constructed before being attached to the rest of the skirt. For this I chose a nice contrasting orange/brown fabric.

I first sewed the two curved top edges together and flipped the pocket to the inside. This left me with a nice finished edge which I ironed and top-stitched.
To create the loose hanging pocket edge the wide angled inner pocket piece is attached to a narrower rectangular piece that would be attached to the waistband later.  (This piece is the visible piece on the hip of the skirt.)

I finished up my inner seams then attached the side panels (now with pockets) to my front and back panels. Then I added a waist band, which closes with a hook above the zipper. Then the skirt was hemmed to the desired length.
The last step was making the skirt adjustable so it could be worn in 3 different styles. I added in 2 button holes and a button that allows you to pin up the side of the skirt to form the second style (see left). Also there are two strips on the inside that can gather up the sides for the third style which reveals more leg. ;D

I wore this skirt to my cousin's engagement party. :)