Showing posts with label bolts. Show all posts
Saturday, June 16, 2012
Nickel - Body - Katamari
How do you make an awesome robot body? You start with cardboard. No, seriously. The final body is made out of hardboard, (which is like a thin masonite) but I started by making a cardboard mock-up so I could make sure it fit perfectly without wasting time, money and materials.
(Side note: I am totally running out of finished pictures of this costume, hence the recycled images. :P)
The main concern here was getting it to fit as tight as possible, so that the profile could be as slim as possible, while still keeping in mind that I had to have room for all the circuitry and batteries to fit in behind the front panel. I guesstimated some arm holes.
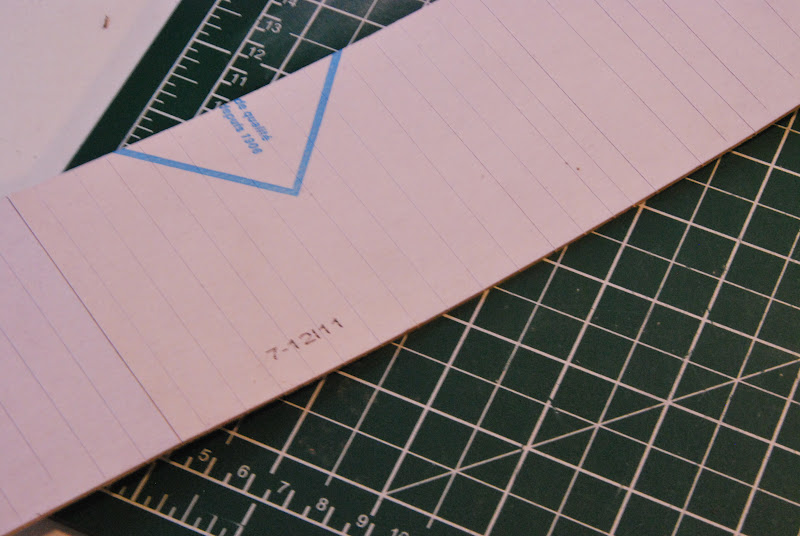
I ended up with these two pieces which would make up the body.
Once I was happy with my mock-up, I set about replicating it in hardboard. I had to keep in mind the difference in material thickness and alter some of my measurements with that in mind.
I got my pieces cut at home depot to start because my table saw is just a little bit busted, but several of them were the wrong size, or cut badly. >:/ I ended up having to recut those ones.
Then I traced my arm and neck holes onto the pieces, and cut them out with a jigsaw.
Then I cut the hole out of the front for the control panel by drilling holes in the corners so I could get the jigsaw in and cut the rectangle.
Once those pieces were prepped, I cut the supports that would go in the corners and would act as a frame to hold it together.
The problem with using hardboard is that although the super-thin-ness is an asset, it also means that there is essentially no material to nail into. In order to make it work you have to add blocks into the corner to support the structure so it doesn't fall apart.
Now I needed some help from a friend with more shop expertise, the rest of the build was a two man job. :P Special thanks to Ian for making this happen! :D
Those blocks were first applied with wood glue and then brad nailed into place. The brad nails helped to suck the two pieces of wood together and the glue help to make the bond even stronger.
I repeated this process on all 4 corners.
Fits like a glove! Which it should if you made a mock-up first! Hahaha
The top panels were added in a similar fashion. Same with the insert for the control panel. You can see below the inside with all the supports in the corners.
This side of the insert had to be made a little differently. This is the side where the hinge was going for the door on the front. I order to attach that, I needed to have the space at the back free, which meant I couldn't put a corner block. Instead, we put two beams with copious amounts of wood glue to hold that panel in place so I could still drill in and attach my nuts and bolts.
Once that was done I spackled and sanded all the little holes left by the brad nailer so the surface would be smooth after painting.
Then I measured and drilled the holes for the bolts so I could attach the hinges. The problem with the hinge on the front panel is that I couldn;t find bolts short enough, so there was a fair sized stub left over on the inside. Luckily, I was able to work it so that the bolts swung inside the insert so that the door would close properly.
Then I attached the side hinge.By having a hinge in the side it meant I could make this box as tight as possible without having to worry about not being able to get it over my head.
Now the base of my body was done.
...Just as soon as I glued in the final piece. XD
Then we set up the pieces to get the full spray treatment. Which is: primer, paint, paint, paint, paint, etc.
Then I prepped the control panel to move into its new home. More on that piece in a later post.
The quick solution to closing the box was velcro, as I was unable to find tiny clasps at home depot. these were just glued to a couple panels that overlapped the openings.
Once the base grey was done, the masking was put on and the details were added in and acrylic paint.
The final touch was the nuts that were added as detailing, and the control panel.
The extra final touch that you can't see, but made all the difference in the world to me was the foam layer that I put on the inside above the shoulders so I didn't die. XD
Labels:
acrylic paint,
anime north,
award,
bolts,
brad nailer,
cardboard,
cosplay,
hardboard,
hinges,
jigsaw,
katamari,
nickel,
robot,
sandpaper,
spackle,
spraypaint,
table saw,
velcro,
wood glue
Saturday, June 9, 2012
Nickel - Claws - Katamari
The first in-depth look at my Nickel costume: how to make moveable robot claws!
I started by drawing out my design full size, keeping in mind material thicknesses so that my hand would fit inside.
I cut those pieces out and traced them onto foam core. For each hand I needed 2 'hub' pieces and 4 'finger' pieces.
Then I measured the outer curve of the fingers and made strips of illustration board that length that were wide enough to fit my hand inside. I lightly scored the hidden side with an exacto knife so it would bend easier.
I began the long and painful process of gluing the fingers together. It should be noted that the illustration board really needs the curve worked into it before you attempt gluing it, because it was fighting the glue like crazy!
After the first attempt failed, I decided to put in supports that would double as a greater surface area to glue to and just generally make everything 10 times stronger.
The most important thing here is patience. They had to be held until they were completely dry, or they broke the glue. I decided to have some people help me out here, so I didn't die of boredom. :P
Now that the base structure for the fingers was done, I began to work on the hubs... But I realized that I couldn't finish them until I had the fingers completely done.
Even with our best efforts, the glue still slipped a bit, and so the edges didn't all line up completely. So --after testing it on some scrap foam to make sure it was safe to use--I spackled the claw fingers.
Spackle is awesome because it dries white, is sandable and easy to apply. :D
Sanded them off, and just touched up some areas.
Then I measured and drilled the holes for my pivot on the fingers and the hubs, making sure they were equal distance on each side. The idea is that the bolt on each side would make it both secure and easy to move.
I gesso-ed them in preparation for spray painting. (The LAST thing I needed was to have them melt!) Unfortunately, I used a paint on gesso on the hub pieces, which not being glued to anything warped really badly, as a result I had to remake the hubs. >: /
The fingers were then spray painted grey. I took my bolts and worked them through the holes I'd drilled. Assembly went as so: the bolt was twisted though the hub, then the finger until tight, then I attached the nut. This was done for both fingers. Then I twisted the bolt through the opposite hub and the other side of the finger.
My friend Sarené, who aided me with some of the assembly suggested I add a thumb-strap for easier movement.
Then I added the illustration board to the outside layer of the hub to finish off the piece. Once that was spackled and sanded it got the full spray treatment. :D
Unfortunately we had some paint chipping with the tape, but we were able to do some touch-ups.
Finished! And they look fabulous! >:D

Subscribe to:
Posts (Atom)