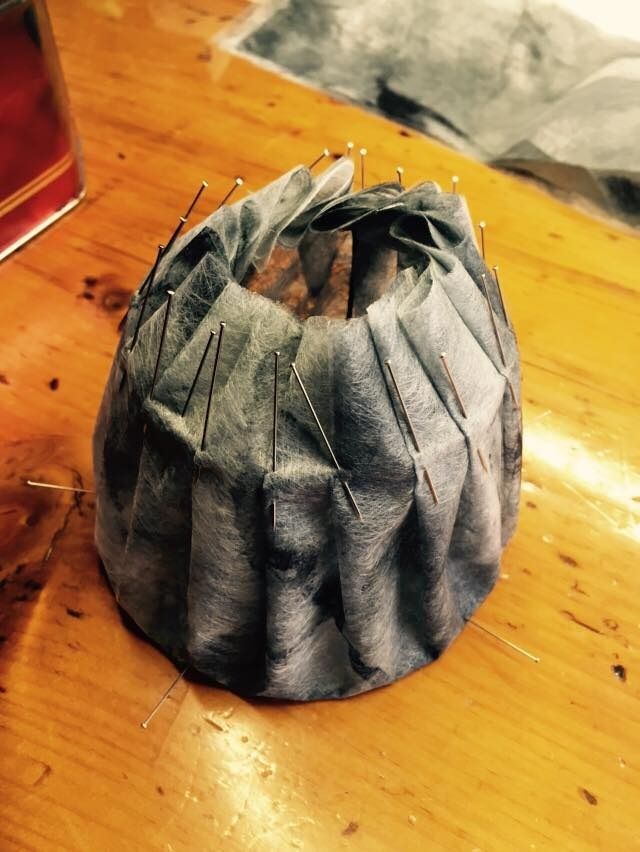
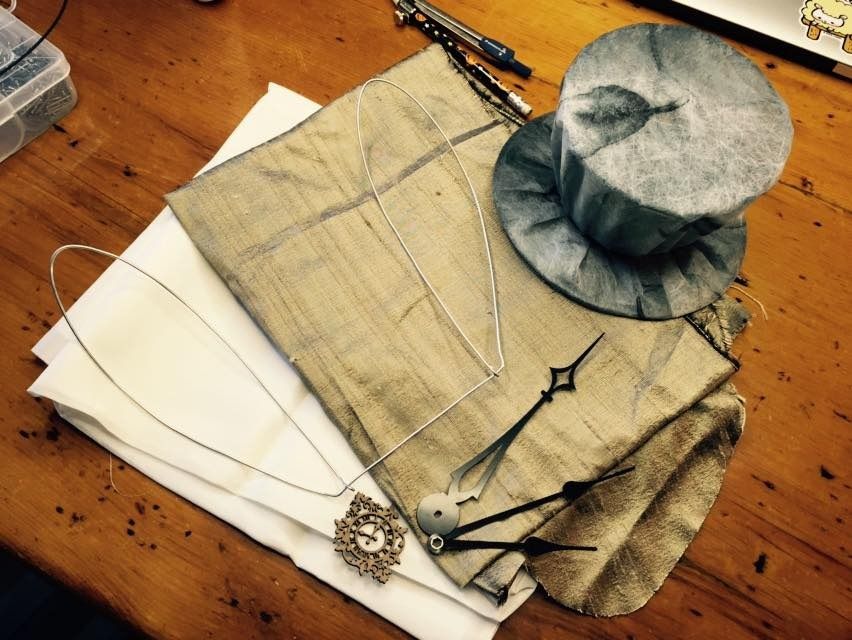
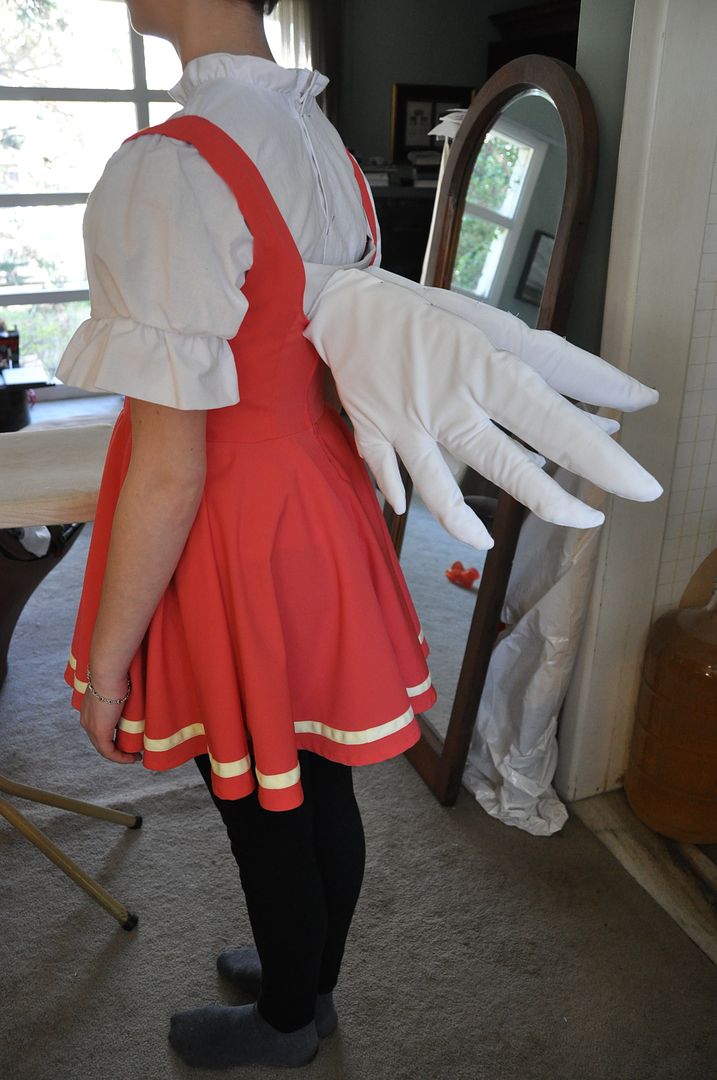
It's finally here, the one you've been waiting for--Vaporeon. In terms of quantity of pieces alone this is perhaps one of the most complicated costumes I have ever constructed. Hence, this one will be broken up into 5 shorter posts.
First of all I would just like to my deepest gratitude for the huge amount of support I received working on this costume. This one was a long time in the works. Special thanks go to my friend Harriet who dedicated many hours of her time and hand-stitched on 95% of the beads, hooks and clasps. Seriously, this costume wouldn't be nearly as sparkly without her help. I gave her the official title of Bead-Dazzler. Another shout out to my friend Alex who accompanied me on my initial fabric shopping scavenger hunt and helped me pick out the perfect fabrics for this costume.
Secondly, a million thank you's to
Elemental Photography for the wonderful photoshoot and the wonderful pictures. I wasn't feeling so confident in a costume with so much exposed skin, but Amanda made me look and feel like a million bucks! You rock!
Credit for this amazing design goes to
Cowslip. I discovered the Pokemon Gijinkadex collection of designs about 2 years ago now, and I fell in love with them. There are so many beautiful ones to choose from--I knew immediately that I wanted to cosplay one eventually. Picking between them was a challenge. I think I narrowed it down to 4, and then I let you--the fans--give your opinions on which you wanted to see me do. The votes were pretty divided--the Moltres design was also pretty popular--but eventually the decision was reached that Vaporeon would be the best one to do. Perhaps I will revisit the Gijinkadex in the future and do another one, but for now I am satisfied with Vaporeon.
I started the costume in May of 2014, originally intended to compete in the Anime North Masquerade later that month. This was at the same time I was working on completing the last 2ft of embroidery on my
Forest Guardian and also building
Sakura (1st opening outfit) and
Isabelle--both sizeable projects. You can definitely say that I over-extended myself, particularly because I hadn't planned to
still be working on the Forest Guardian at the time--I had intended to complete that for CostumeCon32 in April. By the time I hit AN prep suffice to say I was already super burnt-out.
I knew from the start that Vaporeon would be a challenging build--there was tons of detailing on every single piece. And there were
so many pieces. No seriously, this costume has
22 individual pieces. It is actually kind of amazing that this costume is the one with the most pieces, and the most layers, while simultaneously being the costume with the most
exposed skin I've ever done.
Ultimately, I underestimated the complexity of the project, by the time Anime North rolled around it was still not even at a point where it was
wearable. I decided it was not possible to finish on the timeline I had and decided to compete in Forest Guardian instead. So I made my new goal completing it for AN2015.
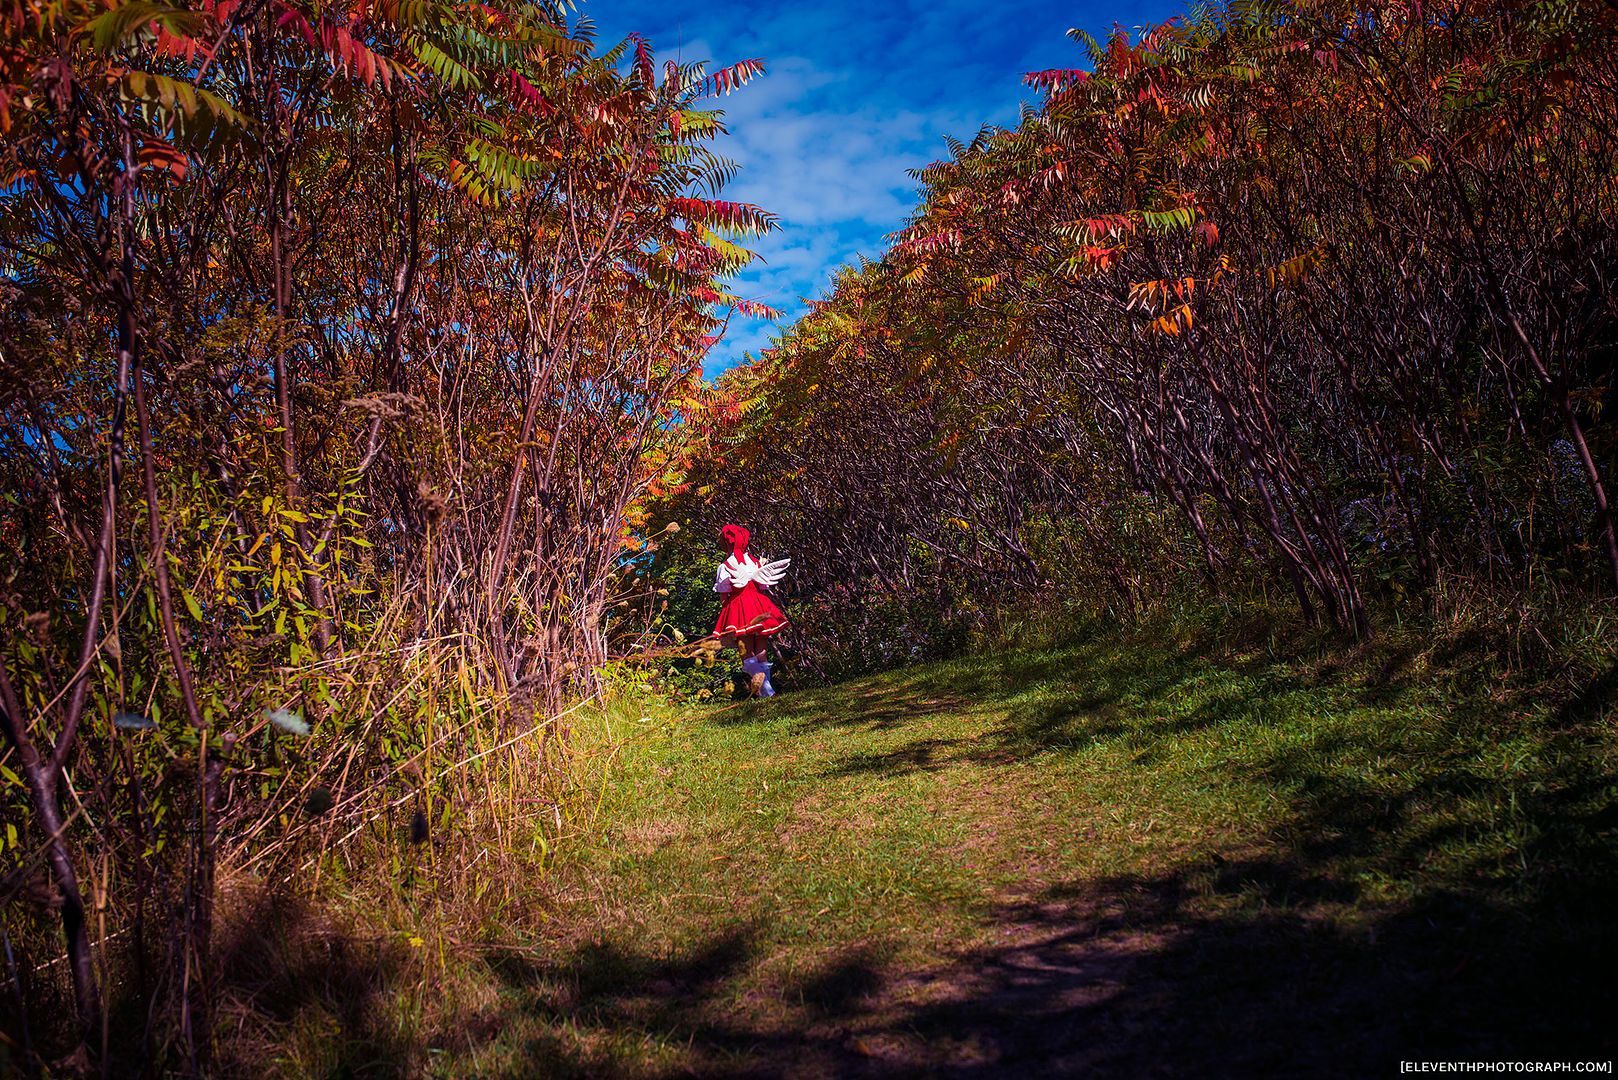
...Unfortunately due to my hectic job schedule, that didn't happen either. Hahaha I didn't even try I was so busy. I finally completed it for Otakuthon later that summer--it took another month to fully complete the costume. I am pretty happy with the end result. There are only a few small things I want to adjust with the sleeves, but the rest of it worked out fabulously.
(Credit for the above shot goes to
Don Dolce Photography!)
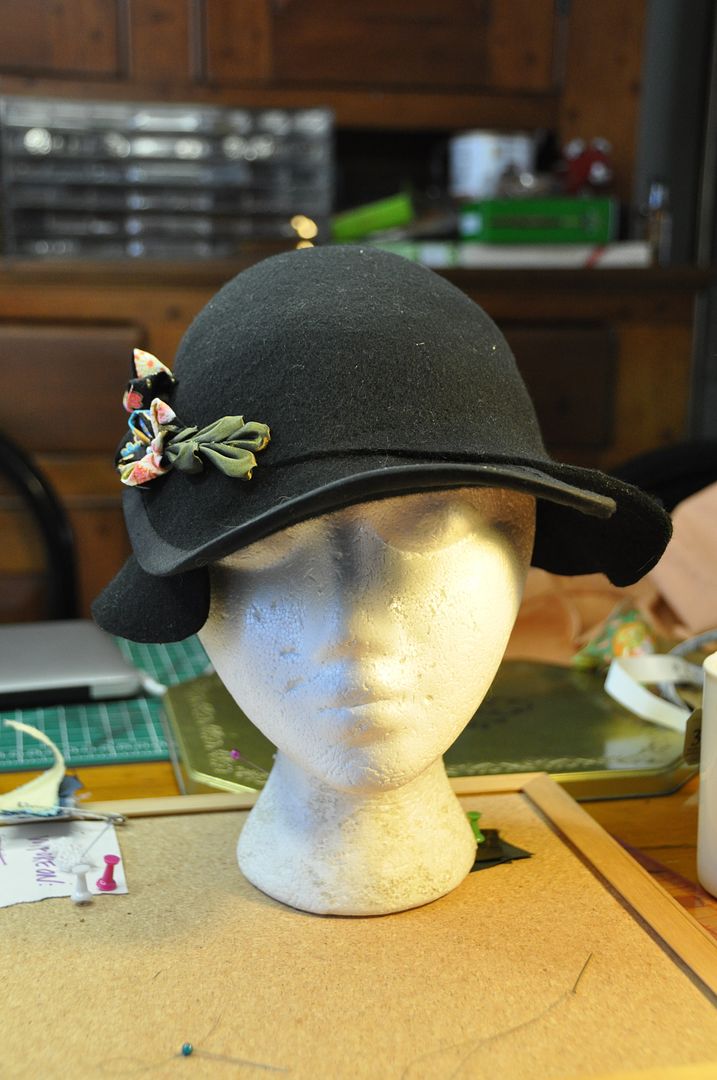
Let's talk about the first part of the build--the bolero jacket. It is the first piece I started and one of the last things I finished.
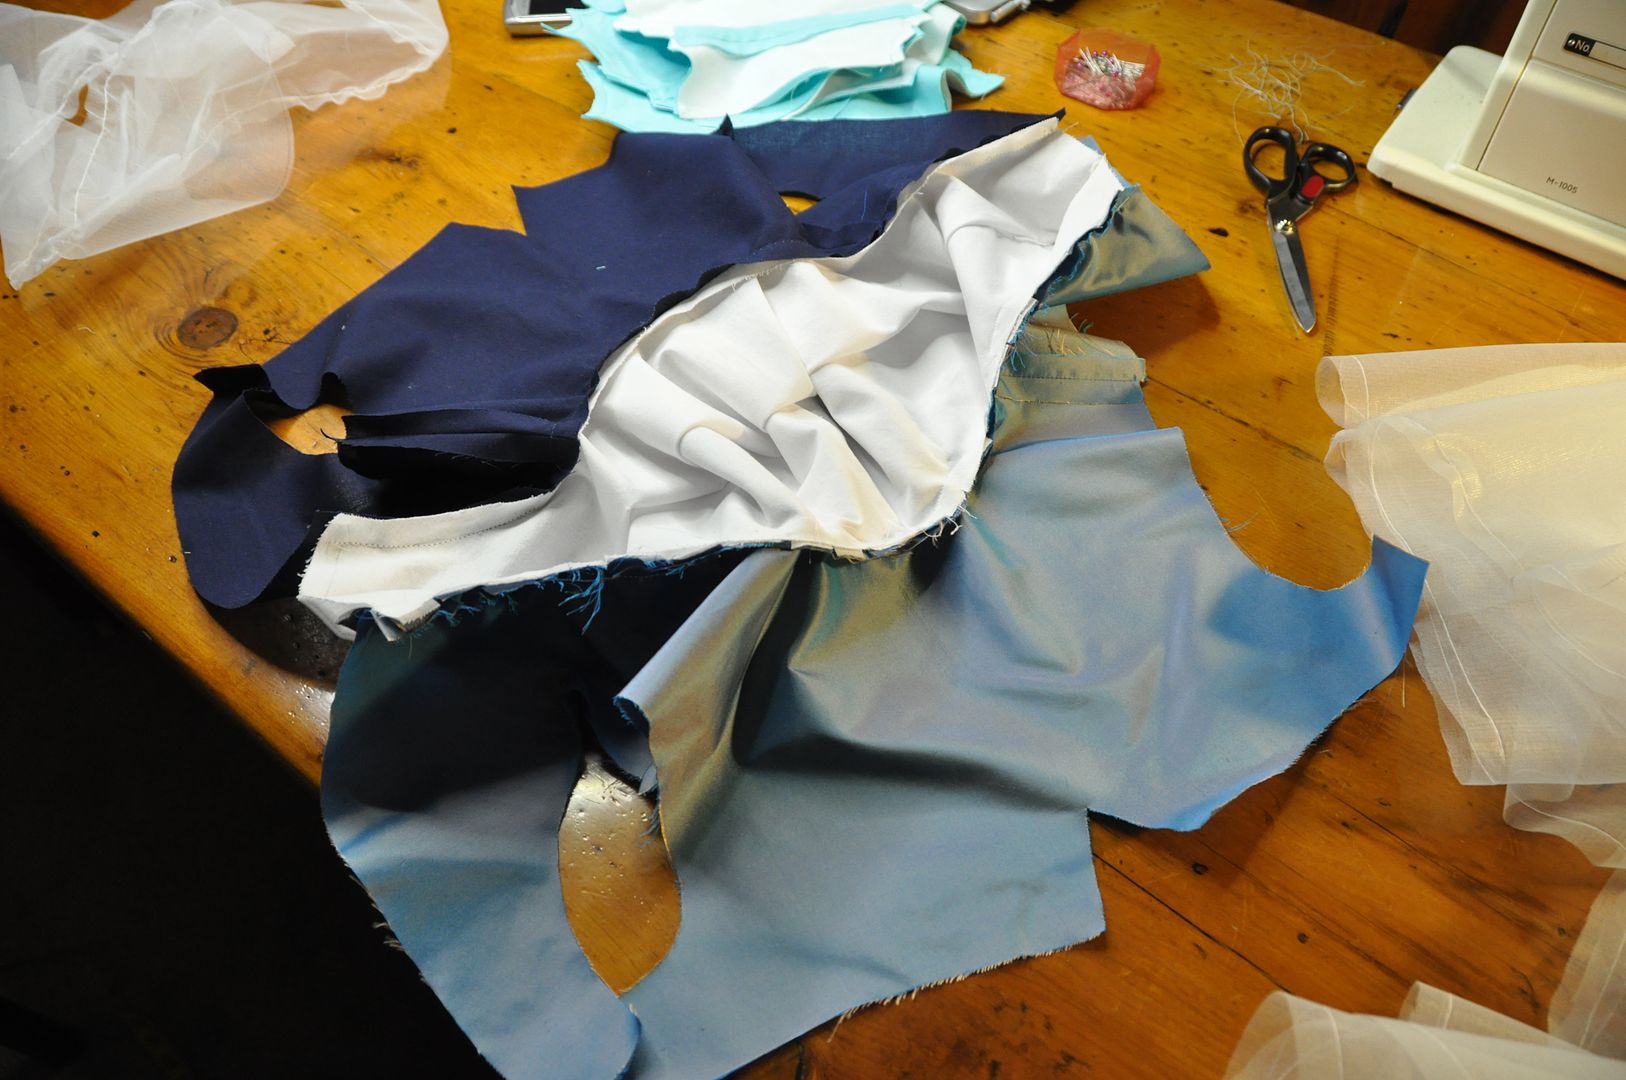
I started by draping the pattern for the bolero. I first outlined the edges and the seam where the big collar would be inserted using twill tape, then I used scrap pieces of muslin to pin in place, following the curves of the body form and trace my pattern pieces. It created 4 pieces. I then tested this pattern by making a mockup.

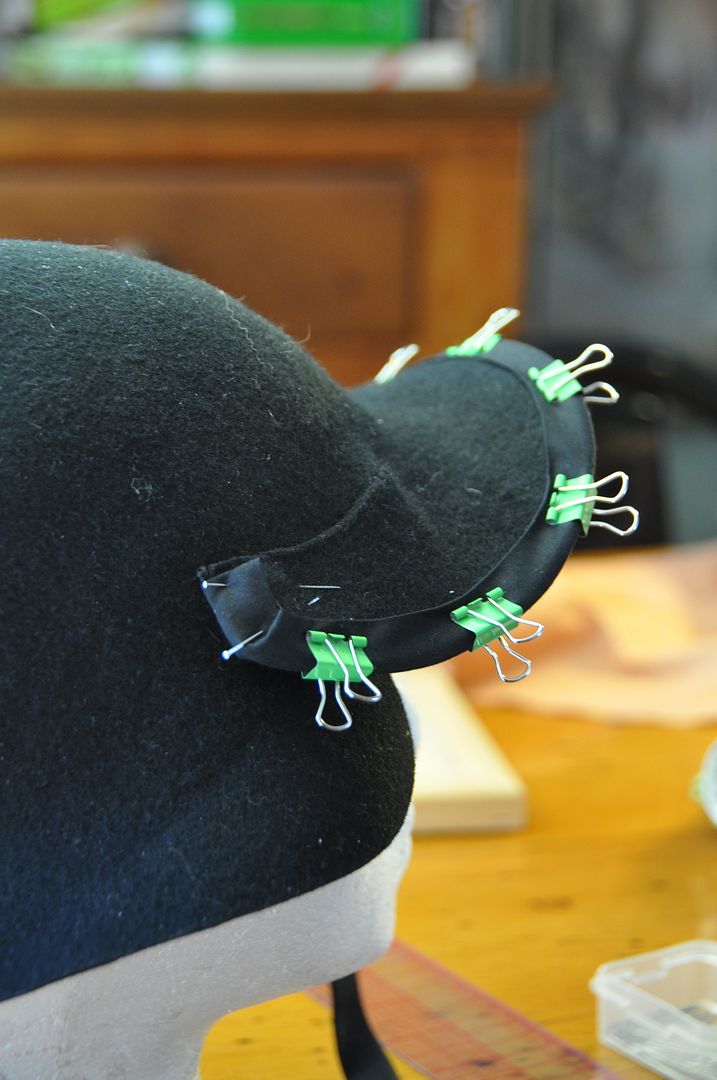
The next step was to pattern the big collar pieces. I made the first upper collar mockup out of paper so that it would be rigid, which would give me a better idea of what the final wired collar would look like. I ended up altering it slightly, then I made the second under collar with the offset spines.
Below you can see the pattern for the upper collar with the under collar below it.
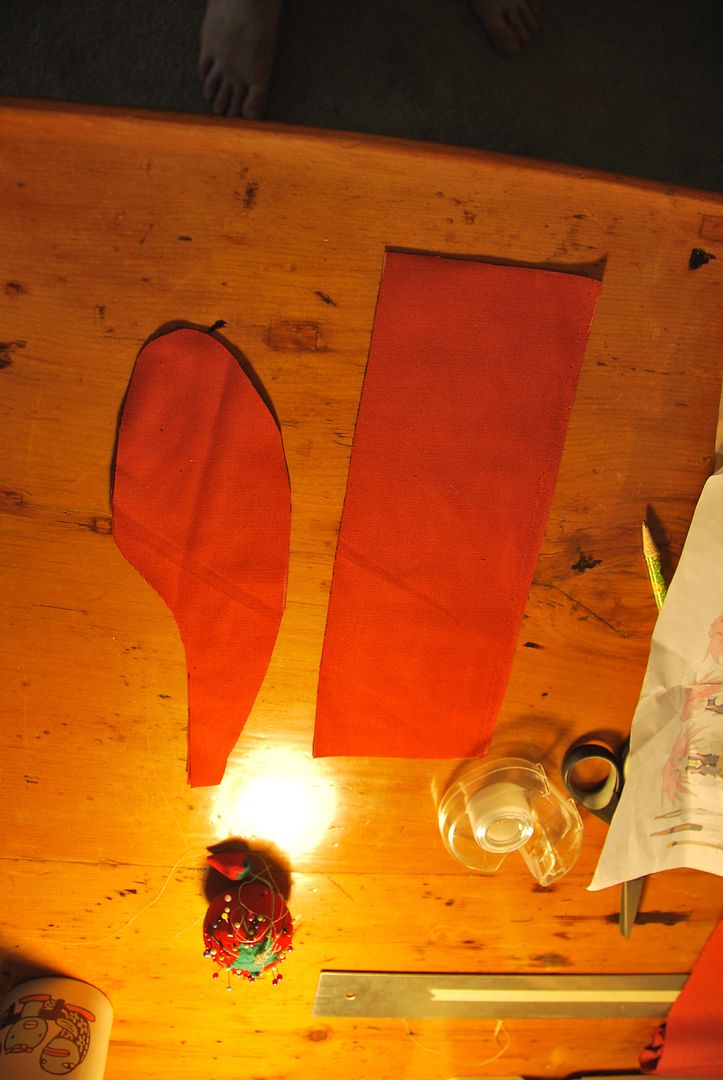
I cut my collar pieces out of their corresponding fabrics. The upper collar was made with two layers of white cotton, sewn right sides together along the spined edge and then carefully clipped and flipped right way out. I ironed it and top stitched 1/8" from the edge to finish it nicely.
The under collar was made in the same fashion-except that it was made with the bottom side in the blue silk to match the rest of the bolero.
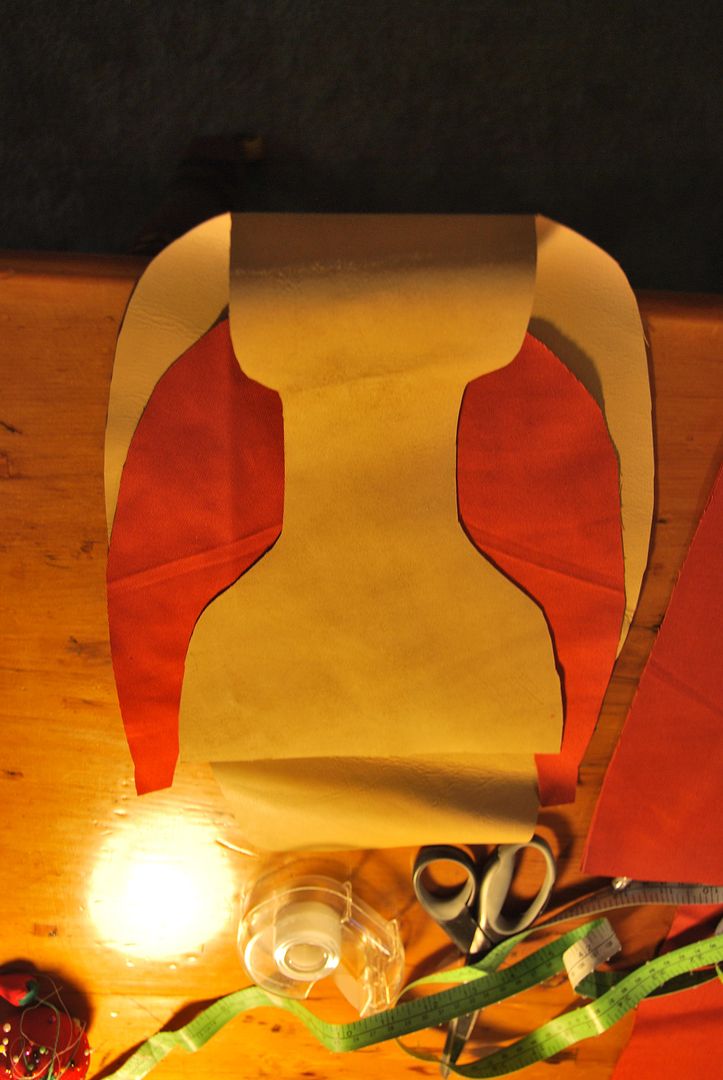
Here you can see all the pieces that made up the bolero jacket. Since the blue silk was so thin, I decided to line the body of it with a leftover navy cotton I had in stock (leftover from my bicycle skirt).
The piecing together of the collar was exceedingly complicated. I will do my best to explain, but ultimately I will have to say that I barely understood what I was doing. hahaha
There are 3 collars: the blue silk inner collar, the white wired collar, and the white and blue floppy under collar.
First I flat basted the blue inner collar to it's navy cotton lining. (The raw edge would get finished with bias tape later.)
I sewed the bottom side of the top collar to the bottom collar along the unfinished edge. This was sewn to the silk outer part of the jacket body along the collar seam. (So: jacket body, bottom collar --both edges, top collar (bottom edge).)
I sewed the top side of the top collar to the inner collar and the navy lining of the jacket body. (So: top collar (top edge), inner collar (and its lining), jacket body lining.)
Pictured left you can see how this left the top collar wide open for me to add the channels for the wires. Which was the next step.
Once the wires were in place I glued some felt to cover the ends that would sit in the jacket body. The felt helped to both keep them in place and make them less likely to wear through the fabric. The wires have an angle in them and extend past the collar seam and into the back of the jacket so that they rest against my back and therefore actually provide structural support.
Then carefully aligned it and I sewed the collar closed--this meant all 3 collars, the jacket body and lining were attached. The order from bottom to top is: jacket body, bottom collar (both edges), top collar (now both edges), inner collar (and its lining), jacket body lining.
I ironed the seam, pressing the jacket lining down, which hid all of this construction on the inside--giving it a nice, clean finish. Then I sewed channels for the bottoms of the wires to sit between the jacket layers. Then I basted the lining to the body along the raw edges--including the armholes.
I used a basting stitch along the sleeve tops and cuffs to create puffed sleeves, which I then attached to the armholes. A year later I would return and finish the sleeve hem with a simple rectangular cuff.

Next I finished the edges with a silver bias tape I made myself. I also used bias tape to finish the armhole seam neatly.
Here you can see the inside of the jacket.
After this I sewed on some frogs for the closure on the top collar.
This pointy edged navy bit was top stitched to one side of the front opening of the bolero. It has dome fasteners to attach it to the other side of the opening for easy removal.
Details such as gems and beads were added later, I will go into details on those in a later post.


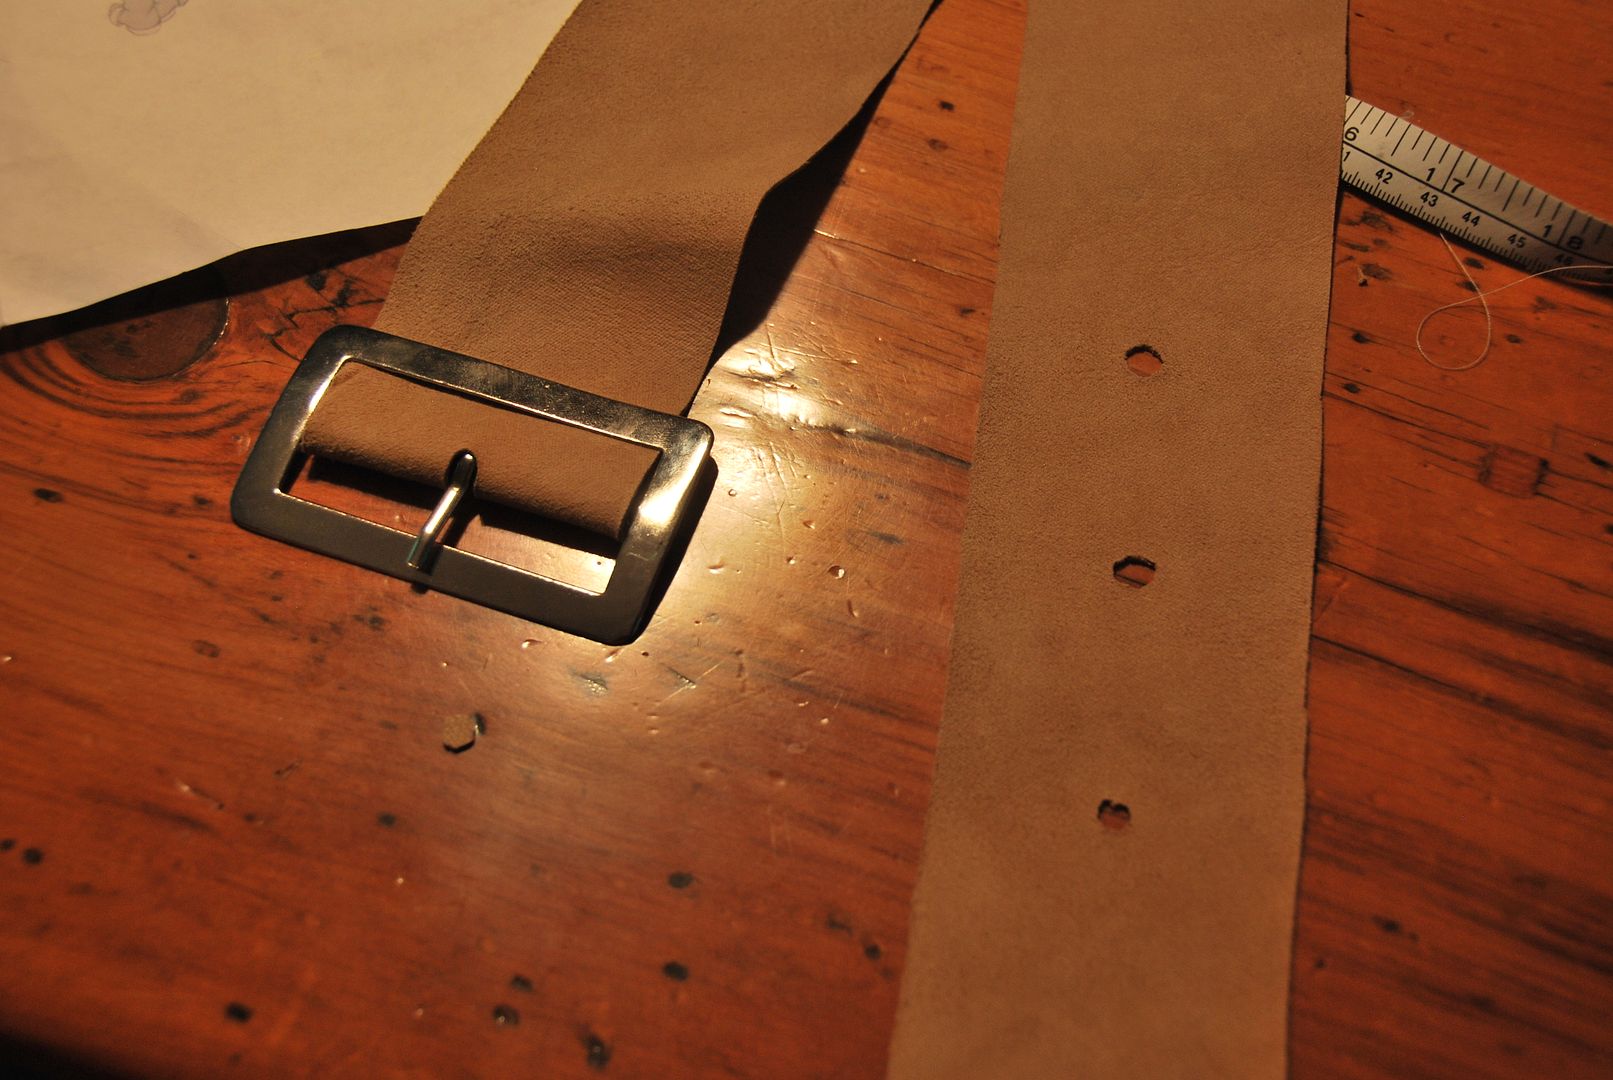
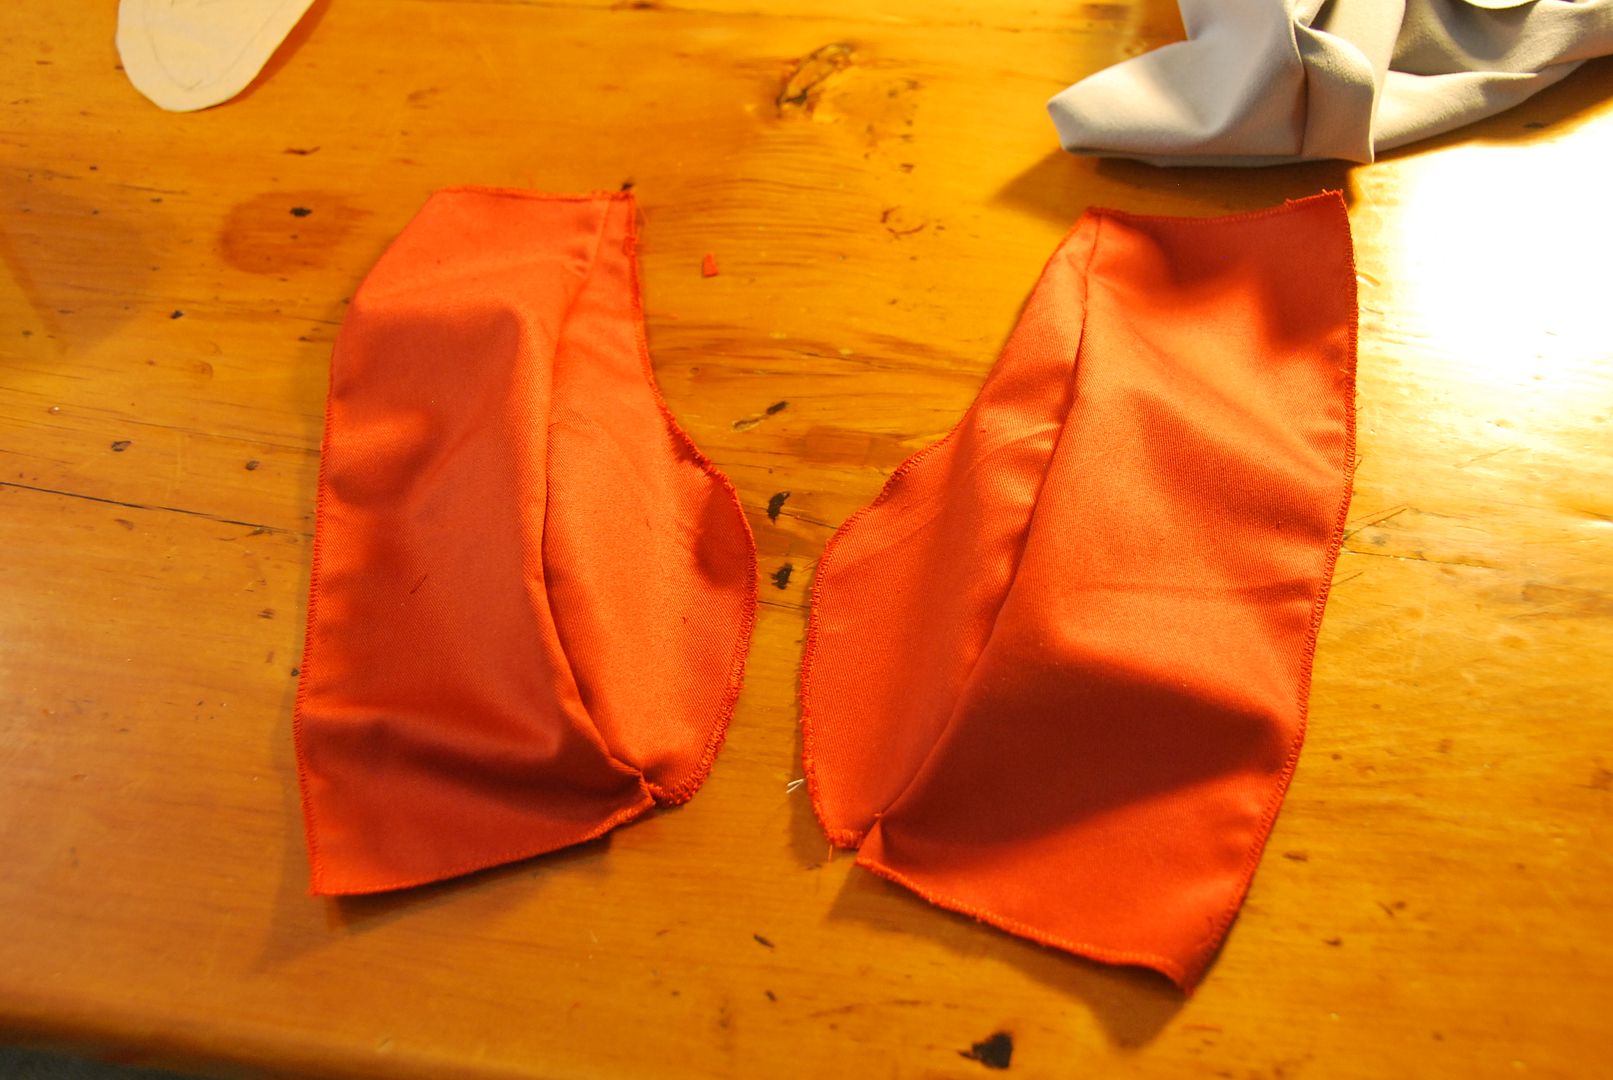
 The first piece I cut was the long strip for the belt. Later I went back and reinforced this strip by sewing a second layer to it. I used scissors and carefully cut out the holes. The buckle was found in an store on Queen street after much searching.
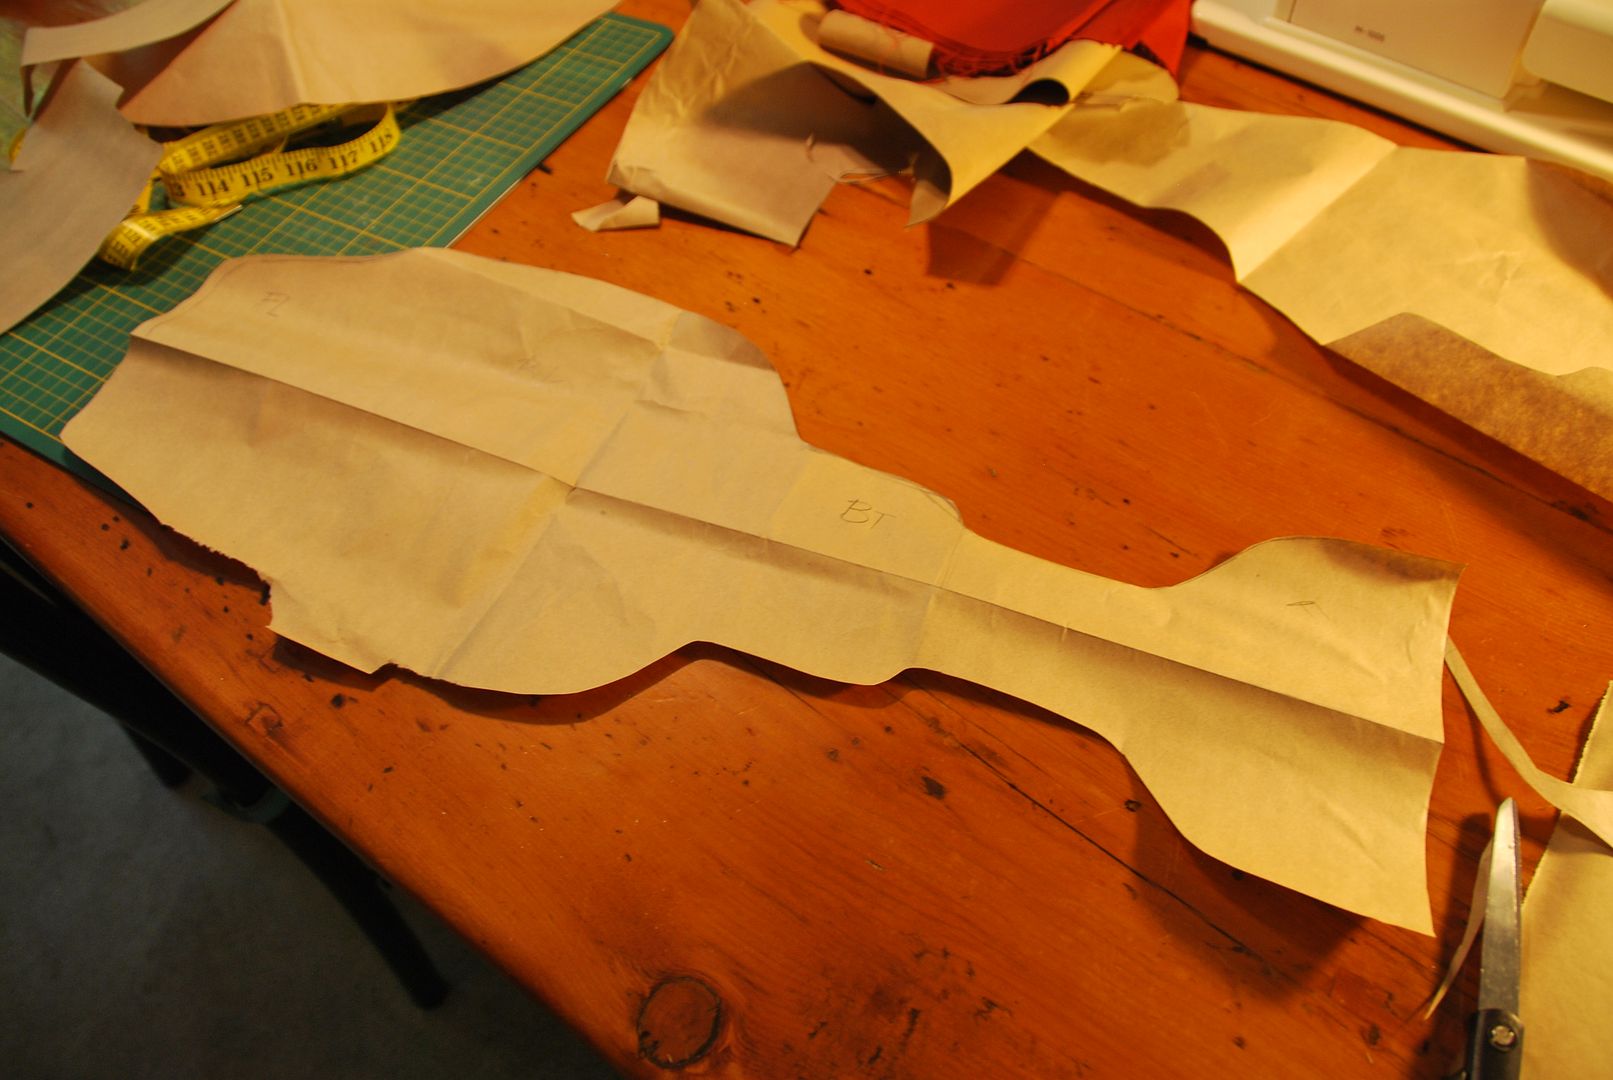

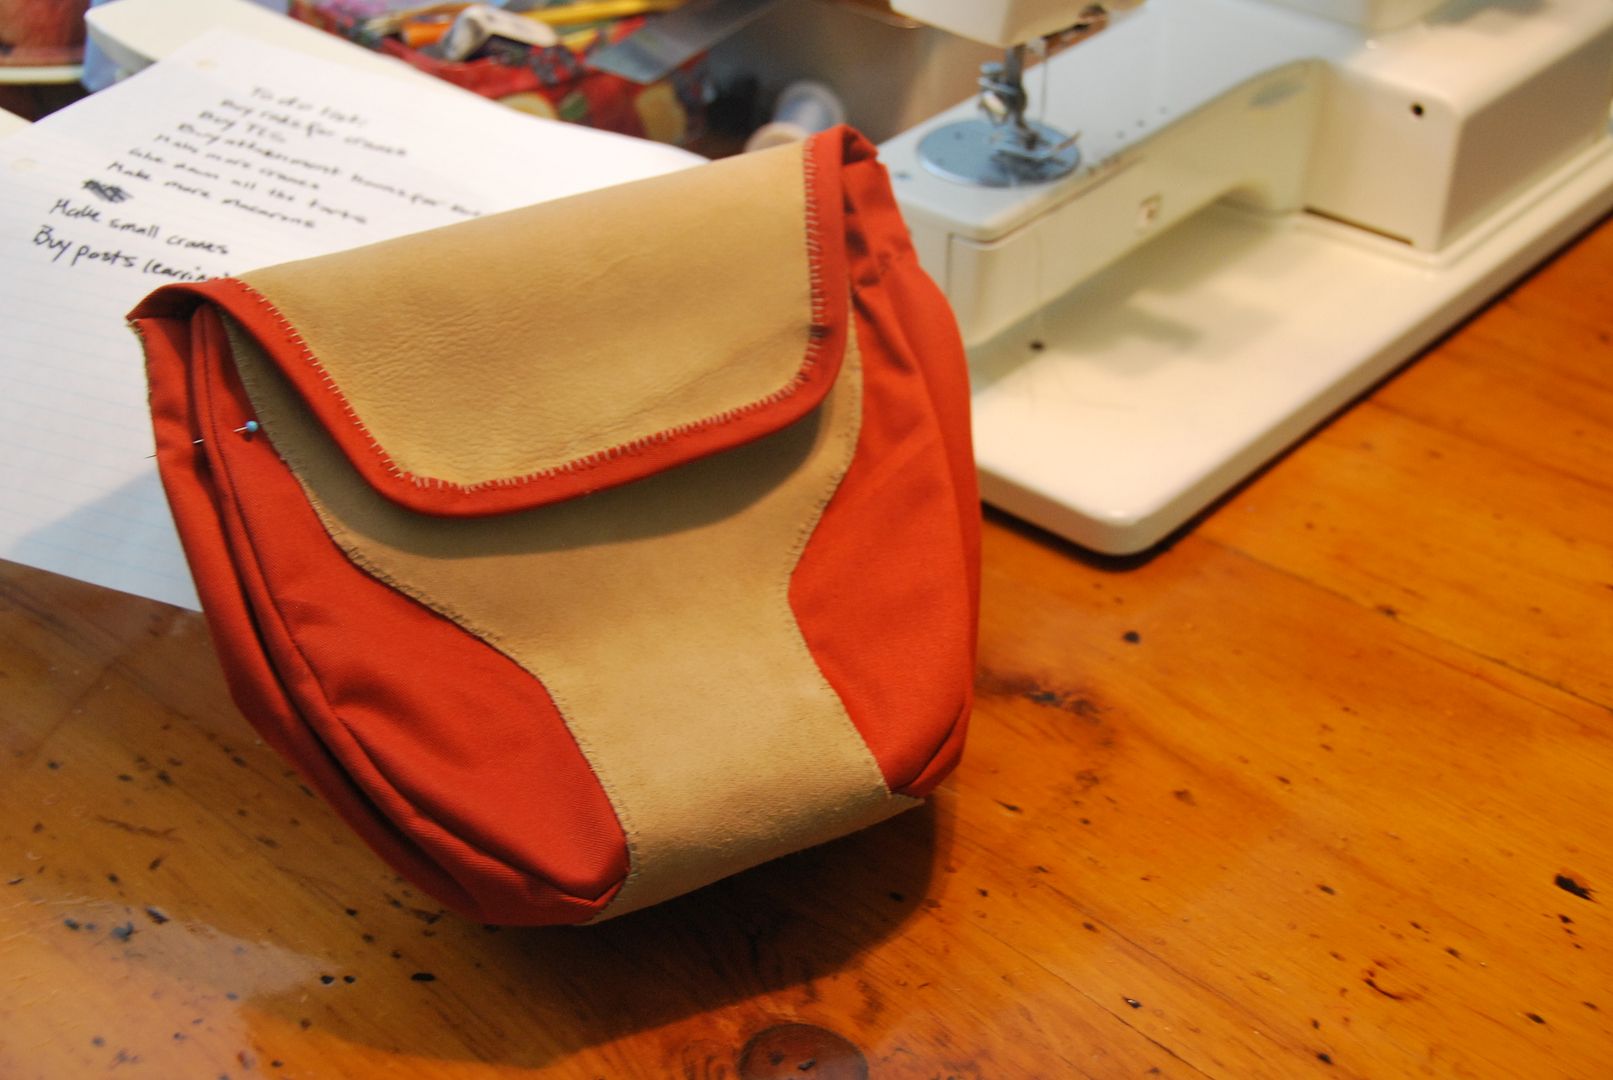 I made a matching bias tape and stitched that on as well. The last step was to cut 2 slits in the back so the belt could be fed through the pouch.
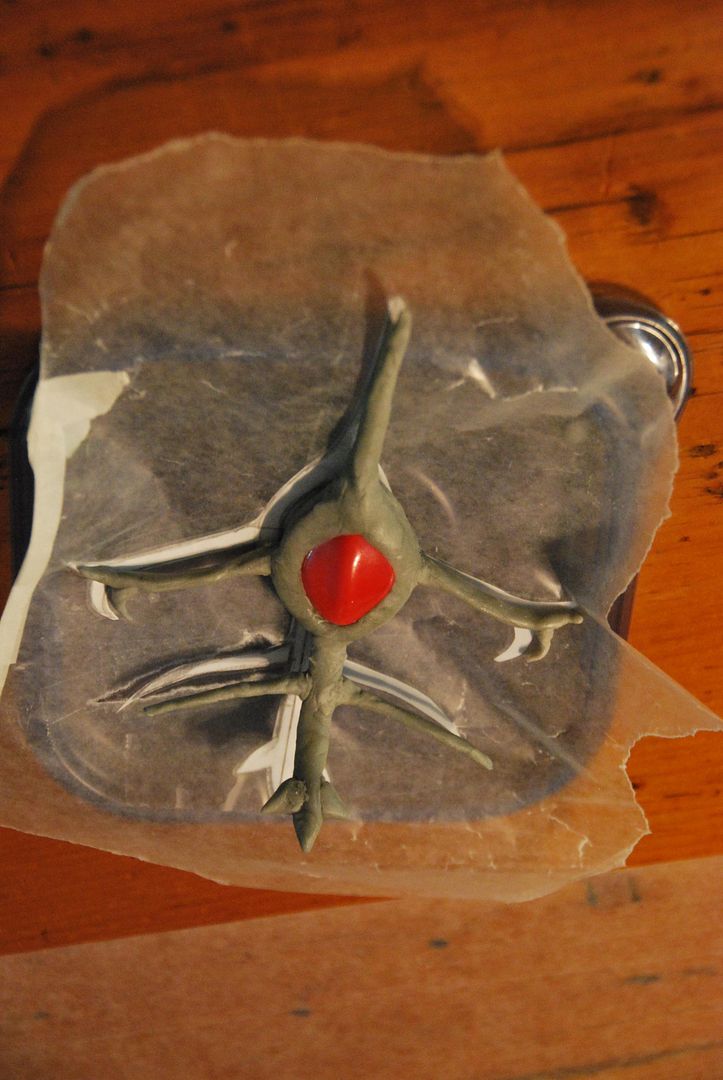
 Next up is the dagger! The dagger is also attached to the belt, but the character never uses it, it seems purely part of the design.
 I created a sheath and loop to attach to the belt. The loop was on an angle so the dagger would be angled like it is on the character.


